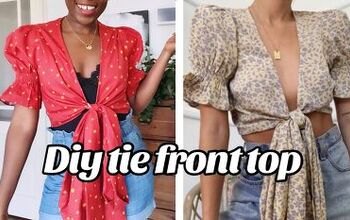
DIY an Adorable Tie Front Top With Adjustable Straps

A tie-front top is a project that’s been on my mind for a while now. I had a gorgeous skirt and I wanted to make the perfect top to go with it. I got started on creating a pattern and made the most amazing tie front top. I absolutely love the end result and the best part is, I made it with adjustable straps! If you are looking for your next fashion DIY, this tutorial is for you! Jump on board and start creating this stunning tie front top to add to your closet!
Tools and Materials:
- Fabric
- Strap sliders and rings
- Ruler
- Scissors
- Sewing machine
- Pattern paper
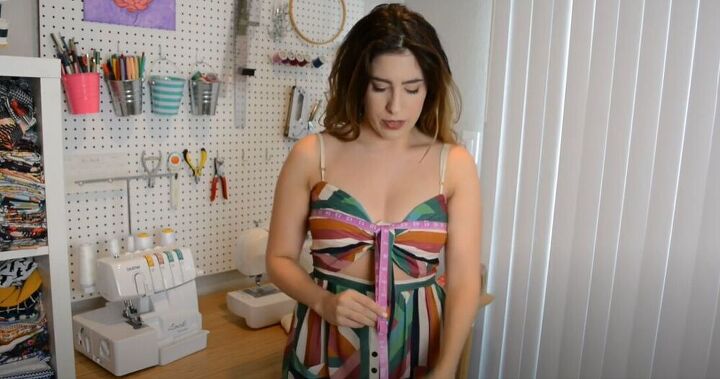
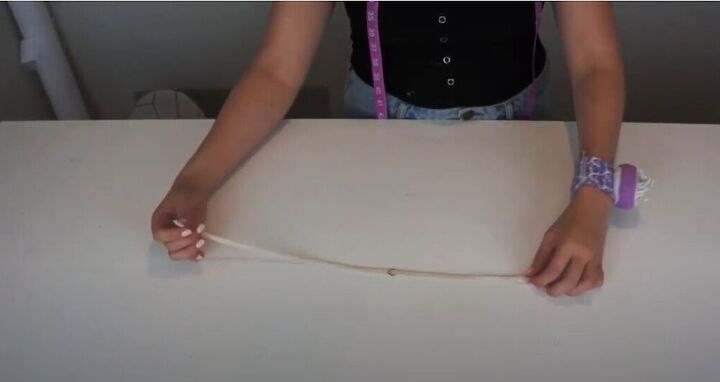
Before you can get started on this amazing top you will need to take some measurements. Start by measuring your bust and creating the tie with your measuring tape. This will give you a rough measurement of what you will need!
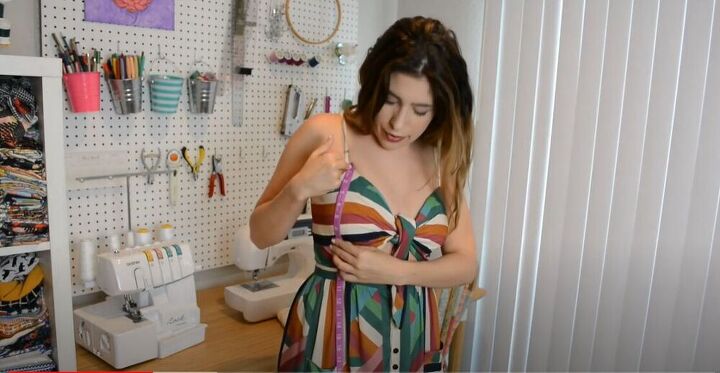
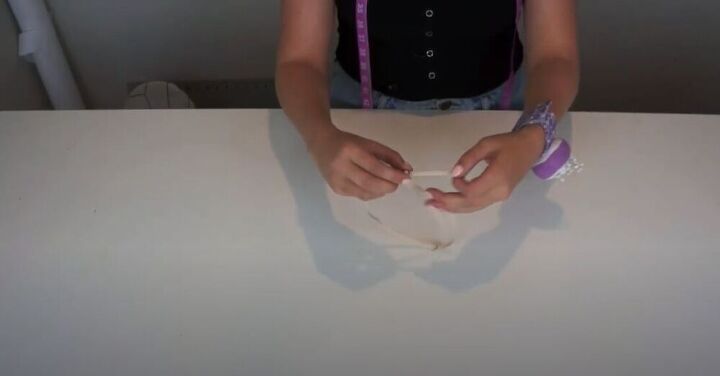
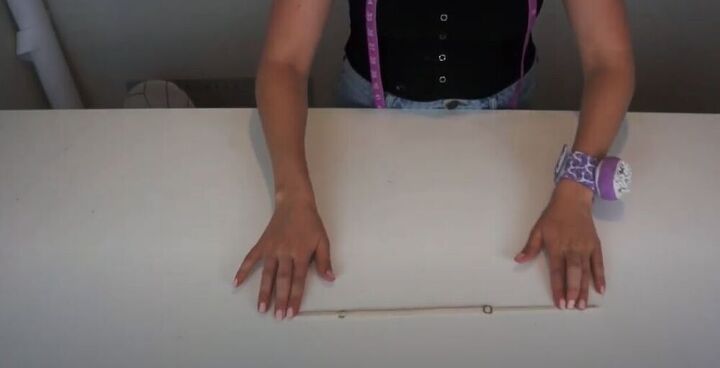
The next measurement you’ll need is the bust width. Start at the point where the strap will begin and measure until your waist. The third important measurement to take is the strap itself!
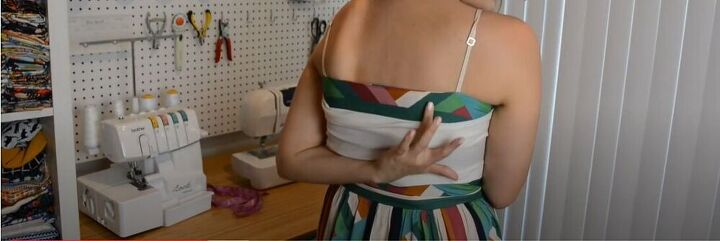
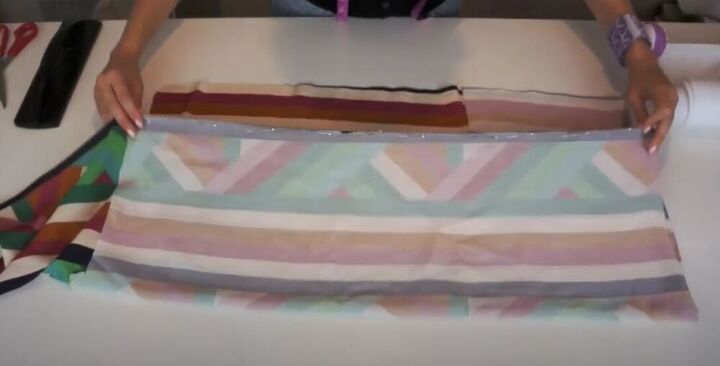
Before you begin sewing this gorgeous top it’s also important to understand where you want to put the straps. Cut a piece of fabric and tie it at the front. Pin the front at the points where you would want your straps to be. Pinning the back is a little trickier so try and ask a friend or family member for a little help.
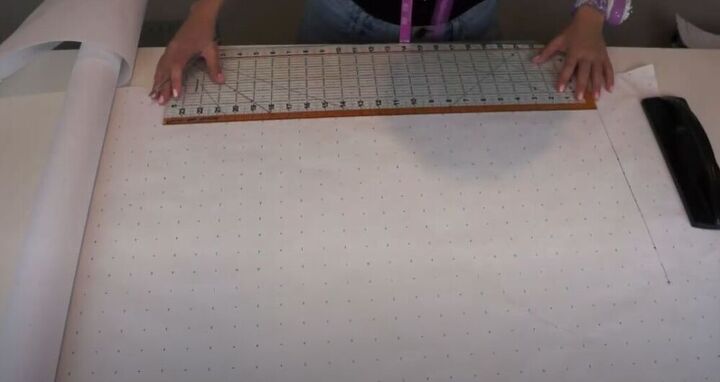
The first measurement that you should draw is the measurement of your bust and the second measurement should be of the bust and the straps divided in two since we will be working on the fold of the fabric.
The third measurement is the bust and the straps, minus 9.5 inches. This creates a sort of triangle at the bottom which is where the stunning twist tie will be. Once you’re finished drawing, cut out your pattern.
Before you can create your strap pattern, it’s important that you know the size of the sliders you’ll be using. Mine were about half an inch so I made sure to cut the straps 1 inch wide. For the length of the strap, use the measurement you took earlier with an added 5-7 inches. Once you have drawn your strap pattern, cut it out.
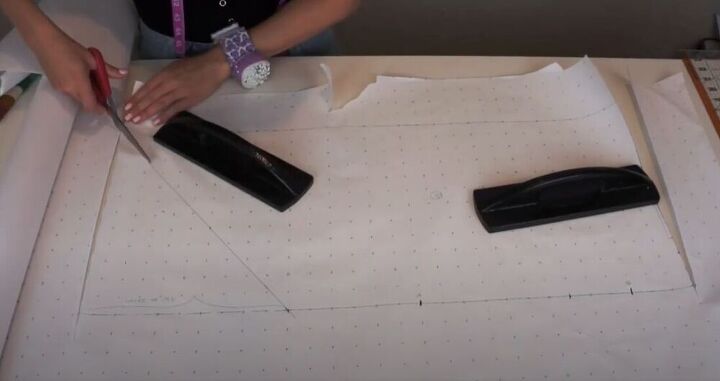
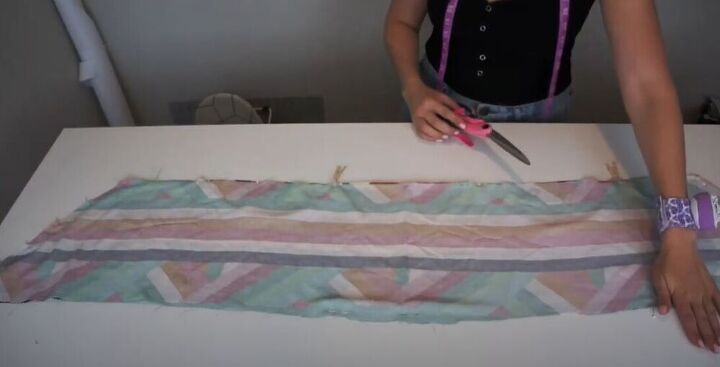
With your patterns at the ready, it’s finally time to cut your fabric! Fold the fabric over once and then fold it over again in the other direction. Doing this will allow you to cut both pieces on the fold.
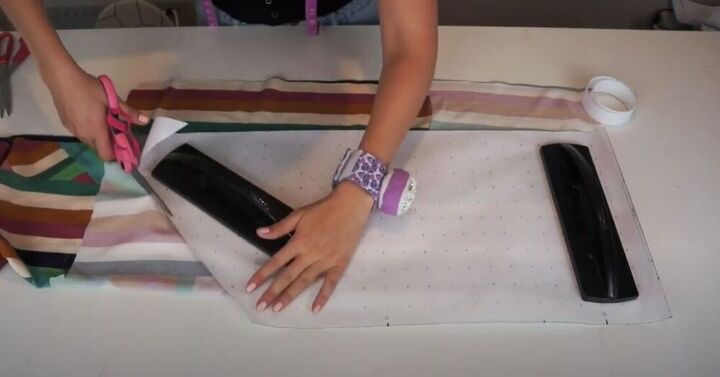
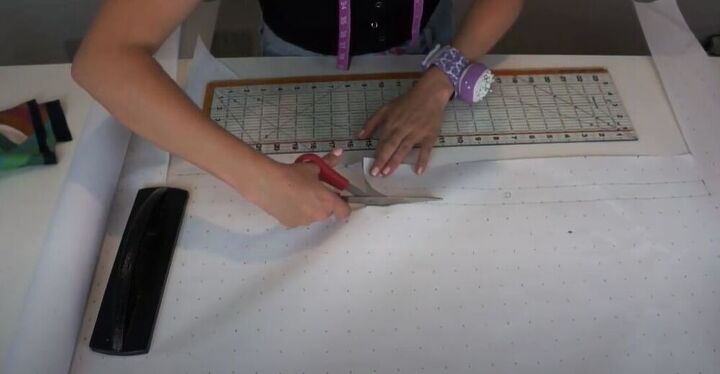
Place your pattern on the fabric and start cutting!
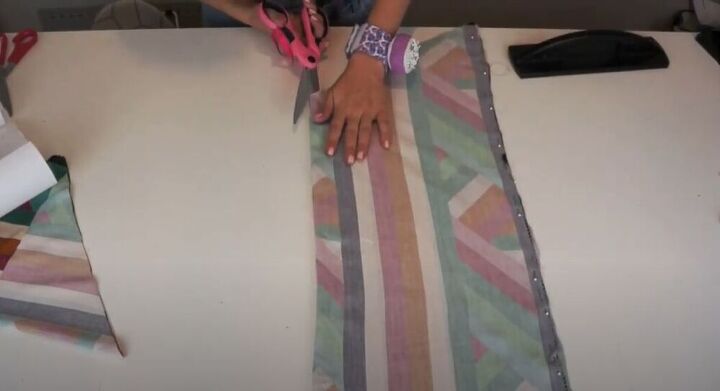
Next, cut your fabric at the fold to make sure you have all your pieces to make this incredible top.
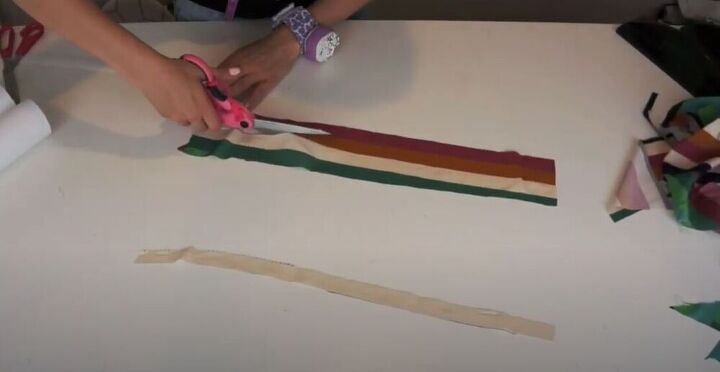
Make sure to use your pattern to cut out the straps as well! Cut an extra piece that will be used as part of the adjustable strap later.
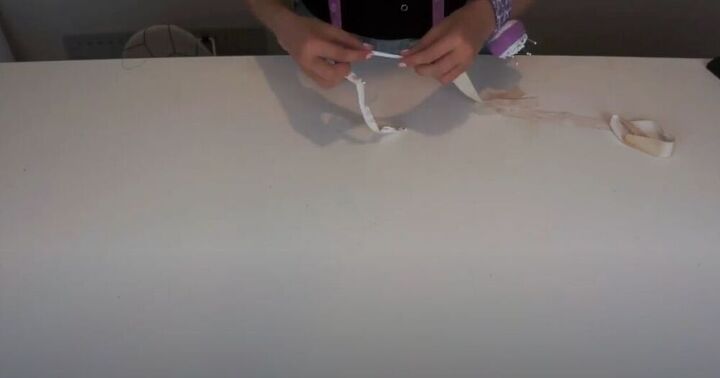
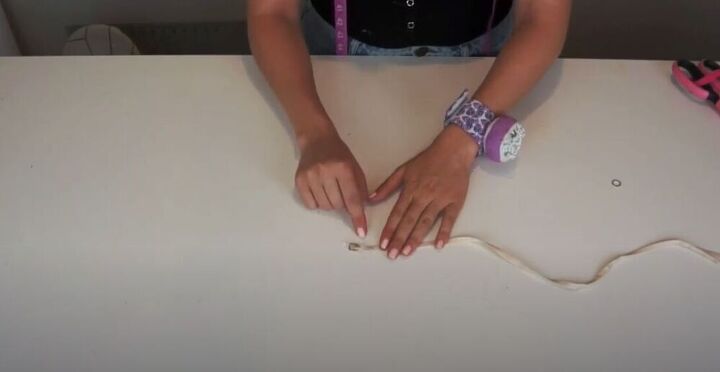
In this step, fold your three strap pieces in half, lengthwise. Pin the folds in place and then sew the straps with a narrow straight stitch. Once you’ve sewed, use a safety pin to turn the straps right side out. Take your third strap and cut it into smaller pieces. I cut mine about 6 inches long.
Now it’s time to make these straps adjustable! Start by putting your strap through the slider. Make sure that when you put it in you go from down up and then from up-down. This is what will ensure the adjustability of your straps. Pin the two pieces of fabric and sew. I used a zig-zag stitch to make sure the straps would be as secure as possible.
Next, take the little ring and pull the strap through it on the side that doesn’t have the slider.
With the ring safely on, take the end of the strap and feed it through the slider the same way you did with the other end earlier.
Take the extra small piece of strap and feed it through the ring.

Now it’s time to attach the strap to your top! Start by placing the fabric pieces right sides together and pinning all around to hold the fabric in place. Use the markings you made earlier and pin the straps onto the fabric. Try the strap on just to make sure you feel comfortable!
Sew all the way around your fabric with a straight stitch. Make sure to leave a gap big enough to fit your hand through so that you can turn this amazing top, right side out. I finished the seams using a zig-zag scissors but you can always use overlock to get the job done! Turn the fabric right side out and try the top on to make sure it fits and feels fabulous! You can then go ahead, and sew closed the gap you left.
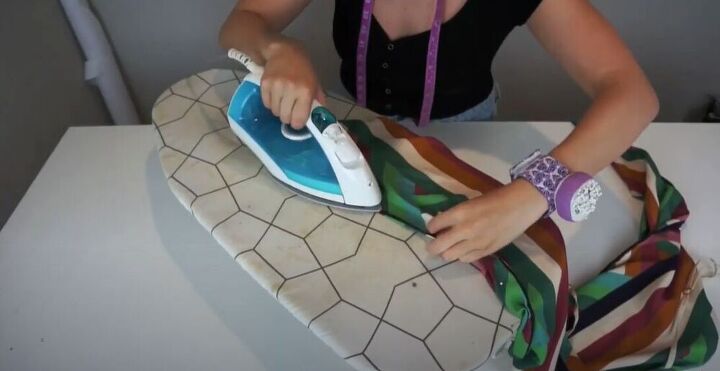
To give your shirt the perfect finish, press it! This will keep it looking sleek and stunning! If you want to learn how to attach this top to a skirt go to 2:12 in my video.

I am so in love with this front tie top! How would you style this top? Let me know in the comments below!
The author may collect a small share of sales from the links on this page.


Comments
Join the conversation