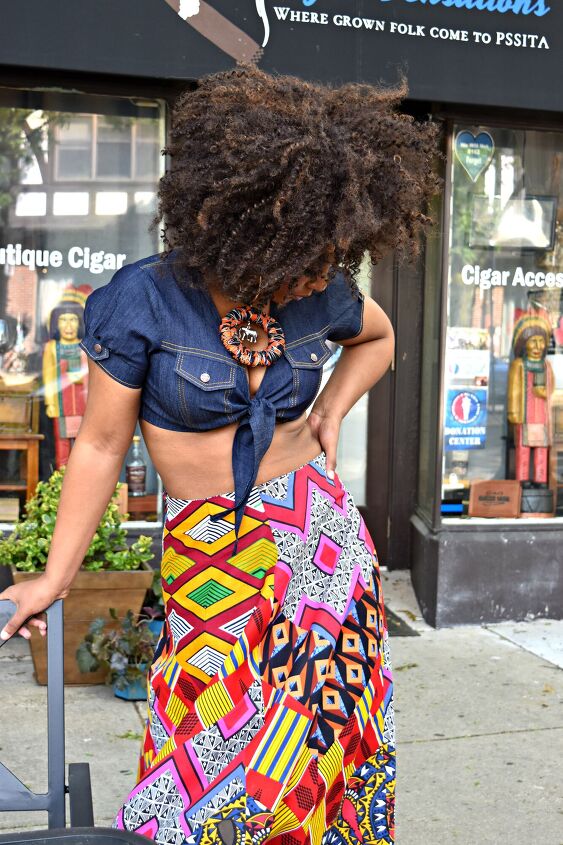
3 Piece DIY Outfit: Part 2 Denim Front Tie Top Tutorial
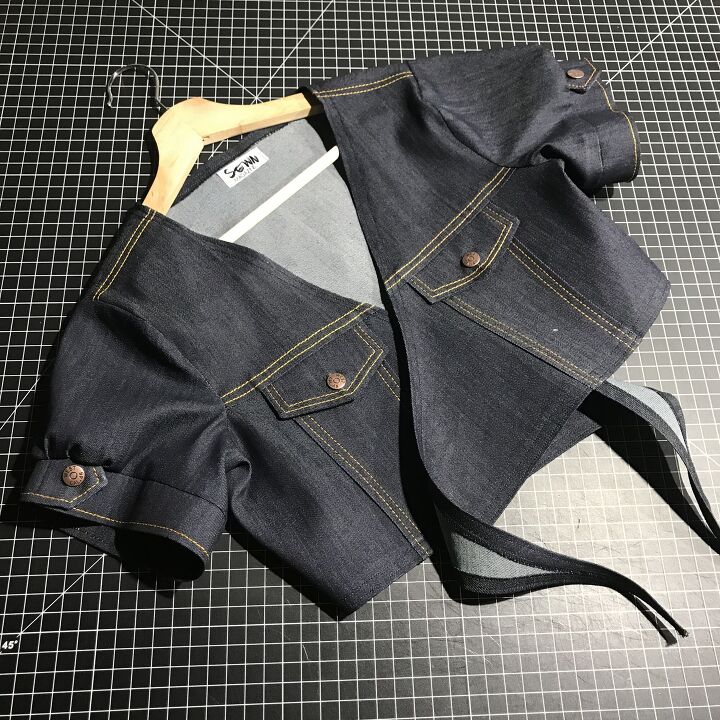
DIY Jean inspired tie-front top
I
don’t know about you, but I live in denim jackets all year round. In fact, if I
could wear denim all the time I would but my workplace only calls for jeans on
casual Fridays. Anytime that I can inject the jeans look into a project I will.

I originally modified this pattern for this dance top above
and that’s how I came up with this idea. Now before you say this top isn’t for
you, let me say that you can apply this hack to any top! The pattern I used was the
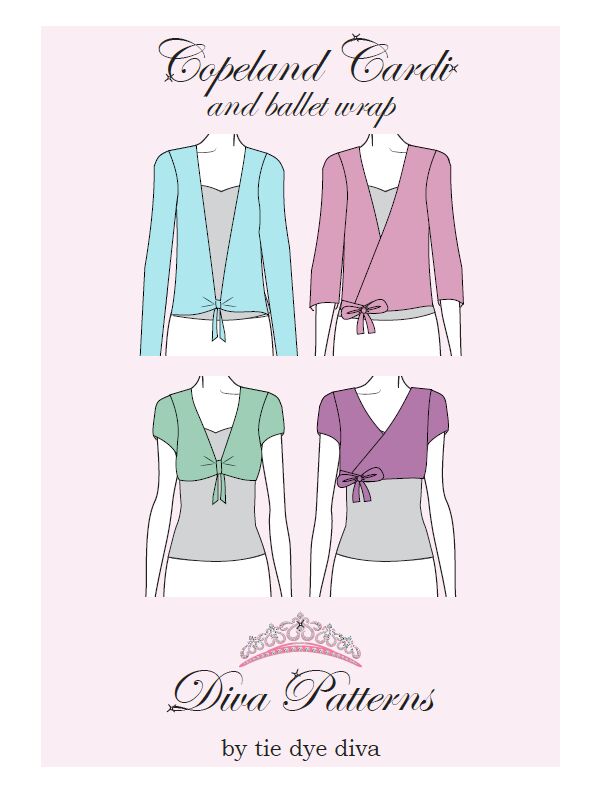
Diva Patterns Copeland Cardi (ballet wrap), which is meant to be worn over a
tank top or dance leotard.
For this hack, I created the front of the jean jacket on a
large piece of denim. The idea was to create a large enough piece of fabric to
cut out the pattern piece. You will need to piece together a few pieces to make
it happen.
Sizes and measurements depend on how big you
want your pieces and the size of your pattern. I’m just going to show you the
shapes needed to create this faux denim jacket front look. NOTE: If you have a denim jacket pattern, you could use those pattern pieces instead of creating your own.
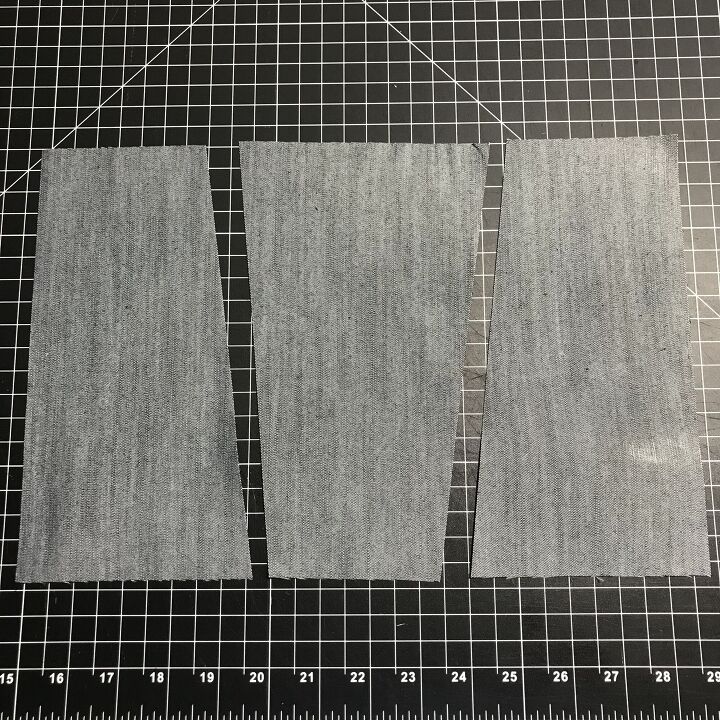
You will need these three pieces to create a panel, so make sure you cut a set for the right front and a set for the left front. I used a 9” x 13” piece of denim for this tutorial.
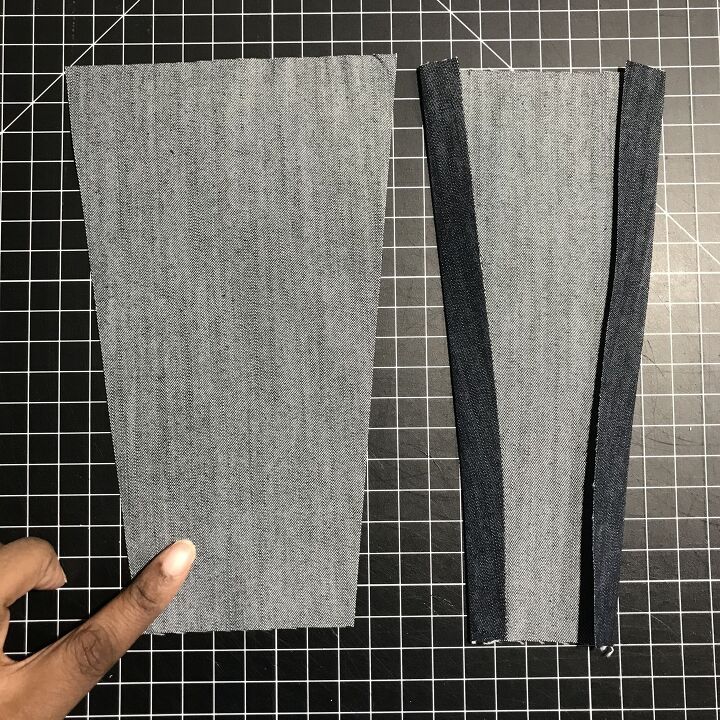
Once you have your shapes cut out, fold the raw sides of the middle piece inwards as shown and press.
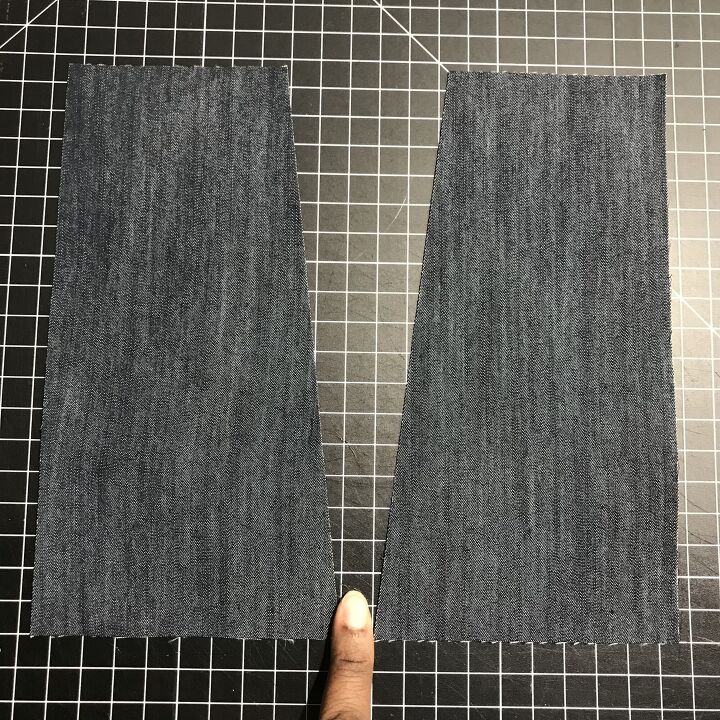
Place the 2 remaining pieces about a finger’s width apart.
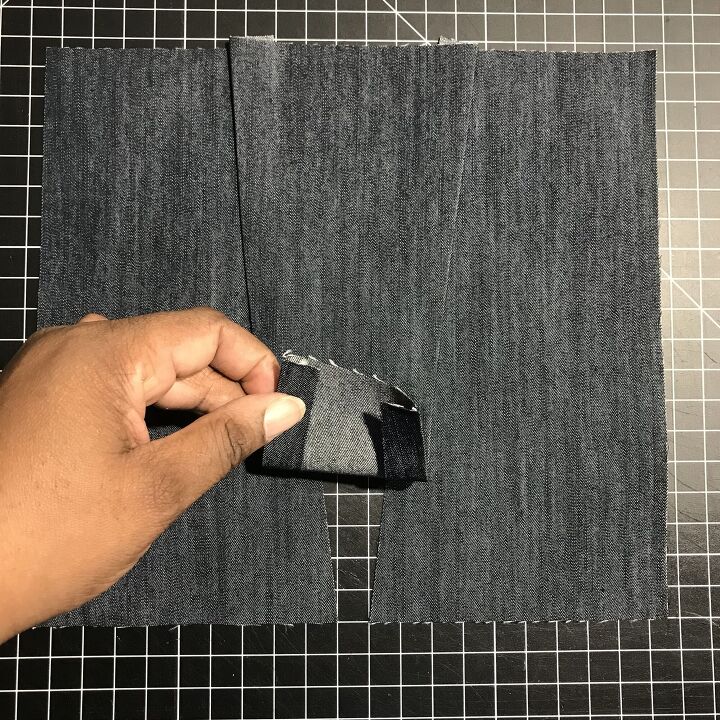
Place the middle piece in the center of these 2 pieces and
pin.
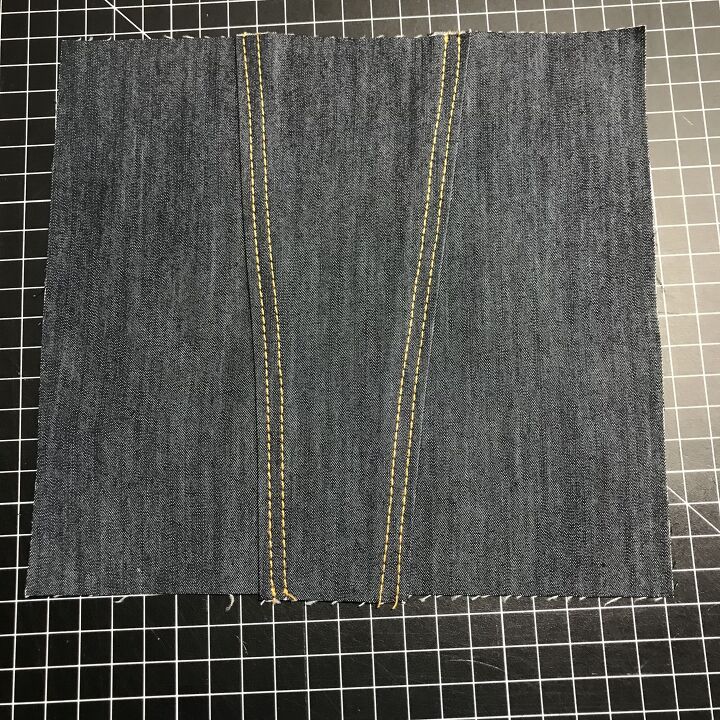
Sew these 3 pieces together with 2 rows of topstitching. Be
sure to use topstitching thread to pull off the denim jacket look.
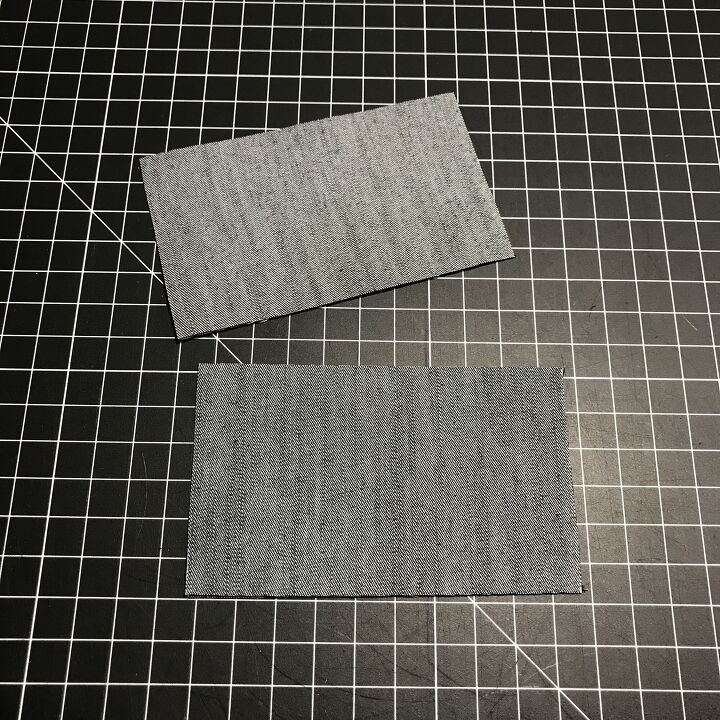
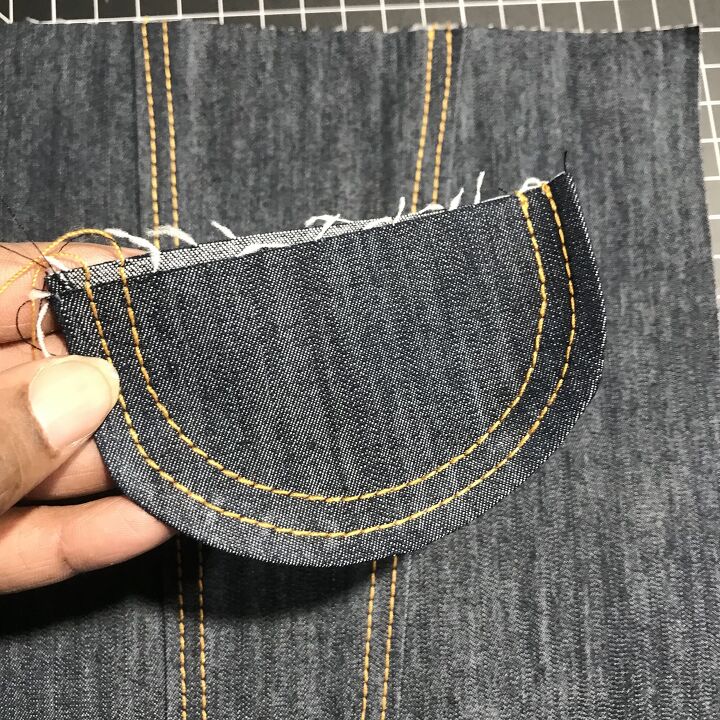
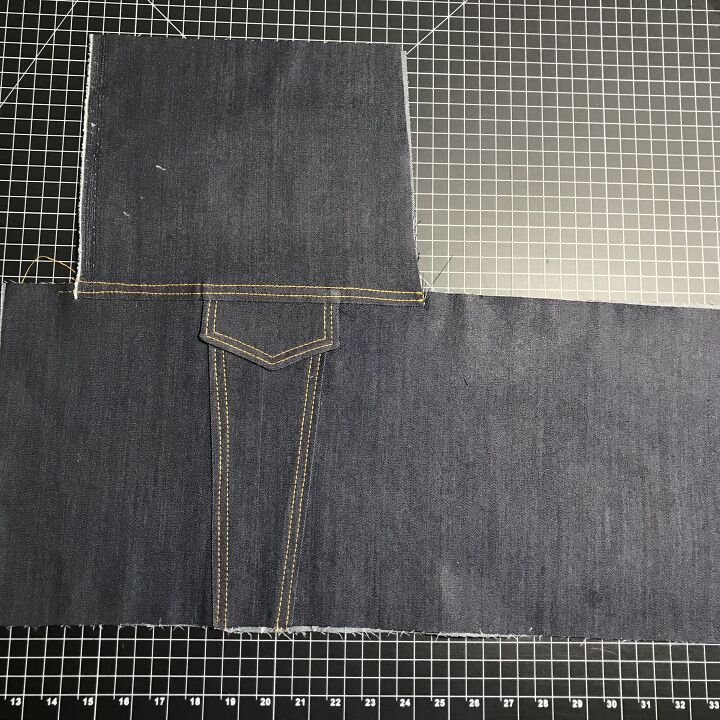
Create the pocket flaps. I cut out 4 [ 3” x 5”] pieces.
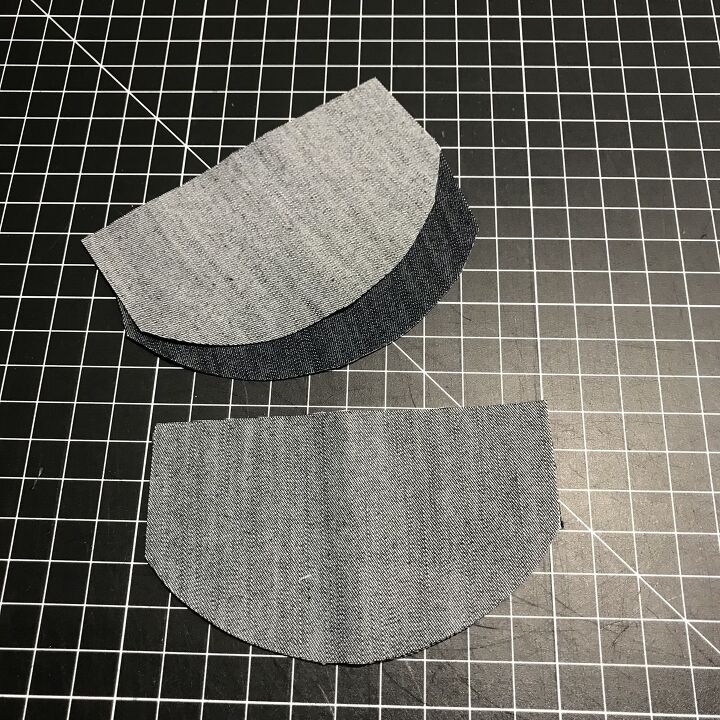
With the right sides together, stitch 3 sides of the desired
shape, trim and turn to the right side, and press. Now add 2 rows of
top-stitching. I started with a rounded shape but then went with the
traditional denim pocket shape. NOTE: Make sure the flaps are about ½” wider
than the top of the middle section so that it overlaps a little.
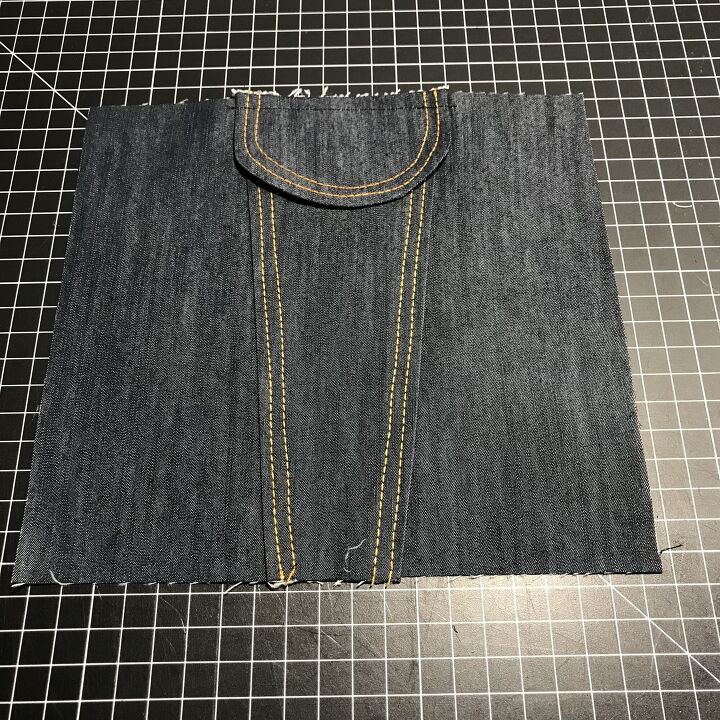
Baste the flaps to the middle section.
Now add the top piece of the panel. Remember the size of your
pieces all depend on your garment and the size of the pattern. You may need to
piece several pieces together.

Place the pattern on the pieced denim. *NOTE since you are
cutting the front pieces one at a time, make sure the right side is faced up.
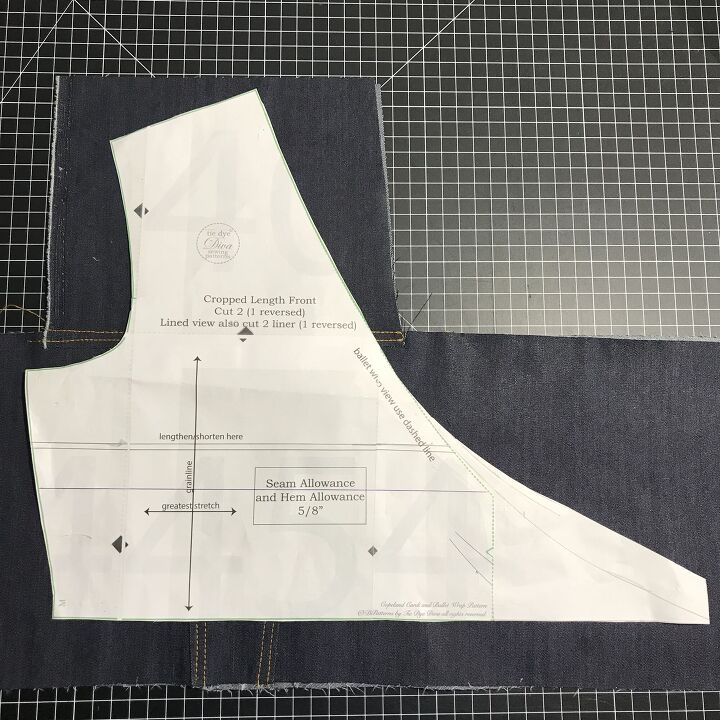
Place the pattern on the pieced denim. *NOTE since you are
cutting the front pieces one at a time, make sure the right side is faced up.

Cut out the pattern pieces. *Add snaps to pocket flaps.


Thank you for stopping by and don't be shy. leave us a comment to tell us what you think!


Be sure to stop back by for part 3: The Skirt! The series3 Piece DIY Outfit: Part 1 Putting Together A Handmade Outfit3 Piece DIY Outfit: Part 2 Denim Front Tie Top3 Piece DIY Outfit: Part 3 The Ankara Maxi Skirt Hack3 Piece DIY Outfit: Part 4 DIY Jewelry-Ankara Elephant Necklace
The author may collect a small share of sales from the links on this page.


Comments
Join the conversation