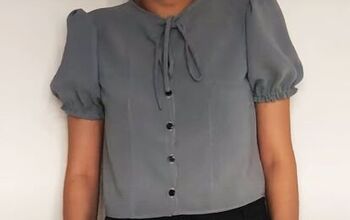
How to DIY a Cute Blue Puff Sleeve Top

I used a pattern from Coolstitches to make this pretty blue puff sleeve top. I thrifted an oversized long sleeved check shirt for the fabric as it only takes a meter.
As you'll see, I made the top longer than the pattern suggests but it also looks great as a crop top.
Tools and materials:
- Elliot puff sleeve sewing pattern
- Paper for pattern
- Oversized long sleeved shirt or 1m fabric
- Narrow elastic for sleeves
- Safety pin
- Fabric marker
- Ruler
- Scissors
- Pins
- Sewing machine
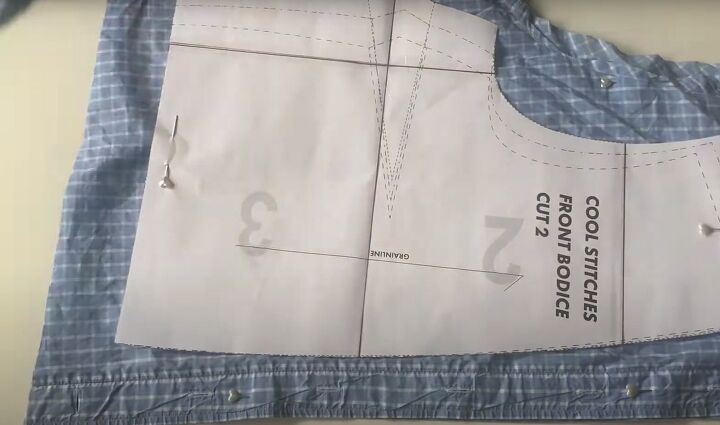
1. Add length
I added 2 inches (5 cm) to the length on the back and front bodice pieces.
I measured 2 inches (5 cm) down from the original cutting line across the lower edge directly on to the fabric and cut it out.
If you prefer, you could draw the modified pattern on to paper first.
Transfer all pattern markings onto the fabric.
2. Sew the front bust darts
Pin and sew the front bust darts.
Tie off the threads at the tip of the dart instead of backstitching for a crisper finish, and press the darts downwards.

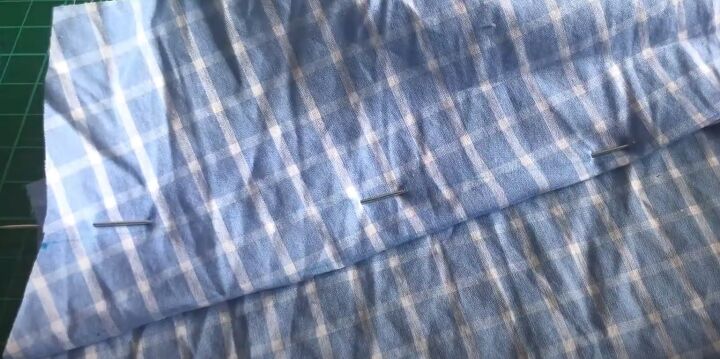
3. Join front and back
Pin and sew the bodice fronts to the back at the shoulders, with the right sides facing.
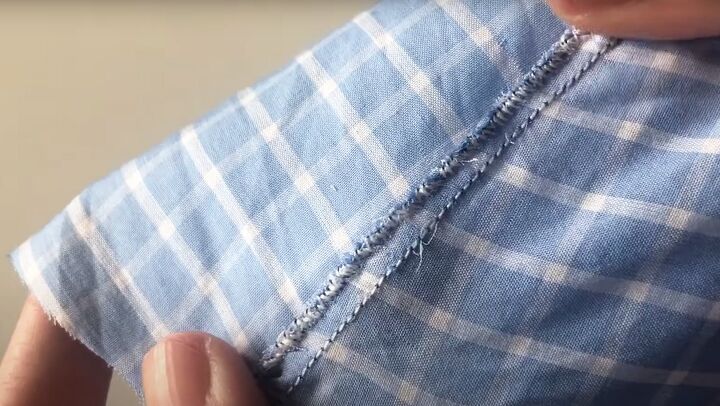
Finish the raw edges with a narrow zigzag stitch.
4. Insert the sleeves
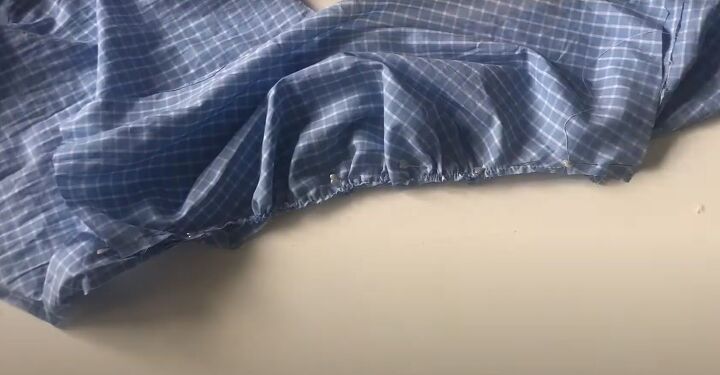
Sew a basting or gathering row of stitches between the two notches on the sleeve head, leaving long ends.
Pull gently on the threads to gather the top of the sleeve.
Insert the sleeve into the armhole with right sides facing. Start by pinning the two ends of the sleeve to the side seam allowances.
Pin the center of the gathered sleeve head to the shoulder seam, gathering it to fit.
Distribute the gathers evenly and pin them in place before sewing.
Zigzag stitch the raw edges as before.
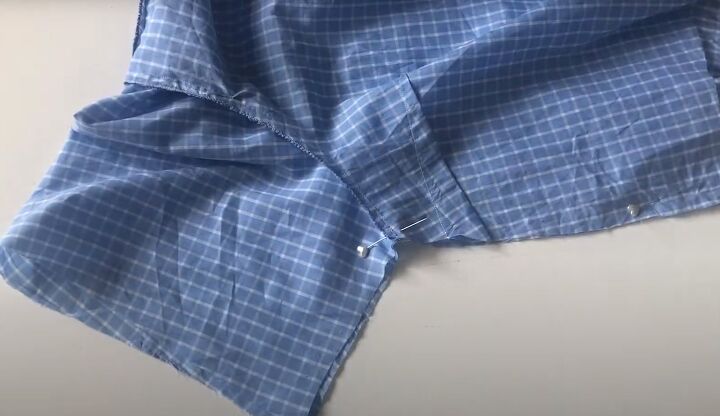
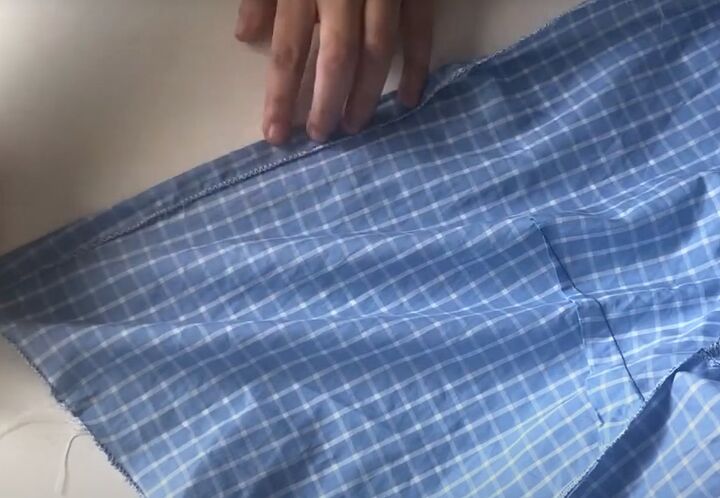
5. Side and sleeve seams
Pin the side and sleeve seams with right sides facing, matching the underarm seam. Sew in place and finish the raw edges.
6. Finish the hems
Zigzag stitch around the raw edges of the neckline, the center fronts and the lower edge of the top.
Fold the fabric in by half an inch (1 cm) and sew in place.

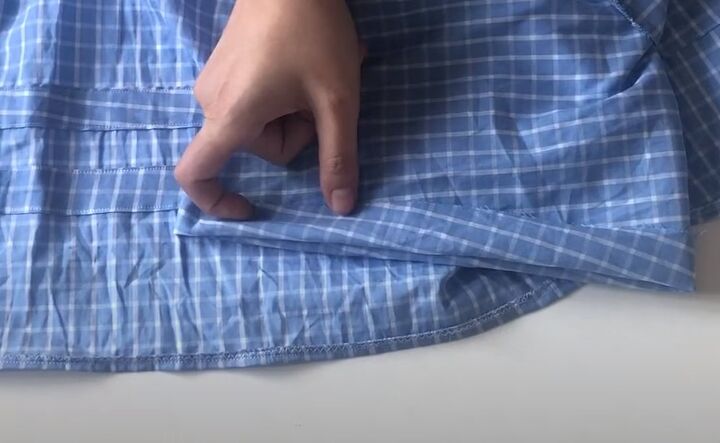
7. Make the channels
Try the top on and mark the position of the channel so that the top one falls under your bust.
Make a long bias tape for the channel, joining it where necessary, and press both long edges towards the center.
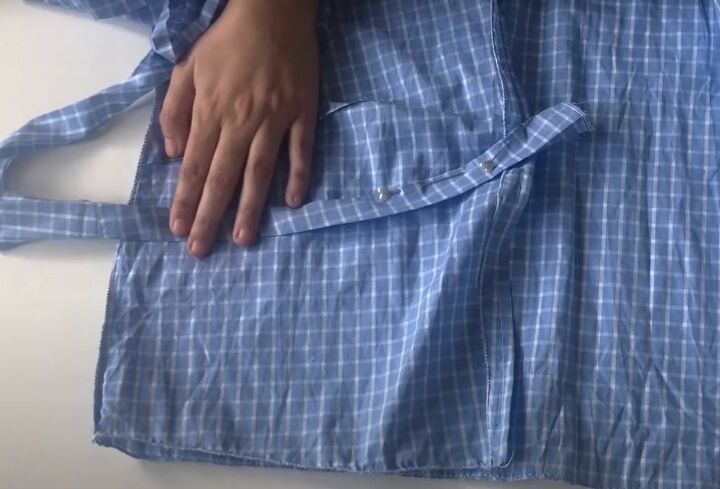
Pin the tape in place on the inside of the top.
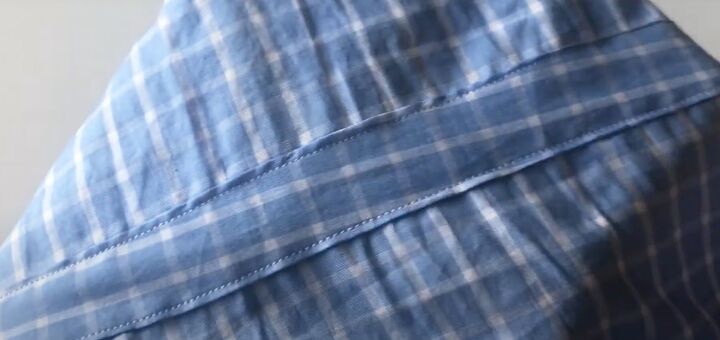
Sew it down along both long sides, folding the short ends in to hide the raw edges.
Add a second channel below the first.
8. Elasticate the puff sleeves
Sew a zigzag stitch around the lower edge of the sleeves. Turn up a 0.75 inches (2 cm) hem and sew it down, leaving an opening for the elastic.
Use a safety pin to thread the elastic through the bottom of the sleeve.
Join the ends of the elastic and sew the opening closed.
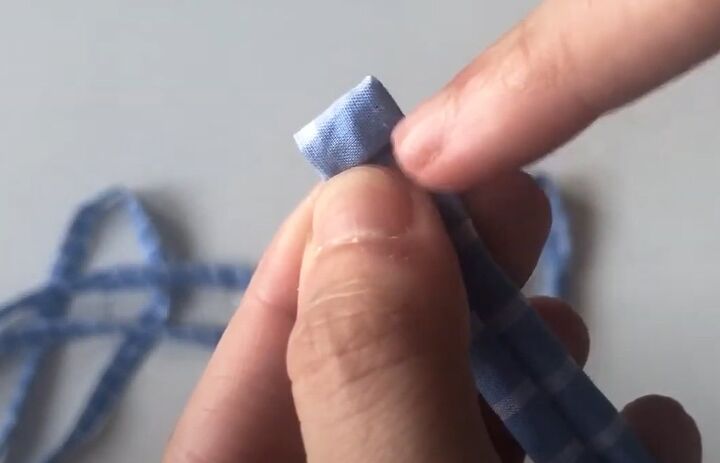
9. Make the strings
Make two long strings from the fabric and press them flat. Turn in the short ends and sew them down.
Thread the strings through the channels, using a safety pin.
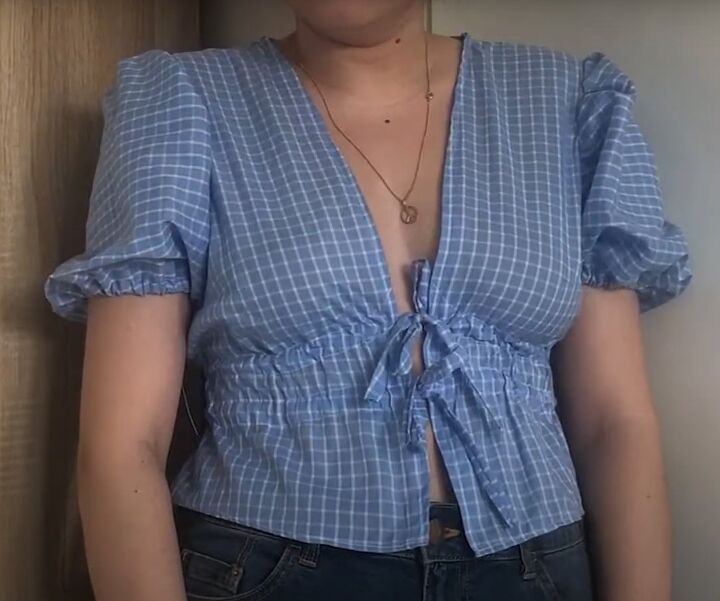

DIY blue puff sleeve top
My blue gingham top has a cute pirate vibe, I think. It was pretty straightforward to sew and I really liked making this project.
If you use a sheerer fabric and don't like the effect of the channels showing through, you could line the top and put the channels inside the two layers.
If you enjoyed watching this, I'd love to hear from you in the comments. And, if there’s anything you’d like to see me make, let me know.
Check out my post on How to Make a Pleated Skirt From an Old Duvet Cover.
The author may collect a small share of sales from the links on this page.


Comments
Join the conversation