How to Make a Pleated Skirt From an Old Duvet Cover

Do you want to know how to make a pleated skirt? Whether you’re new to the sewing world or you’ve been sewing for a while, this DIY pleated skirt tutorial will show you exactly how to get this sewing technique done right.
Making pleats can be a little tricky, but once you understand the technique behind it, it will be easy as pie! Scroll down and view my step-by-step guide on how to make a pleated tennis skirt with tips and tricks! Let’s get started!
Tools and materials:
- Measuring tape
- Fabric
- Pins
- Marker
- Scissors
- Sewing machine
- Matching thread
- Iron
- Zipper
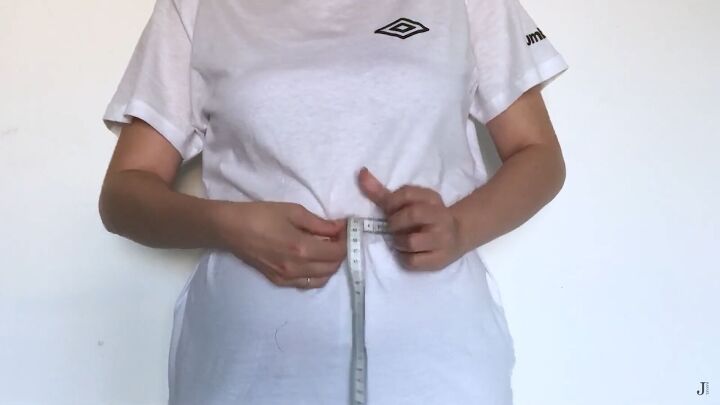
1. Take your measurements
Measurements are the key to making a good-fitting DIY pleated tennis skirt. So, the first step is to take your waist measurement and multiply it by three. Then, add your desired seam allowance. In my case, I had around 240cm (94.4 inches).
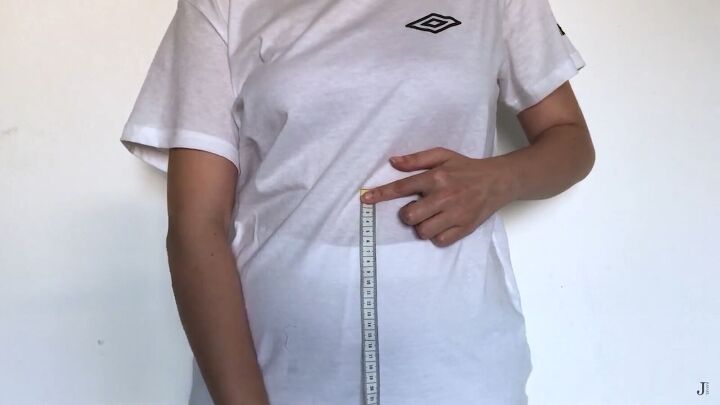
Next, get your skirt length measurement and add 4cm (1.57 inches).

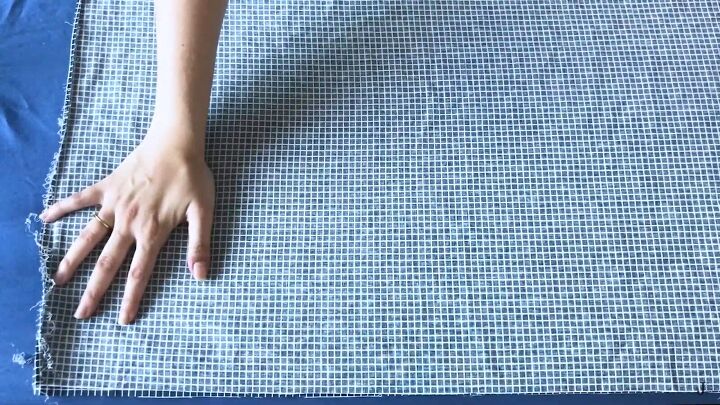
2. Cut the pattern
Now transfer these measurements onto your fabric and cut out the tennis skirt sewing pattern. You should have two pieces.
3. Sew the DIY pleated skirt
Now, lay both pieces right sides facing and sew one of the side seams to make one long fabric piece.
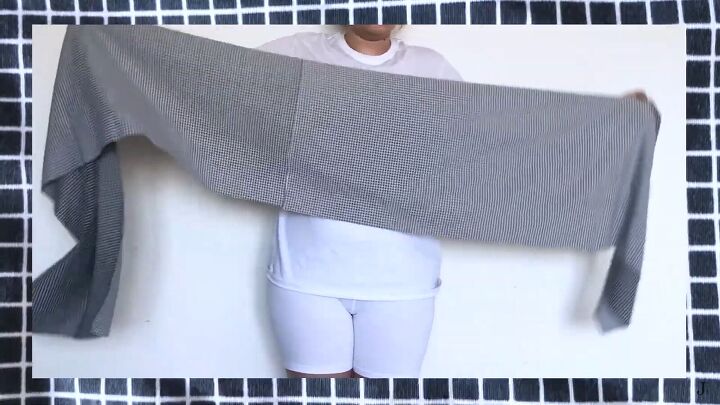
Stitch this step with a zigzag stitch.
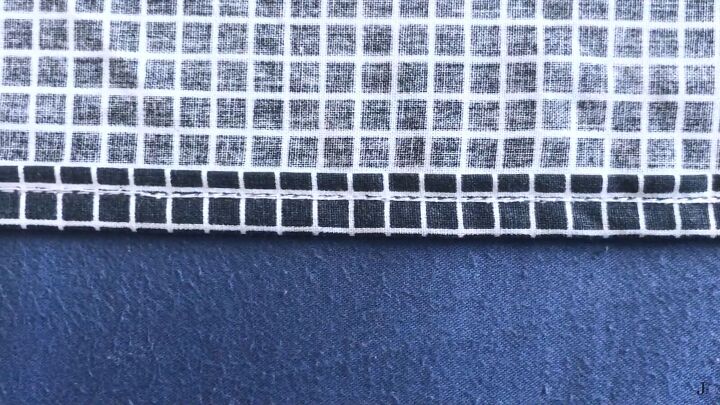
Now, double hem the bottom of the skirt before moving on to the pleating.
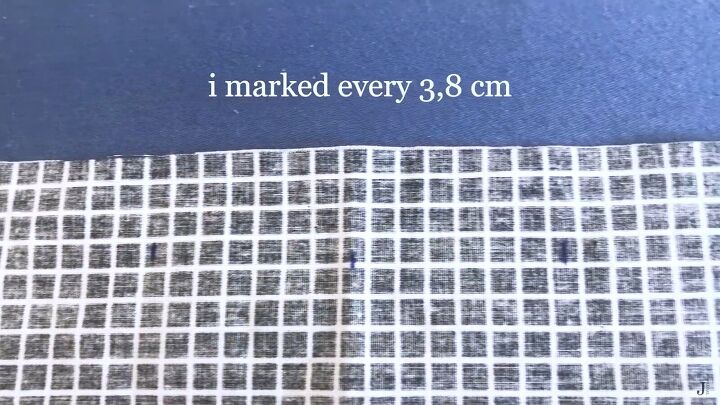
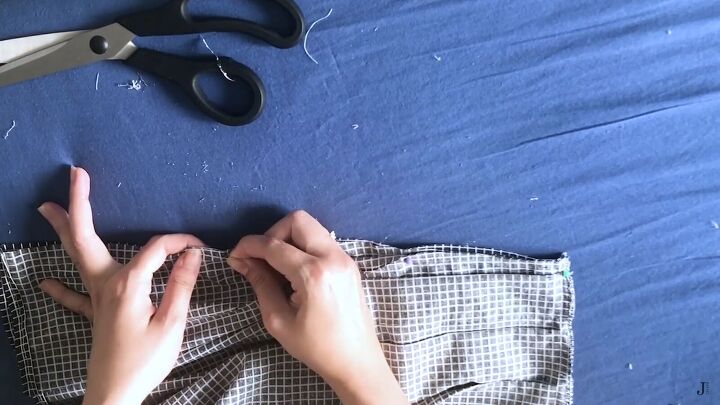
4. Make the pleats
Along the whole width of the skirt, make a mark at every 3.8cm (1.49 inches).
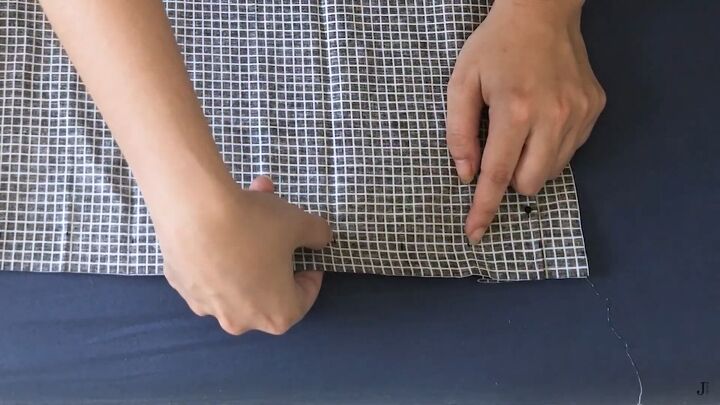
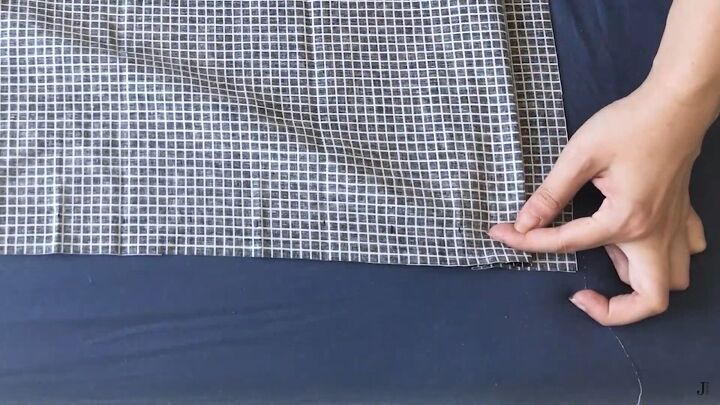
Now, this is how to make a pleat: fold the third mark onto the first mark. Easy!
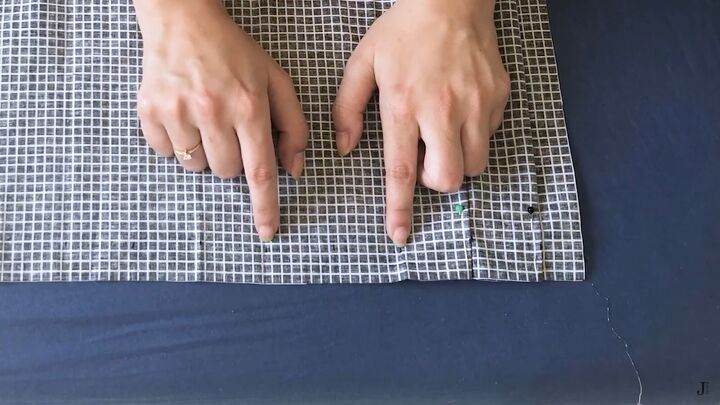
Repeat the steps along the width, placing a pin on each pleat as you move along.
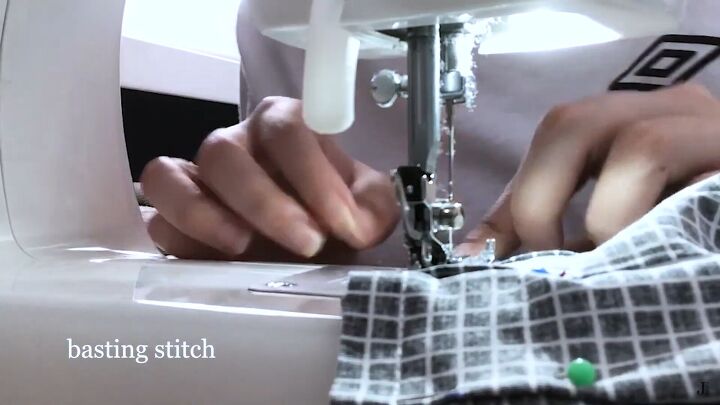
Next, sew a basting stitch along the pleats to secure them in place.
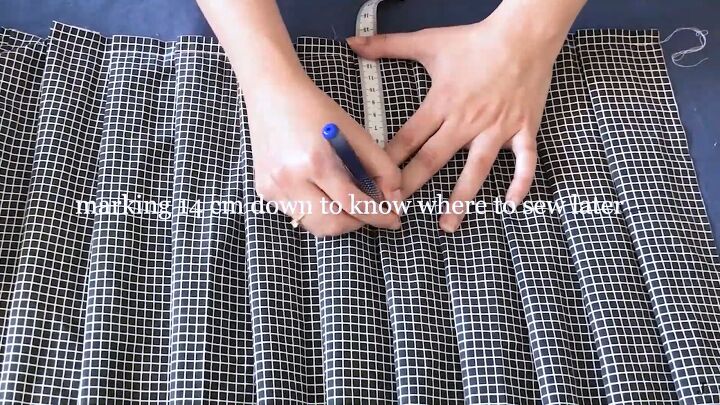
The next step is to sew each folded pleat vertically. Measure 14cm (5.51 inches) down and make a mark on each pleat. This will guide you on where to stop sewing.
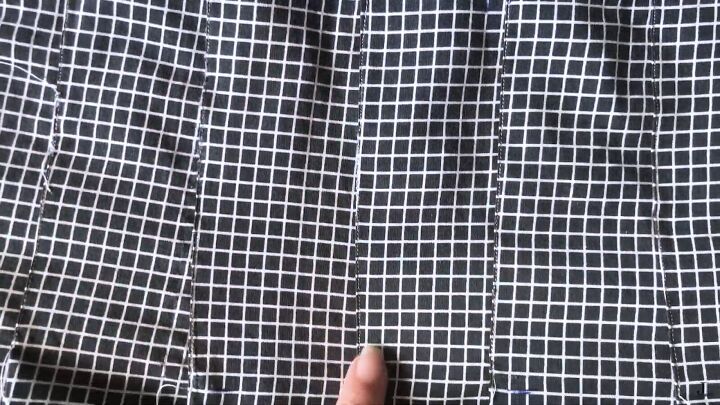
This is what it should look like.
You’ll notice that the side seams may not be straight, so cut the excess to straighten it up. Then, fold the dress and pin the bottom ⅓ of the side seams, and sew (we'll be attaching a zipper to the top half).

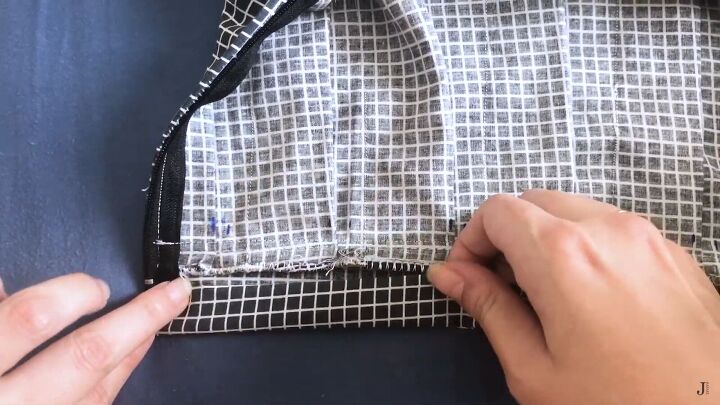
5. Add a zipper
On the open part of the side seam, go ahead and attach a zipper.
6. Make the waistband
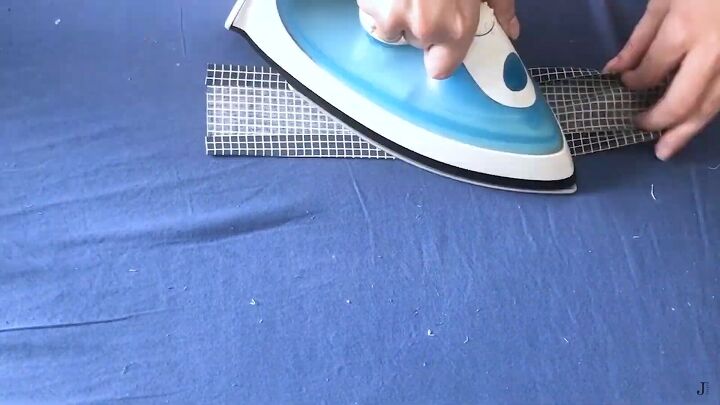
Cut out a long piece of fabric, preferably the same length as the waist area of the skirt. Fold the raw edges inward and press.
Attach one side of the strip to the skirt, and double-fold the upper edge to create a neat waistband.
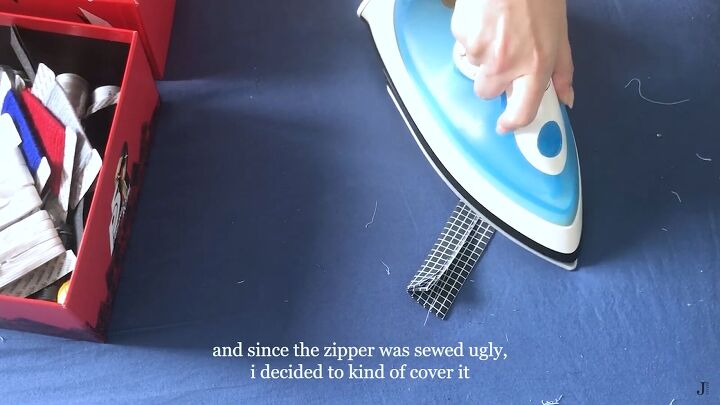
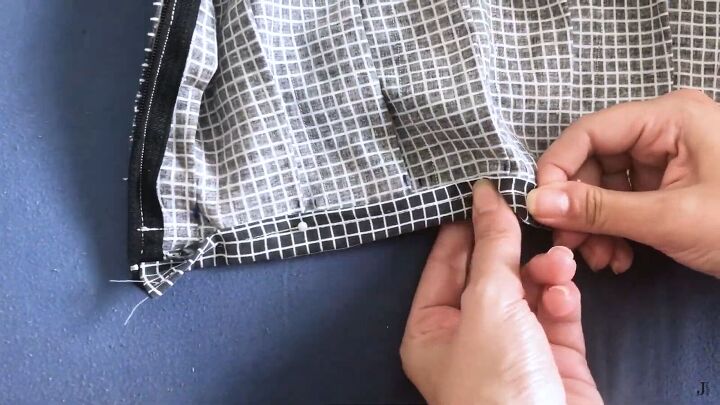
7. Cover the zipper (optional)
I didn’t like the way the zipper was sewn on, so I decided to cover it with a piece of fabric. Simply, cut a rectangle that’s the same length as the zipper, fold the edges, and press. Then, fold the rectangle in half and press.
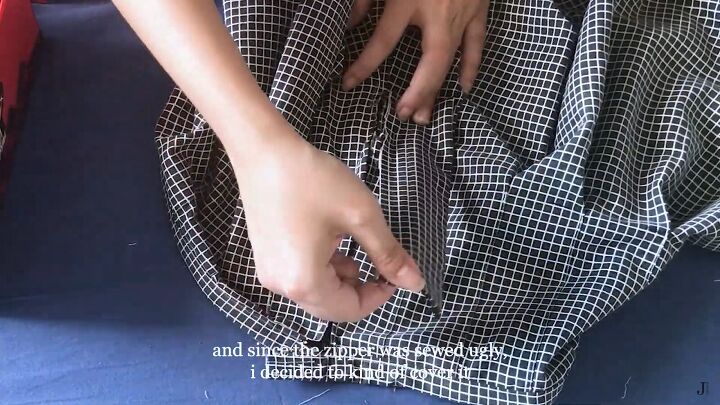
Pin the rectangle on the edge of one of the zippers and pin. Then, pin the top too. What you’re doing is creating a cute little flap for the zipper area, so it's hidden.

This is how it should look.
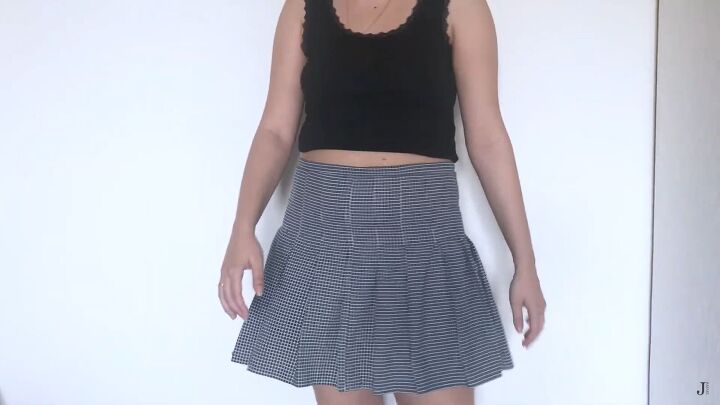
How to make a pleated skirt tutorial
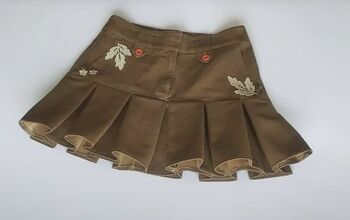
How gorgeous is this DIY pleated tennis skirt? I love how it sits around my waist and flares out just a tiny bit thanks to the symmetrical pleats.
The process is easy, and once you get the hang of how to make a pleated skirt, you can go wild and make a couple in different shapes and sizes. I hope you enjoyed this tutorial on mastering pleats! Thanks for joining me.
The author may collect a small share of sales from the links on this page.


Comments
Join the conversation