How to Make Vanilla Latte Whipped Body Butter for Glowing Skin

This post may contain affiliate links and we will earn a small commission if you make a purchase through these links.
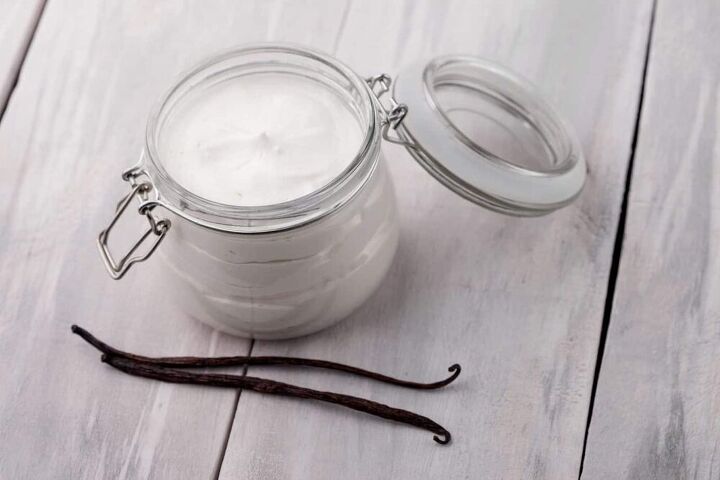
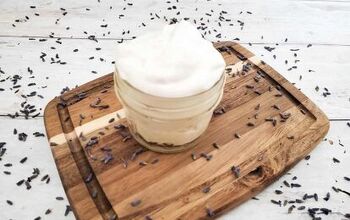
The most amazing, soft, and nourishing DIY whipped body butter recipe that smells like a vanilla latte and leaves your skin glowing. This recipe has no coconut oil or beeswax and is vegan.
What smells like a deliciously warm and sweet drink but leaves your skin hydrated and glowing??
Vanilla Latte whipped body butter! Oh, my, this recipe is SUCH a treat!
This homemade whipped body butter recipe was created by my friend Aimee at Luv Lola and it is TO DIE FOR. I know you’re going to love it as much as I do.
I adore that this is made without coconut oil OR beeswax, making it a perfect vegan body butter and great for anyone looking to avoid coconut.
That it smells like a delicious vanilla latte and is scented with pure essential oils is a double win!
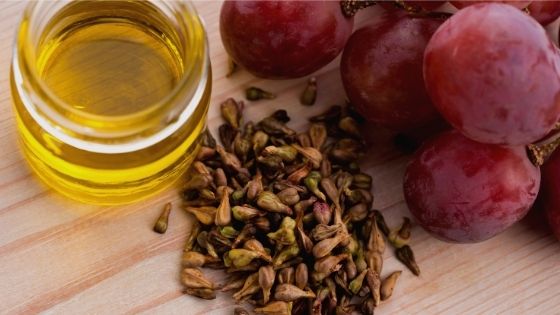
(Coconut oil isn’t my favorite for some DIY skincare, I like that Aimee uses grapeseed oil in this recipe!)
FREQUENTLY ASKED QUESTIONS
WILL MY WHIPPED BODY BUTTER MELT?
Depending on the temperature of where you live or where you store it, your body butter could lose volume and a cooler climate it could stiffen up. So here are some problem solving pointers if you happen to need them.
Once you have completed the recipe let your body butter rest 12 – 24 hours at room temperature and check the consistency. If your body butter has become runny, pop it in the fridge for 30 minutes, whip again then store it in a cool place (possibly the fridge) and out of direct sunlight.
If your body butter is not soft and fluffy add 5 g of grapeseed oil and whip again.
HOW LONG WILL MY BODY BUTTER LAST?
This whipped body butter will keep its freshness for about 24 months provided it is stored in a cool place out of direct sunlight. Body butters have a long shelf life due to the absence of water, there is no need to add a preservative to extend its life.
WHAT IS THE BEST LOTION FOR DRY SKIN?
For dry skin, skip the lotion and go with body butter!
Body butters are heavier and creamier than lotions, making them ideal for people with dry skin, dry patches of skin, rough elbow and heels, dry hands, and those who live in cold and dry climates.
This body butter can also be used as an overnight hand and foot treatment mask! Just lather your hands and feet and cover them with cloth spa gloves and booties to keep in the moisture.
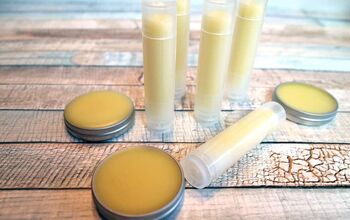
You might also like my DIY solid lotion bars – they are nourishing and amazing for dry skin.
WHAT IS THE BEST FRAGRANCE FOR BODY BUTTER?
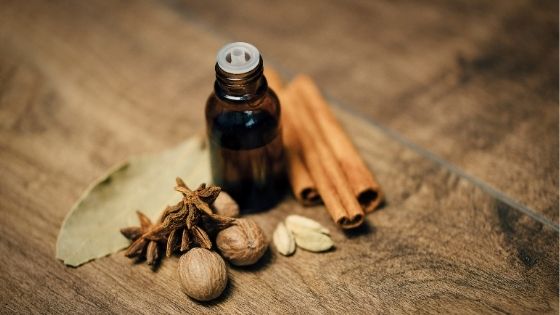
Essential oils are not the same as fragrance oils. For best results make sure that you are using pure essential oils in this recipe. The use of artificial fragrance could possibly cause skin irritation and/or other health concerns.
Vanilla essential oil is widely used in perfumes. Its sweet fragrance promotes feelings of comfort, relaxation, and bliss. There are also therapeutic benefits such as regulating menstrual cycles or soothing symptoms of anxiety and depression.
Adding vanilla essential oil also provides anti-bacterial properties which reduce breakouts and skin irritation due to bacterial growth.
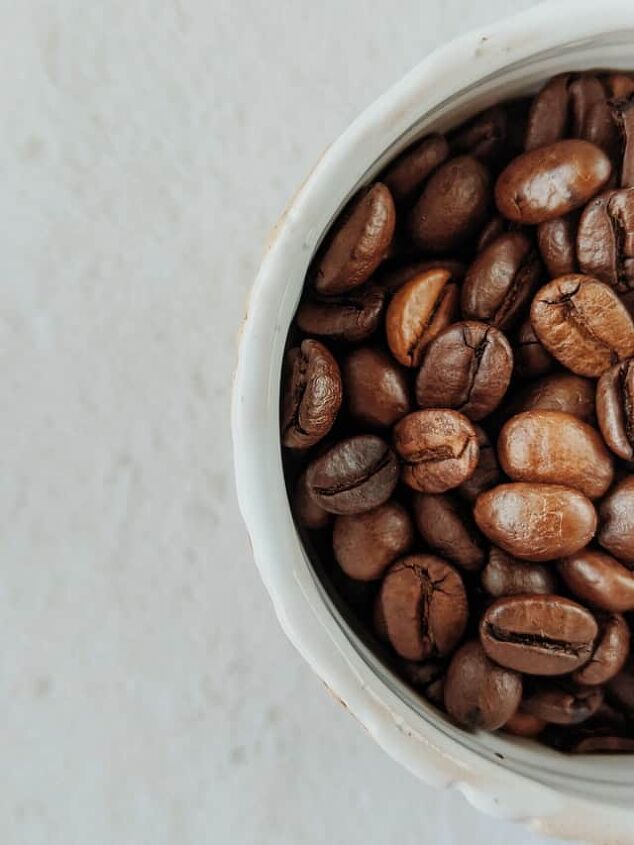
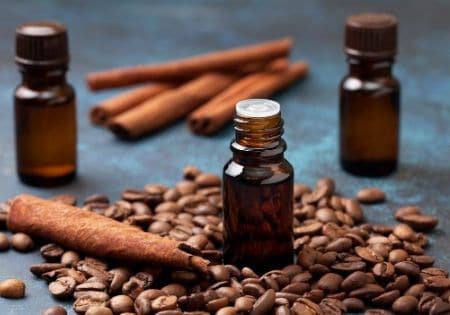
IS COFFEE GOOD FOR YOUR SKIN?
Coffee essential oil can tighten the skin and reduces the appearance of fine lines and cellulite. These benefits are derived from the high levels of antioxidants and caffeine from coffee beans.
Applying coffee essential oil to your skin in this body butter and massaging into problem areas will improve the appearance and tone of your skin.
Pair this whipped body butter recipe with a homemade coffee sugar scrub for a perfect coffee lover’s self-care ritual.
STEP BY STEP DIRECTIONS FOR HOMEMADE BODY BUTTER:
Step #1
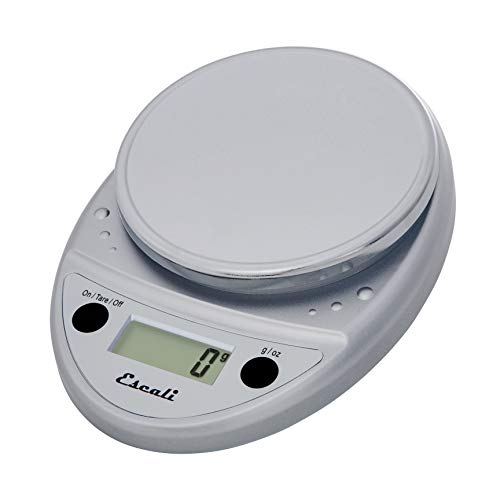
First, using your digital scale and a small glass bowl, measure out your shea butter, cocoa butter, and grapeseed oil.
Note: The butters tend to be solid at room temperature, you may need to cut it up a bit with a pairing knife to get it out of its container.
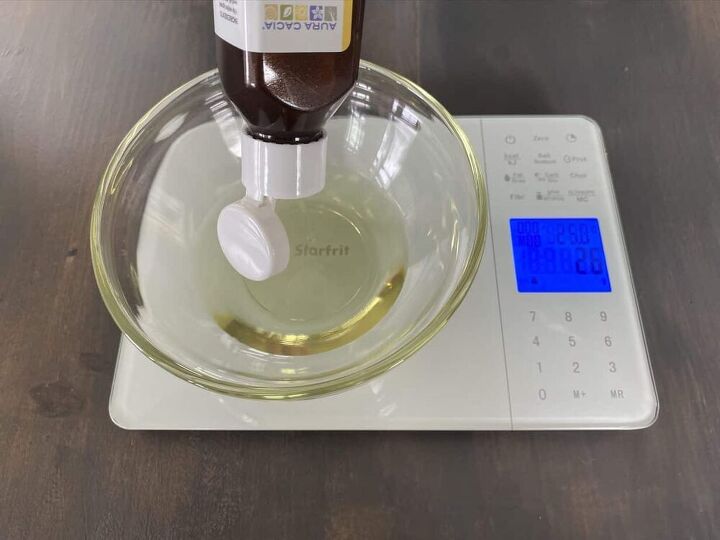
Step #2
Placing the shea butter aside for late, pour cocoa butter and grapeseed oil into a glass bowl. Rest the bowl on top of a saucepan filled with water and turn the heat to medium to melt the cocoa butter.
As it begins to melt, use a small spoon to stir the ingredients together. Continue to melt and stir cocoa butter until the mixture is completely incorporated.
Step #3
Allow the mixture of cocoa butter and grapeseed oil to cool down to room temperature.
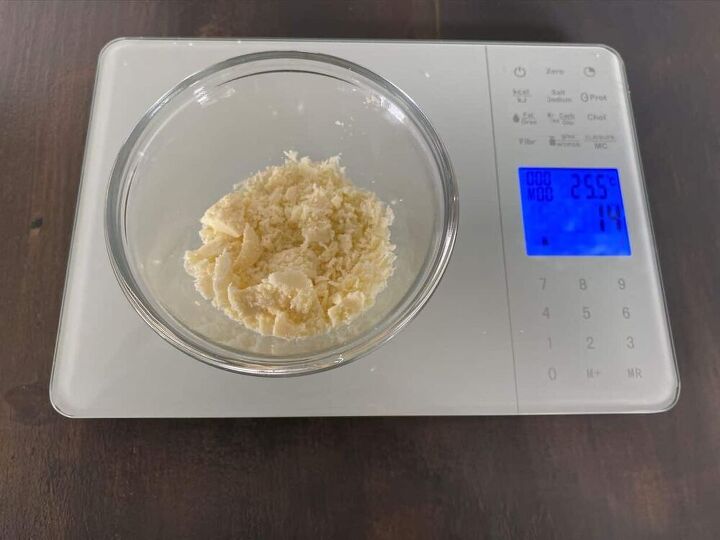
Step #4
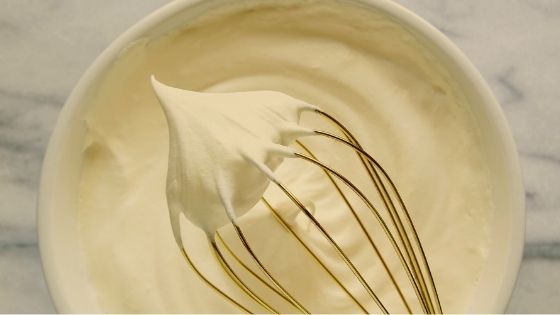
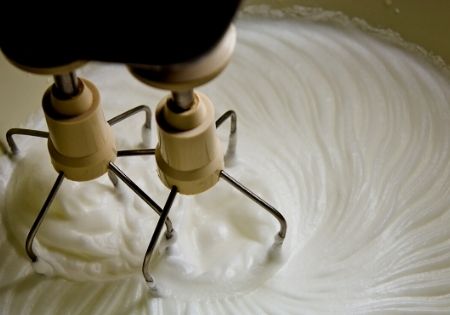
Using a stand mixer or a hand mixer, whip your shea butter at room temperature for about 5- 10 minutes until it’s smooth, white, and fluffy. This will remove the grainy texture that shea butter tends to have. You will know your shea butter is ready when you see that the texture is smooth and the color has changed from yellowish to white. It should also look fluffy like the consistency of vanilla icing.
Step #5
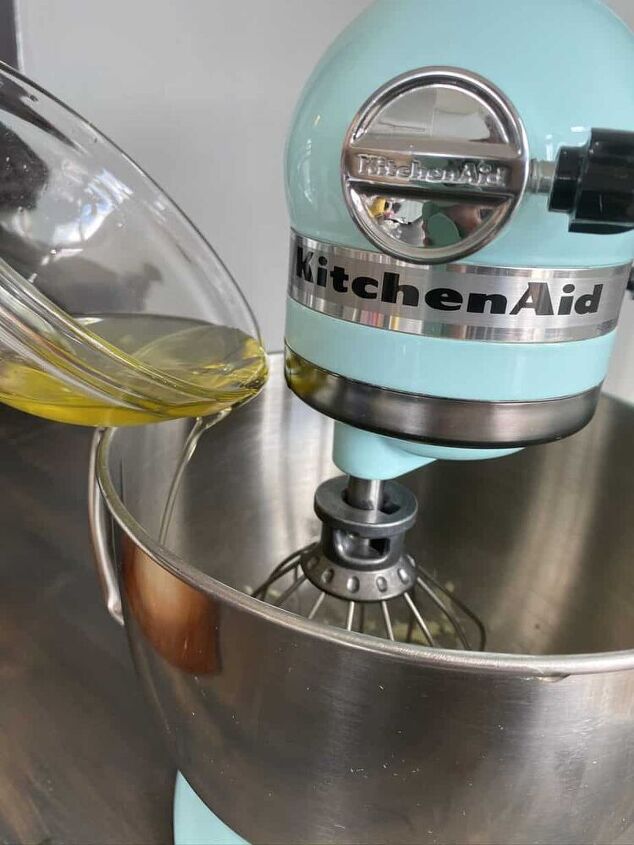
Then, slowly start adding cocoa butter and grapeseed oil mixture to the shea butter and continue whipping.
In this step the slower the better. If the liquid mixture is added too quickly, the consistency of your body butter will be too runny. If that happens, you can firm it up by placing your body butter in the fridge for 20 min. Once the consistency is corrected whip your body butter again until peaks form.
Step #6
Next, add cornstarch to your mixture and continue whipping until completely incorporated. You will need to stop your mixer and scrape the sides of the bowl with a rubber spatula often to get a smooth, even texture.
Step #7
Add both coffee and vanilla essential oils to mixture and whip again until oils are completely incorporated. If you prefer more scent in your body butter, feel free to add an extra 5 drops of each oil to your mixture (that would be 20 drops of each coffee and vanilla essential oils).
Step #8
Let your body butter rest for 30 min then whip it again for 5 minutes. If you’re not satisfied with the consistency, place your body butter in the fridge to cool, then whip it again. You will notice the body butter gets fluffier as it cools.

Step #9
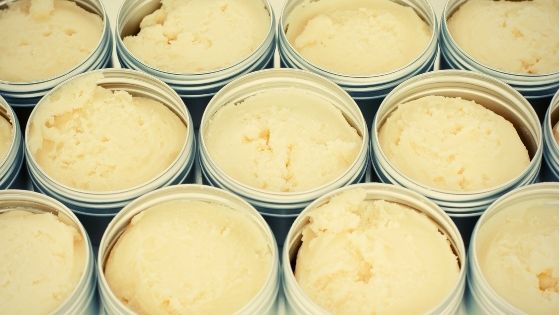
Cover your body butter with a wrap or transfer to an airtight container and let your body butter rest for 12 – 24 hours at room temperature. After the resting period is complete check the consistency of your body butter, it should be light and fluffy.
Step #10
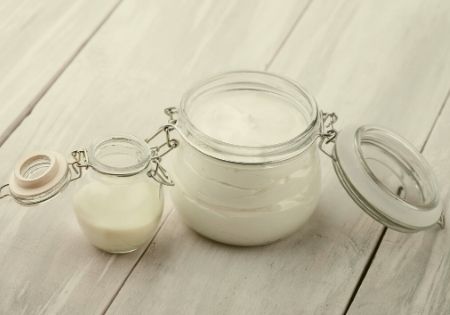
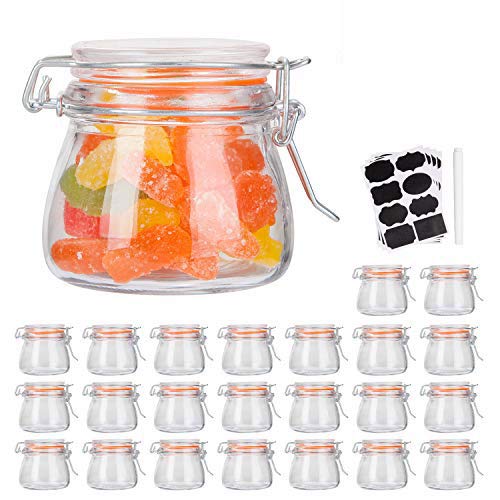
Lastly, when you’ve reached the desired consistency of your body butter, use a rubber spatula to transfer to an airtight glass jar for use and storage. You can add a label to your jar for a nice finishing touch.
Ingredients
- 1.7 oz shea butter (50 g)
- 1.2 oz grapeseed oil (35g)
- .5 oz cocoa butter (14g)
- ½ tsp cornstarch
- 15 drops coffee essential oil
- 15 drops vanilla
Instructions
- Measure your cocoa butter, shea butter, and grapeseed oil using your scale.
- Combine cocoa butter and grapeseed oil in a small glass bowl. Place bowl into a hot water bath. Stir until cocoa butter is melted and incorporated evenly with grapeseed oil.
- Allow cocoa butter and grapeseed oil mixture to cool down to room temperature.
- Using either a stand mixer or a hand mixer Whip shea butter at room temperature until it’s smooth, white and fluffy using either a stand mixer or a hand mixer.
- Slowly start adding cocoa butter and grapeseed oil mixture to shea butter and continue whipping until solid peaks form. If you are in a warm climate and the consistency is too runny place in the fridge for 20 min, then whip again until peaks form.
- Add cornstarch to mixture and continue whipping until completely incorporated. (You will need to scrape the sides of the bowl with a rubber spatula often.)
- Add both coffee and vanilla essential oils to mixture and whip again until oils are completely incorporated.
- Let body butter rest for 30 min then whip again. Again if you’re in a warm climate place in the fridge to cool then whip again.
- Let body butter rest for 12 – 24 hours at room temperature and check consistency, adjust recipe if needed. (see recipe pointers above)
- Transfer to an air tight glass jar for storage.
Recommended Products
As an Amazon Associate and member of other affiliate programs, I earn from qualifying purchases.

About the Author
Aimee is a licensed Aesthetician who graduated from Blanche Macdonald Centre in Vancouver, Canada, in 2002. Since then she has worked in the beauty industry specializing in skincare, which lead her to develop a passion for DIYs, essential oils, natural and organic beauty products, and non-toxic living. Her love of all things related to beauty has led to the development of her own beauty blog Luv Lola.


The author may collect a small share of sales from the links on this page.


Comments
Join the conversation