How to Refresh Curls Between Washes Without Frizz

If you’re looking for a super-easy and quick way to refresh your curls, then follow along with this tutorial. It only takes about 5 minutes and will leave your curls looking as fresh as they did on day one of styling. Ready to learn how to refresh your curls between washes? Then let’s start!
Tools and materials:
- Hair scrunchie
- Mister bottle
- Water
- Styling gel
- Leave-in conditioner (optional)
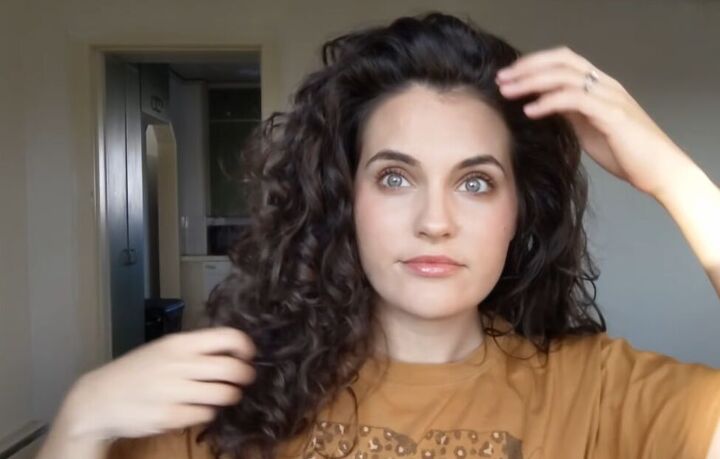
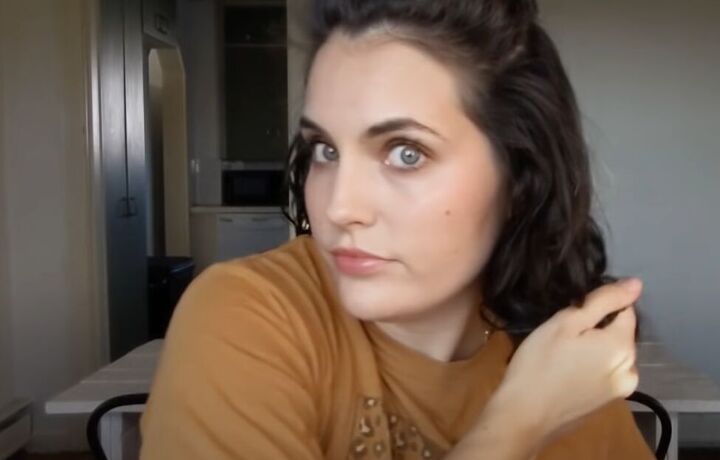
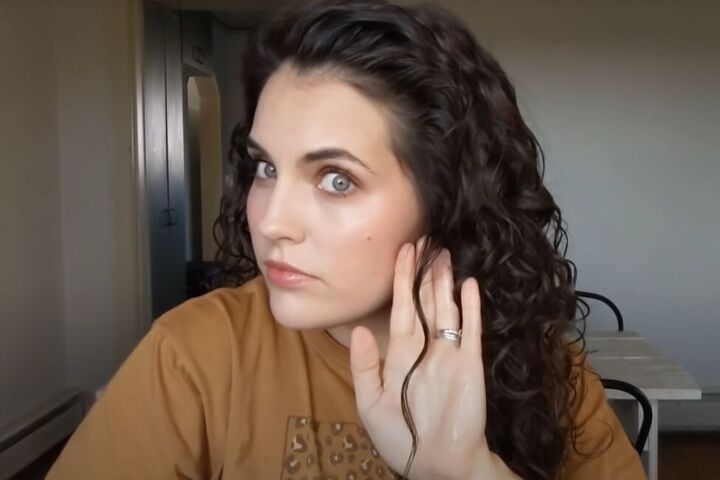
1. Mist your hair
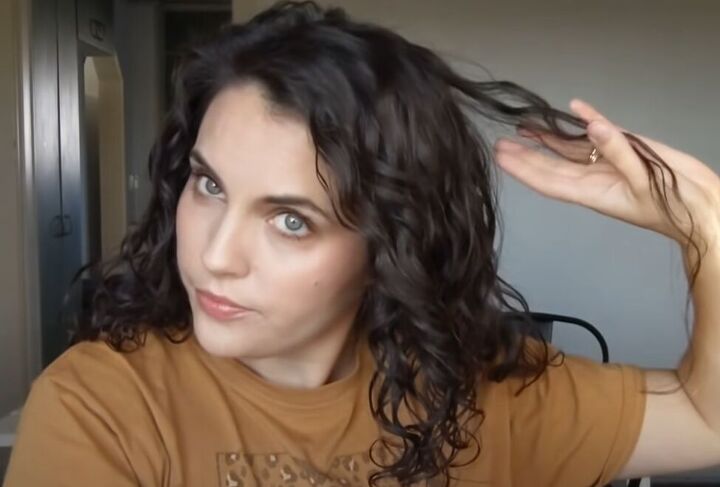
My day 2 curls don’t look terrible, but they could definitely benefit from a refresh.
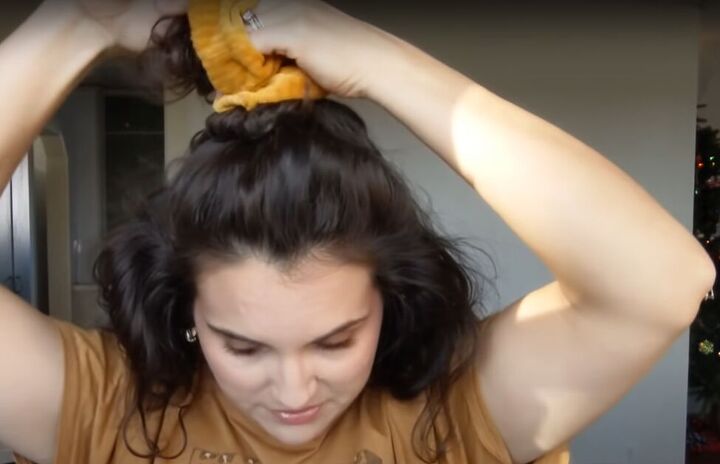
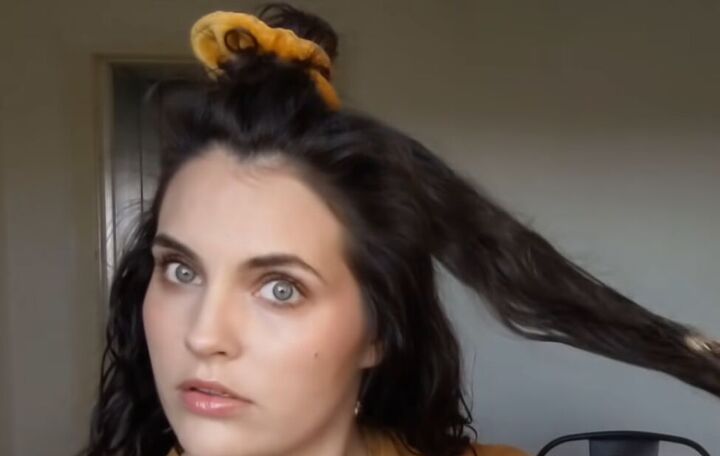
Use a scrunchie to make a high ponytail with the top section of your hair.
Now split the rest of your hair into two sections.
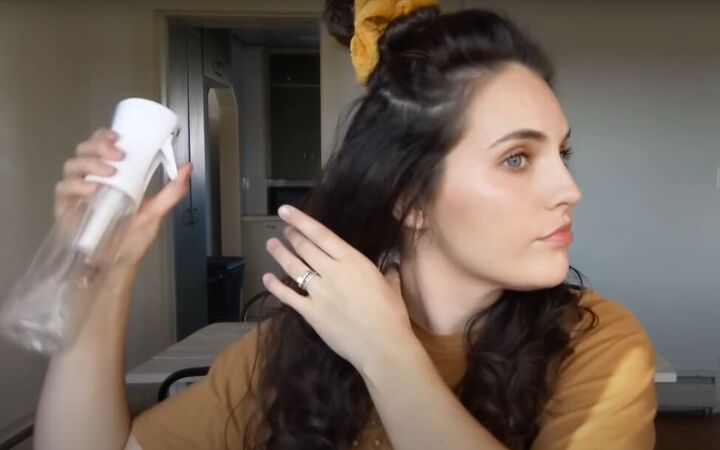
Use a heavy-spray mister to dampen both sides of your hair, without fully saturating your hair.
2. Gel your hair
Rub a dime-sized portion of your regular styling gel between the palm of your hands, and gently smooth it into both sections of your hair.
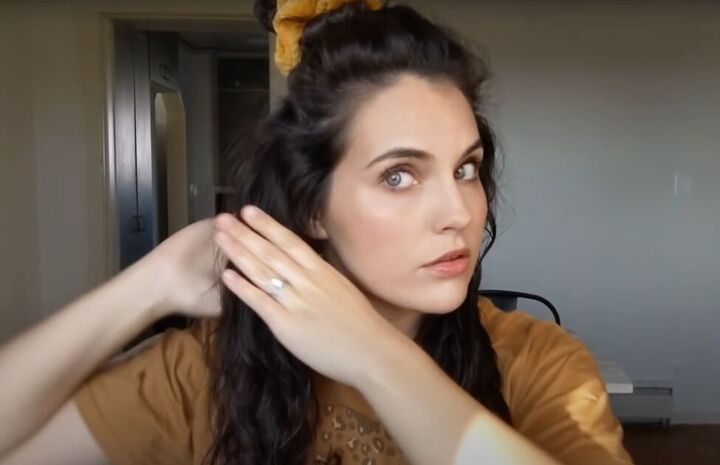
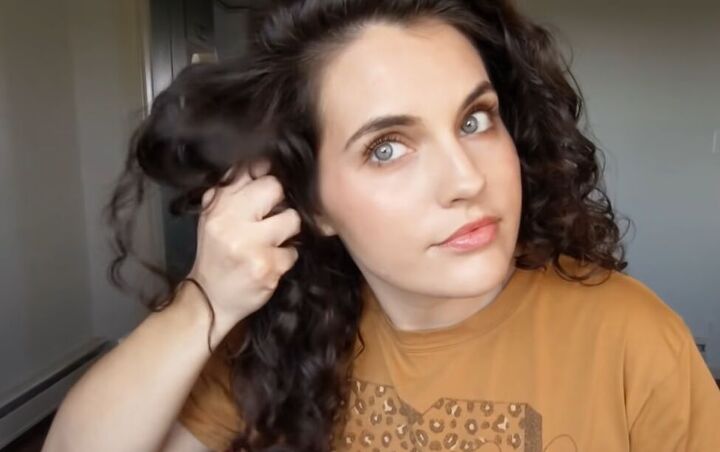
3. Scrunch your hair
Once the gel is evenly distributed into your hair, begin bringing sections of hair up from the bottom in the palm of your and scrunching those sections.
Put the side section of your hair to the back and let down about one-third of your top section. Repeat misting, gelling and scrunching as you did for the side sections. Because you are now working with a much smaller section than before, just use a pea-sized portion of gel.
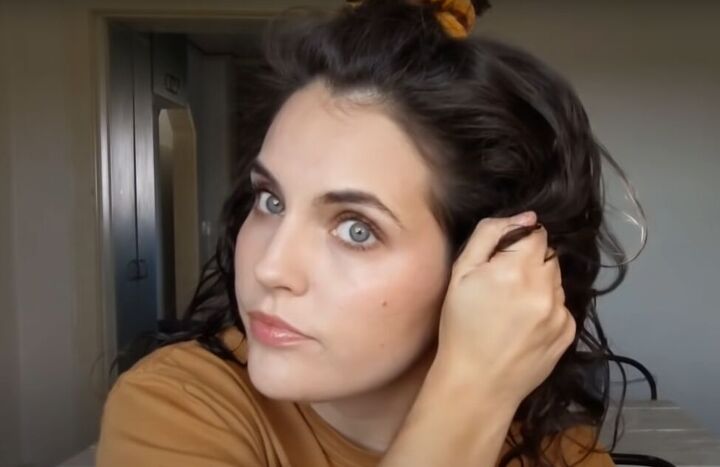
To keep the volume in the top of your hair, when you pulse these sections, keep your hair away from your scalp, and gently pulse your fist in the scrunches when you get near your scalp.
Repeat with the next third of your top section and then the last third.
When you are working on the last front section, keep it in front of your head to make extra sure you are holding it away from your scalp
Tip: if your hair is feeling very dry, apply some leave-in conditioner the same way you apply the gel, before applying the gel.
4. Touch up as necessary
Now you can look for any small sections that still need a little curl refreshing and repeat the mist, gel and scrunch routine as you did before.
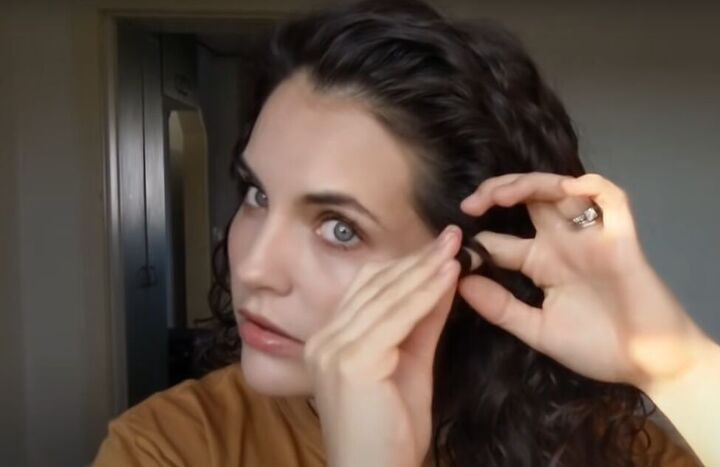
Apply a little extra product to the roots at the top of your head to keep that area from getting frizzy.
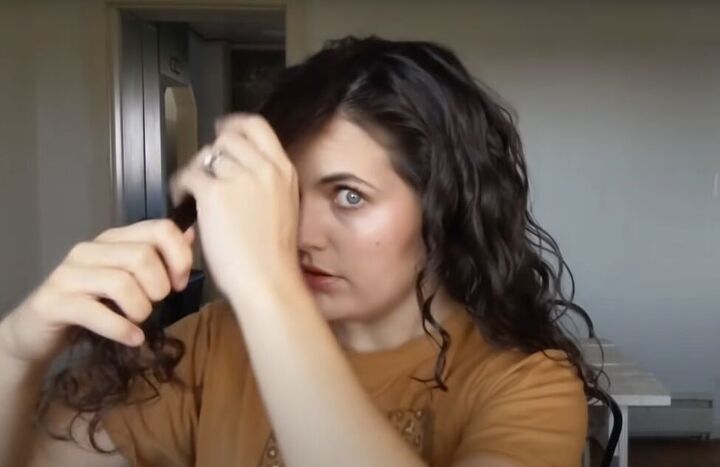
If you find some stubborn strands that are still not refreshed, mist them and wrap them around your finger in the direction they naturally want to curl.
Then pull the curl off your finger, give it a little squeeze, let it down and scrunch it back up as you did with previous sections.
5. Add volume to your curls
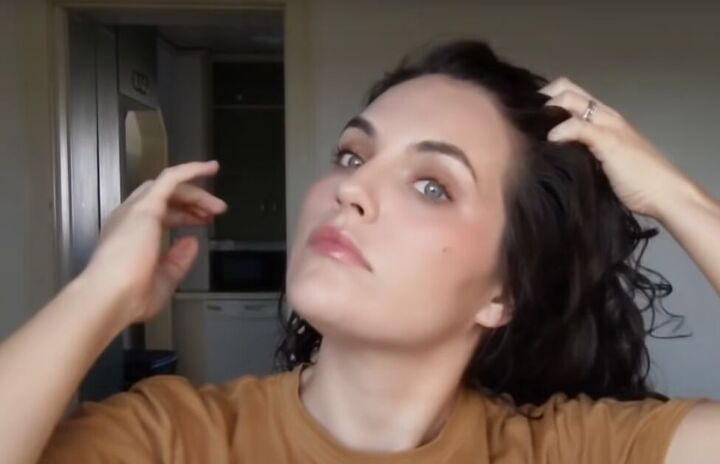
As your hair is drying, flip the part on your head from one side to the other every few minutes. This will help get more volume into your curls.
6. A final scrunch
Once your hair is fully dry, it might feel a bit crunchy from the gel. Just give it a final scrunch all around until that crunchiness is all gone.
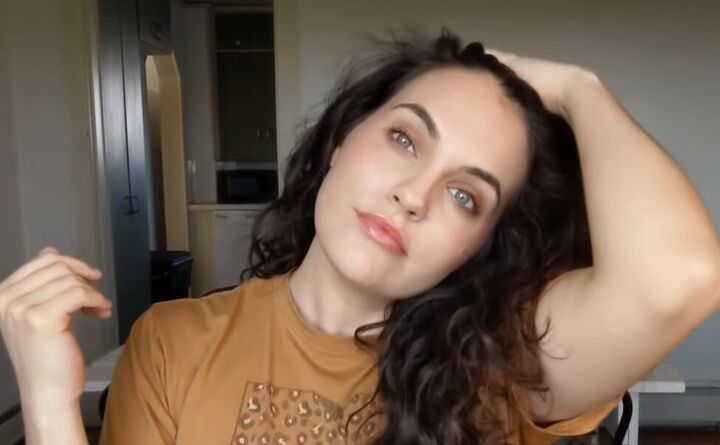
7. And a final fluff
For even more volume, finish by fluffing your roots.
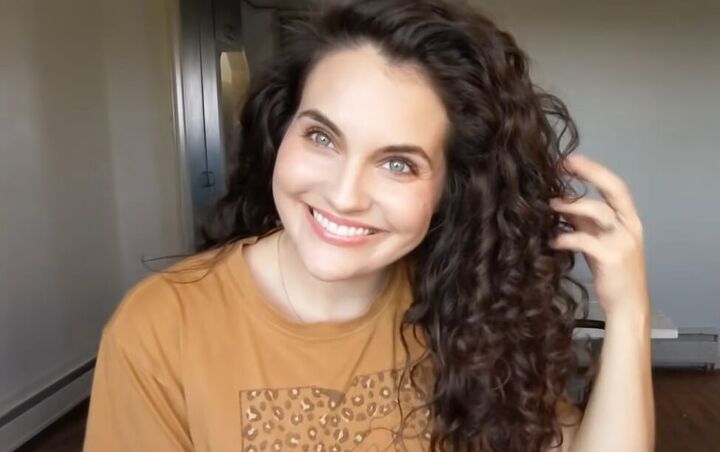
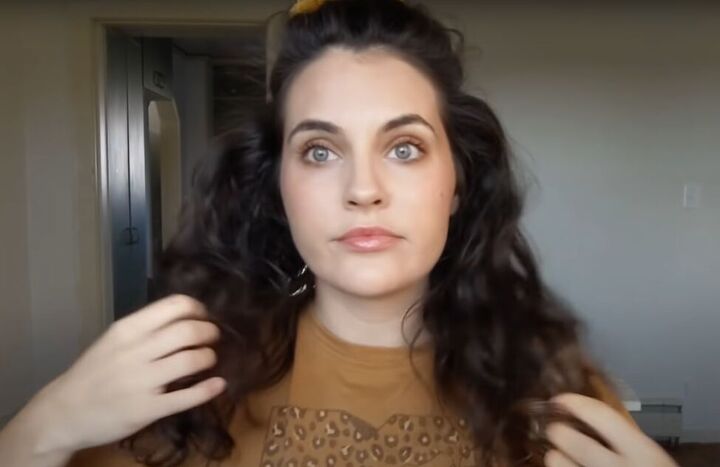
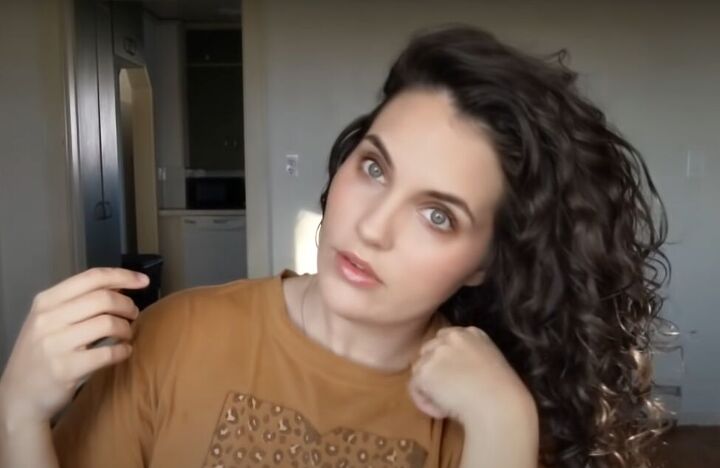
How to refresh curls
Now my curls are fully refreshed, super-soft and super-fluffy and the whole routine only took about 5 minutes.
I hope you give this DIY curl refresher a try and let me know how it worked for you by leaving a comment.
The author may collect a small share of sales from the links on this page.


Comments
Join the conversation
Thanks so much! 😍