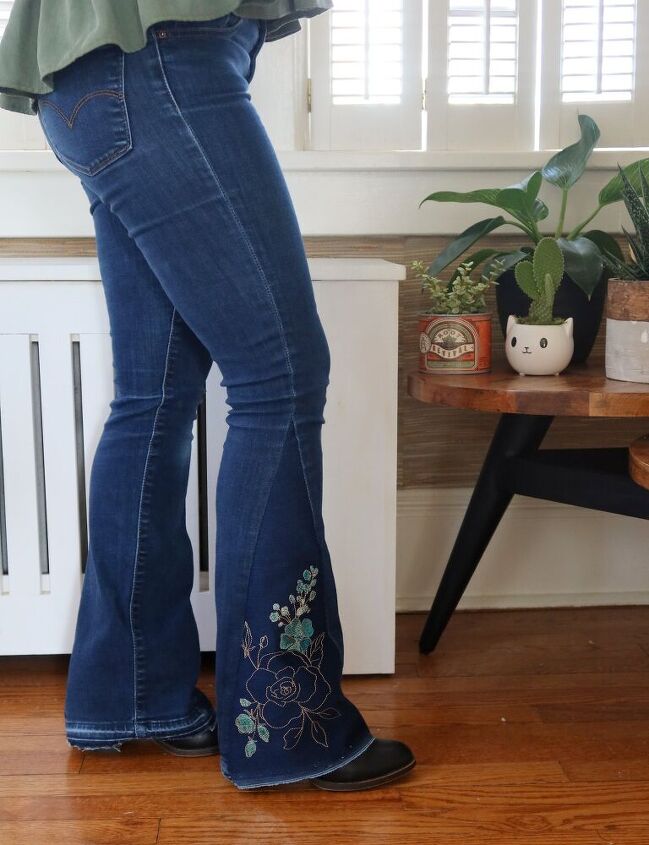
DIY Embroidered Flare Jeans
Jeans are my favorite wardrobe staple. I wear jeans almost every day, and just about all them are skinny jeans. But it has been a great year to try different styles, like all the wide leg cropped pieces I’ve been making ( here and here), and I have a whole box of secondhand jeans from ThredUp to create with!
ThredUp sent me a denim rescue box for another project, but since the box is 50 lbs of denim, I have a lot of jeans to work with! Rescue boxes are filled with unaccepted items for resale and unsold jeans from the site. In my box, there are a lot of jeans in great condition that are not my size and I plan on donating them. Since it is a rescue box, quite a few of the pairs are stretched out, or stained; completely unwearable in their current condition. I went through the box and there were a few pairs in my size, two that look and feel great! One is a pair of black skinny jeans, which I’ve been wanting for a while, and the other was this pair of Levis, which fit great except for the length! I was going to do a simple hem, but I thought this would be a fun moment to try something new.
Flare jeans came to mind and I started going down a little rabbit hole on pinterest. DIY flare jeans have been a popular tutorial for years with some of the most popular projects including adding a patterned fabric flare, or lace insert. While they look great, that isn’t the style I wanted for these jeans. I wanted a pair that looked a little more intentional, and I started seeing flare jeans made with denim inserts and embroidery, and really loved the idea. There are some beautiful pairs on Free People and Modcloth (sold out)!
I started looking at different embroidery designs and went through a few options. I wanted to do something like the inspiration pieces, with a full embroidered insert but couldn’t find the right florals, and decided to do something a little simpler.
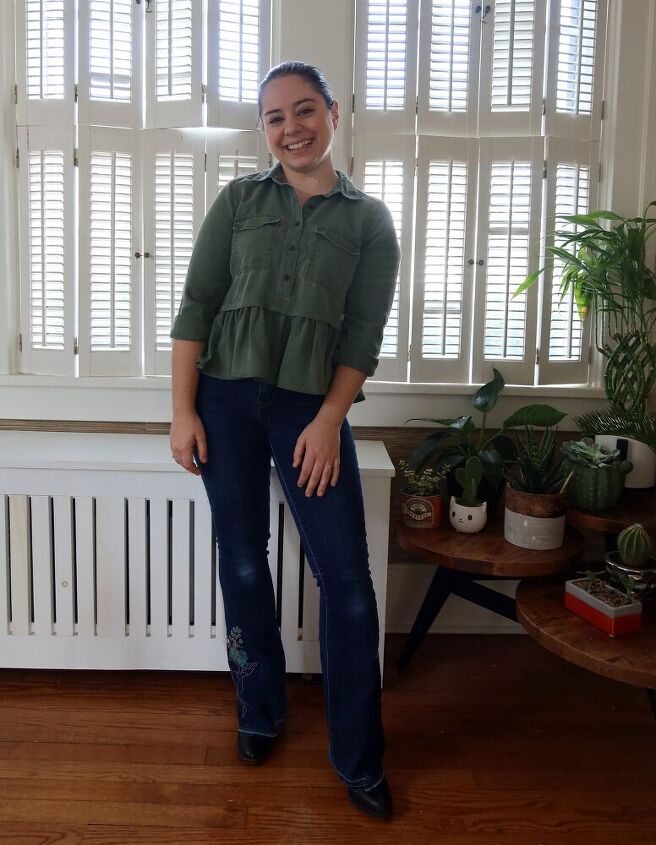
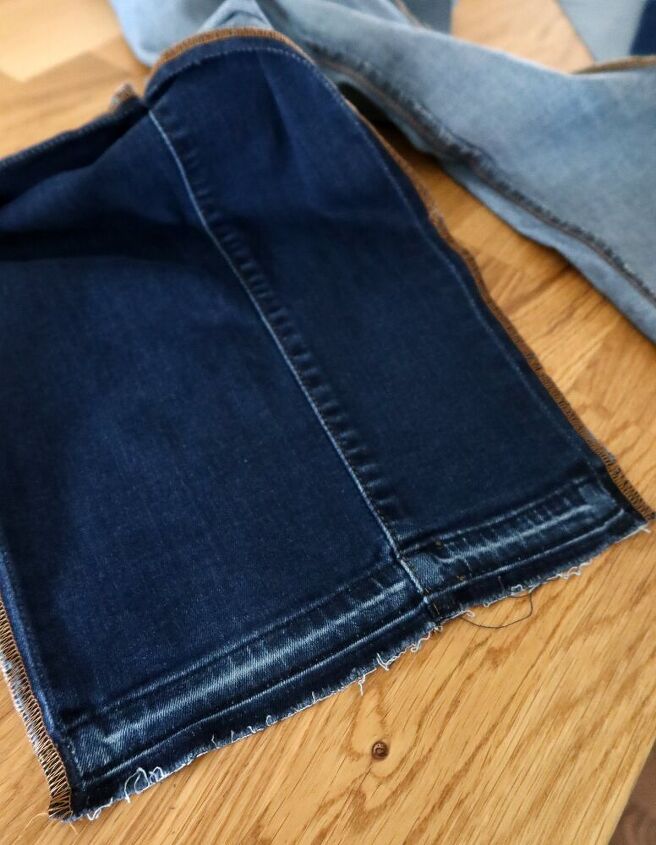
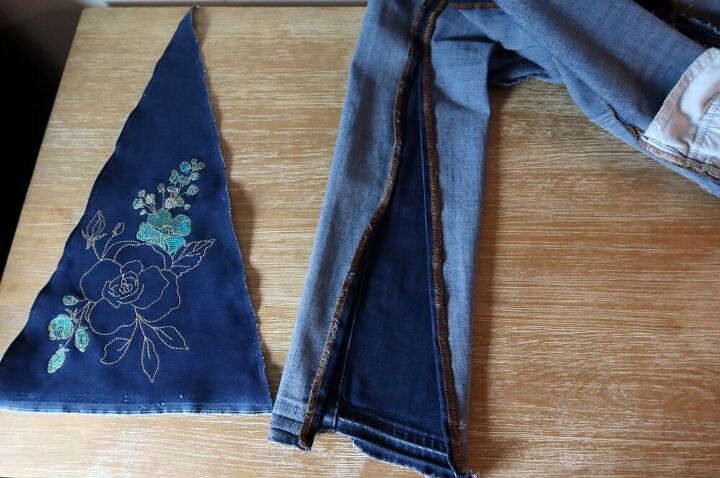
I found a piece of denim remnant in my stash ( from my very first pair of jeans!) that was a really close shade to my jeans. I also loved that this denim remnant had the raw edge, and while it doesn’t perfectly match the raw edge of my jeans, it still meshes well with the jeans.
Want to DIY your own pair? Here’s a quick step by step:
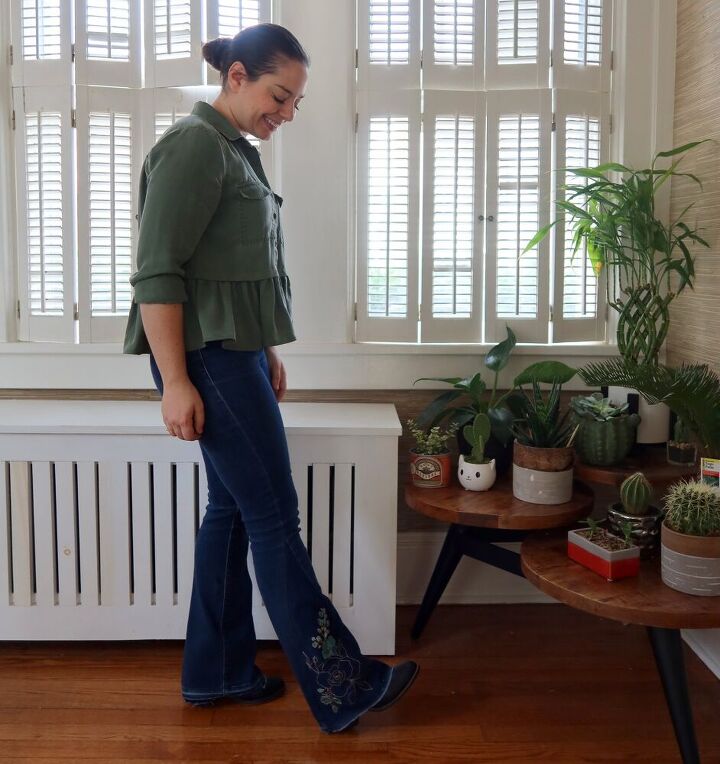
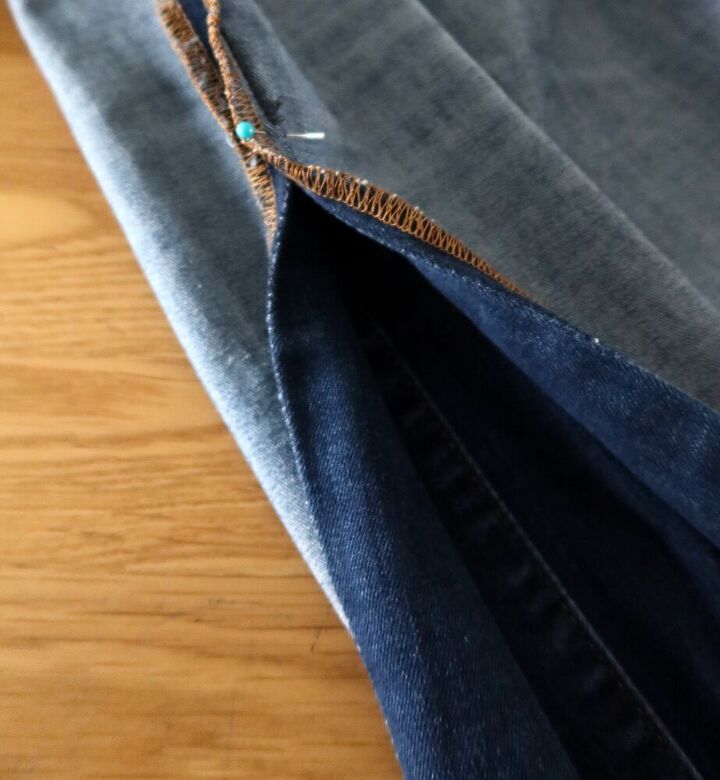
Mark the exterior jean side seam right under the knee. Seam rip the exterior seam up to this point, and reinforce the seam at the top so it doesn’t continue to unravel. I wanted my jeans to hit the floor when wearing heeled boots so I also let the hem down on my jeans (this is optional).
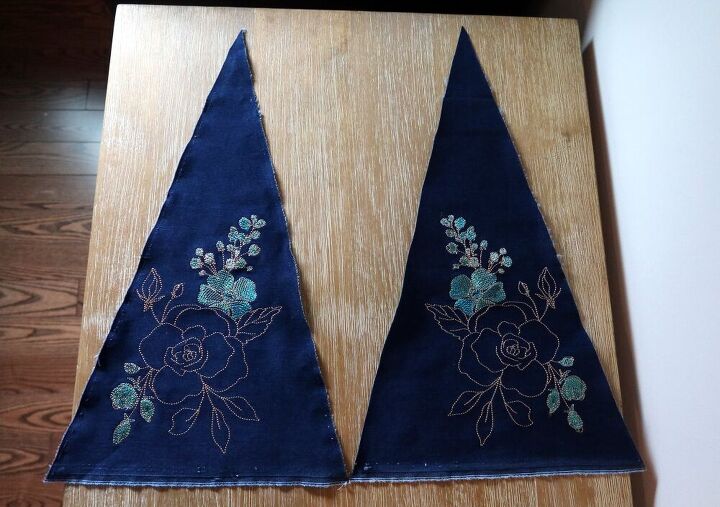
Cut a piece of fabric large enough for your embroidery hoop and trace the triangle for your insert before stitching. If you don’t want to add embroidery, you can cut inserts straight from your fabric. My insert measured 10.5″ x 18.5″ (the length of my insert + a little extra seam allowance)

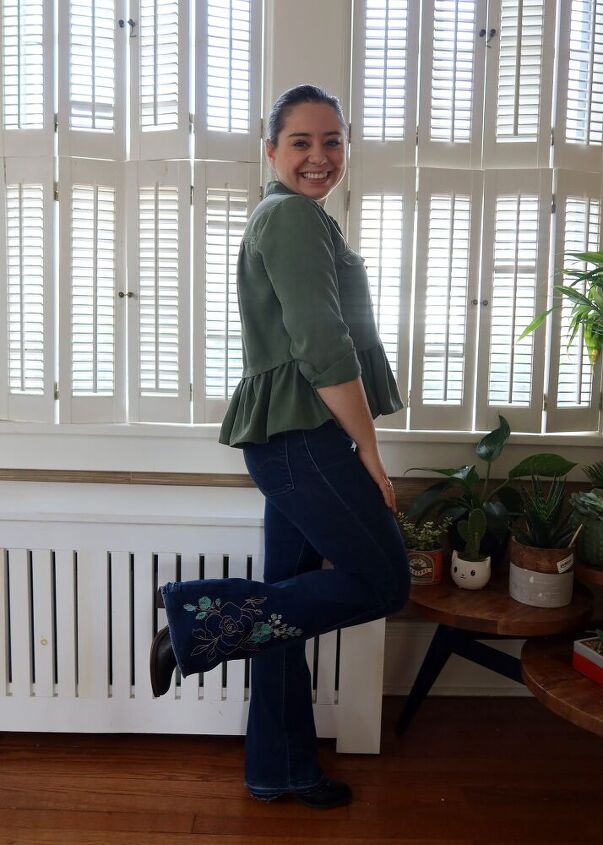
Add your embroidery! Cut the insert out, and trim away interfacing. Pin inserts wrong sides together to jean openings. I pinned onto the original jean seam. At the insert tops, stitch up to the reinforced seam. If you are leaving your edges raw, you are done!
I want to get the edges a little rougher, so I’m excited to let them fray over time.
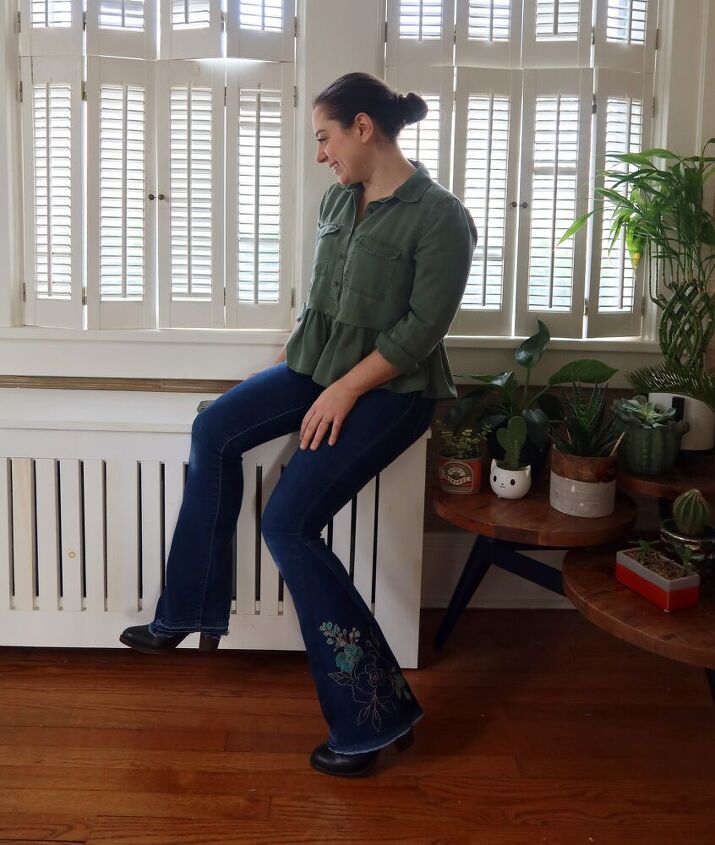
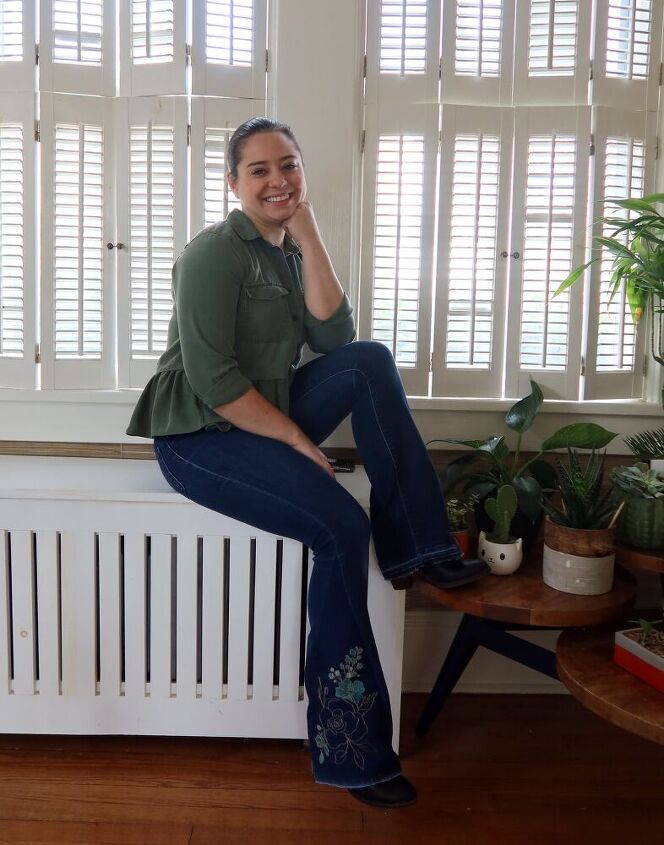
I really loved the fit of the jeans, and now love the added length so I can look a little taller than 4’10”! (Jeans photographed with one of my recent refashions!)
The author may collect a small share of sales from the links on this page.


Comments
Join the conversation