How to: Fray Denim Pants and Jacket

Fraying denim is a great way to give your outfits a little extra flair. Forget about throwing out old jeans, instead find a way to give them new life! Fraying is fun, easy, and best of all, free!
Tools and materials:
- Denim jeans
- Denim jacket
- Tailor's chalk
- Ruler
- Scissors
- Pins
Cut your pants
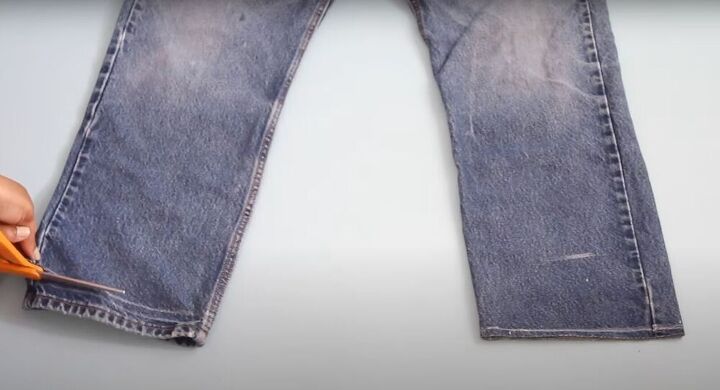
Use your tailor's chalk and ruler to find and mark the length where you want to cut the bottom of your pants. Then, use some scissors to cut along that line. Do this on both sides (for both pant legs).
Draw another line
An optional step would to then draw another line on your pants where you want the fraying to stop. This will give you a clean line at the end of the fraying. However, as I said, this is completely optional and has more to do with style than any practical function.
Fray your pants
Use your pins (or tweezers, or another pointy tool of your choice) and begin pulling out the white strands from the pants. This will fray your jeans and leave the bottoms looking loose and stringy.
Cut off the edges
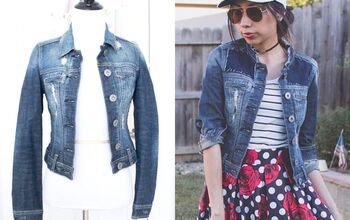
To fray, the bottom of your jean jacket, start by using some scissors to cut across the hemline of the jacket. This will give you a clean, straight line to start with. Repeat this step with the collar.
Fray your jacket
Repeat the same process as before and use your pointy tool to pull out the white strands in the denim. Do this for both prepared areas (the bottoms and the collar). You can then use your scissors and scrape them along the edges to give the jean a more distressed look.
Once you’re done, pop your denim into the dryer. This will puff up and lock the edges. This DIY frayed denim is so easy and a really great way to spice up any old (and unworn) pieces. You could also find some really great thrifted pieces and make them your own.
Enjoyed the project?
The author may collect a small share of sales from the links on this page.


Comments
Join the conversation
Love the frayed look!