2 DIY Jean Redesigns: Bling Rhinestone Trim & Cute Painted Daisies

Do you have an inner Dolly Parton who wants to wear denim and bling? Want to be the most fabulous when line dancing? If you’re looking how to upcycle jeans, this jean redesign tutorial is for you. I’ll show you how to apply fabric paint on jeans and add rhinestones so you sparkle with every move.
Let’s get started making jeans and bling attire so you shine every time you wear these DIY painted jeans.
Tools and materials:
- Jeans
- Tailor’s chalk
- Rhinestone chain or string
- Chain - thin
- Metal cutter
- Fray check
- Liquid stitch
- Scissors
Jean redesign with rhinestone trim
1. Cut the jeans
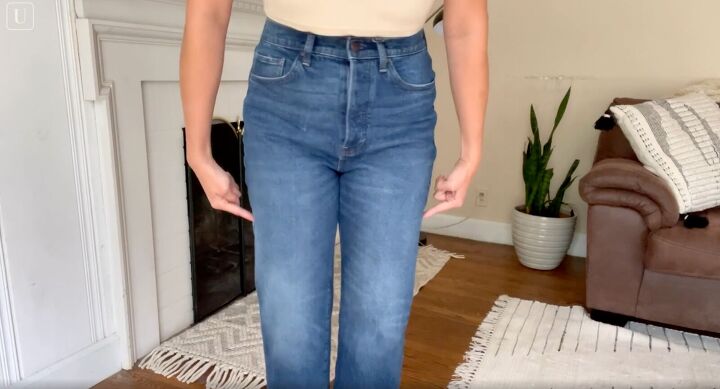
For this sexy rhinestone bootcut, put the jeans on and measure about halfway down your thigh. Mark with the tailor’s chalk making sure the marks match on both legs.
Cut alongside the seam on one side and then the other up to the mark. Cut the seam away. Repeat for the second leg.
2. Keep the fray away
Turn the jeans inside out.
Apply a liquid seam sealant like Fray Check glue along all the raw edges of the cut areas. This prevents the fabric from fraying.
Apply to both legs. Wait until the glue is perfectly dry.
3. Apply the glitz
Keep the jeans inside out. Starting at the top, lay the rhinestone chain across the cut area.
Use the metal cutter to trim to the size you want, leaving extra on both ends to glue in place.
Apply liquid stitch to both ends of the space and lay the rhinestone chain so the sparkle shows on the correct side. Make sure the glue is aligned so your chain lays correctly.
Repeat this technique until the leg is done. Do the other leg.
4. Pocket drama
Lay the thin chain from the pocket down to your desired length. Use the metal cutter to cut the length.
Repeat cutting several pieces; I cut about 20 pieces per pocket.
Lay the liquid stitch around the pocket edge.
Tuck a small amount of the chain into the pocket. Repeat for all the chains. Dab a bit of liquid stitch on your finger and rub along the inside on the pocket.
Use your metal cutter or another small metal tool to push and secure the metal chain to the pocket fabric.
Trim the chains with the metal cutter to your desired length. Allow the glue to dry completely before putting the jeans on.
Denim and bling!
Great fun jeans to channel your inner Dolly.
Jean redesign with painted daisies
These DIY painted jeans have a sweet nostalgia perfect for a fun night out.
- Jeans
- Ruler
- Tailor’s chalk
- Pins
- Scissors
- Fork
- Black fabric or paint marker
- Yellow, white, and black paint
- Paintbrush
- Masking tape
1. Fray the bottom
Put the jeans on and measure how much length you want to remove. Mark the spot with a pin.
Take off the jeans and use a ruler across both legs to make sure the length is equal. Mark with tailor’s chalk. Cut the jeans. Turn them inside out.
Use a fork at the raw edge of the jeans scraping along the bottom to distress the hem.
Once you’ve shredded the threads, trim them to an even length. Turn the jeans right side out.
Don’t they look great?
2. Flower power
Draw flowers with the black marker along the front of the jeans.
Use the white paint in the petals. Paint every flower.
Put yellow paint in the centers.
You can make clusters as I did with a small burst on the right-hand pocket. Let dry completely.
3. Paint the back pocket
Place masking tape all around the back pocket edges. Apply one color paint along the pocket. I used black for the contrast.
Once the paint is dry, remove the tape.
I love the way the fabric paint on jeans design came out.
The solid black on the back makes it look so expensive.
DIY jean redesigns
Please let me know in the comments if my jean redesign tutorial helped you change up your look.
How to fray jeans
Enjoyed the project?
Suggested materials:
- Jeans
- Tailor’s chalk
- Rhinestone chain or string
- Chain - thin
- Metal cutter
- Fray check
- Liquid stitch
- Scissors
The author may collect a small share of sales from the links on this page.


Comments
Join the conversation
Very adorable. Just like Dolly is!! 😊