DIY Colorful Alphabet Bracelet
Add a little extra personality and color to your wardrobe with these fun and fully customizable alphabet bracelets. Here is the full step-by-step video and picture tutorial to make these unique bracelets for yourself or for a special friend!
I love accessorizing, and I have really enjoyed seeing the bracelet stack trend become so popular this year. Recently I have seen the alphabet bracelets popping up on my Instagram feed and so in true DIY fashion I wanted to try to make them myself. Today I want to take you along for the journey.
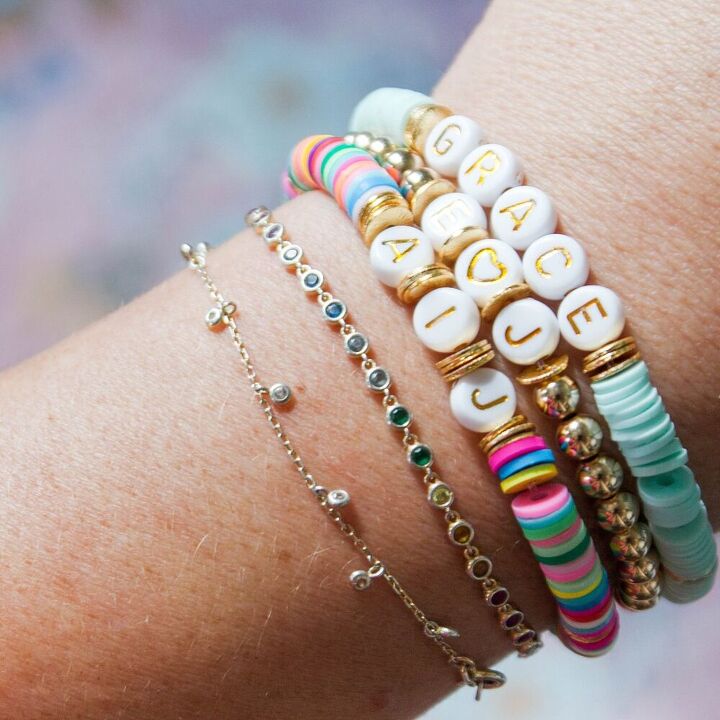
As you can see from the picture above I actually made three bracelets. The top bracelet signifies my new word for the year: Grace. I know we can all give ourselves more grace, especially at this time. For the second one, my husband and I share the same initials so I thought it would be cute to create a gold bracelet for us. And then today I will be showcasing how I made the colorful bottom one as a nod to my three young children, because they bring a lot of color into my life.
The beauty in this project is that it is truly customizable. You can use any bead size, any bead color, and any phrase that you want with your alphabet beads. This would also make the sweetest teacher gift, or for your fashion forward friend.
For your convenience, I created a step-by-step video so you can see how I put the bracelet together, and then secured it (after many trial and errors I finally found a method that works). Then continue below to follow the step-by-step images to make your own DIY Colorful Alphabet Bracelet.
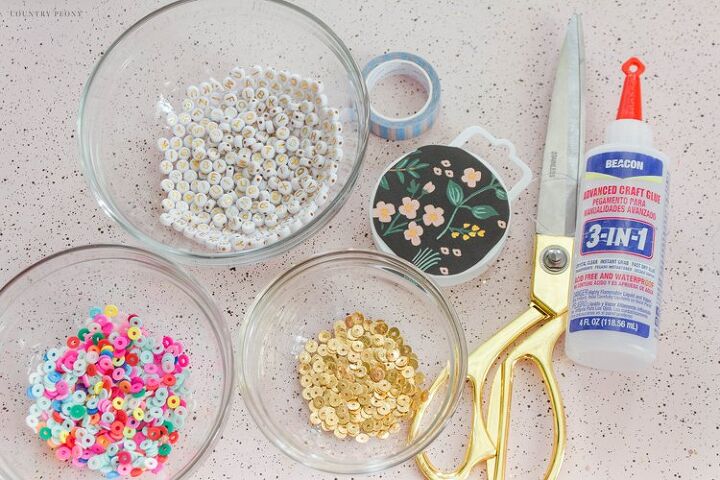
- Clear Stretch Bead Cord. I used a .8 mm bead cord for this project.
- Colorful Beads (affiliate link)
- Gold Beads (affiliate link)
- Alphabet Beads
- Craft Glue
- Scissors
- Paper Tape
Determine the length of your bracelet. Add a little extra cord to work with.
*It is always safer to have more bead cord to work with. You can always trim at the end.
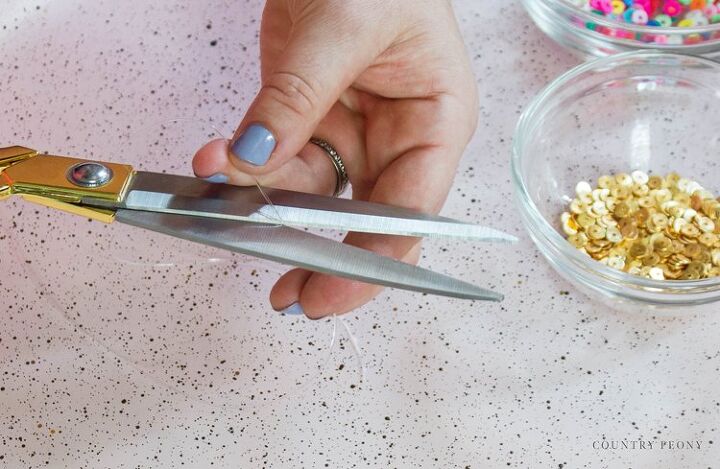
Cut the bead cord to size.
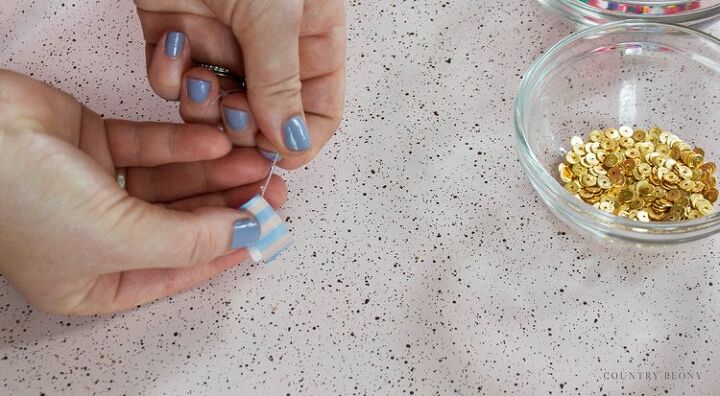
*This keeps the beads on the bead cord. I used paper tape so that it would be easy to remove at the end.
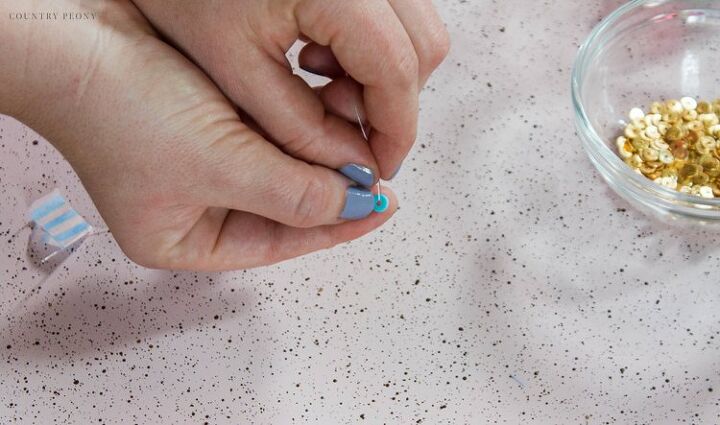
*I added 6 sets of 20 colorful beads. 3 sets on each side of the alphabet beads.
*Separate each set with a different bead to add texture and interest. I used the gold beads in between my colorful beads. These can also be called the spacer beads, but they act more as a feature than a filler in this scenario.

Once you have reached the middle of your bracelet add the alphabet beads. Make sure they are facing the correct direction when you put your bracelet on.
*It may be helpful to measure your wrist to ensure the alphabet beads hit the bracelet in the middle of the bead strand.
Separate each alphabet bead or saying with a spacer bead.
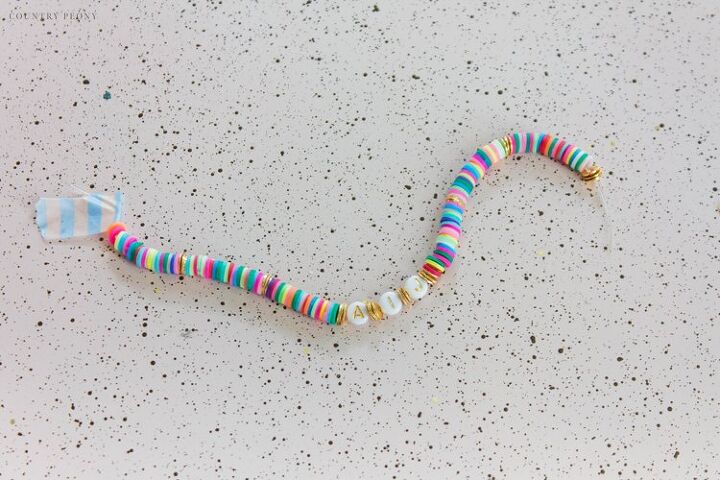
Continue to add colorful beads to the bead cord.
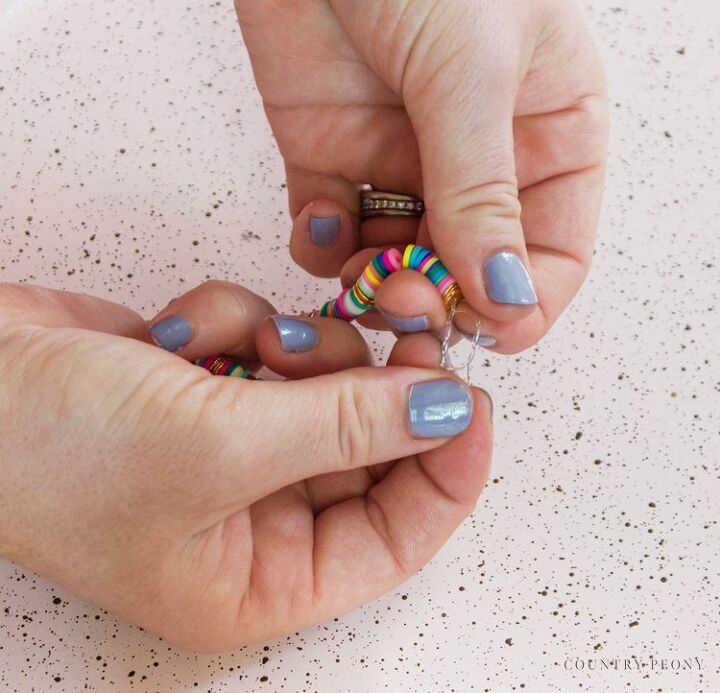
Once you have added all of your beads, remove the tape then secure the bracelet by wrapping the bead cord around 4 times one way, and then creating a knot at the top.
Pull the bead cord ends in all directions very tightly to ensure the knot is secure.
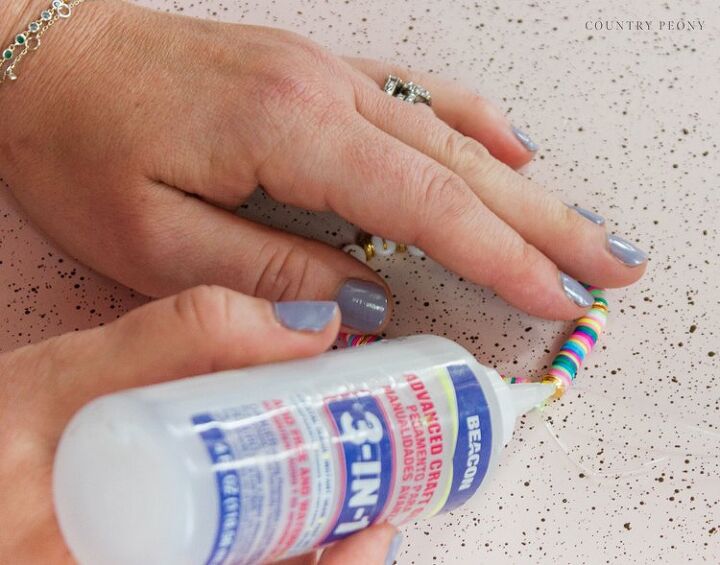
Apply glue to the knot to create a secure hold. Then let the bracelet dry.


I hope you enjoy making your own alphabet bracelet.
I believe crafting is more fun when we share our projects. Please email me at elizabeth@countrypeony.com, or please tag me @thecountrypeony to show me your beautiful, custom creations!
Thank you so much for following along!
The author may collect a small share of sales from the links on this page.


Comments
Join the conversation