How to Easily Make a Cute Scarf Necklace & Bracelet With Beads

I picked up a colorful gauzy scarf at my favorite thrift store, so in this tutorial, I’m going to show you how to make a scarf necklace with beads. Yes, that’s right, scarves don’t just have to be worn as scarves!
Here, we’re going to turn it into a matching necklace and bracelet. So grab all the materials you need for this DIY, and let’s begin!
Tools and materials:
- Scarf
- Scissors
- Sewing machine or needle and thread
- Safety pin
- Beads (pony beads and round wooden beads in two sizes)
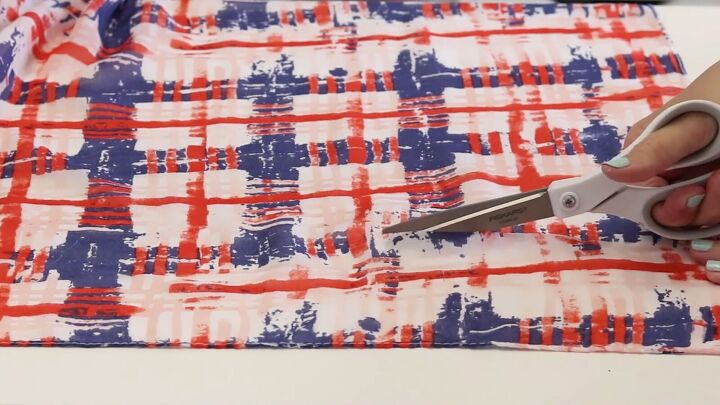
1. Cut the scarf
The first thing you’re going to do is cut a really long strip, about 3-4 inches wide, all the way across the scarf.
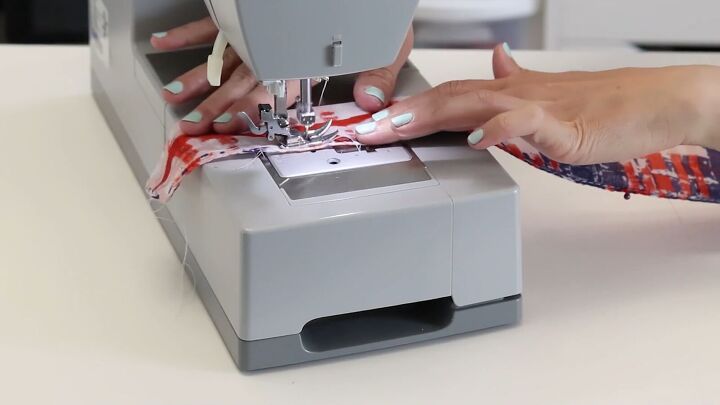
2. Sew the strip
Then, fold it in half with the right sides touching and just do a straight stitch all the way down the length of the scarf to turn it into a tube.

3. Turn the fabric right side out
Now you want to turn that tube right side out. The easiest way to do this is to grab a large safety pin and stick it through one side of the tube.
Close up that safety pin and push it back through the tube. It’s going to turn the whole thing right side out. Once done, remove the safety pin.
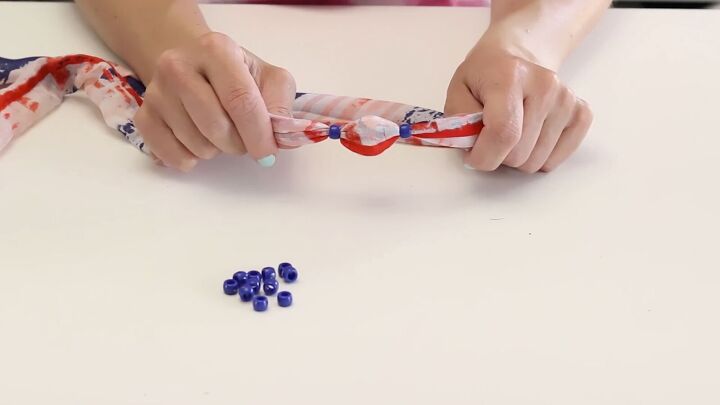
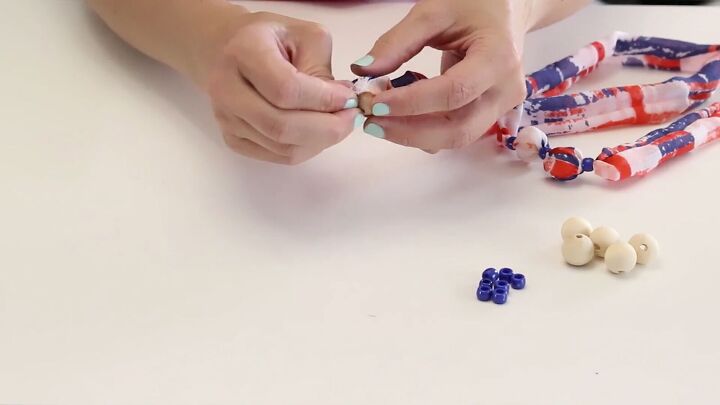
4. Add beads
The next step is to add some beads to the scarf. We’re going to use two kinds of beads: some small, blue, pony beads and larger, wooden, round beads.
To make the necklace look nice and coordinated, go for a color of pony beads that complements the color of the scarf. My fabric has hints of blue in it, so I went for blue pony beads.
To put the beads on the scarf, twist the end of the fabric until you create a thin point. Because this is a thin, gauzy fabric, it’s going to go through these holes pretty easily.
Start by inserting a pony bead on the outside of the scarf. Then, add the wooden beads inside of the tube. Continue this alternating pattern until you have as many beads as you want on the necklace.
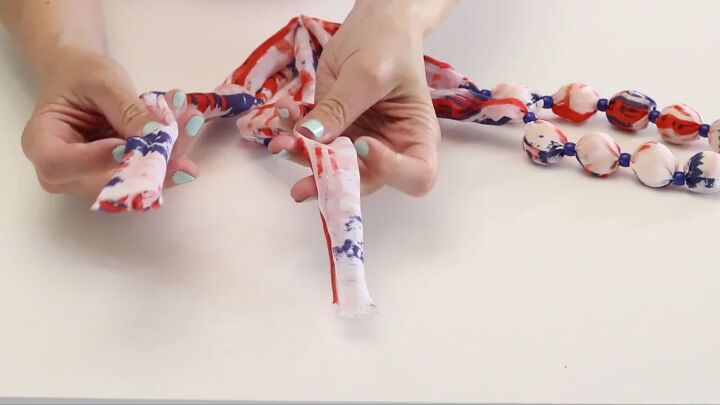
To finish this off, I like to leave the ends loose and just tie them in a bow. This way, I can adjust the size depending on what I’m wearing.
5. Make a matching bracelet
You can use the same technique to make a coordinating bracelet, but the wooden beads are a little smaller this time.
With the bracelet, I like to double it around my wrist, so I’m going to leave the ends a little bit longer and just tie them off into a square knot, and then I can double it on my wrist.
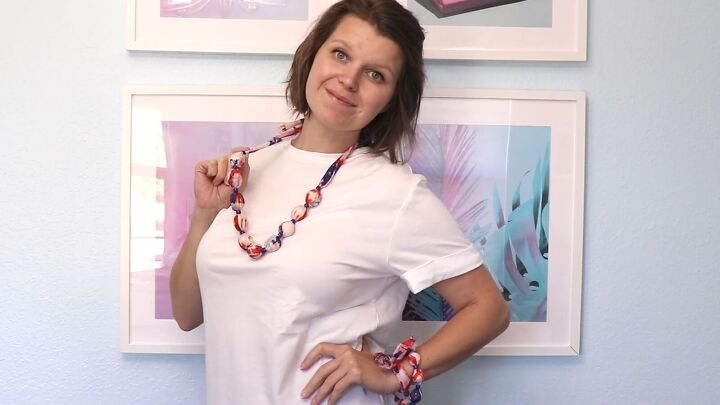
How to make a scarf necklace with beads
What started out as a thrifted scarf is now a colorful, fun matching set - a necklace and bracelet that will add some color to any outfit.
I love the alternation between the wooden beads inside the fabric and the pony beads on top of the fabric; it makes these pieces really interesting and different.
I hope this tutorial inspired you to make some beaded jewelry with a thrifted scarf. Give it a go for yourself!
The author may collect a small share of sales from the links on this page.


Comments
Join the conversation
I have many moles on my neck and can't wear metal necklaces, this scarf craft sounds like a winner.
Lizz
My mother and her sister made these years ago. They were beautiful….