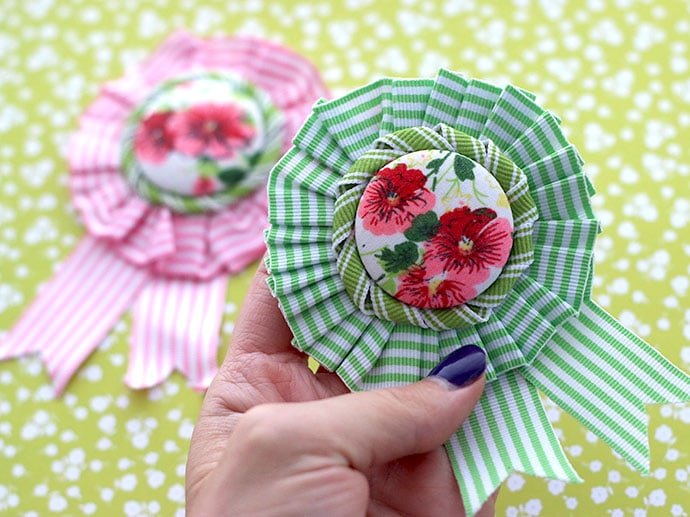
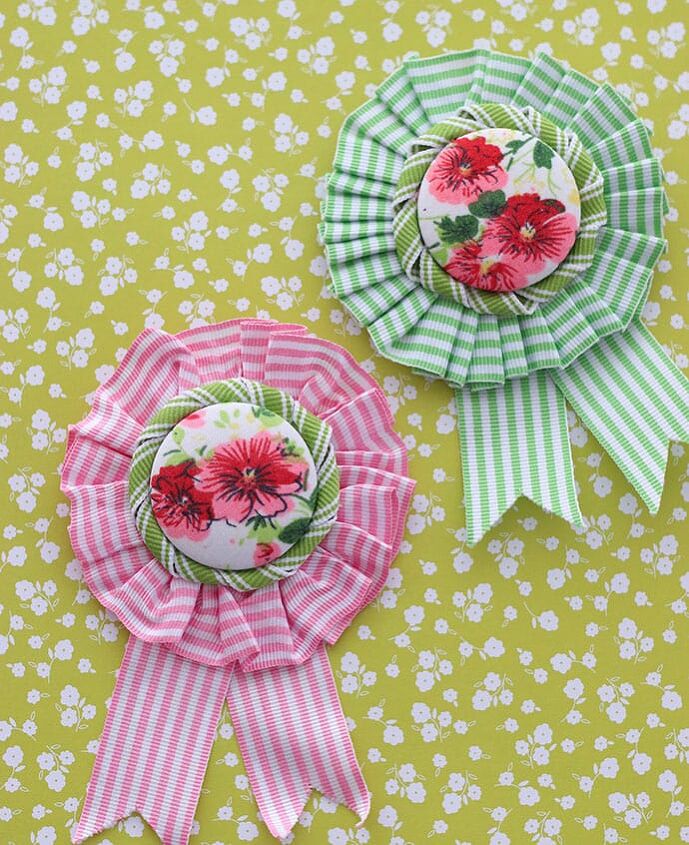
Ribbon Rosette Vintage Style Brooch
These Ribbon Rosette Brooches were inspired by both vintage prize ribbons that you may have won as a fair prize in the olden days, and vintage equestrian prize ribbons.
Make one to brighten up an outfit, or as a gift for a friend that is No.1 in your eyes. These are also a great project for using up those pretty floral fabric scraps and ribbons you’ve been holding onto forever.
Enjoy wearing your pretty Ribbon Rosette Brooches.

You will need:
Makes 2
- Striped ribbons, 1m each green and pink (2.5cm width), 50cm green ribbon (1cm width)
- 2x 38mm self covering buttons and kit
- Vintage hankie or floral fabric scraps
- White scrap fabric (optional)
- Felt (for backing ) 10cm x 20cm + scraps
- 2 x brooch backs
- needle and thread
- Clear quick dry craft glue
- Pressing cloth
- Pencil
How to make a Ribbon Rosette Brooch:
For each brooch:
Cover buttons with floral fabric or piece of hankie as per button kit instructions, if your fabric is a bit see through back it with a scrap of white fabric before assembling button. (If the back of the button is a bit hollow, pad it out with some felt scraps).
Use the circle template from the button kit to trace and cut a circle from felt.
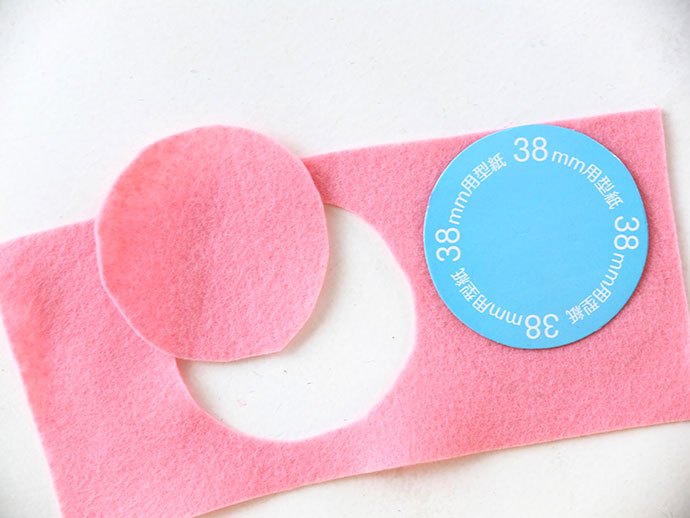
Place button in centre of felt and trace around as a guide for stitching ribbon on later.
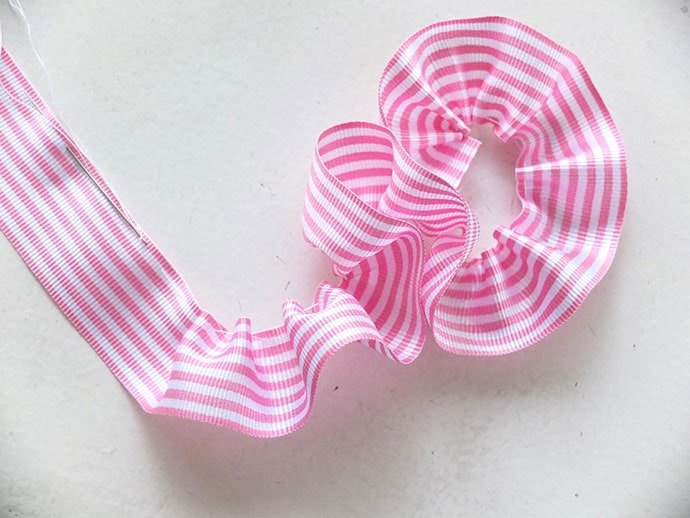
Cut about 70cm of wider ribbon and gather with a running stitch along the edge of ribbon.
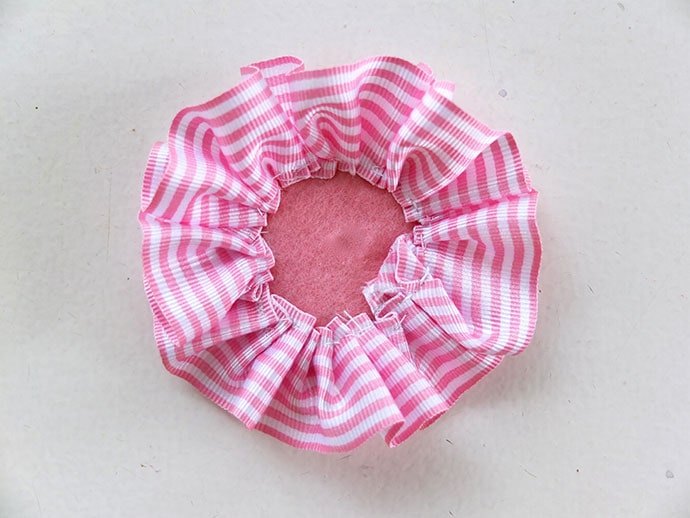
Stitch gathered ribbon onto felt using the marked button diameter as a guide.
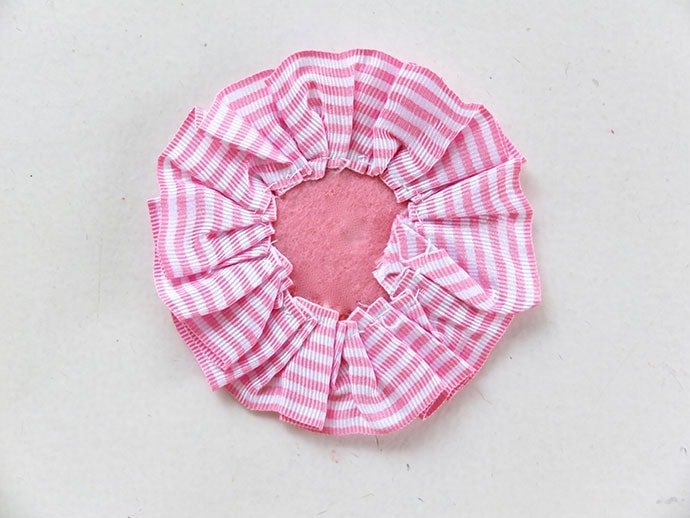
Press with a pressing cloth to flatten ribbon and give it a pleated effect. (A pressing cloth is important if you are using synthetic felt or ribbons otherwise you’ll end up with a melted mess on your iron.)
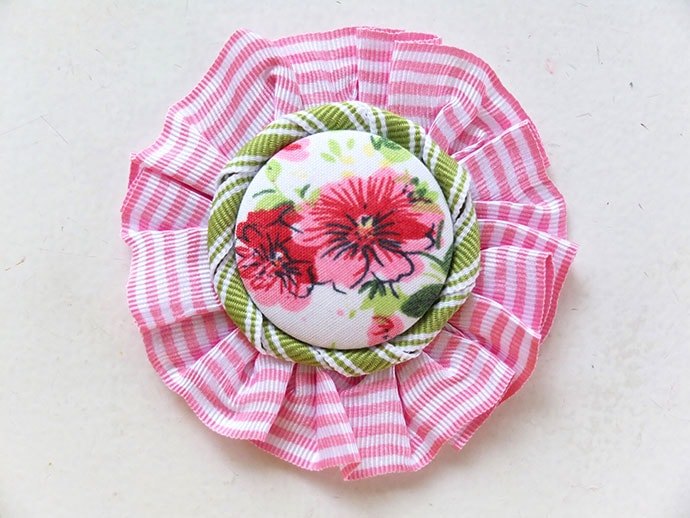
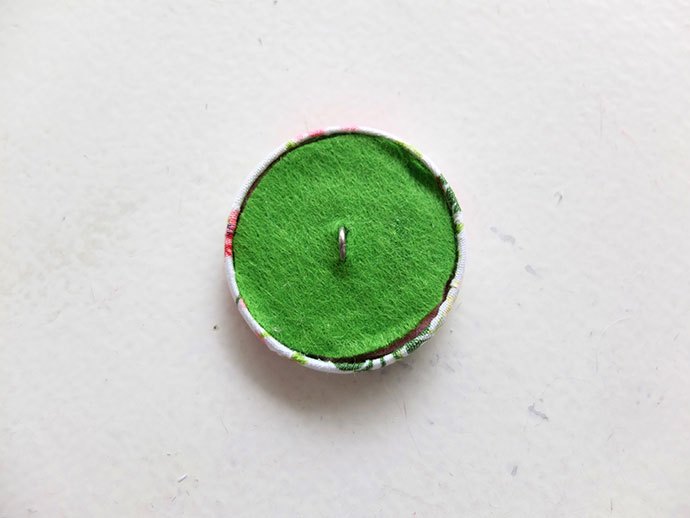
Attach button to centre of backing by either stitching or glueing, whatever feels most secure. I’ve used a combination of both.
Wrap the narrow ribbon around a pencil to form a tight spiral. Stitch the ribbon spiral around the outside of the button, tuck ends in underneath.
Secure anything that feels a little loose with a few drops of glue.
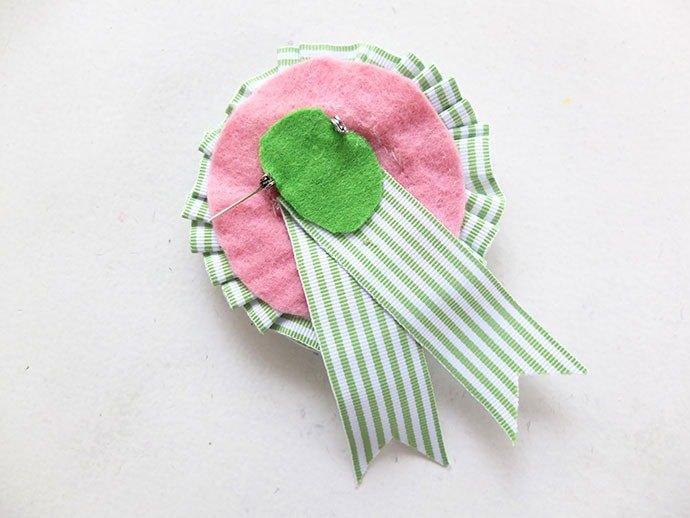
Cut a 18cm length of ribbon, fold in half and stitch onto back.
Cut the ends of you ribbon on a slant or with an inverted point. To prevent fraying apply the tiniest amount of glue to the ribbon edges.
Attach brooch backing to the top back of your brooch. I’ve stitched then glued a small piece of felt over it to neaten.
Looking for more brooch projects to make? Try these:
The author may collect a small share of sales from the links on this page.


Comments
Join the conversation