How to Make Glamorous DIY Rhinestone Earrings & Chokers From Scraps

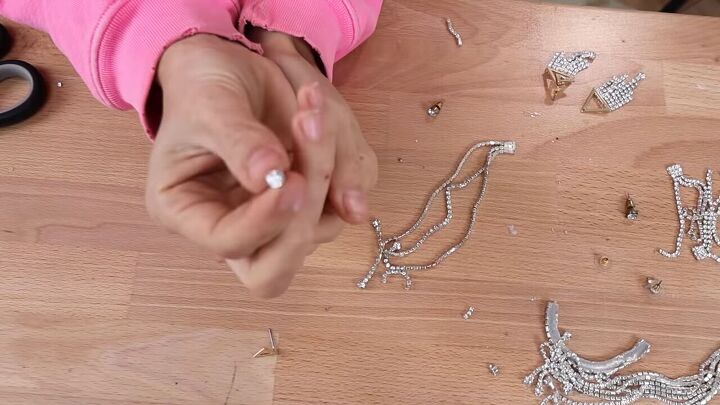
Today we’re finally using up all those odds, ends, and crystal bits that are leftover from other projects. We'll turn them into DIY rhinestone earrings and other unique jewelry pieces that will sparkle and steal the show.
I'll mostly be using leftover rhinestone trim that I previously used to make DIY rhinestone shorts, a dress, and a top, as well as a DIY spiderweb costume for Halloween.
All you need is a little bit of whatever and some glue! Let’s get to work.
Tools and materials
- Leftover project materials (rhinestone fringe/trim)
- E6000 glue
- Scissors
- Earrings
- Chokers
DIY rhinestone earrings 1
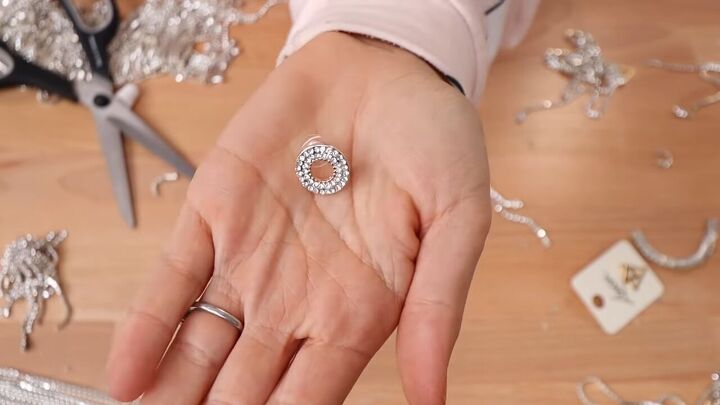
1. Acquire your base
For this tutorial, I picked up some cheap rounded earrings to act as the base.
They don’t have to be a perfect circle, but you’ll need some kind of rounded shape. This is what we’ll be attaching all of our crystals to.
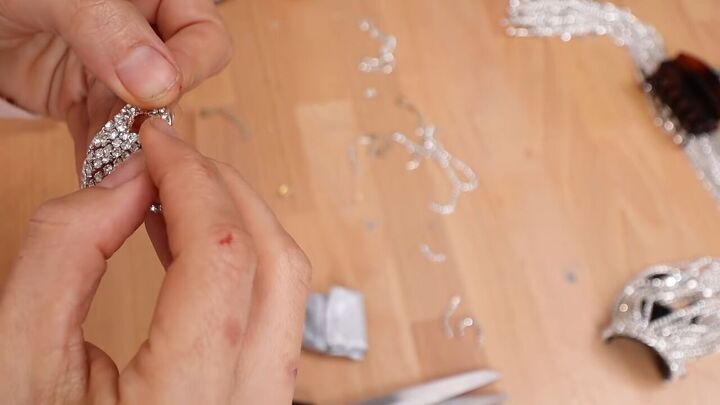
2. Glue the rhinestone trim to the earring
Take some old fringe trim and cut little pieces into different lengths and sizes. Then, attach them with some E6000 glue to the round earring.
I recommend starting in the bottom center with your longest pieces then working your way up, alternating between your longest and shortest pieces to create a layered effect.

Once I got to the top, I thought a nice rounded one that goes from side to side would be nice for a clean finish.

Here’s the finished earring!
DIY rhinestone earrings 2
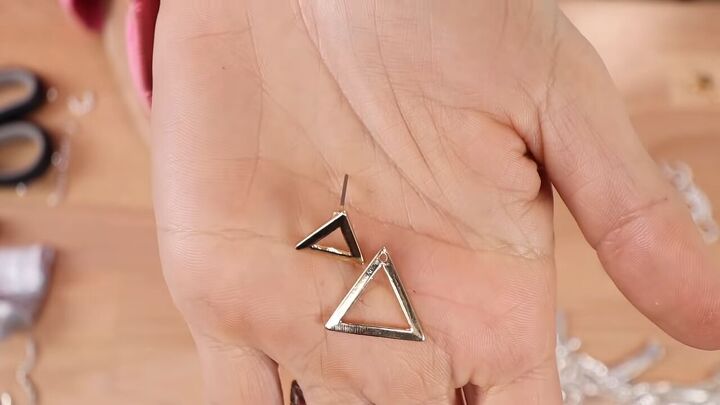
1. Acquire your base
These are another pair of cheap earrings I bought, but this time in a triangular shape.
The cool thing about these is that they come apart. You can wear the bigger triangle behind your ear or in front. I thought it would be cool to add the fringe to the back part of the earring.
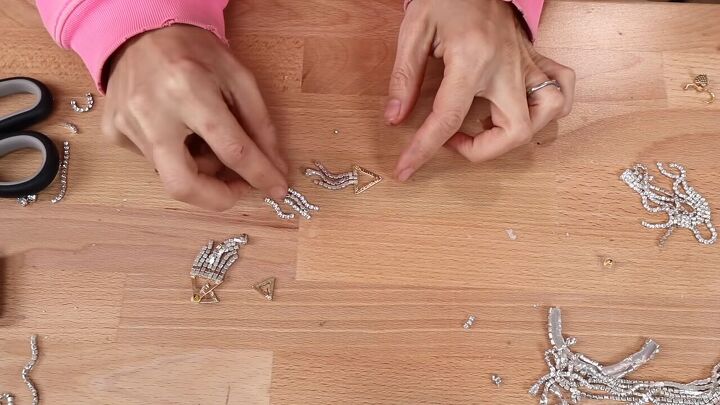
2. Glue the rhinestone trim to the earring
This time, cut the rhinestone trim into staggering lengths and glue them to the bottom of the bigger triangle. So, the longest one should go in the middle and each piece should get a little bit shorter on each side as you go out.

Here’s the finished earring!
How to make rhinestone drop earrings
1. Acquire your base
This one is super easy and all you need is a simple stud.
2. Glue the rhinestone trim to the earring
Take the full length of a ¼ inch fringe and just glue it to the stud. Seriously, that’s it!

Here’s the finished earring!
DIY rhinestone & pearl choker
1. Acquire your base
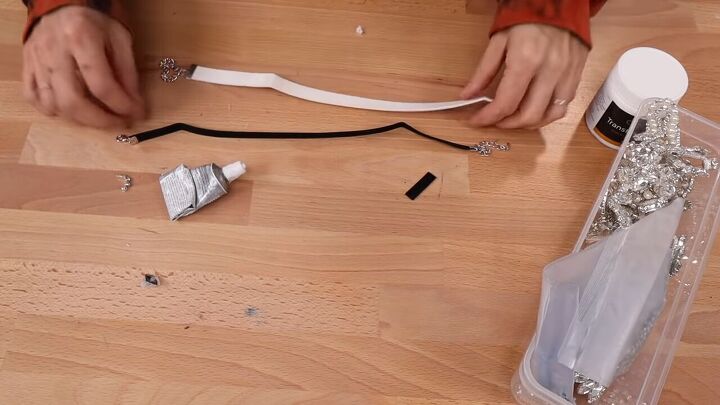
Let’s move on to some chokers. I have these two super cheap chokers and we’re just going to add some trim to them.
2. Attach the trim to your choker
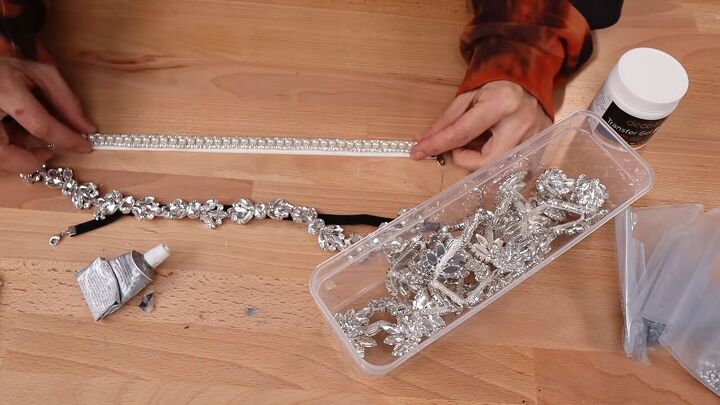
For the white one, I found this really nice rhinestone and pearl trim and thought it would look really pretty so I just evenly distributed a thin layer of glue to the choker and attached the trim. Super easy and it looked fantastic!

Here’s the first finished choker!
DIY crystal choker
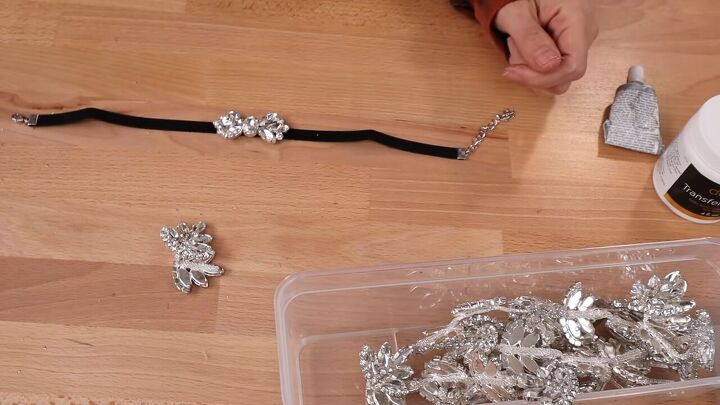
1. Attach the crystal piece to choker
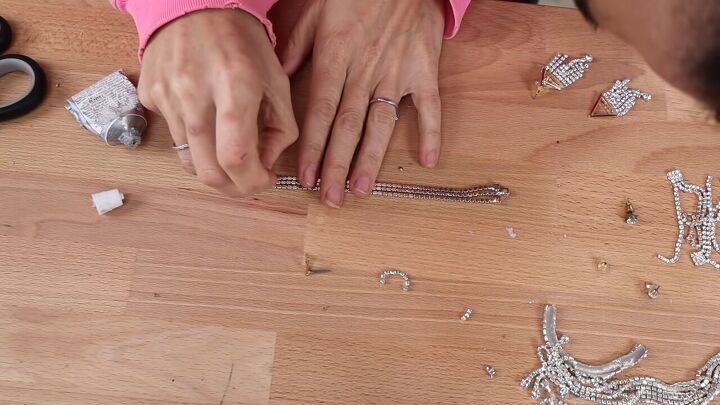
For this one, I decided to go for a centerpiece instead of a full trim for a really cool Y2K look. I cut this from a longer trim and just glued it down.

Here’s the finished choker!
DIY rhinestone earrings & chokers
That’s it! I hope you guys enjoyed this tutorial, and you got a lot of fun ideas for what to do with all the odds and ends you don’t know what to do with.
All those materials that have been sitting there driving you nuts for forever are perfect for creating small, simple DIYs like this. Turn your old purse materials into rhinestone earrings or the coolest choker - it’s your choice!
Let me know how you plan to use this tutorial to transform your leftover scraps into statement jewelry pieces.
The author may collect a small share of sales from the links on this page.


Comments
Join the conversation