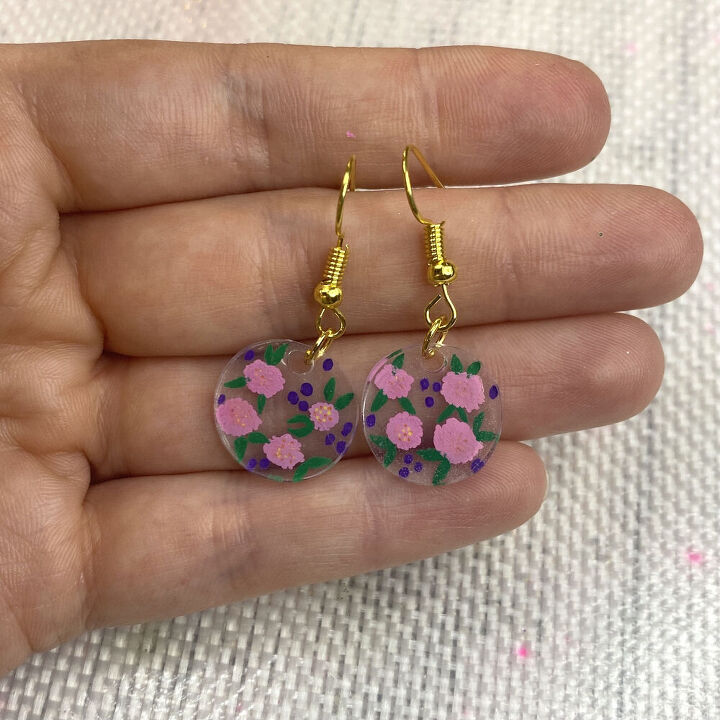
Shrinkies Floral Earring Tutorial
As a kid, I was in awe of Shrinkies, they always seemed like magic as they twisted and turned in the oven shrinking into their final form. They say everything comes back round and I think it’s time to make Shrinkies fashionable again. After having a play, I came up with these gorgeous floral earrings, I will show you how I made them in a few easy steps.
If you haven’t heard of Shrinkies before they are sheets of plastic that you can cut, colour, and draw on. Once you add heat in the form of a heat tool or hot oven they shrink in size and harden to form cute shapes that can be used in crafts.
What you will Need
- Shrinkies Clear Plastic
- Round punch
- Hole punch
- Acrylic Paint Paints
- Heat Tool
- Earring Fixings
How to Make
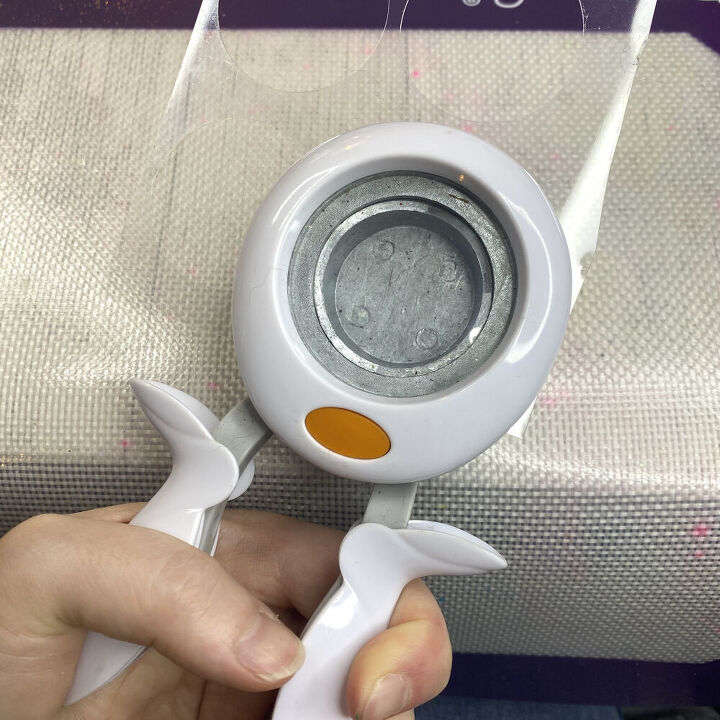
I started my earrings by punching out my plastic shape, I used my Fiskars circle punch but you can also use your favourite dies or free cut to create your design.
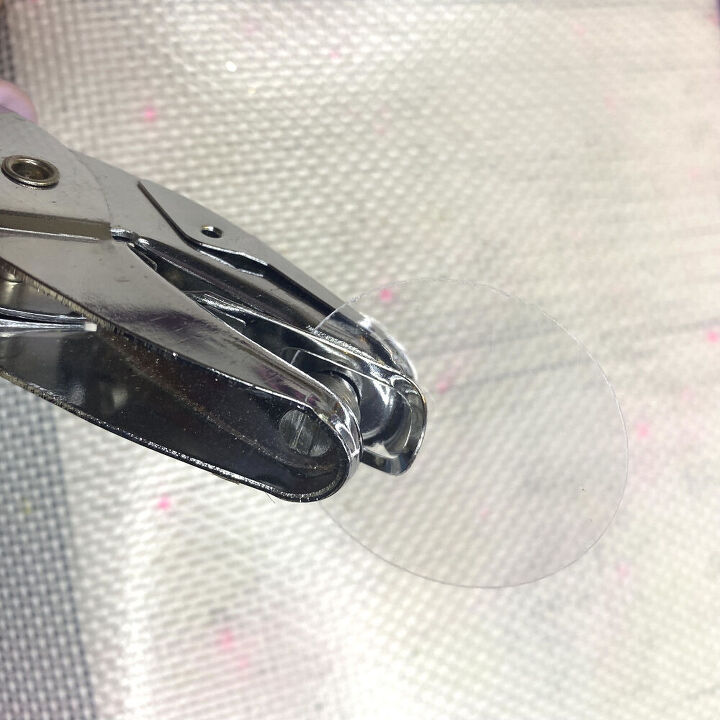
Create a hole in the top of disc, this will be where you attach the earring, my hole was 5mm wide but this will shrink down to a small hole once heated.
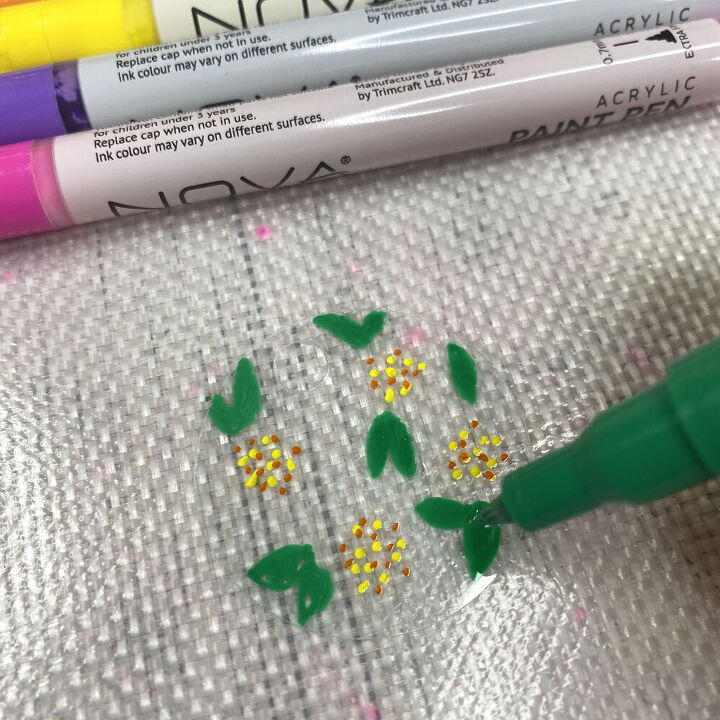
I used Nova acrylic paints to add the detail to my earrings. I added dots of yellow and orange for the centre of the flowers. I left a space where the flower would be and drew some leaves. These need to dry fully before adding the flower shapes. Do not use heat to speed up drying as this will start shrinking your design.
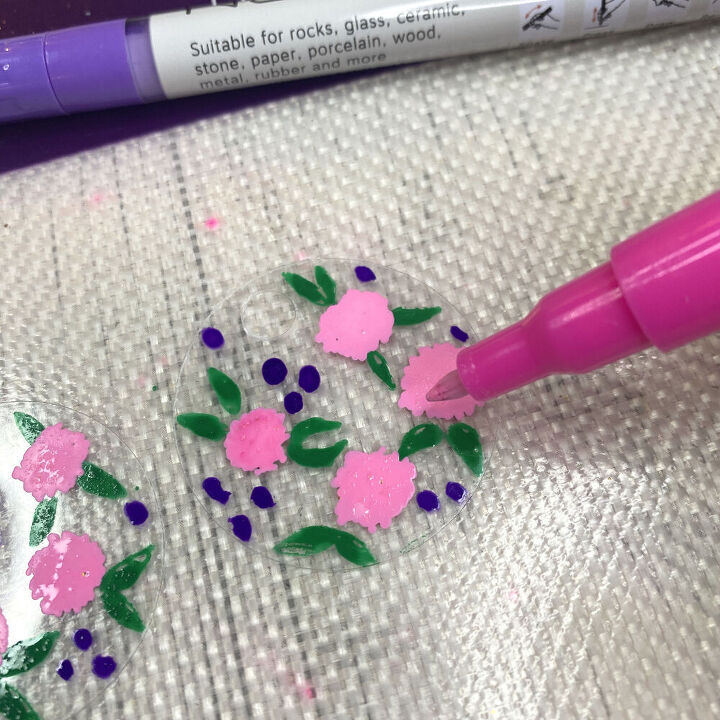
Add the pink flowers over the top of your dry dots, I dabbed the paint on rather than coloured it on as I didn’t want to scratch the dots off the plastic. I also added some purple spots in the gaps too that will be cute dots once shrunk. Leave to dry again.
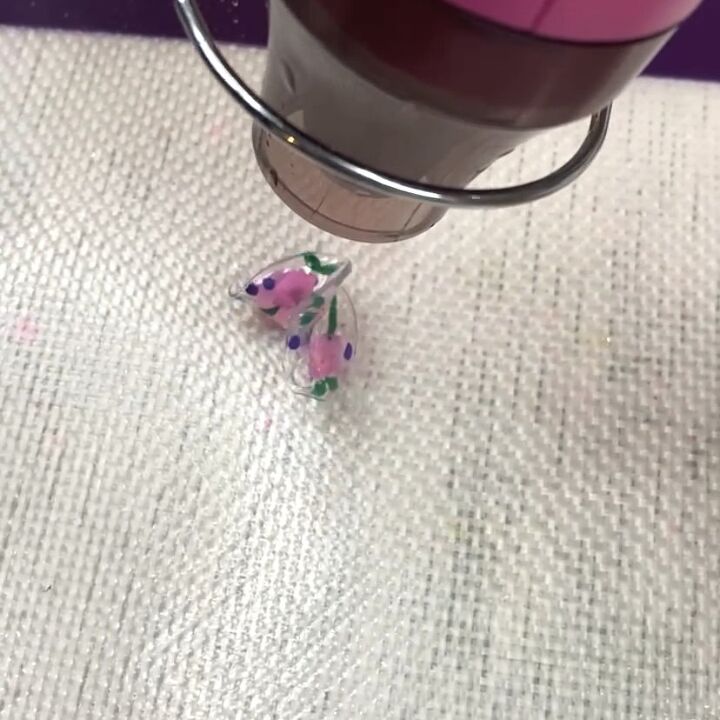
Now it’s time for the magic. I used my heat tool, but a hairdryer will also work, failing that you can pop the Shrinkies into the oven, following the instructions on the pack. As it heats up the design will screw itself up and you might think it is going wrong but hold fast and with a bit more heat it will start to flatten out. Once it is flat(ish) I use a plastic ruler over the top for a few seconds, just to help it set flat.
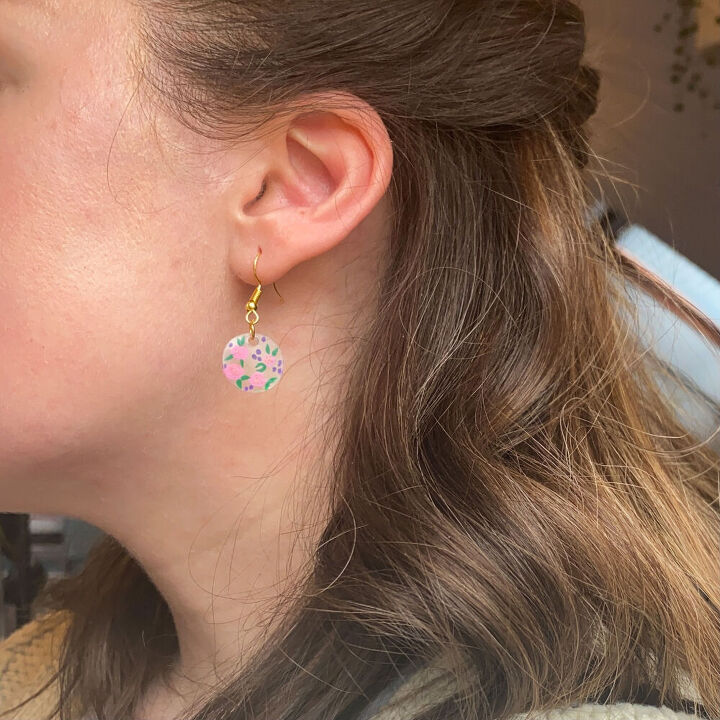
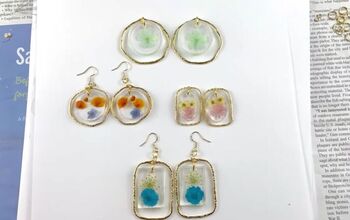
I added my Shrinkies to some gold dangly earring fixtures to finish. You can try so many shapes and colour ways with your Shrinkies like abstract markings or hearts. You could also add a second hole the other side and fix a necklace or bracelet to the Shrinkies shape.
Shrinkies crafts are so much fun, I hope you give them a try. You can follow me @i_heart_maggie on Instagram or Tik Tok and you can also subscribe to my YouTube channel so you can see what I have been making, and don’t forget to check out my other blog posts.
Love
Claire X
The author may collect a small share of sales from the links on this page.


Comments
Join the conversation