Make Gorgeous Terrazzo Earrings That Will Have Everyone Looking at You

I just love terrazzo earrings. They are so beautiful and so unique and are just the perfect addition to any outfit. So, of course, I set out to make my own and you can’t imagine how easy it was! I even made them with my kids, aged four and six, and we all had a blast! In this tutorial I’ll be showing you how you can create your own version out of a few simple materials!
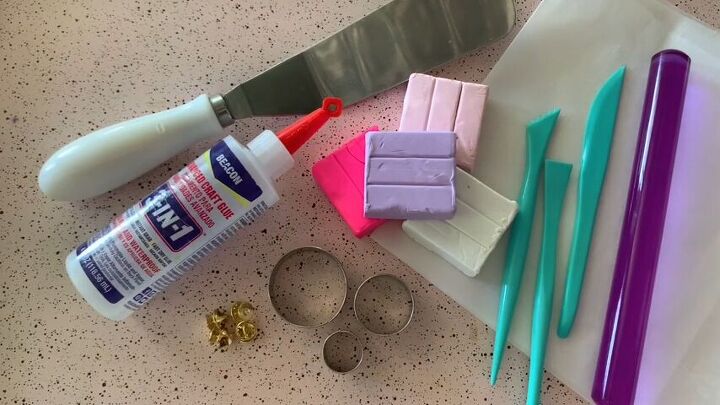
Tools and Materials:
- Baking sheet
- Parchment paper
- 4 colors of polymer clay
- Clay tools
- Round clay cutters
- Spatula
- Beacon’s 3-in-1 Advanced Craft Glue
- Blank earring studs
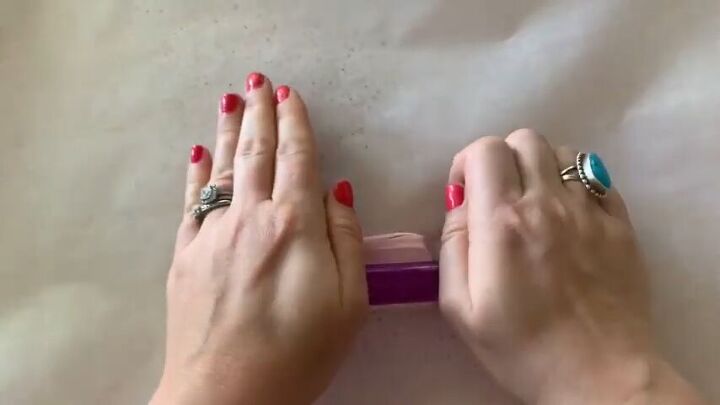
You’re going to start by laying out a piece of parchment paper on top of a baking sheet. Then take one of your colors of polymer clay and slowly roll it out onto the parchment paper to about ¼” thick. It’s best to roll it out from the center in all directions so that it’s even.
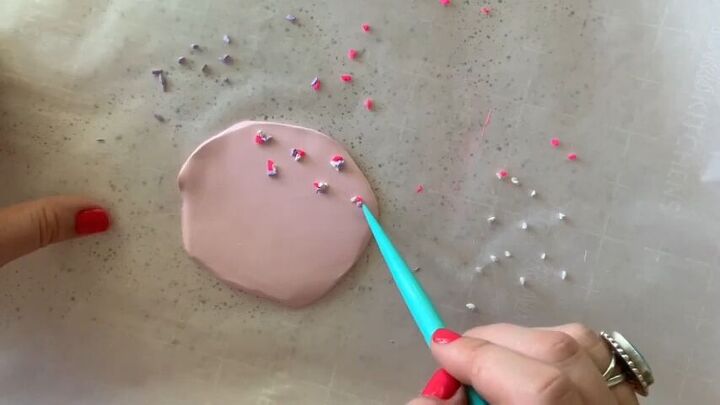
Use your clay knife to cut out very small pieces from the three other colors of clay. Then use your pointer tool to add each color of cut clay to the rolled out piece. Do this in clusters of all three colors, keeping the color arrangement the same for each grouping.

Now you’re going to use your rolling pin again to roll the clay, combining the colored pieces into the big piece.
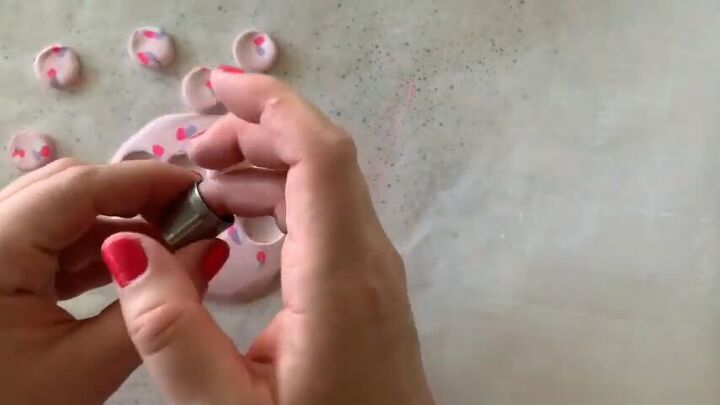
Cut out circles from your clay using your clay cutter. Then use your fingers and rolling pins to smooth out any imperfections in your circles.
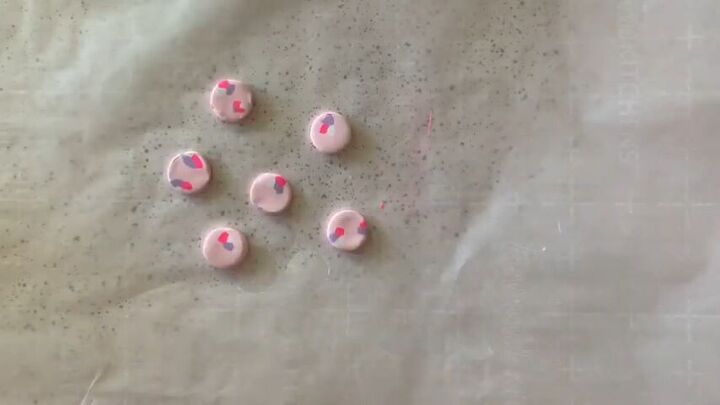
Now you’re going to bake your clay circles. Do this at 275 degrees Fahrenheit for about 15 minutes. Then take them out of the oven and let them cool for another 15 minutes.
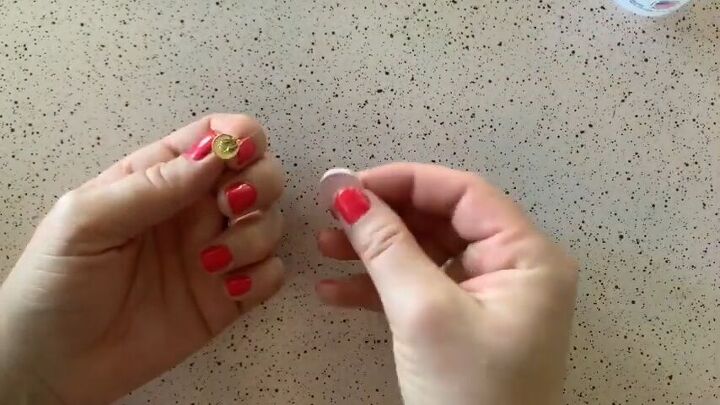
The final step is to apply glue to the back of an earring stud and then to attach the clay to it. Once you’ve done that, let your glue dry and enjoy your brand new earrings!
And just like that, your brand new earrings are ready to be worn! This is such a fun and simple project, and I love how easy it is to customize it to match your style. You can choose different colors and patterns and really make it your own. You can use more neutral colors to match more outfits or go bold with your choices. All options are good! So definitely post a picture of your earrings in the comments so that I can see your versions!
The author may collect a small share of sales from the links on this page.


Comments
Join the conversation