Quick and Easy: Wire Jewelry

Today, I am going to teach you guys how to make your own basic wire jewelry. It is a really fun and simple tutorial and can be done in a matter of minutes! Don’t have the right accessories to go with that favorite dress? Don’t fret, make your own!
Tools and materials:
- Two centimeter (or 0.8 inches) 20 gauge wire
- Three centimeter (or 1.2 inches) 19 gauge wire
- Four centimeters (or 1.6 inches) 18 gauge wire
- Pliers
- Ruler
Bend the wire
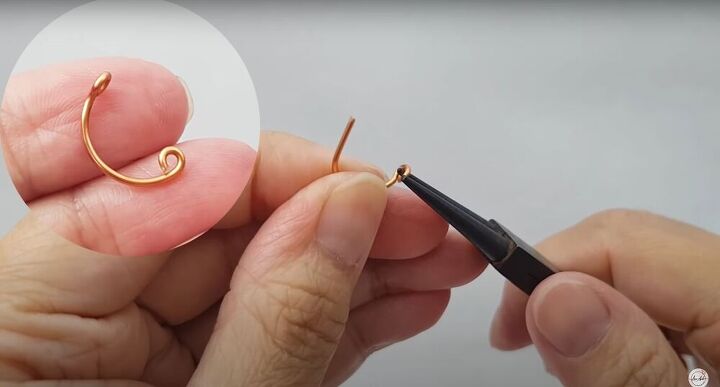
Start with a 19 gauge piece (make sure it is 1.2 inches long) and wrap it around a pen. The pen will give it the shape you need for that initial bend. With the bend, the wire should measure to about half an inch. Next, we want to curl both edges with pliers. Simply, grab the edges and curl it in gently and then push it slightly in the other direction. This will give you a small circular shape at the end. Repeat for both ends until you have five gauges.
Connect the chain
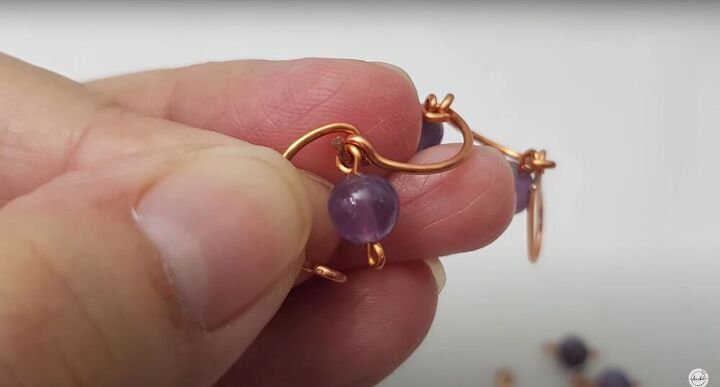
Open one end of the wire slightly and insert your earpiece and bead. Next, close the loop back up and repeat the process with the rest of the links. Insert the links into each other (along with a bead) to connect the earring chain.
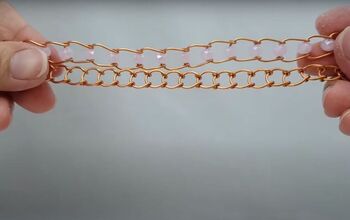
Make more styles
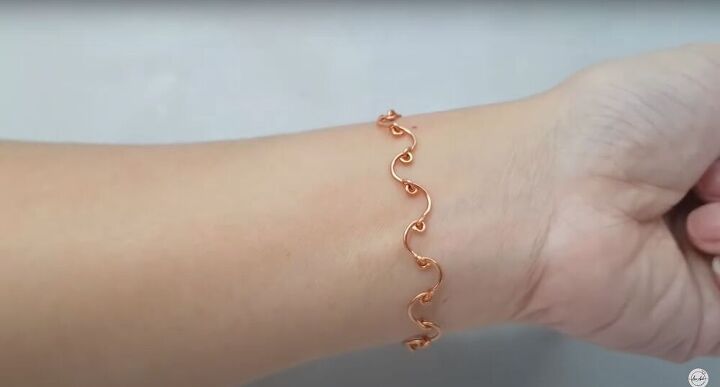
Repeat these steps using the other gauge sizes and beads to create different earrings and styles. Additionally, you could connect multiple chains to create a really simple and pretty bracelet.
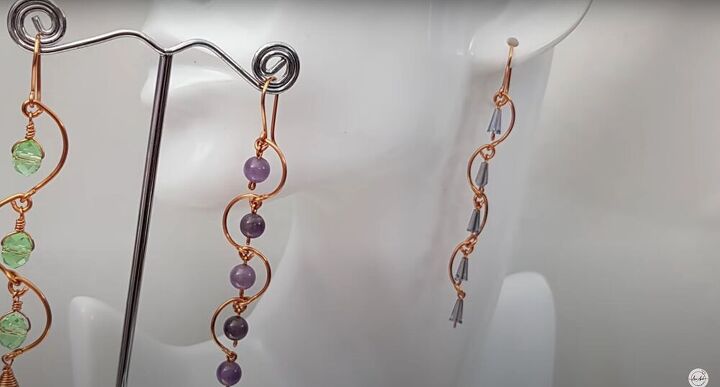
I love this tutorial, mostly because it is so easy to do and so simple to make your own! This basic wire jewelry tutorial will teach you how to take a piece of wire and make it beautiful! Mess around with lengths, beads, and styles to make it your own!
The author may collect a small share of sales from the links on this page.


Comments
Join the conversation
Really different and cute! ☺️
These are super cute, definitely going to try making the earrings.