How to Make a Cute Half Pearl, Half Chain Necklace in 6 Simple Steps

Hi, fellow jewelers! If you’re anything like me, you love going into stores to get inspiration for the jewelry you want to make. The other day, I was at the mall and I saw this half pearl, half chain necklace with a pendant that was very unique.
I’d never seen anything like it before, but then I started seeing it everywhere online! I knew I had to figure out how to make this pearl chain necklace and when I did, I realized it was surprisingly simple and so much fun! S
So, today I’m going to teach you how to make your own DIY pearl and chain necklace with a cute heart pendant.
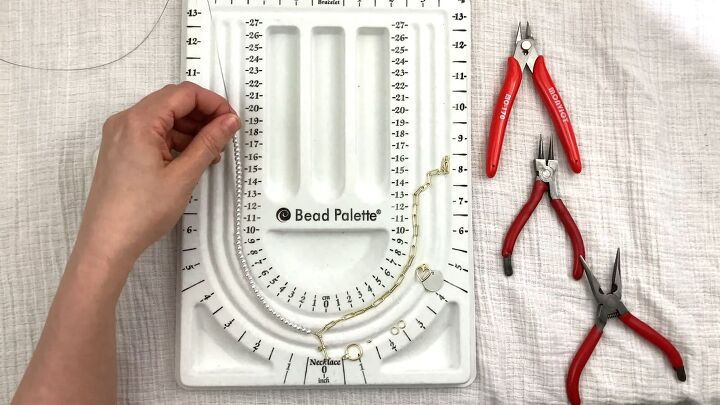
Tools and materials:
- Cutter tool
- Longnose pliers
- Round-nose pliers
- 8-inch paperclip chain
- 8 inches of pearls
- Silver or gold wire
- Jewelry toggle clasp
- Pendant
- 2 Jump rings
- 2 Crimp beads
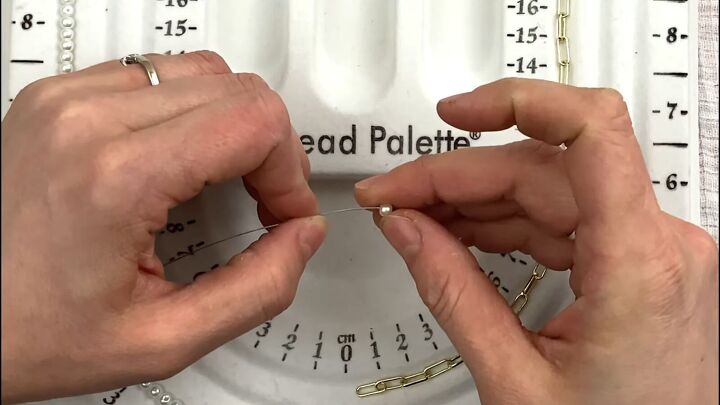
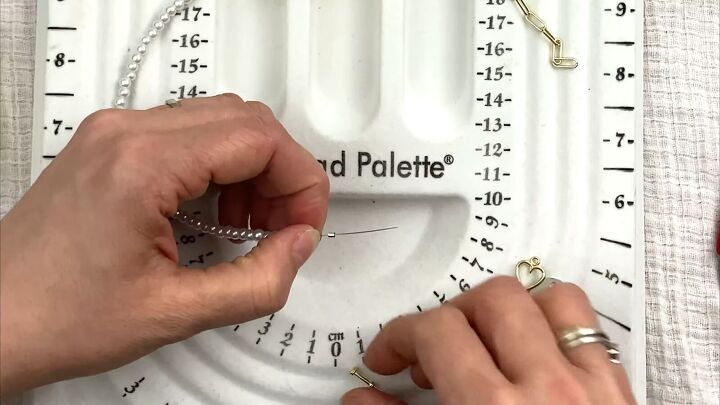
1. String the peals
String all of your pearls with the 8-inch wire.
2. Connect the pearl to the chain
Now, connect your stringed pearls to your chain.
I recommend putting a jump ring between your pearls and the chain, as sometimes there’s a gap in your link and the pearls can sometimes fall off of your chain.
This is optional, though, and I’m going to hook the chain straight on.
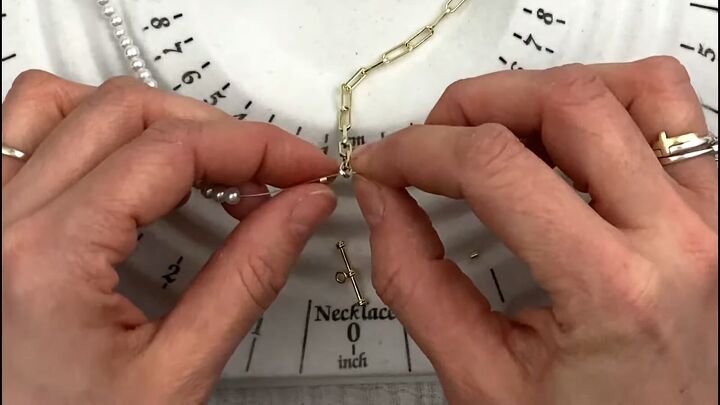
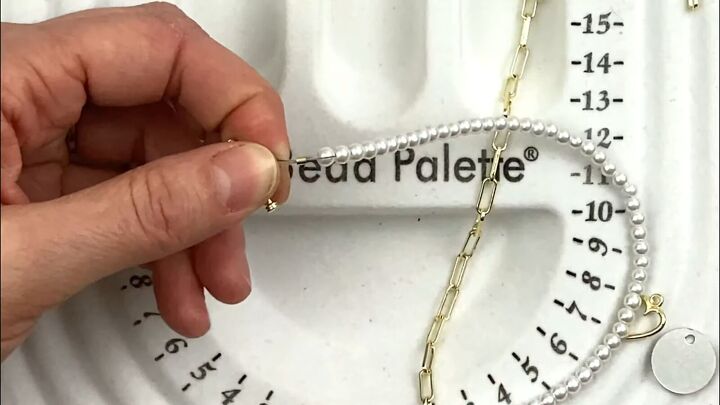
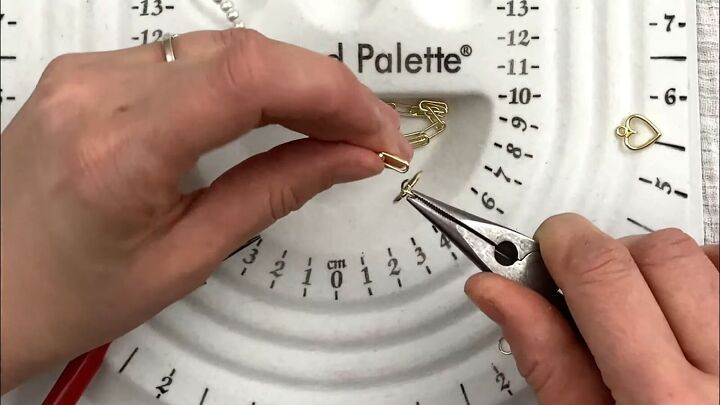
To connect the two, first, add a crimping bead and then your chain. Wrap the end of the wire around the chain and through the crimping bead.
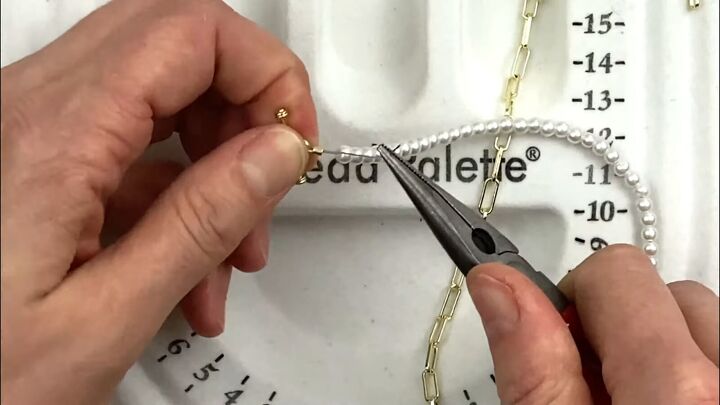
Then, crimp the crimping bead with your pliers and make sure it’s tight.
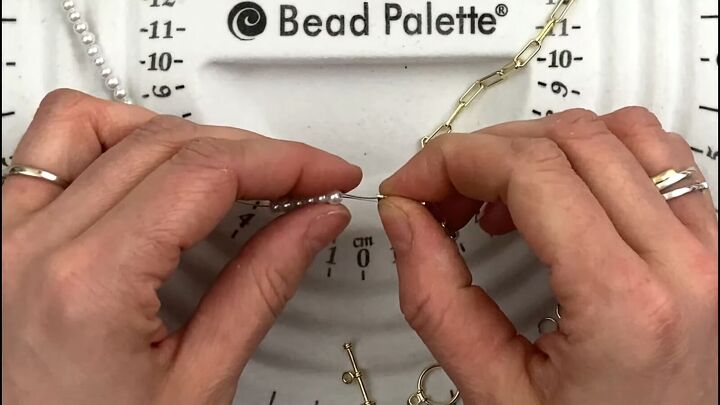
Thread any extra wire alongside your pearls, and make sure they’re tight against the crimping bead.
Now your pearls and your chain should be connected together.
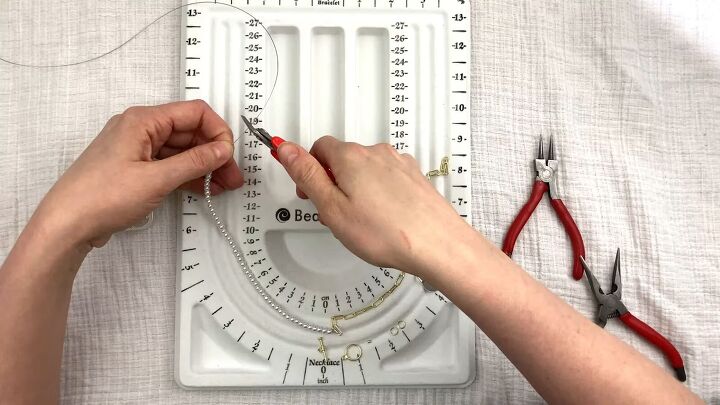
3. Cut the wire
Cut off the wire still strung through the pearls.
4. Add the toggle clasp
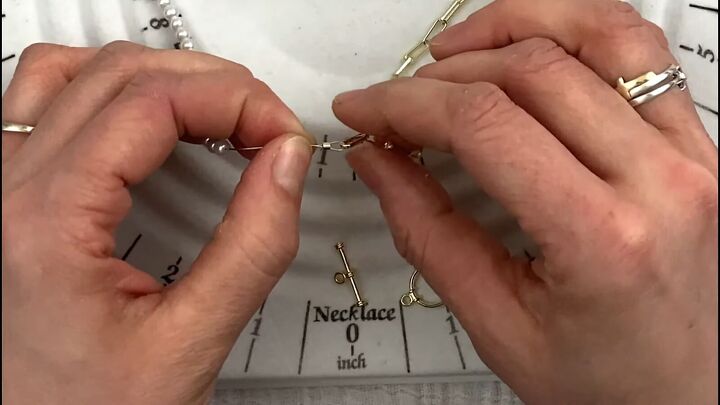
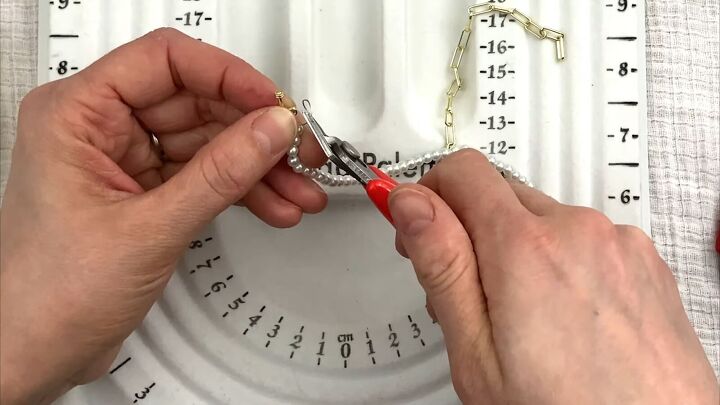
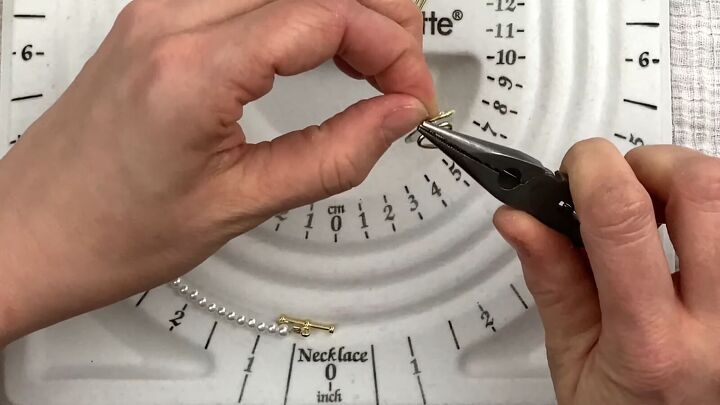
Now, we’re going to add the toggle. To do this, first, add a crimping bead and then your toggle.
Wrap the wire around the toggle and thread it through the crimping bead.
To eliminate any gap between your crimping bead and the rest of the pearls, use your long nose pliers to grab the end of the wire and pull until there’s no extra space.
Your necklace should still be able to move around on your toggle after tightening.
Then, crimp your crimping bead and cut off the extra wire, leaving a small enough space to thread through a bead so the ends are tucked away nicely.
5. Connect the other end of the necklace
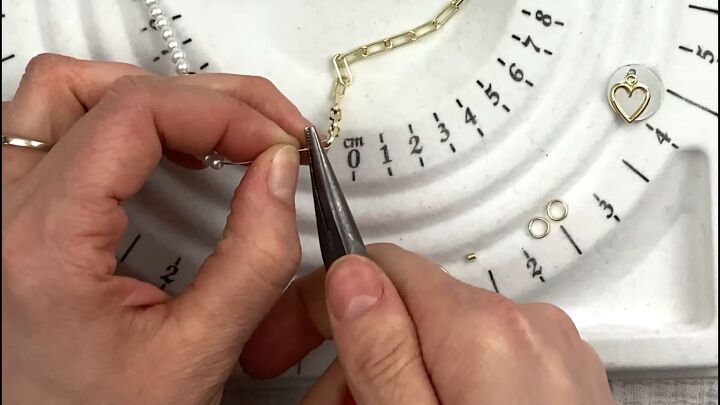
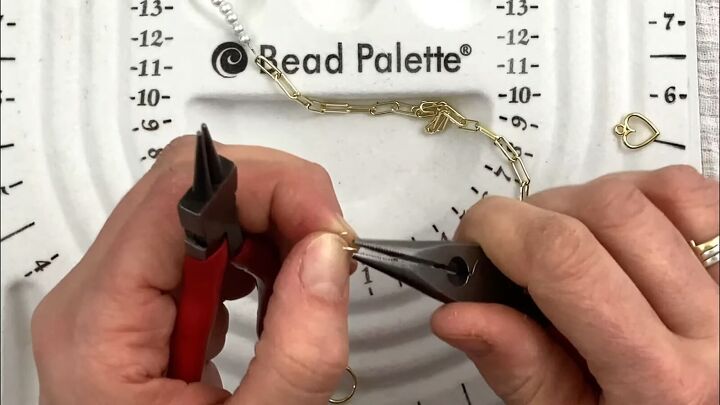
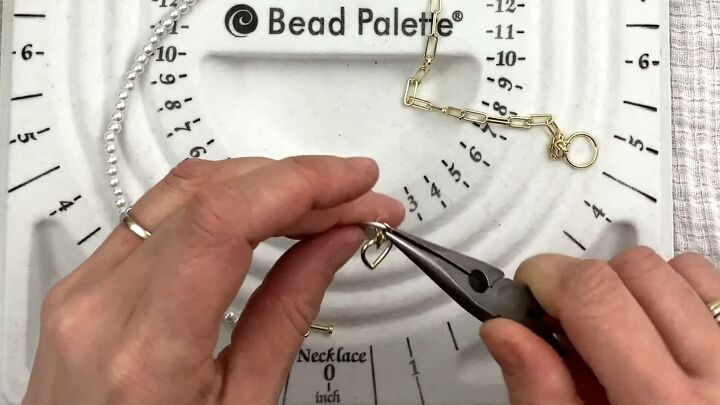
Now, we have to connect the toggle to the chain or the other end of the necklace. To start, I’m going to split my jump ring and use my pliers to add a gap between the two ends.
Slide both your toggle and the last link on the chain onto the split jump ring, and then close it up with your pliers.

6. Add a heart pendant
Now, I’ve seen a lot of people just leave their necklace just like this, but I want to add this cute heart pendant. To do this, start by splitting another jump ring just like in the previous step.
Then, slide your pendant onto the jump ring. I’m adding both a heart and a silver plate.
Connect the jump ring to the toggle and close it up with the pliers.
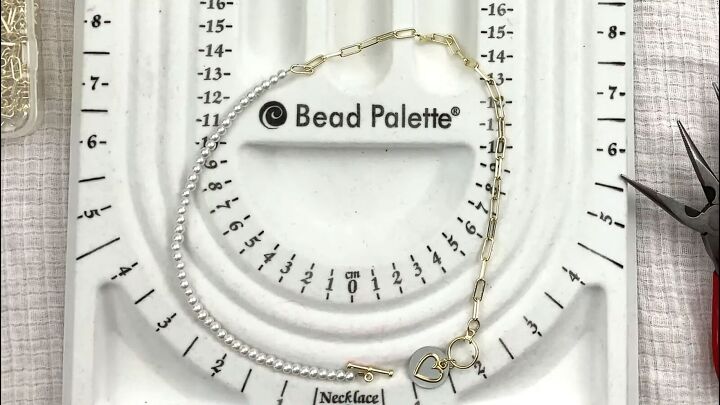

DIY half pearl, half chain necklace tutorial
You’re done! That, my fellow jewelers, is how to make a pearl chain necklace. It’s super cute and one of my favorite things about it is that the clasp is right in front, making it super easy to take on and off.
Let me know what you think of this tutorial and the final result in the comments below.
The author may collect a small share of sales from the links on this page.


Comments
Join the conversation
Very cute. I ha e never made jewelry I may have to give it a try.