How To Make Beaded Bracelets & Handmade Pearl Necklaces
This post may contain affiliate links for products I love and recommend.
Hey, friends! It’s been a minute since I’ve created a new jewelry tutorial for you ❤️ Today, I’m excited to share this new project. In this tutorial, I’ll walk you through how to make beaded bracelets & handmade pearl necklaces.
This DIY beaded bracelets tutorial is really quick and easy. It’ll guide you through some tips and tricks to create a professional-quality, modern, updated take on an old classic.
So let’s dive in!
What makes this beaded pearl necklace tutorial different is each bead is going to have a delicate little knot tied right up against the last bead. We’re basically going to use the process of creating a mala beaded bracelet and apply it to a pearl necklace design.
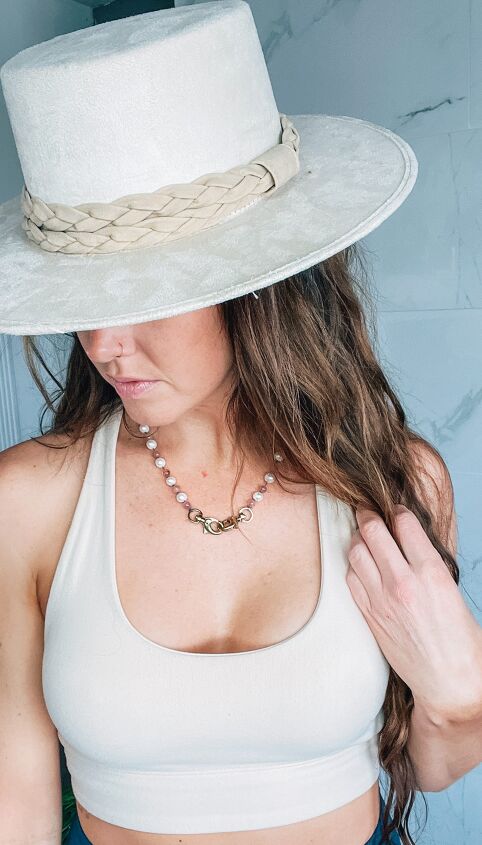
The result will be a unique update on a timeless classic. We’ll create a chunky pearl necklace that would retail for hundreds of dollars.
As an added bonus, when we use this knotted jewelry-making technique, it also ensures that if your necklace ever breaks, you only lose one bead and not the entire thing!
I don’t know about you, but when my kids were in their toddler years, I felt like I was always breaking beaded necklaces. This technique eliminates that possibility altogether.

Raw Materials For Jewelry Making
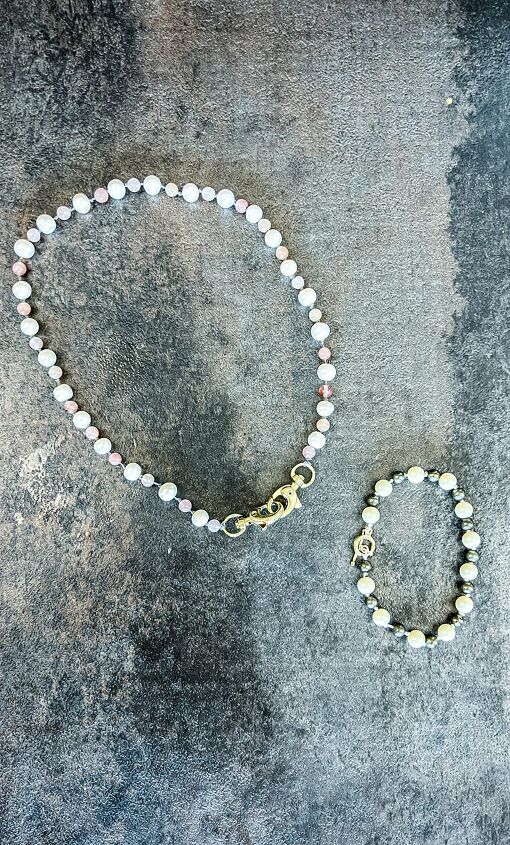
For this project, I decided to use natural Pyrite crystals and freshwater pearls.
Pyrite crystals symbolize wealth and good luck. Their energetic healing properties help to protect your environment from negative energy, leaving your space free of bad vibes. Who doesn’t want more of that?
According to history and myths, freshwater pearls are symbolic of wisdom gained through experience. These beautiful beads are believed to provide protection, good luck and wealth to the wearer. Pearls also have well-known calming effects and have a way of bringing balance to your karma.
By creating your own jewelry, it’s fun to set an intention (or goal) that you are working towards, and create pieces that symbolize and reflect that back to you on a daily basis. Plus, the two stones look absolutely stunning together.
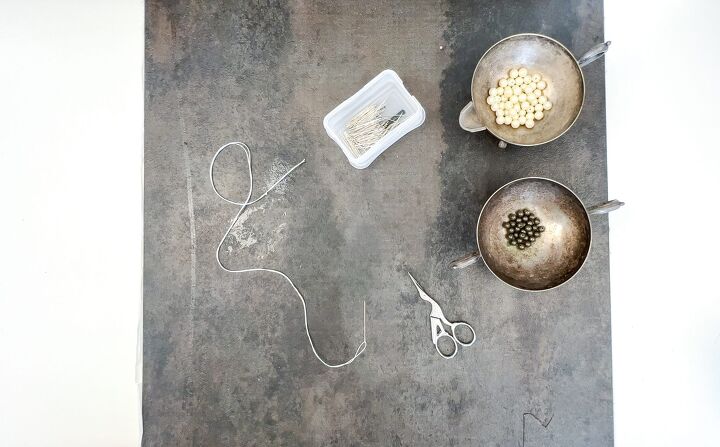
Jewelry Making Materials
- Genuine Freshwater Cultured Pearl Beads
- Natural Pyrite Round Beads
- Straight Pins
- 3 1/2 inch Scissors
- Extra Strong Thread
- Hand Sewing Needle
How to Make Beaded Bracelets
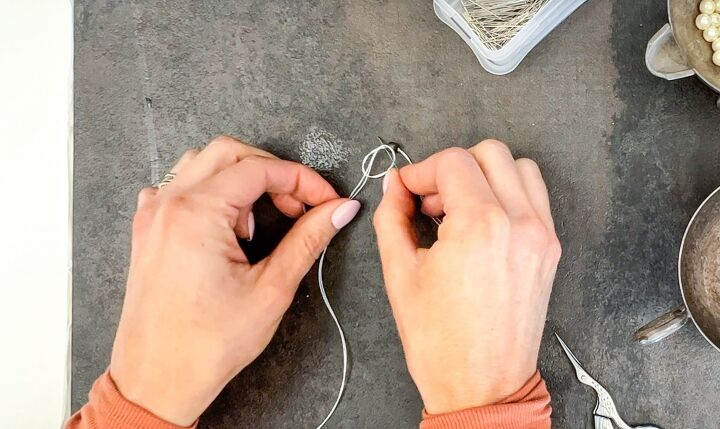
Before we begin, thread a Hand Sewing Needle and double knot the ends. Make sure to leave at least two inches on the end to make it easier to attach finishings when we are done. I like to start out with double the length of thread you think you’ll need. After all, you can always trim any excess off, and can make it a little bit tricky if you run out.
String the first bead. Using a hand sewing needle to string your beads not only allows you to double up on your string (creating a more durable end result) but it also eliminates the frustration of stringing thicker string through the tiny holes in authentic beads.
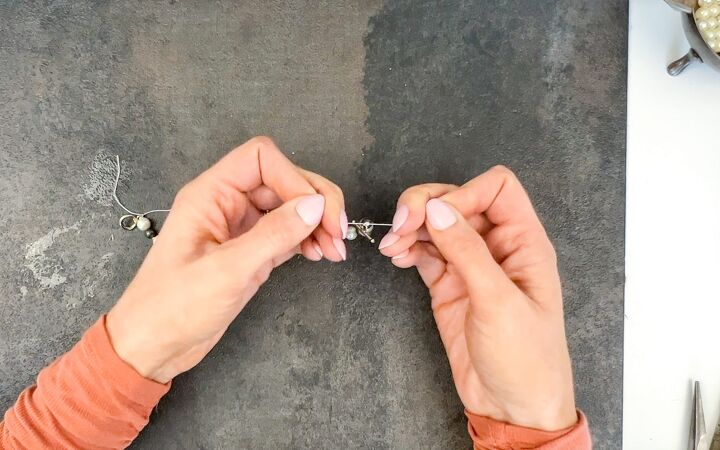
Next, wrap your thread over our thumb, pull it through, and then place a pin right up next to your last bead as you pull the thread tight. Placing this pin here makes that knot rest against your last bead and gives you the more finished look.
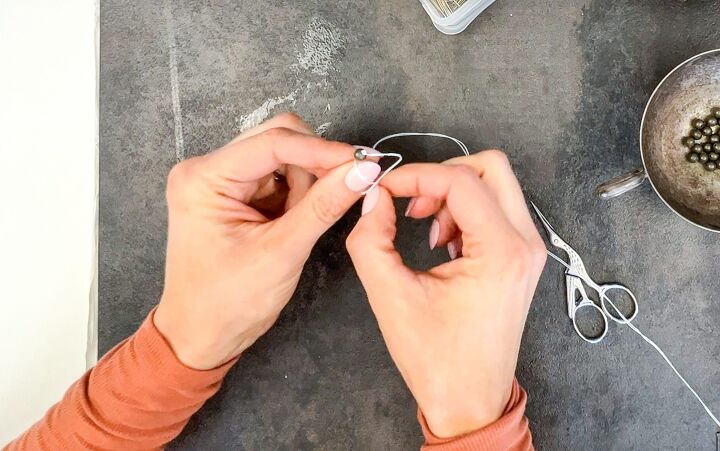
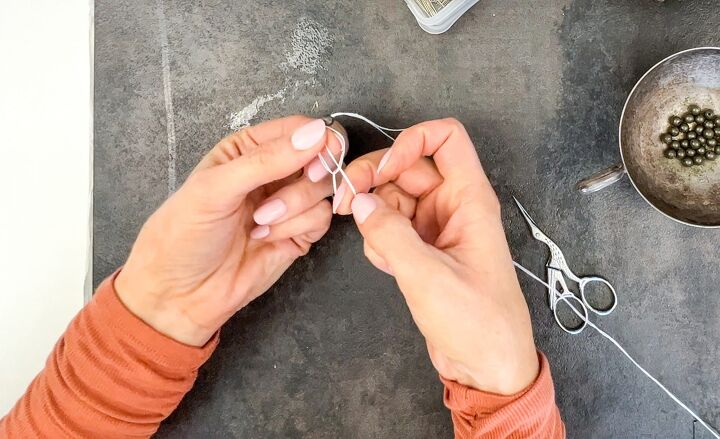
This process gives you a lot more control over where your knots are going.

Tip: I found that using the sewing pin for this step was a lot easier than jewelry pliers or anything else.
If you are working with thinner thread lille mine, it may be helpful to double knot (meaning have two of these knots in between each bead) rather than just one. What that does is ensure that your beads aren’t going to slide around after you’ve tied your knots.
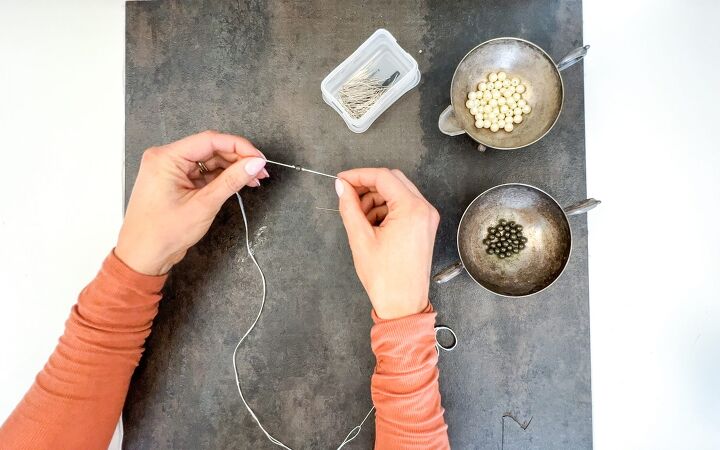
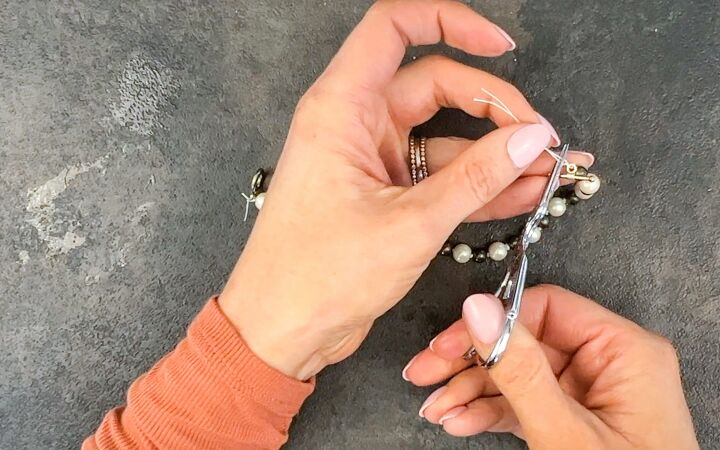
Once your beaded string is the length you want, it’s time to add some clasps. Remove your hand sewing needle from your thread by cutting it loose.
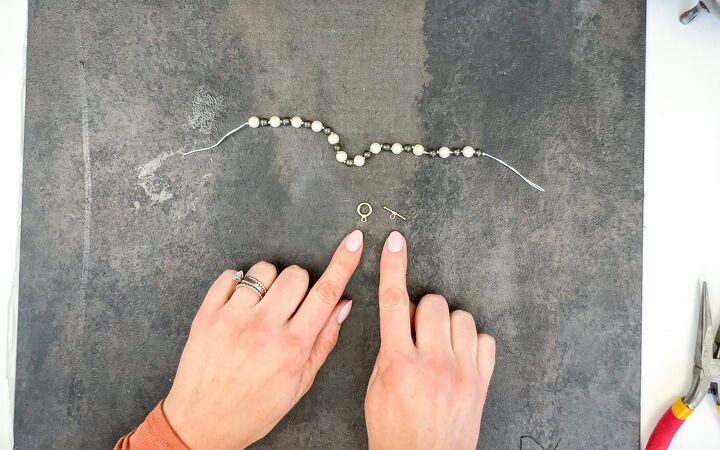
To finish my pearl bracelet off, I decided to use these really cute gold toggle clasps. To attach these toggle clasps, I’m just going to separate the two threads on either end and loop one end of the toggle clasp through before tying three knots.
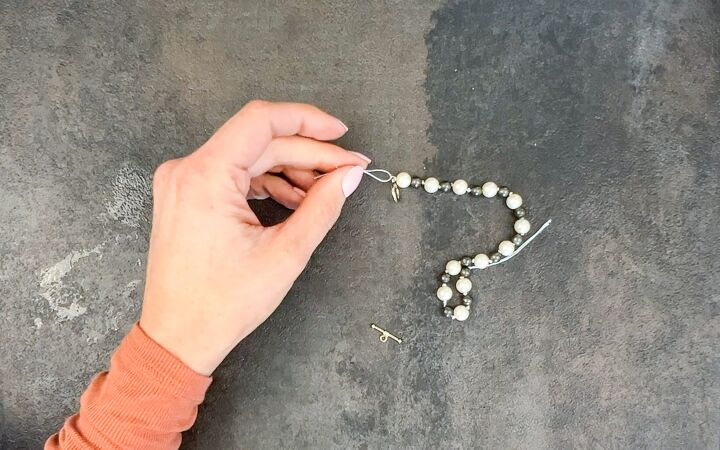
Honestly, it’s probably overkill but I like to tie three knots just because I really want to make sure that this is secure and it’s not going to fall apart after I’ve put all this awesome hard work into it.
When I’m done, then I’m going to trim the edges and try on my new, beautiful jewelry piece.
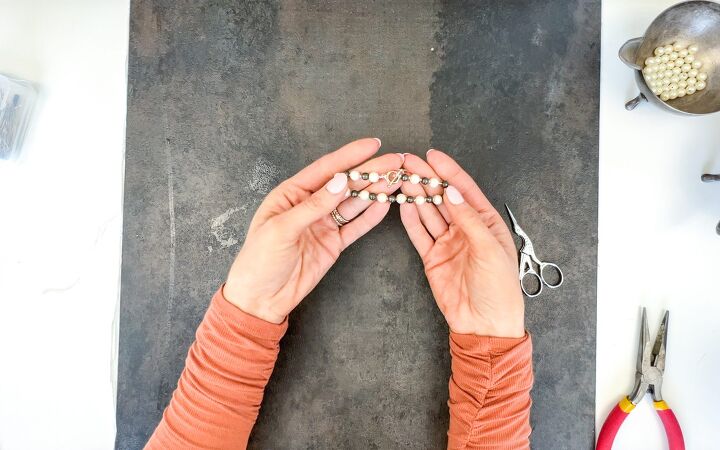
One of my favorite things about making your own handmade jewelry is that you have not only complete control over the design elements, but also the materials. For this project, I decided to rotate between using real pyrite beads and freshwater pearls. That way, I had real authentic pieces. There’s nothing plastic involved here. I also was able to create my handmade pearl jewelry to the exact length and style that I wanted.
If I were to have bought a bracelet or a necklace with similar design elements of materials, it would’ve cost several hundred dollars. Now that you know how to make beaded bracelets (with high end, natural materials)you know they cost about $20 to complete.
I’m so happy with how this tutorial came out, and can’t wait to hear how yours turns out too.
How To Make Beaded Bracelets Video Tutorial:
The author may collect a small share of sales from the links on this page.


Comments
Join the conversation
Terrific creation. Someone said to me to use dental floss (non waxed I believe) for the string. They claim it is stronger than a strong thread. Does anyone have a thought about that?
I think that would be a good idea. Love the look. I must make these for Christmas presents.