Transform an Oversized Tee Into A Stunning Romper

Everybody knows that a romper is a fashion-statement piece! I was ready to make a statement but instead of going out and buying an expensive romper, I bought a cheap, oversized T-shirt and upcycled it into the romper I’ve always wanted! Check out my tutorial and learn the tricks of this fashion transformation.
Tools and materials:
- T-shirt
- Scissors
- Ruler
- Chalk
- Pins
- Sewing machine
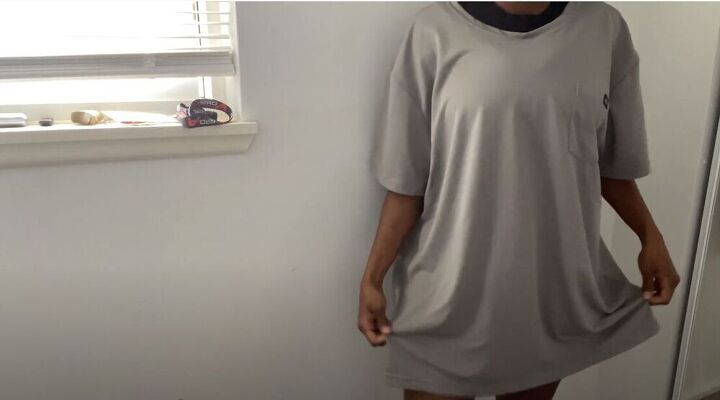
For this very cool upcycle, I used this oversized T-shirt. I couldn’t wait to transform it into a gorgeous romper.
Trace shorts
First things first! I used a pair of spandex shorts as a template and traced around them adding an inch of seam allowance. I suggest making the shorts a little shorter so that there is enough fabric for the top part of the romper. Once I had traced the back piece I also traced the front.
Once I had finished tracing the shorts, I used a ruler to just straighten the tops and make sure they were even.
I then went ahead and cut the pieces for the shorts.
Sew the shorts
I placed the fabric pieces right sides together and then pinned the inner crotch area. I sewed along the pinned line. You can sew with a straight stitch or with a zig-zag stitch.
With the front and back pieces sewed together, I placed them, right sides together and sewed the side and crotch seams.
Remove the pocket
I moved on to work on the top of the romper. First, I seam ripped off the pocket from the oversized tee. I then folded the T-shirt so that there were four layers of fabric.
Trace a T-shirt
I used a T-shirt I owned as a template and traced around it adding an inch of seam allowance. While I was tracing, I tucked the sleeves under the T-shirt because I would trace them separately later. I pinned the folded T-shirt so that I would cut all four layers.
Sew the top
I placed the front and back pieces, right sides together, and sewed them at the shoulder seams. I laid the top flat and once I had my sleeve pieces cut out, I matched them along the armholes.
I pinned the sleeves to the top and sewed them on.
With the sleeves safely sewed on, I pinned the bottom of each sleeve and the rest of the side seams and sewed.
Add a front zipper
To make the perfect romper, I wanted to add a zipper to the front. I folded the top in half and then cut down the center of the front of the top.
I then went ahead and pinned one side of the zipper in place. With it safely pinned, I sewed it on. I repeated this for the other side.
I decided to topstitch to give the romper a nice, clean finish.
Sew the romper together
The next step was putting the romper together. I pinned the waistline of the top and shorts together, all the way around, and then sewed. As I mentioned at the beginning of the tutorial, I suggest cutting the shorts shorter so that the top can be a little longer. I didn’t do this so I ended up adding fabric to the middle. To see this step go to 9:05 in the video tutorial.
I love how this romper turned out! This is an upcycle worth doing again! Would you wear this fashion-statement romper out? Let me know in the comments!
Enjoyed the project?
The author may collect a small share of sales from the links on this page.


Comments
Join the conversation
That turned out great!
I wouldn't change a thing. The added middle section is what makes it. Lovely job!
Cheers.