Turn Trousers Into Overalls With a Removeable Bib!

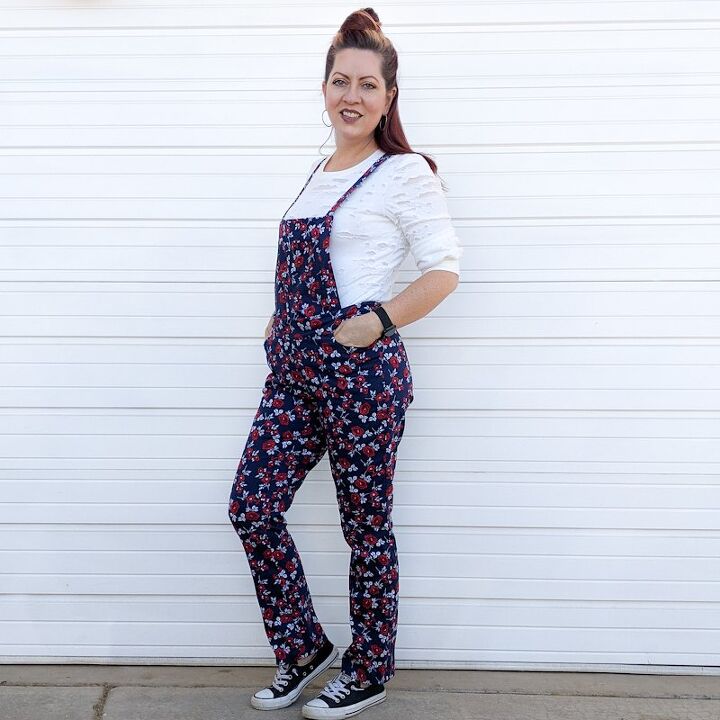
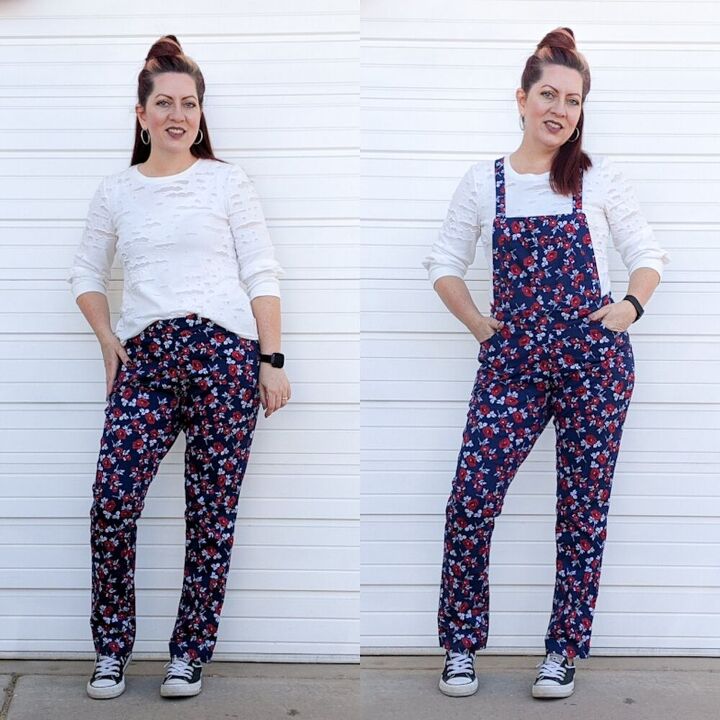
There’s something about wearing a good fitting pair of overalls that I find comforting. Plus if I’m not feeling too jazzed about a certain shirt, I can wear it with some overalls and I start to like it again. That got me thinking about turning some of my favorite trousers into some cute overalls, but not permanently. I’ll show you how I made a detachable bib to go with my trousers in just a couple of hours.
I make all of my clothes so I already had the perfect trousers in mind. These are the Duet Trousers by Love Notions Pattern. They have a side seam zip which makes them really nice for overalls. If you want to make your own there are a lot of patterns out there with side seam zips to choose from. Or you can make it easy on yourself and find some you like at a thrift store. However, if you want to use my pattern, I will put an affiliate link to the Duet Trousers at the bottom of my post.
First you will need:
*a pair of Trousers(preferably with a side seam zip)
*about a yard of matching or contrasting fabric
*a clear ruler
*something to mark fabric with
*rotary cutter or fabric shears
*pins
*5 buttons or snaps
*matching or contrasting thread and needle
*sewing machine
I’m 5′ 5″ and wear a pants size 10-12 and t-shirt size med/large. So you will need to adjust these directions and measurements to suit your own needs. I also used a 3/8inch seam allowance to sew this.
Alrighty then. Here we go!
Making the Bib and Pocket
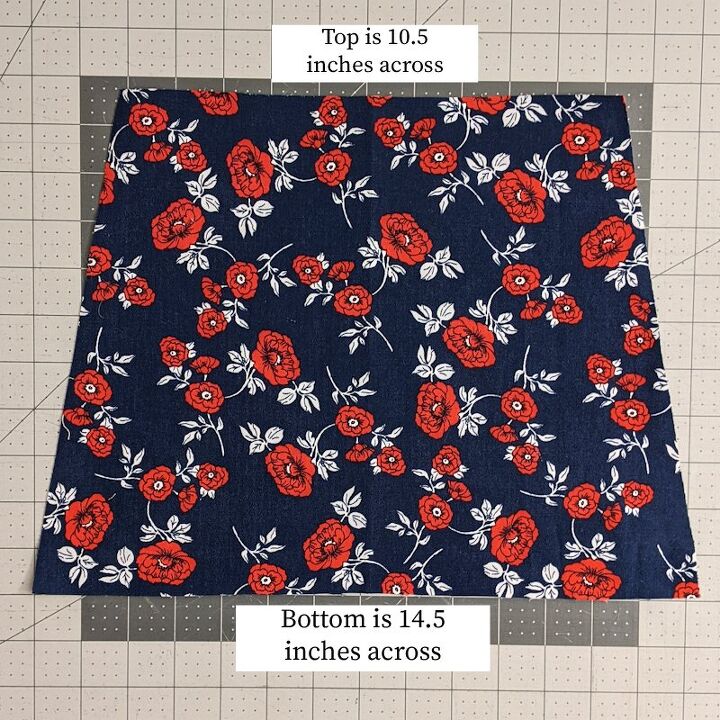
I cut the Bib portion on the fold. Here is a picture of the measurements shown cut on the fold. I used a rotary cutter and clear ruler when I cut it out which made it super easy.
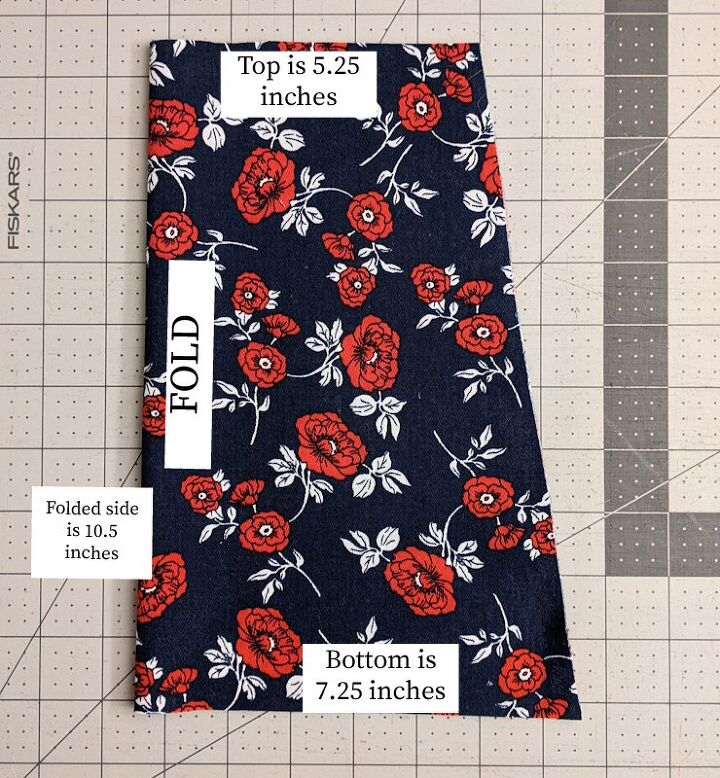
You will need to cut two bib pieces. The picture below is what my bib measurements were when unfolded.
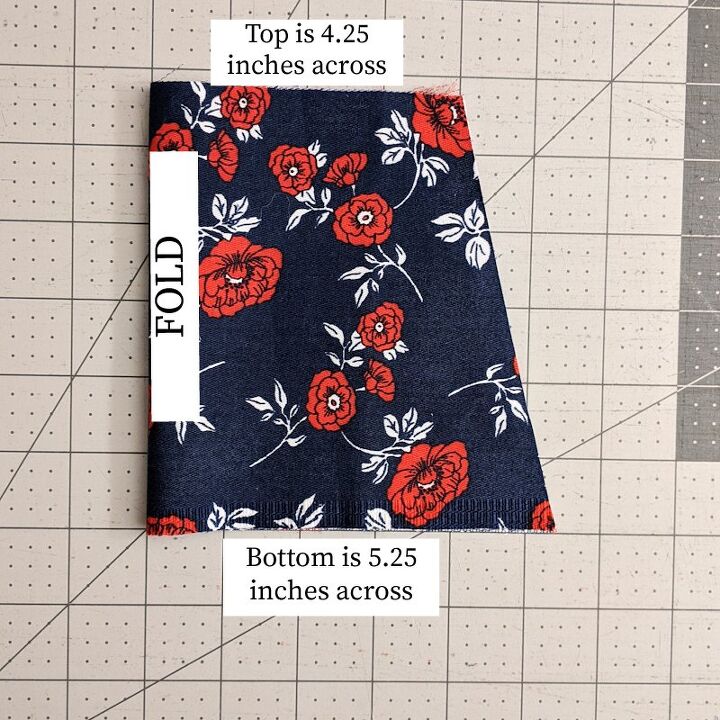
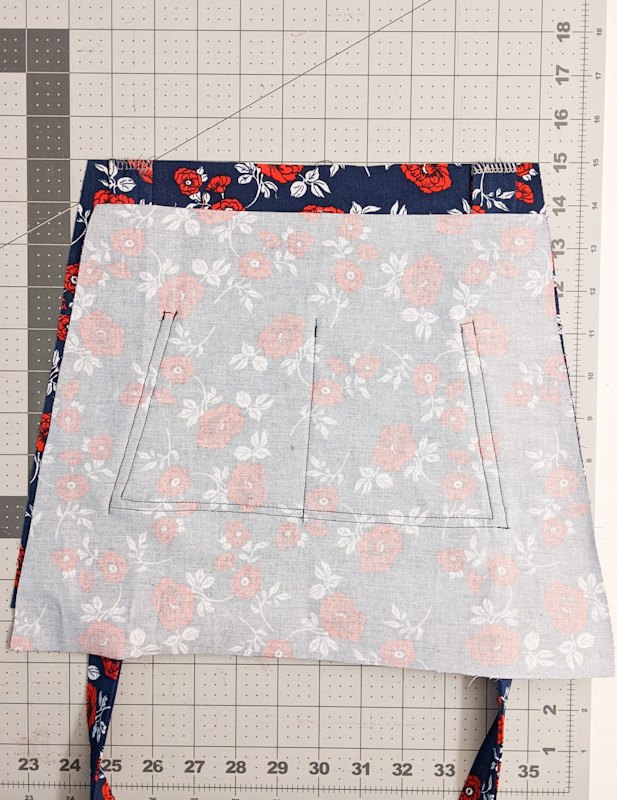
I also decided to add a little pocket which you can do in what ever shape and size you want. I made mine the same shape as my bib just a bit smaller. The picture below shows the measurements for the pocket, cut on the fold.
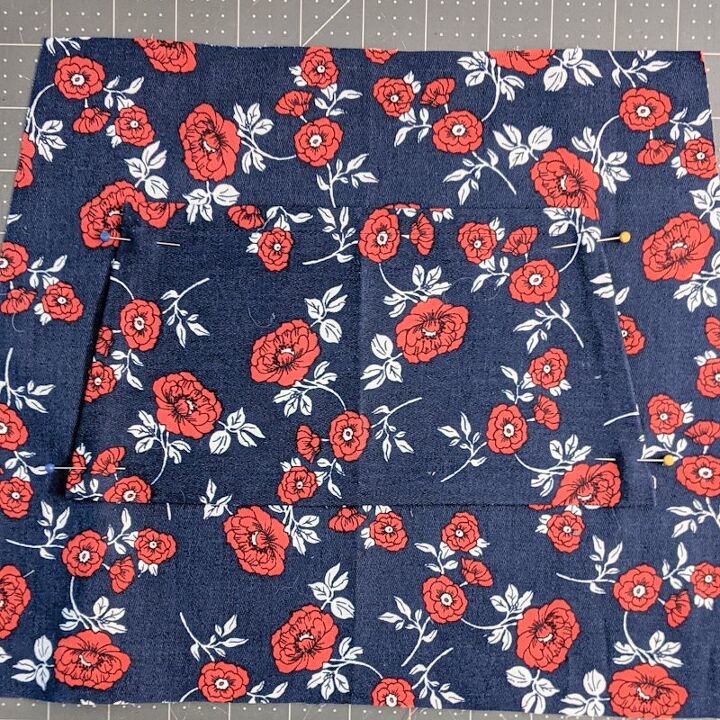
To assemble the pocket I folded and pressed the top down 1/2 inch and stitched it in place. Then I folded the sides and bottom edges in 1/4inch before placing it on the front bib piece. I placed the pocket 2.5inches from the top edge of the bib and did a double row of stitches all the way around. I also stitched it down the center to make it two pockets. For no particular reason other than I just liked the way it looked. Hopefully you can see the pocket in the picture below.
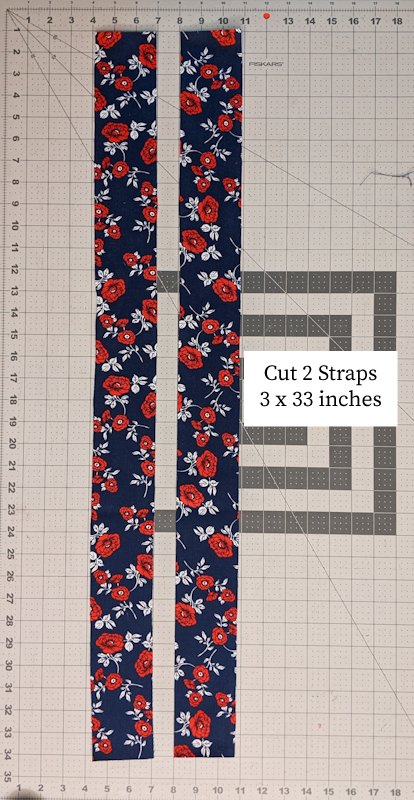
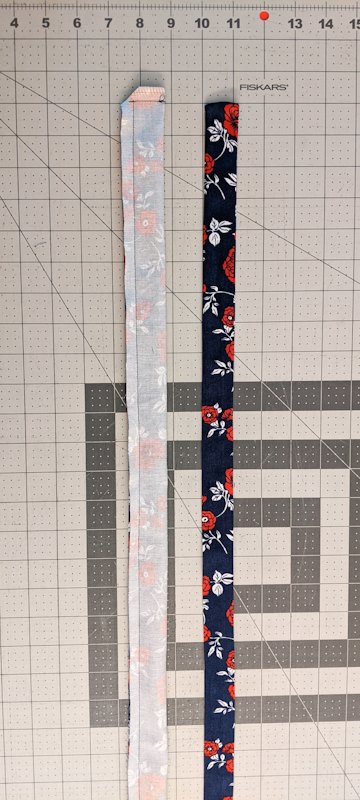
Making the Straps
Below you will see the strap measurements. My fabric is a mid-weight stretch twill so I didn't need to interface it. If you are using a more light weight fabric, you will need to use some iron-on interfacing on your straps.
I folded the straps in half long ways, sewed one short end shut and then down the long side, leaving the other short end open. Clip the corner and turn it right side out and press. Next I did top stitching down both long sides. It helps to keep the straps from twisting and losing shape.
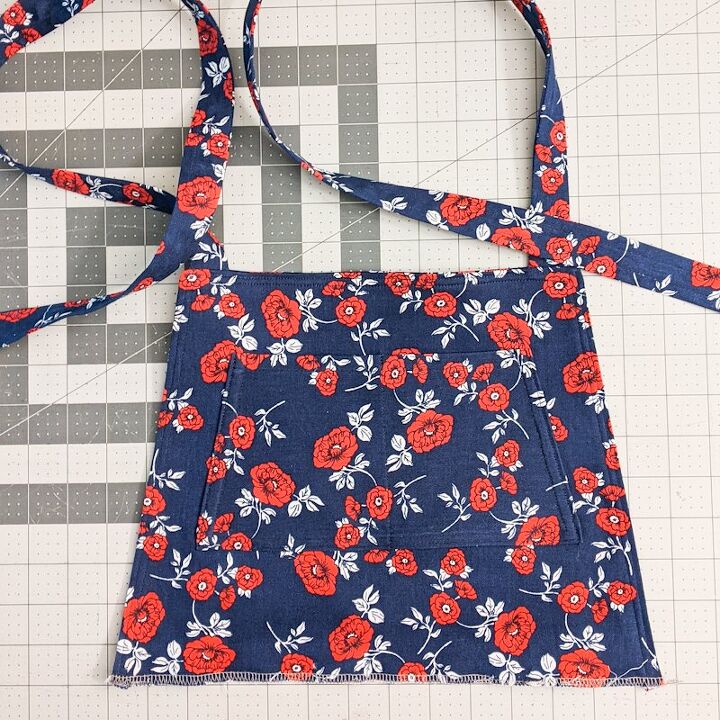
With right sides together, I placed the straps 1/2 inch away from the side edge of the back bib, then I placed the front bib on top of it, sandwiching it all together. The picture below helps to illustrate that.
Then I sewed down one side, across the top and back down the other side, leaving the bottom open where the straps are hanging out. I flipped it right side out and gave it a good press. Then I went back and did some top stitching around the edges and closed the bottom portion with my serger.
Attaching the Bib to the Trousers
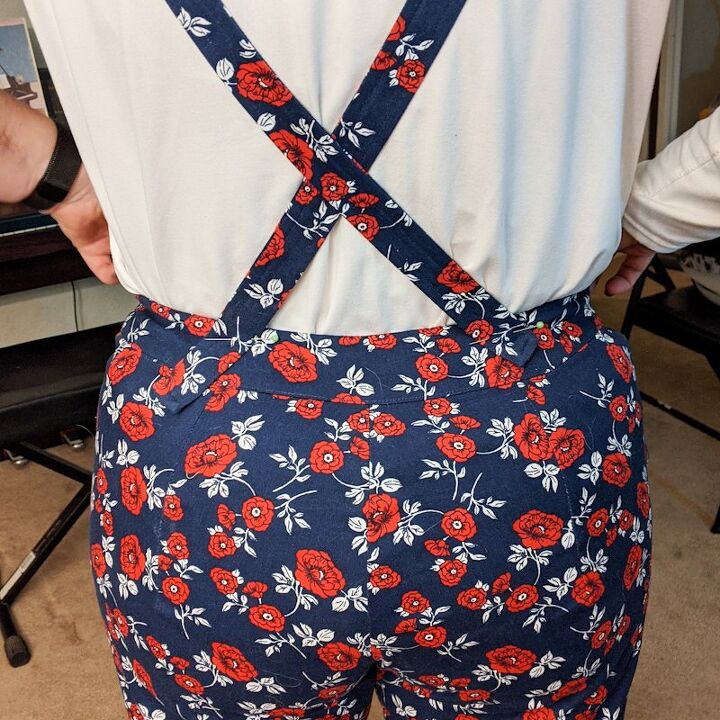
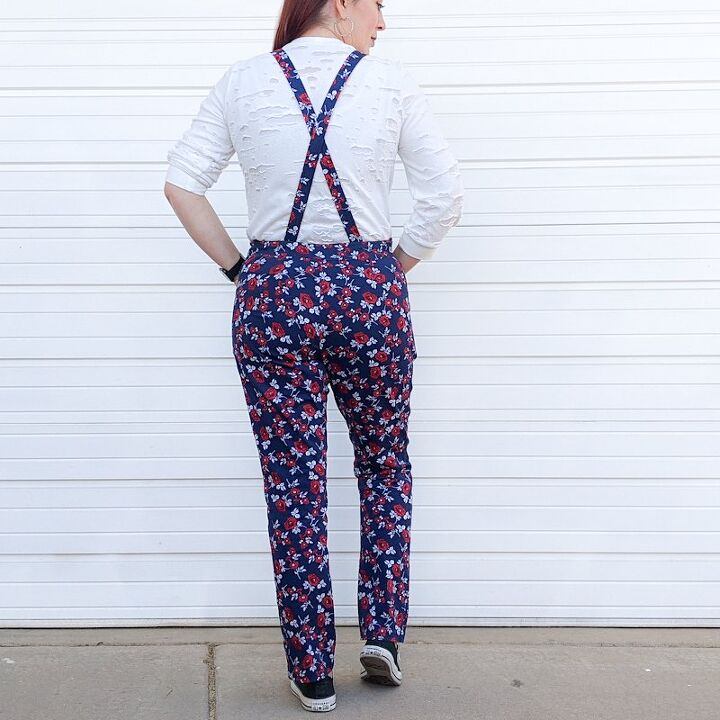
Now it’s time to figure out the placement for attaching the bib to the trousers. I started by safety pinning the bib to the middle of the trouser waistband. Then I tried it on and pinned the sides where I thought they should be. I had my husband crisscross the straps evenly across my back and pin to waistband. Then I took it all off and made some adjustments. I did this a few times until I had everything just right.
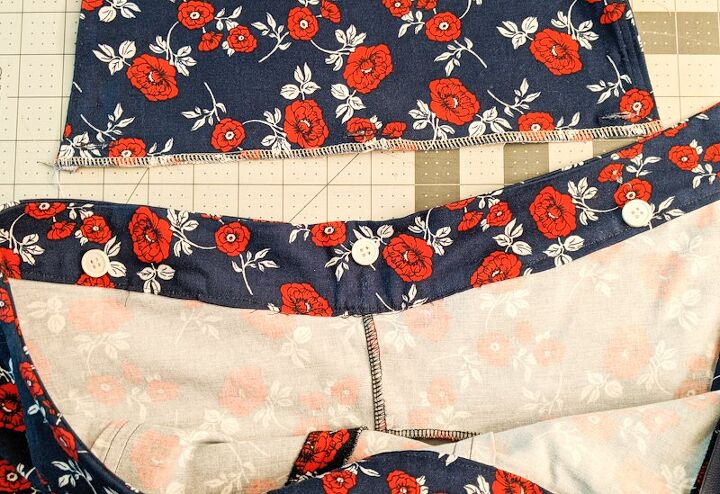
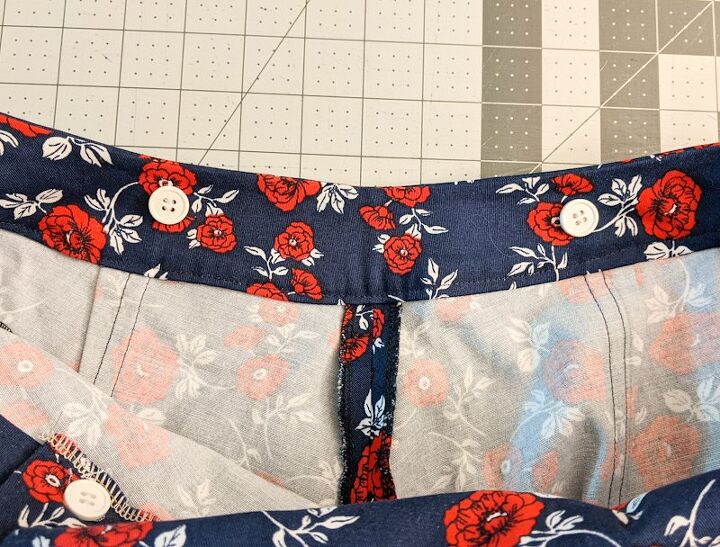
You can see in the above picture where I ended up placing my buttons. The middle button is placed much higher than the sides. I then put 3 buttonholes straight across the bottom edge of the bib.
Attaching the straps to the Back of the Waistband
Once I had the buttons and holes all in place and the bib attached, I tried it on again to make sure the back strap placement was correct. I marked both the waistband and straps so I would know where to put the buttons and holes.
In the picture below you can see where I placed the back buttons on the inside of the waistband. My trousers had darts on the back so I basically just attached the straps above those. I put buttonholes where I had marked on the end of each strap.
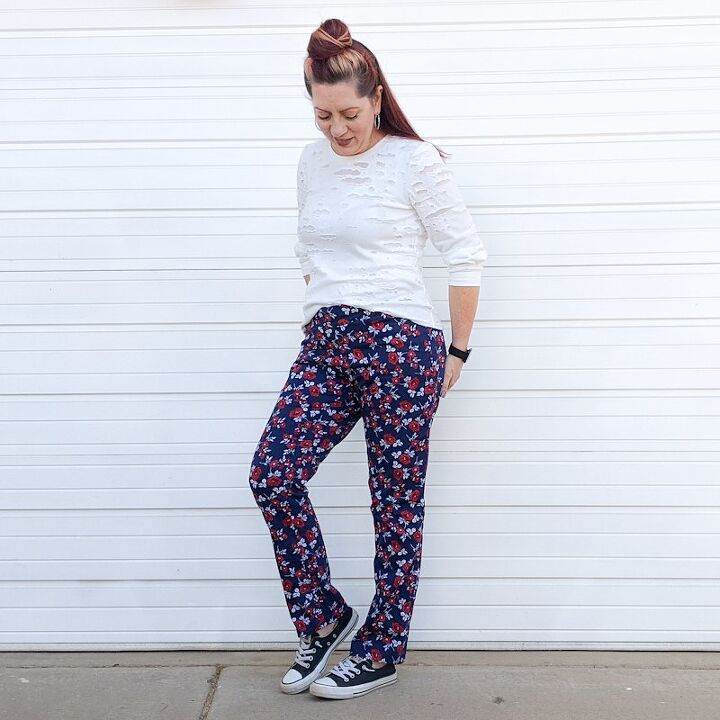
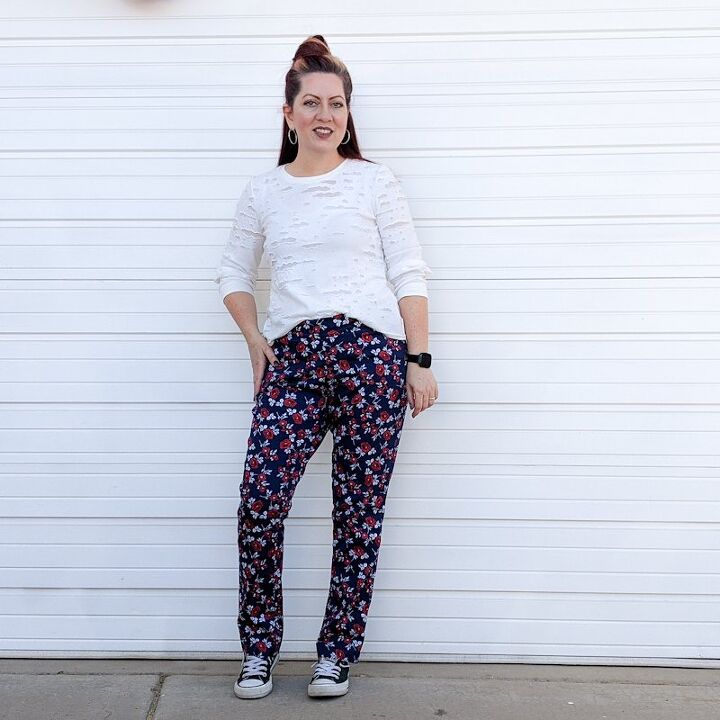
That’s it, you’re all done! The only alteration I did the the trousers was the buttons. They can easily be worn with or without the bib. I love how it turned out and I especially love that it’s not permanent. I can just attach the bib portion when I’m in the mood.
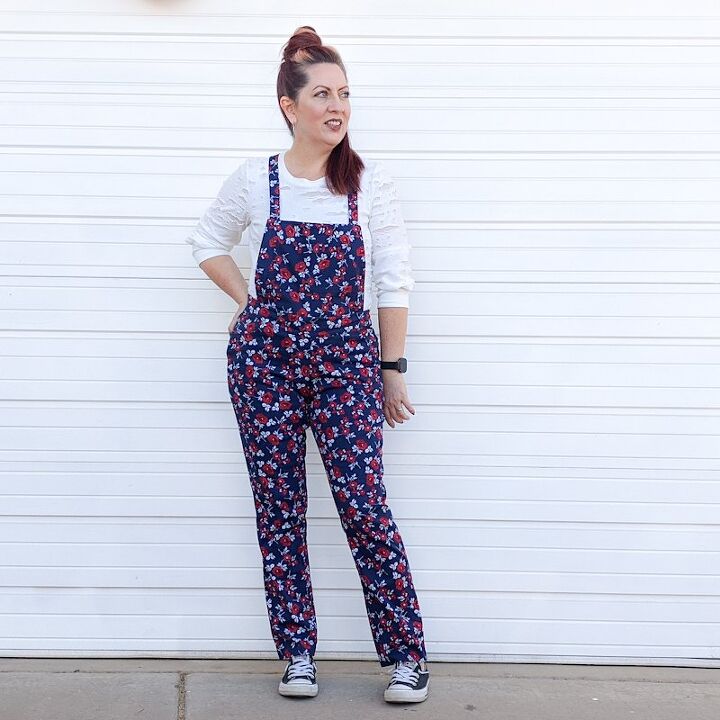
I love making small changes to garments I already have. It kind of gives them a new life. Hopefully this helps you to look at your clothes a little differently.
I think a hack like this would be super cute on a pair of shorts too! I just might do that.
Happy Sewing,
Koe
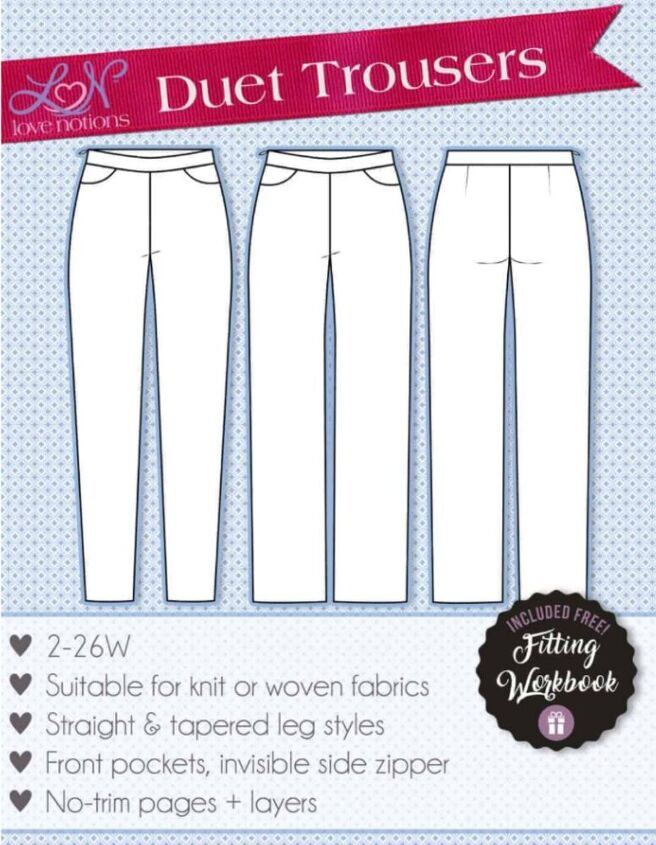
This is the Duet Trouser pattern by Love Notions. It's a pdf pattern that you can print at home or send to a copy shop. All Love Notions patterns come with projector files so you don't have to print the patterns at all. This pattern also comes with a digital fitting workbook to help you get the perfect fit. This workbook is full of great tips and tricks too. It applies not only to Love Notions Patterns but pretty much any pants/trouser pattern you are using.
The author may collect a small share of sales from the links on this page.


Comments
Join the conversation
Too cute....nice job, and you are very creative and thorough.
Very creative, adorable