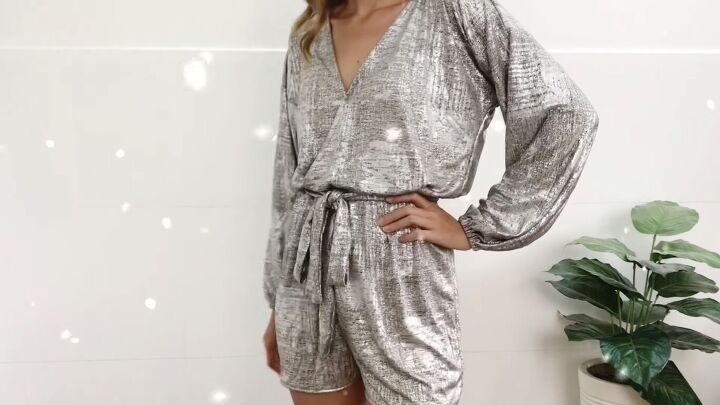
How to Make a Christmassy DIY Romper for Festive Holiday Parties

This Christmassy DIY romper is ideal for holiday parties. It's so pretty and fairly simple to make to your own measurements. Let me show you how to make your own romper to wear this festive season. Let's get started!
Tools and materials:
- 2 yards stretchy twinkly fabric
- Scissors
- Measuring tape
- Marking chalk
- Sewing machine
- Pins
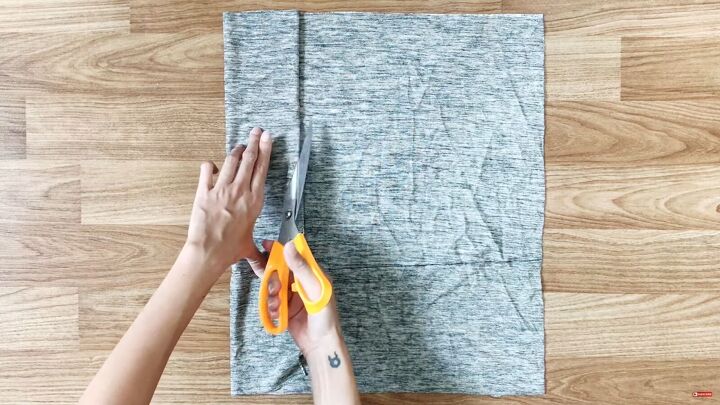
1. Women’s romper sewing pattern
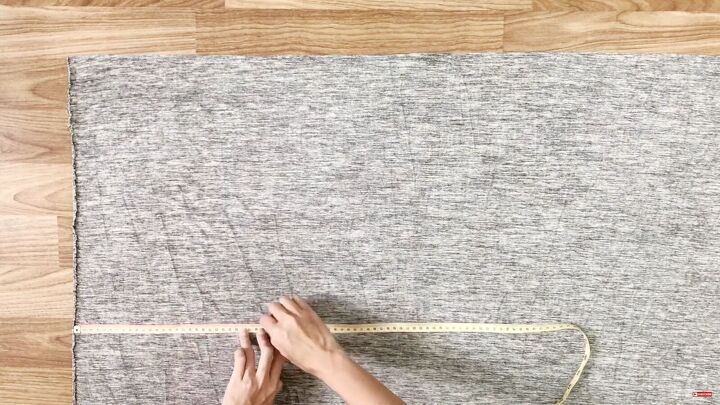
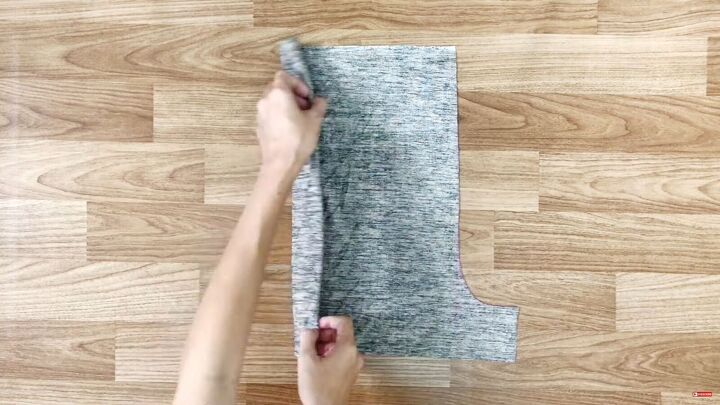
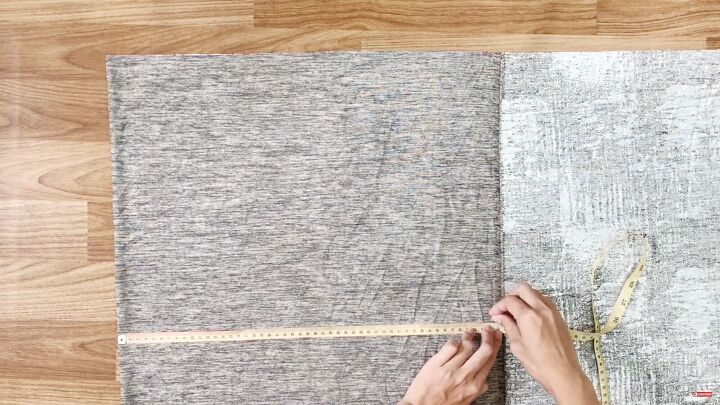
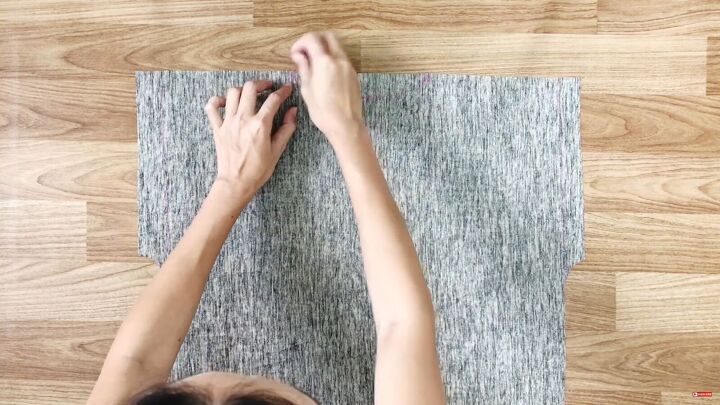
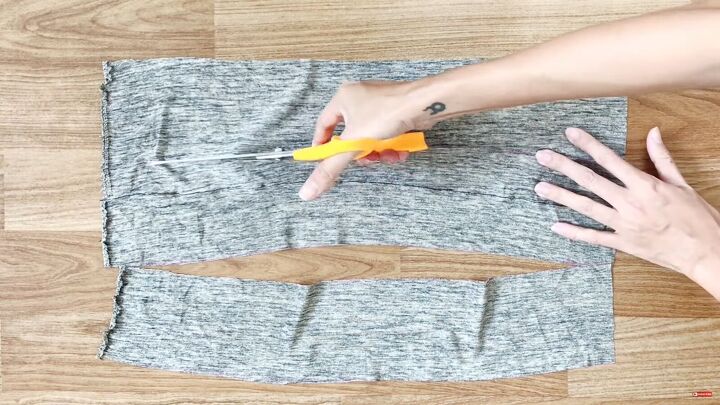
Start with the front of the shorts. Fold the fabric in half with right sides facing. Measure a rectangle 18 inches (length from waist to mid-thigh, or your preferred length) by 27 inches (half the hip size, plus 9 inches). Cut this piece and fold it in half.
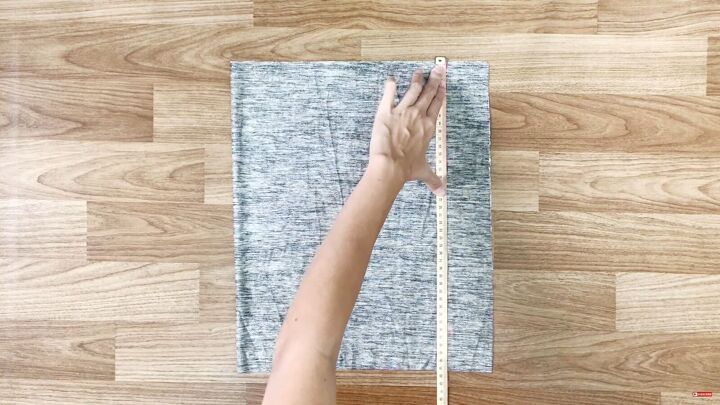
Measure 11 inches inwards from the fold, which is a quarter of the hip size, plus 2 inches. Draw a straight line down.
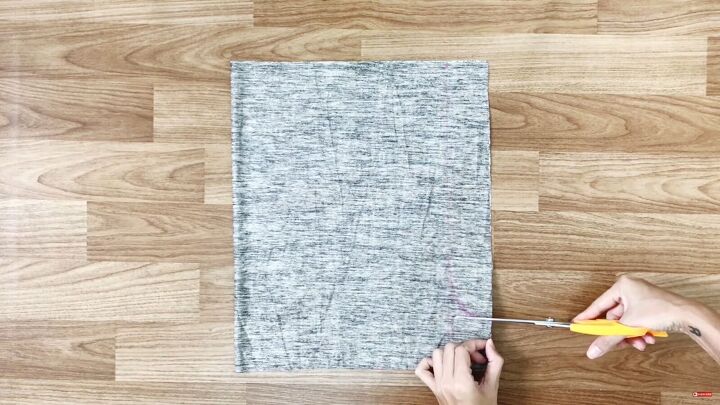
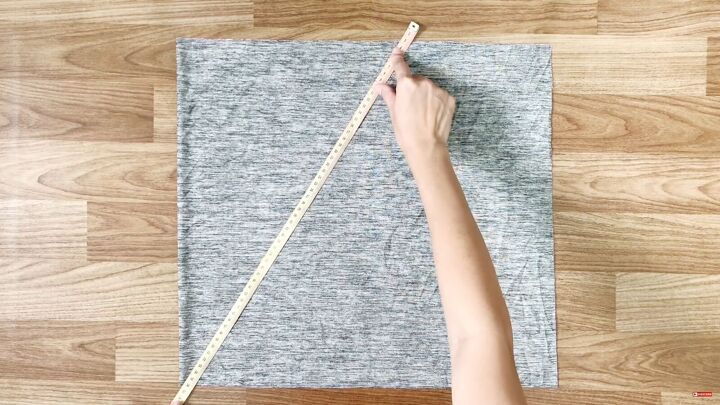
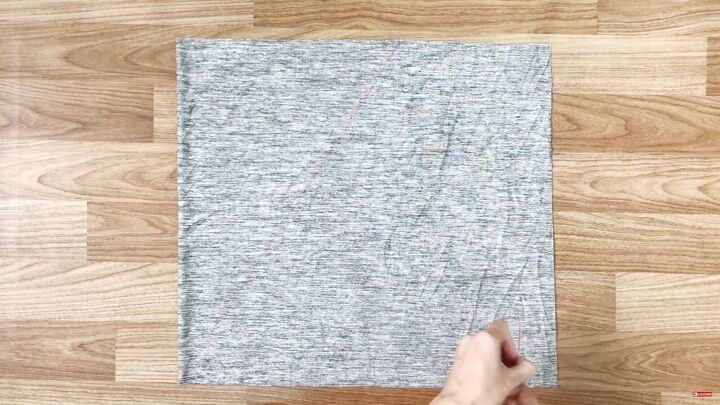
At the bottom right corner measure 3 inches inwards and draw an arc to create the crotch curve.
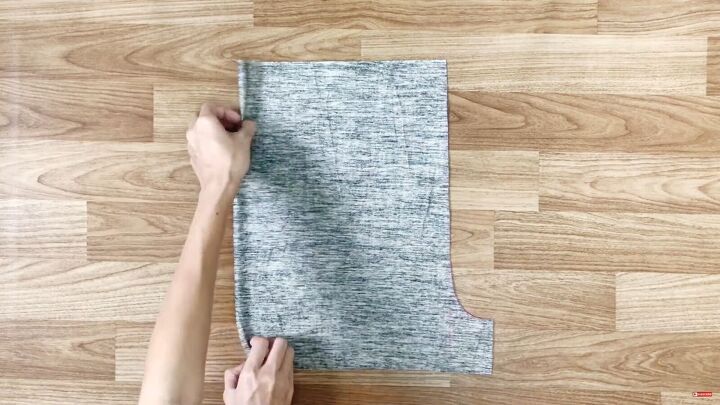
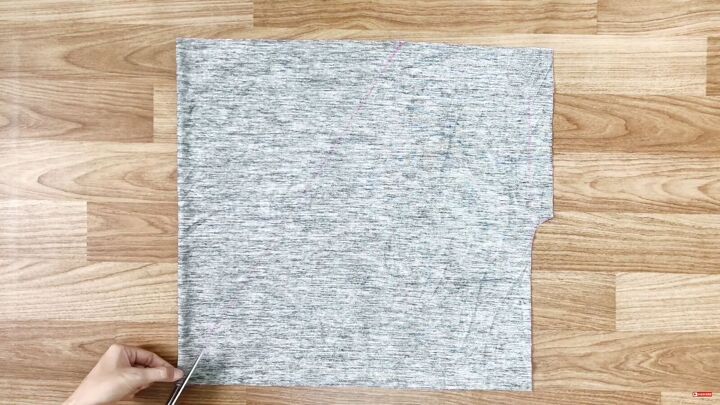
Cut the shape and also cut the fold open so there are two pieces.
For the back of the shorts, repeat all the same steps but make the rectangle an inch longer at the width e.g. 18 inches x 28 inches.
2. Sew the shorts
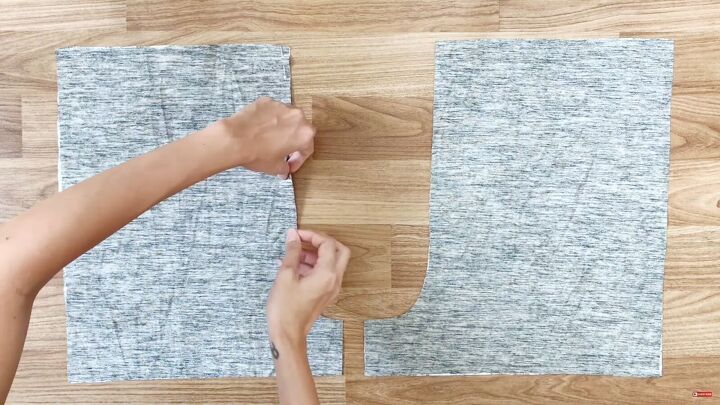
Connect the two front pieces together and the two back pieces.
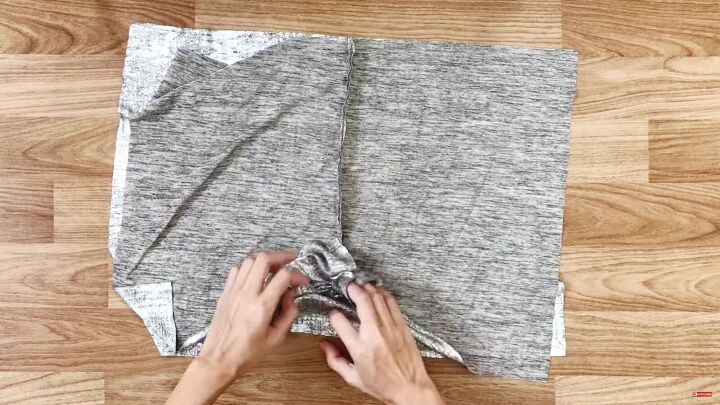
Pin the insides up to the crotch area. Sew them using a straight stitch. Once the centers are sewn, pin the side seams and crotch area, and sew with a straight stitch.
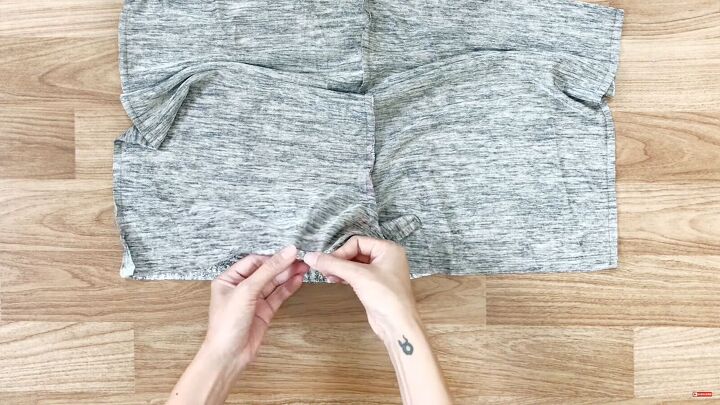
Hem the bottom by folding it over, pinning, and sewing down.
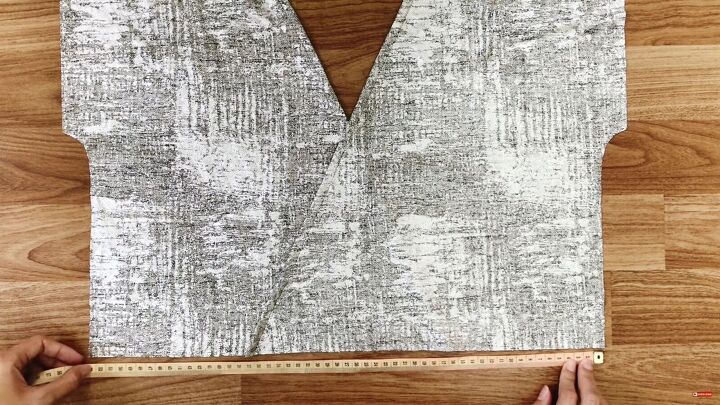
3. Make the top
Measure two rectangles: one for the front and the other for the back. The top is 15 inches (half the hip measurement less 3.15 inches) by 18 inches (length from shoulder to waist). Cut the fabric.
Fold the fabric. From the right side, go inside 8 inches and mark. Connect that mark to the bottom left corner with a diagonal line.
On the open side, draw a straight line down 1¼ inches inwards. Next, measure 9 inches (length from shoulder to armpit, plus 4 inches). Draw an arc line to connect to the straight line I drew before.
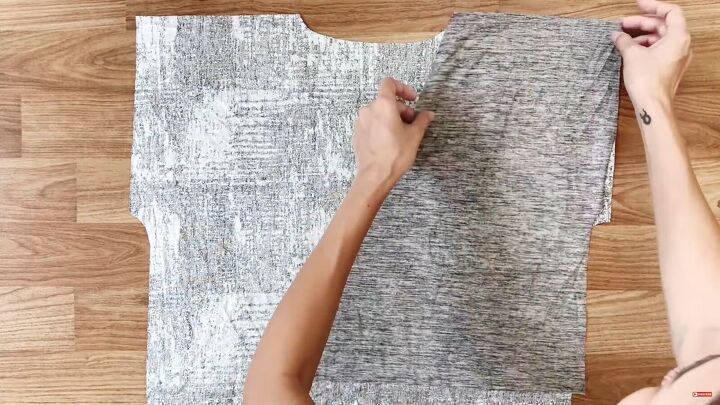
Cut the front pattern. After cutting, there are 2 pieces of the front bodice top.
For the back, measure a rectangle 23 inches (half your hip measurement, plus 5 inches) by 18½ inches (shoulder to waist, plus ¾ inch). At the two sides of the rectangle, draw 2 straight lines 1¼ inches inwards.
From the top, go down 9½ inches and draw the arc line to connect to the straight line on both sides. Cut the back pattern.
At the top, go in 8 inches and mark on both right and left sides. Draw an arc to connect these two marks together for the back neckline. Cut these pieces out.
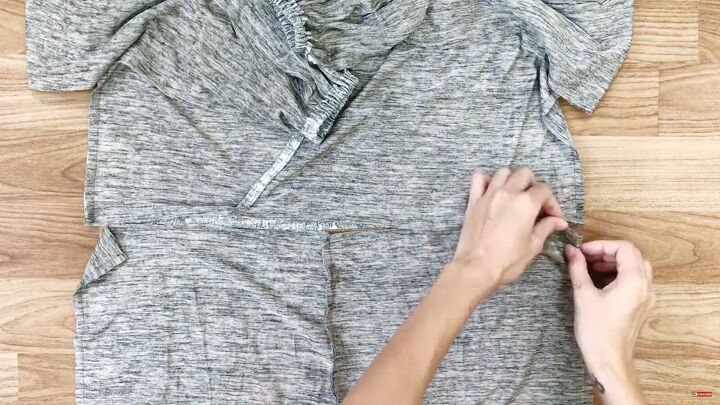
4. Sew the shoulder seams
Lay the front pieces over the back, right sides facing together. Pin and sew the shoulder seams using a straight stitch.
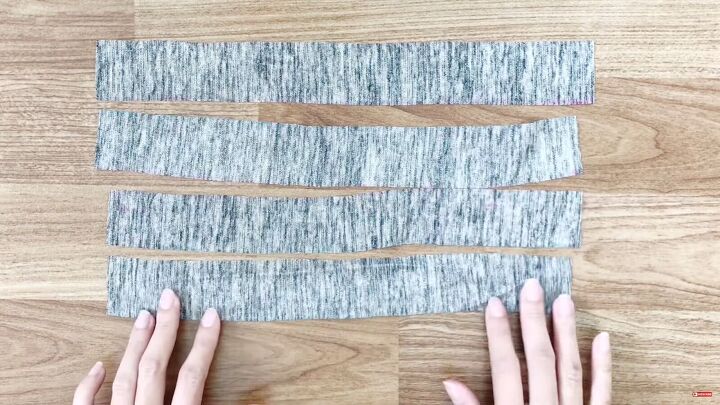
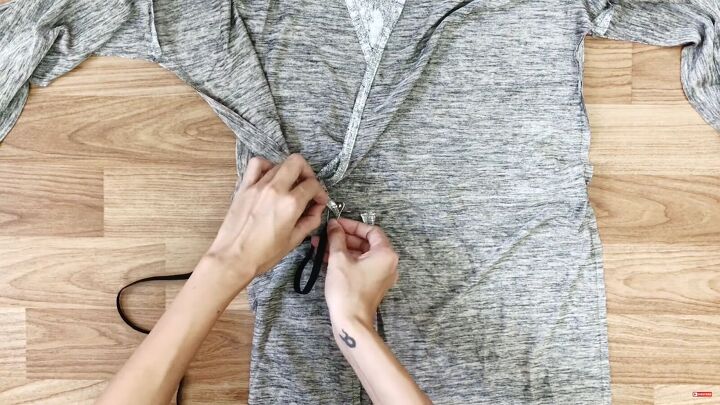
5. Create bias tape
Cut pieces about 1¼ inches wide for bias tape. You may need to connect these scraps together so it fits the entire neckline.
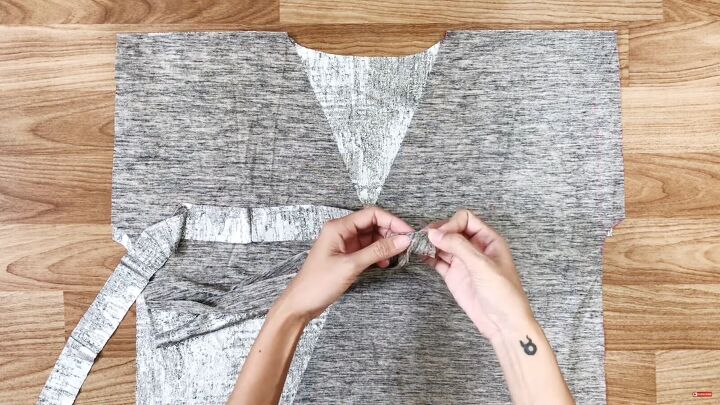
Pin the bias tape to the front on the inside and sew around the entire neckline and front.
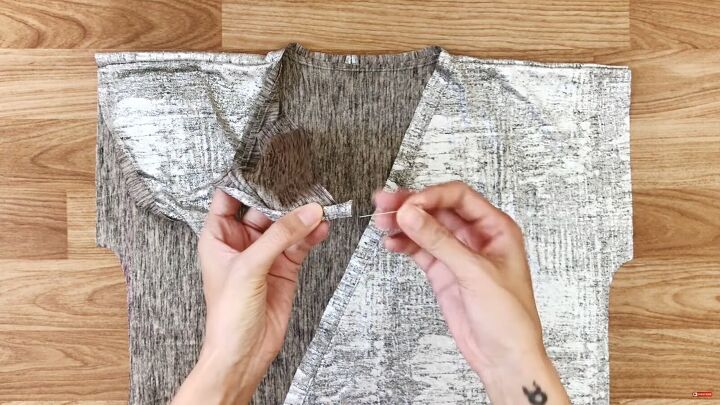
Fold the bias tape twice to secure the excess fabric inside the neckline.
At the front part of the top, lay one piece over the other. The width is 20½ inches (half the hip measurement, plus 2½ inches). Pin and sew with a straight stitch.
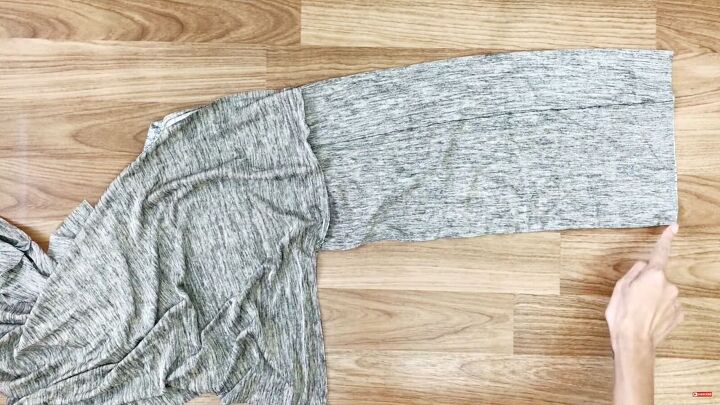
6. Make the sleeves
Fold a rectangle that measures from the shoulder to the wrist. My measurement was 18 inches by b17⅓ inches Cut the fabric.
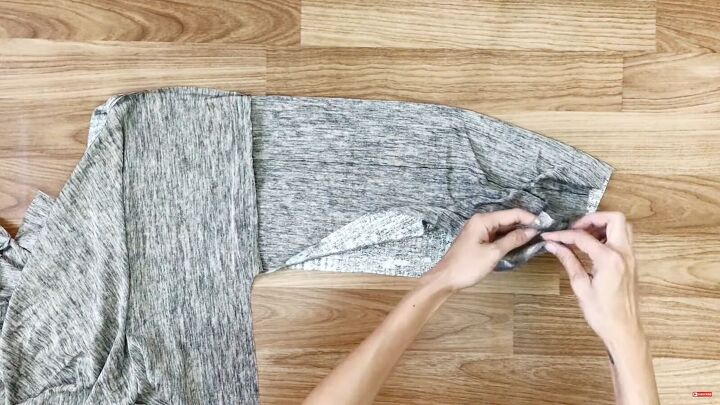
7. Attach the sleeves
Pin and sew the sleeves to the sleeve cap. The,n sew up the inner seams and side seams with right sides facing together.
8. Add elastic to the cuffs
Make a casing for the elastic at the sleeve bottom by folding the sleeve over a bit wider than the elastic.
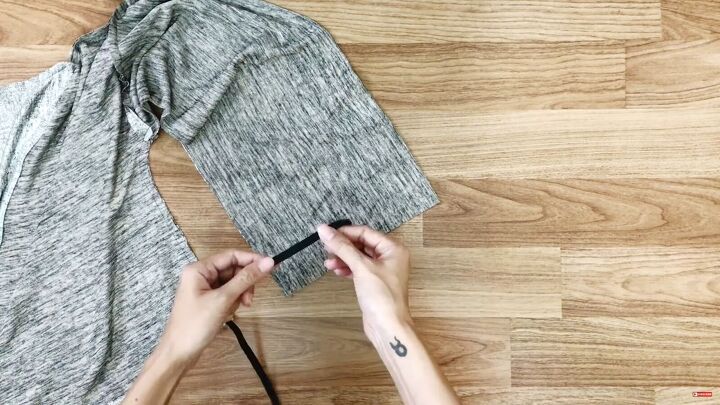
Pin and sew in place leaving a space in the casing. Use a safety pin to pull the elastic through. Once the edges meet, sew the elastics into a secure loop. Sew the hole closed. Adjust the fabric around the elastic to create a puffed balloon sleeve.
9. Connect the top and bottom
Pin the side seams of the shorts and the top together first. Once they are aligned, pin the rest of the garment. When sewing them together, sew ¾ inches from the edge to create a casing for the elastic at the waist.

Fold over the seam allowance to make the casing.
Use a safety pin to pull the elastic through, then close up the space.
10. Make a belt
Use a strip of fabric 4 inches wide by whatever length you like.
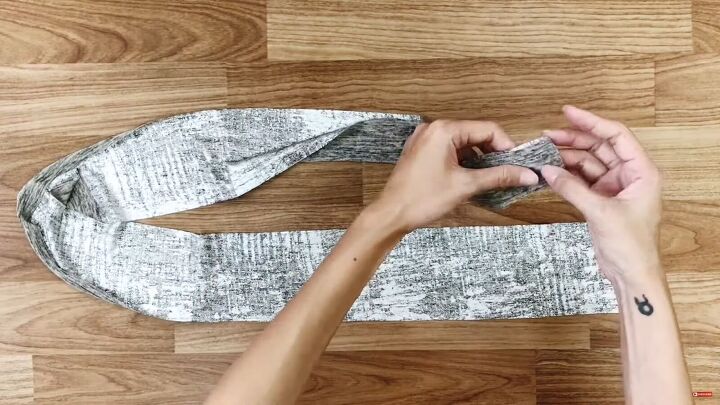
Fold it in half right sides together and sew the length of the belt. Pull the belt so it is a long tube and right sides facing out. Tuck in the raw edges at the short ends and sew them down.

DIY romper tutorial
This Christmas-inspired DIY romper is so pretty and sparkly! Perfect for the holiday season and going out to a party. It's not loose and comfortable, yet glamorous; lending itself well to dinner and dancing all night! Let me know what you think in the comments.
The author may collect a small share of sales from the links on this page.


Comments
Join the conversation
Super cute!