Duplicating Boutique Overalls

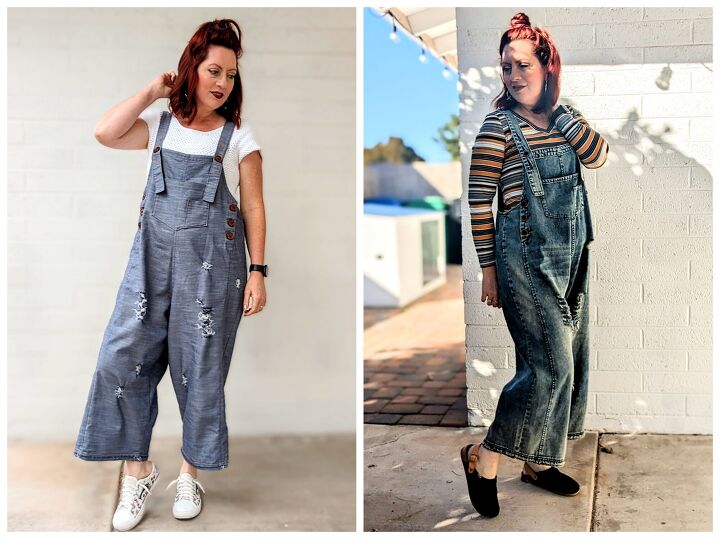
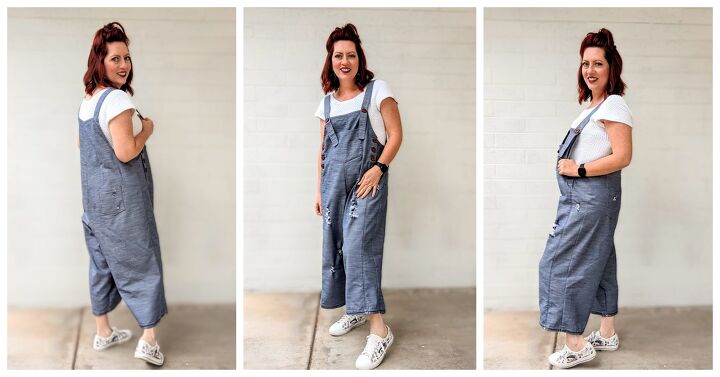
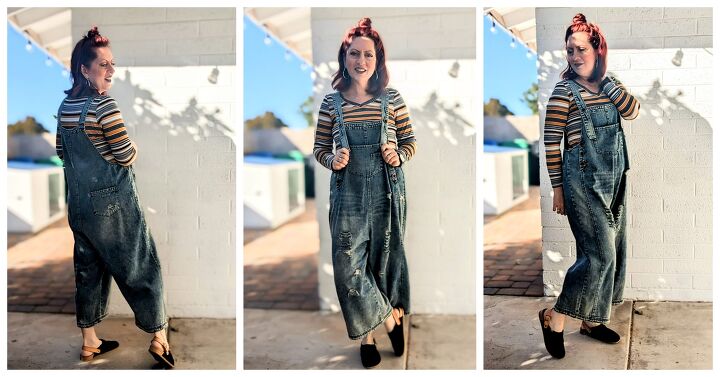
I recently purchased the most comfy, unflatterning, baggy pair of overalls from an online boutique and I love them fiercely. I make 99% of the clothing I wear so this was definitely out of character for me to purchase something like this. With their comfy and rugged aesthetic along with a 30% off discount I had to get them . Plus, I figured it would be a good opportunity for me to work the old brain muscle and take a pattern off of them so I could replicate them over and over. If I took a pattern from them I could make a few pairs for myself and my sisters and not have to pay the crazy boutique prices for another pair. Cuz I was definitely going to want another pair. I could make them in every color of the rainbow if I wanted, and out of what every fabric I found suitable and not be limited to whatever the boutique had on sale. It was a win, win.
Choosing the Right Overalls
While an experienced sewist can take a pattern off almost any article of clothing, a new or beginner sewist may want to pick something with more simple construction at first. The overalls I purchased were quite simple looking but there were a few design details that made this less beginner friendly. So you will need to take that into consideration.
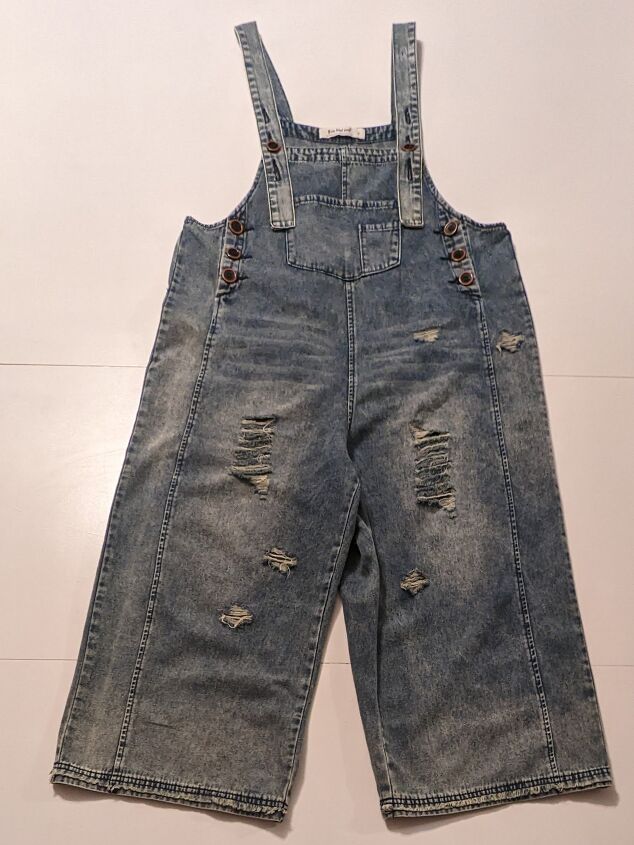
As you’ll notice, these overalls had a side panel with a functioning button placket. You may or may not need the buttons to actually function so that will play a part in this project. If you do need the buttons to function to get the overalls on, you will need to know exactly the dynamics of making a button placket.
Although, it’s not super complicated. If you have constructed one before from sewing together something else you can most likely figure out how to draft one for a pair of overalls. Or if you don’t need it to function you can simply sew some buttons on for aesthetics.
Measuring and Tracing
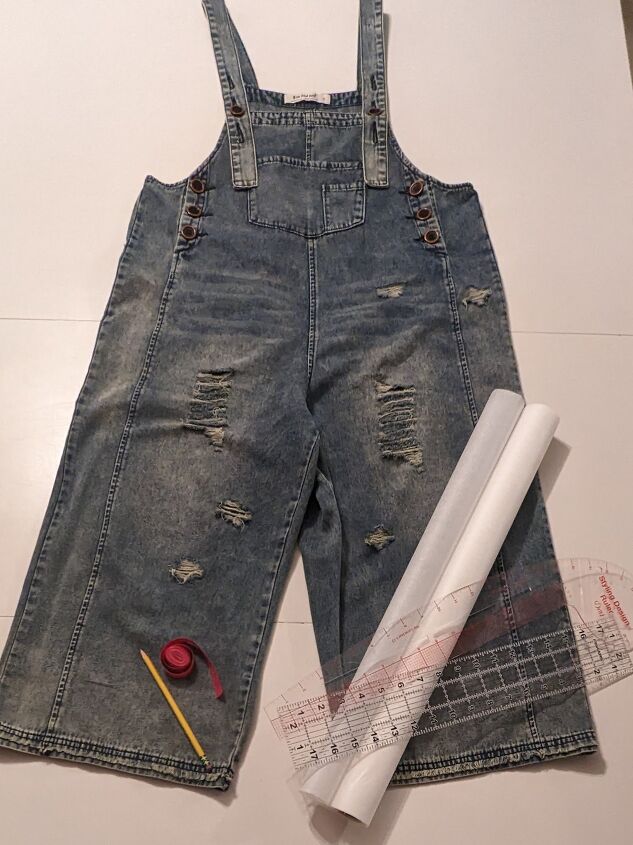
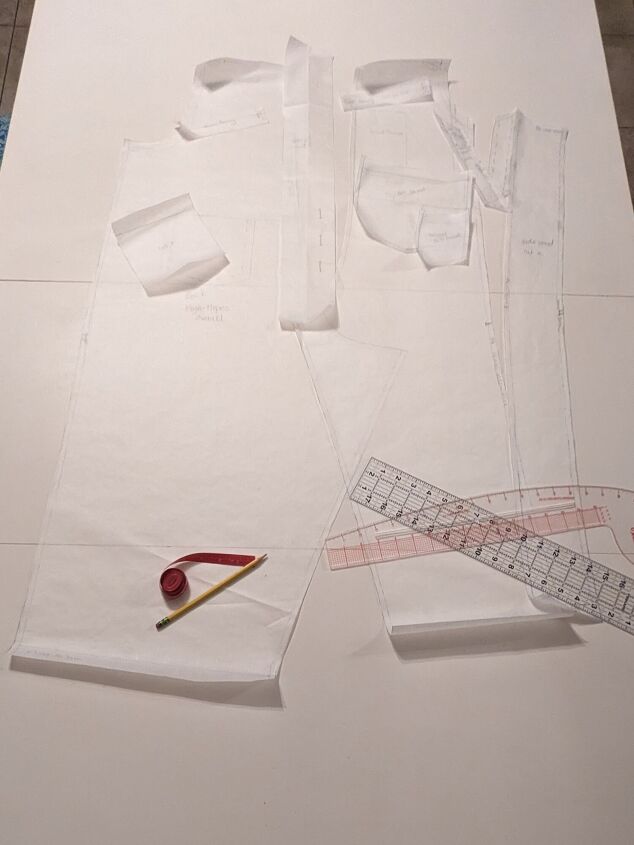
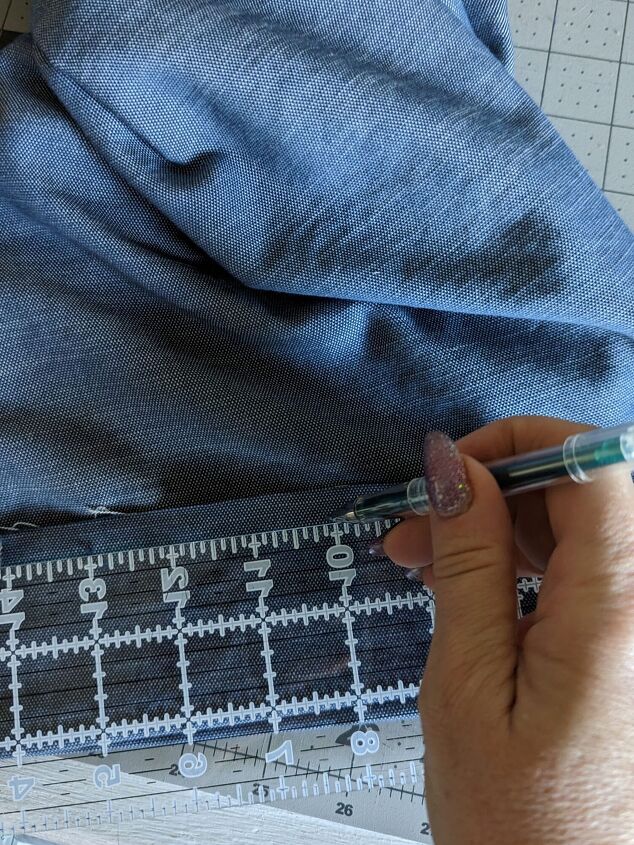
Below you will see the things I used to take a pattern from these overalls. Tracing paper, a pencil, measuring tape, clear ruler and french curve ruler.
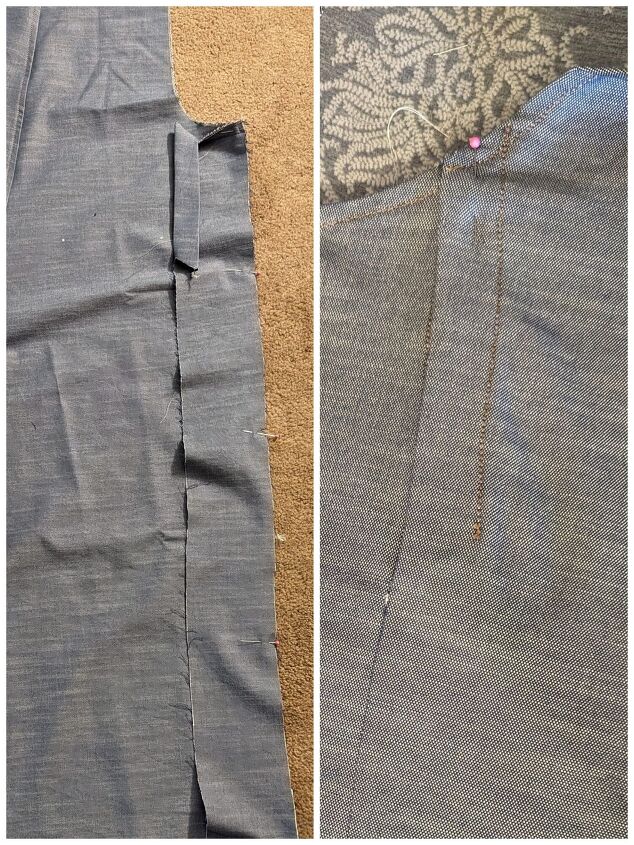
Something that plays a big role when taking a pattern off another garment is Measuring. Even if you think you traced the garment accurately, you will still need to measure all connecting side seams to make sure they all meet up and you don’t have a back side that is way longer than the front side. Something that helps me get an accurate measurement is turning the garment I am tracing inside out and using pattern weights and tape to hold things in place. That way I can focus on one piece at a time. I trace the sections of the garment, then I measure what I traced and measure the section of garment I traced.
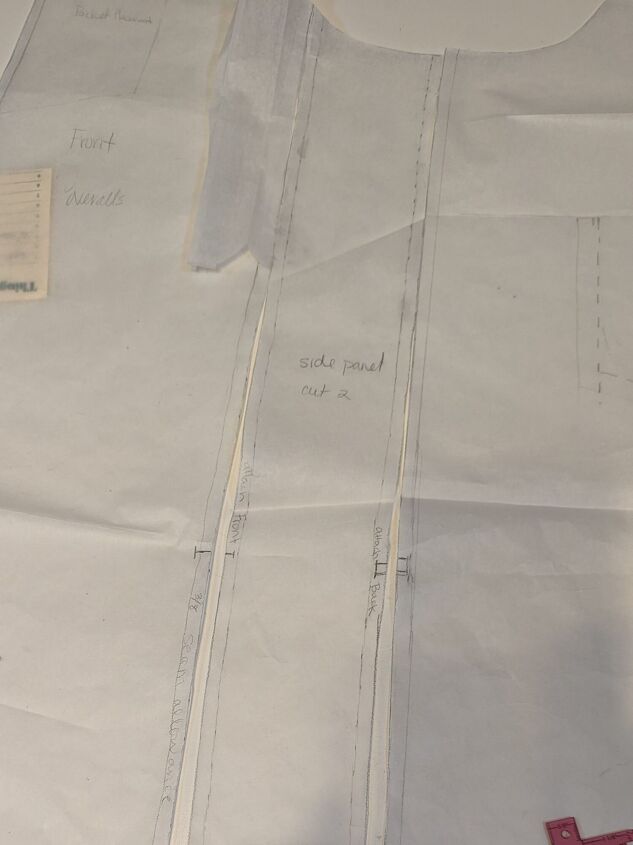
It’s also good to make notes and mark on the pattern any directions that will help you construct it. For instance, I have a side panel on these overalls so I marked with a double notch the part that is attached to the back. Then I marked the corresponding back area where it was going to attach with a double notch too. I marked the front side with a single notch and the corresponding front area where it was going to attach with a single notch as well.
Adding Seam Allowances
Seam allowance refers to the area between the stitching and raw, cut edge of the fabric. The seam allowance is an important part of garment construction and is usually unseen, inside the garment. Seam allowance provides enough extra between the seam line and the cut edge of the fabric to make sure that the fabric will be safely caught as they are being joined together.

Once I had traced out all the overalls pieces I added a seam allowance to each pattern piece before I cut it out. In some places I added a larger seam allowance, like the bib and underarm area by the placket. Knowing where to add more seam allowance was based on how I was going to construct the overalls. For instance, around the bib edges I wanted the raw edges to be turned under ¼ inch then turned under ½ inch.
Then for the top of the bib I needed to do a facing to accommodate the straps. I adjusted my seam allowance to suit those needs.You need to be thinking ahead. Tracing and taking a pattern from a garment helps you understand the construction of the garment which helps with seam allowance.
Cutting Out the Pattern
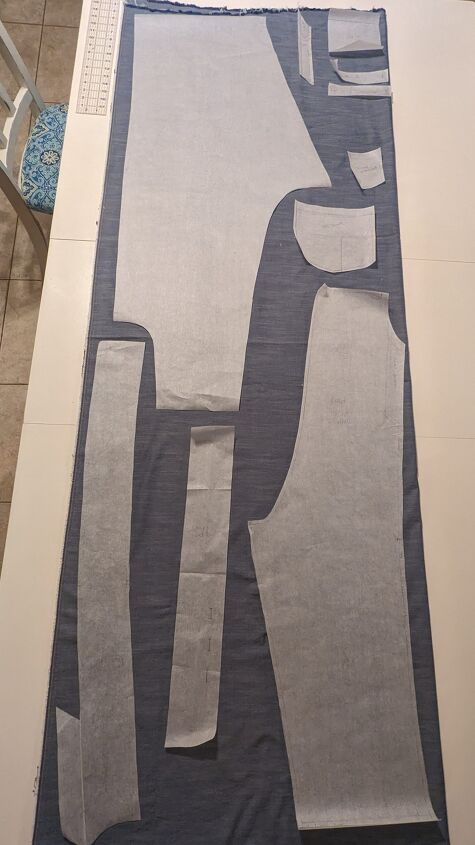
Before you cut any fabric out, make sure you have washed and dried it according to the fabric care instructions. That way it will be less likely to shrink once your garment is complete. You also need to consider fabric grain direction. You don’t want to cut something out with the stretch going the wrong way. That could make the pieces not match up when sewing it together and pull weird once you wear it. I always like to lay my fabric out and place all the pattern pieces on it to make sure I am getting the most out of my fabric. I try to conserve as much fabric as I can so I have as little waste as possible. It’s much faster to use a rotary mat and cutter when my space allows, but sometimes it’s just not possible. I always have several sharp pairs of cutting scissors at the ready. Make sure you transfer and markings so that it’s easier to construct the garment. I like using these heat erase pens when marking my fabric.
Testing the Fit
It’s important to test the fit. I tried on my overalls after sewing certain parts to make sure that they were fitting correctly. I found that the back straps were too far apart resulting in them slipping off my shoulder. I was able remove some fabric from the center back before I had advanced to far in the construction. I also adjusted the pattern pieces to fit the adjustment I made to the garment during construction. Its important to remember to do this so that if/when you make another one you wont have to make any adjustments.
Sewing and Finishing
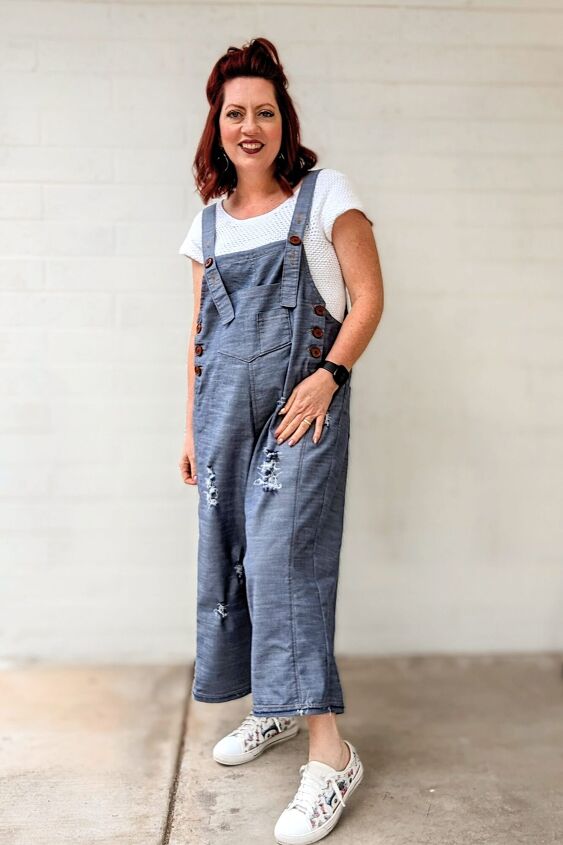
I loved the rugged, worn-in feel of the original pair of overalls so I wanted this pair I made to have a similar feel. For this reason, I made sure to topstitch the same seams as the original pair. Conviniently, I have two sewing machines, one threaded with topstitch thread, one with regular machine thread. This allowed me to topstitch as I went and not wait untill the end. Topstitching can sometimes be tricky because you have to leave certain areas unsewn in order to top stitch other areas. So take your time and consider each step carefully.
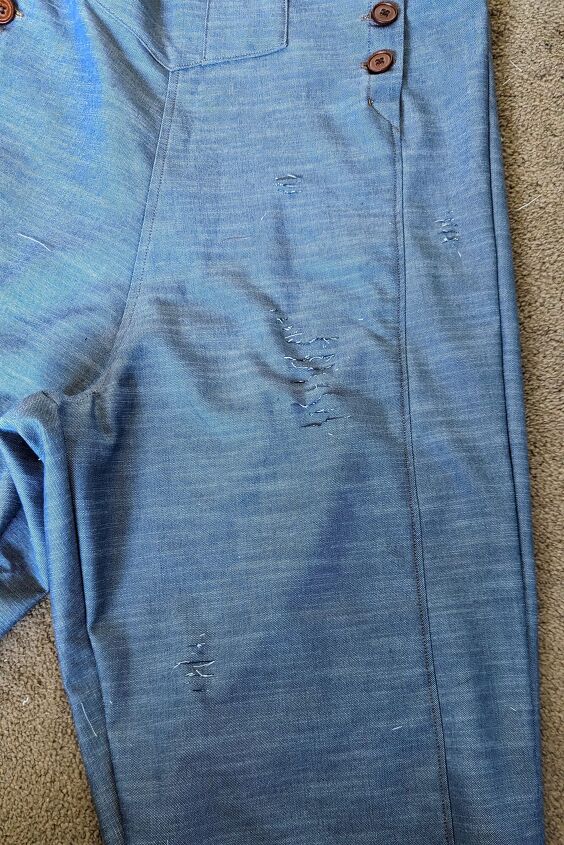
I chose buttons that were very similar to the original pair of overalls. Although they are a different color, their size and shape is the same as the original. I even tried to distress the garment in the same areas. I did that by using some sharp scissors and measuring tape. I wanted the distressing to be in roughtly the same areas as the pair I was duplicating.
I also replicated the original hem too. It was unlike any hem I had seen before and I really liked it. It was what looked to me like a raw edge hem with an attached folded hem. So I did just that.
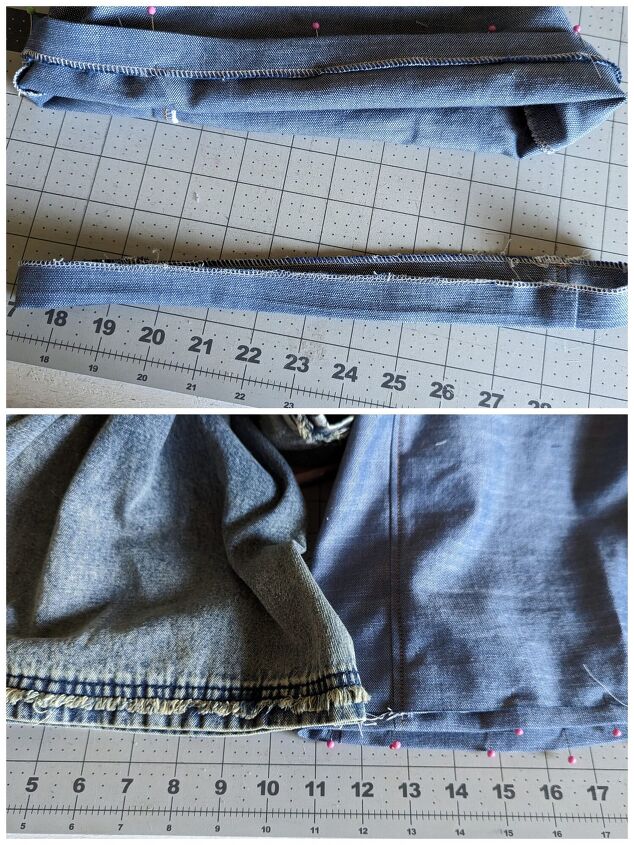
The finishing touch was to get the soft frayed edges. To do that I ran the overalls through the washer and dryer with a couple towels. The overalls came out of the dryer perfectly distressed with soft frayed edges like I wanted.
Conclusion
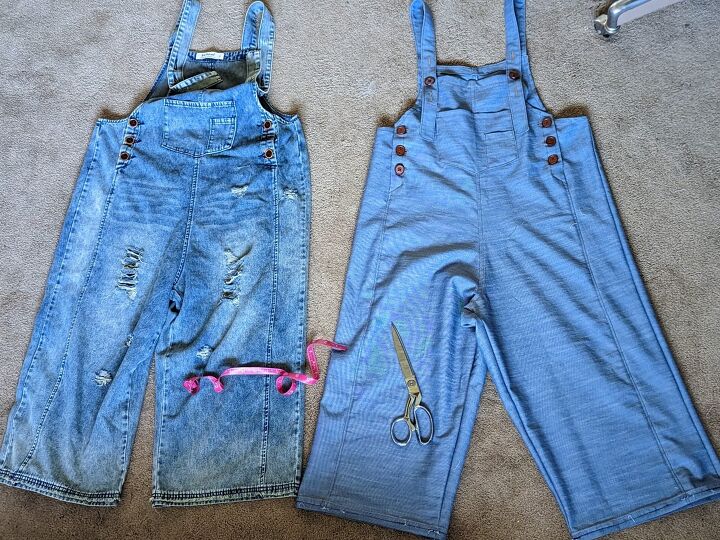
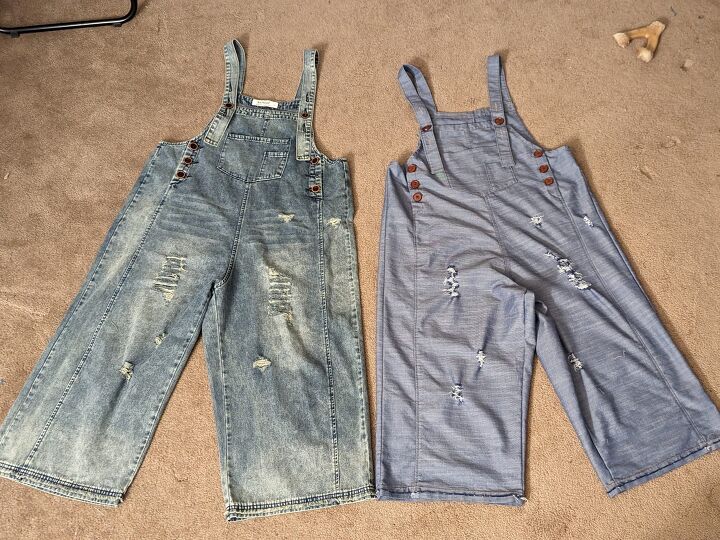
I really had a lot of fun taking a pattern from this boutique pair of overalls I purchased. While it was definitely not the easiest project to take, I learned a lot and put some extra wrinkles in my brain. It was, I guess, a really expensive way to get an original pattern not found in stores. I definitely couldn’t have drafted this pattern on my own without purchasing the garment. Now I have two pair of super comfy, unflattering pair of overalls and I couldn’t be happy
So it was like taking a self-led, hands-on garment construction class! This is definitely something I need to do more of in the future. What about you? Have you taken a pattern off a garment you’ve purchased? If not, give it a try! You can definitely do it if you put your mind to it.
Let’s be friends!
If you are looking for a pattern suitable for more than one occasion, hopefully this post helps you figure out what will work best with your wardrobe needs. Let’s be friends on all the socials! Come follow along on Pinterest, Instagram and Facebook so we can chat about all our sewing projects!
The author may collect a small share of sales from the links on this page.


Comments
Join the conversation