Free People Dupe: How to DIY a Cute Romper

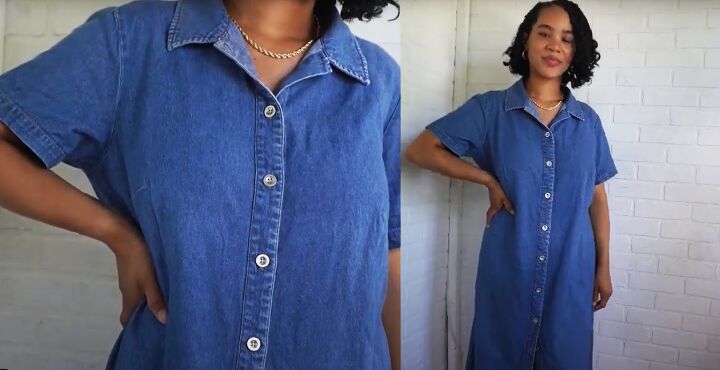
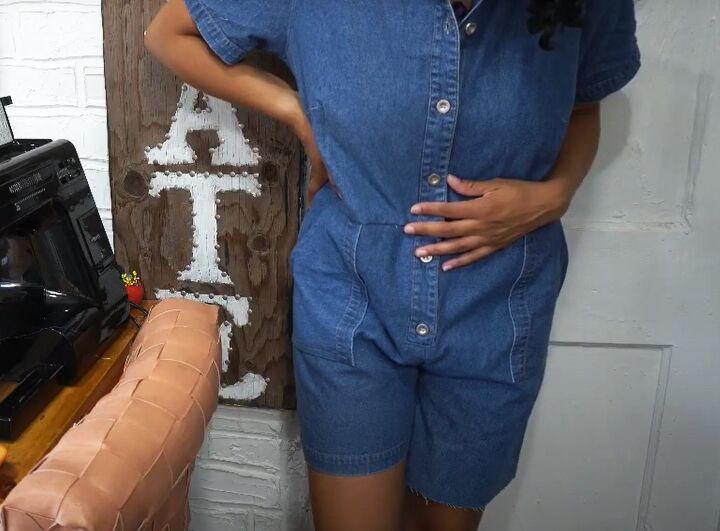
I've been loving the Free People romper styles on Pinterest and really wanted one, but they're over $100!
Then, I found this denim dress and decided that with some careful thrift flipping I could make my own romper DIY.
The final look I got was very close to the one I'd been yearning over, even after my silly mistake.
Tools and materials:
- Button through dress
- Shorts for template
- Tailor's chalk
- Pins
- Scissors
- Ruler
- Sewing machine
- Serger (optional)
1. Mark the waistline
Try the dress on and mark just below your belly button for the waist seam.
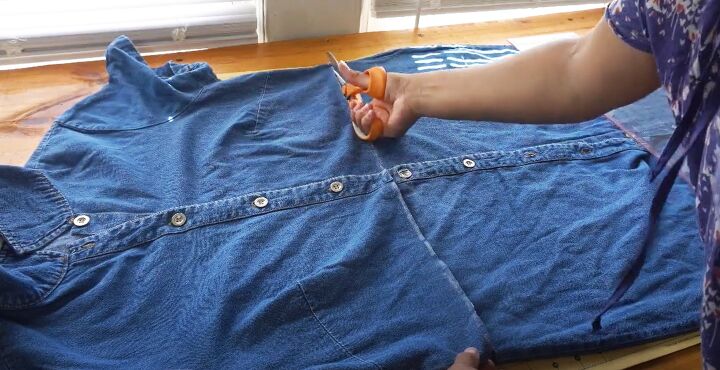
Cut straight across the dress at this point.
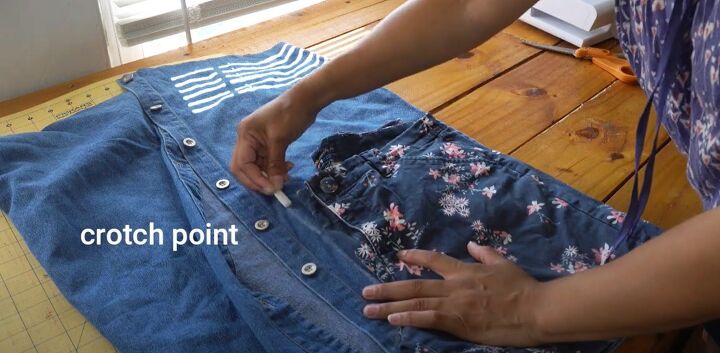
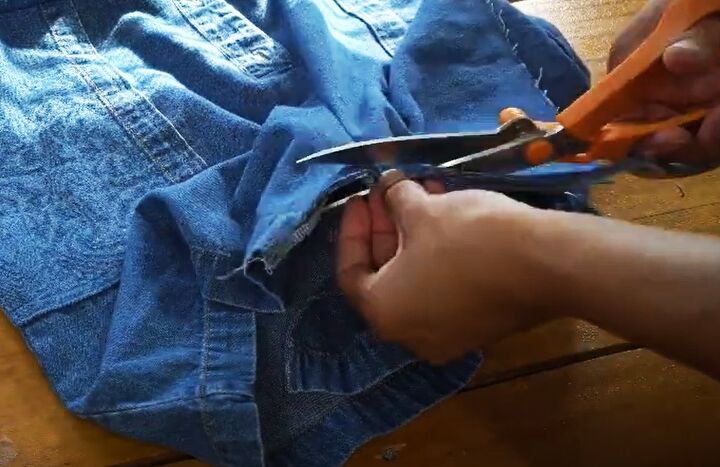
2. Cut out the shorts
Use a pair of baggy shorts as a template for the bottom half of the romper.
Fold the shorts in half lengthways and trace them on to the dress.
Make sure that the length of the front crotch curve is a bit more than the measurement from your crotch to just above your belly button.
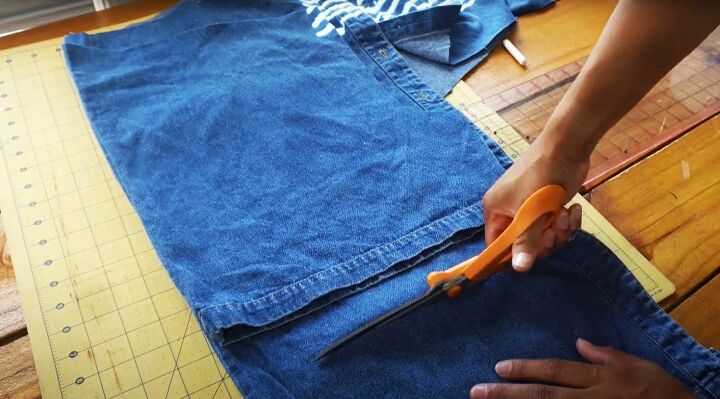
I wanted to make the side seams of the dress the side seams of the shorts, plus keep the original hem of the dress as the hem of the shorts.
I cut into the hem on one side by mistake so I had to make that leg 1.5 inches longer at the bottom and hem it later.
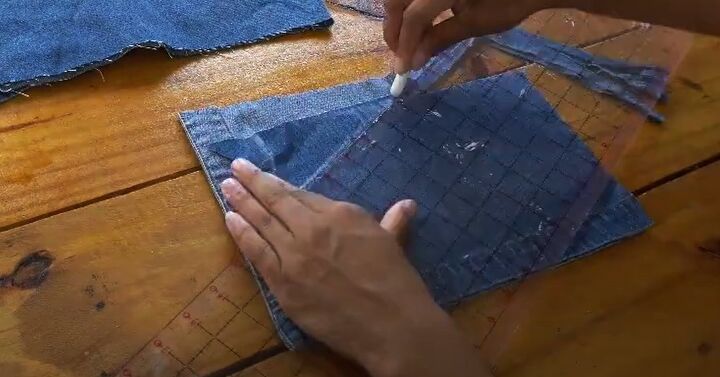
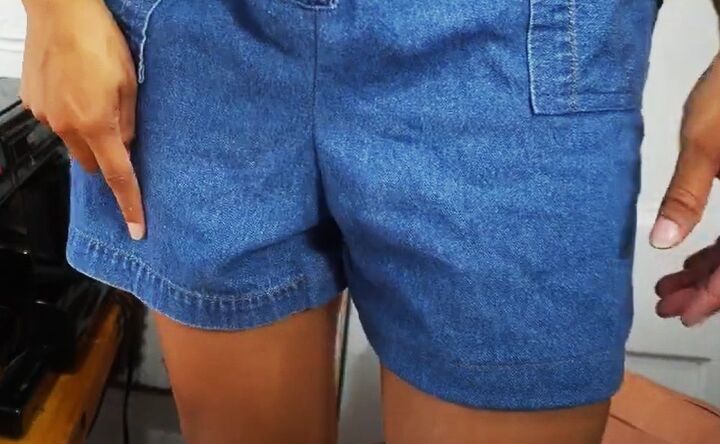
3. Make the pockets
Cut two patch pockets about 10 inches by 6 inches from the remaining fabric.
Make a double fold hem on the pocket opening.
Pin the pocket to the shorts, folding under the bottom and side edges, and sew it in place with two rows of topstitching.
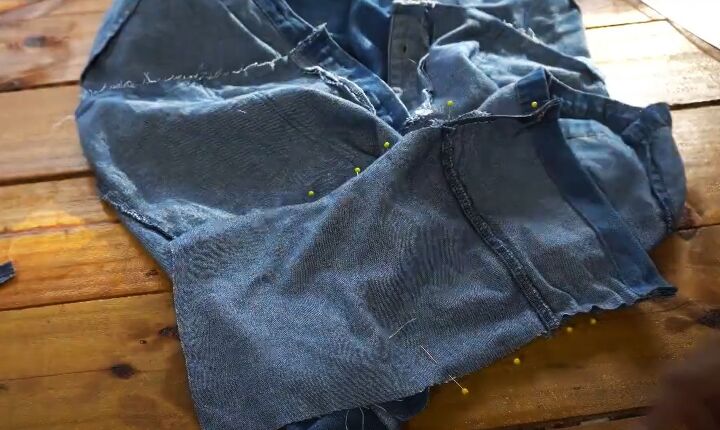
4. Assemble the shorts
Join the inner leg seam of each half.
Turn one side right side out and put it inside the other half with the right sides together.
Pin the curved crotch edges together. I cut the back curve deeper than the front at this stage.
Sew along the entire center back and center front seams.
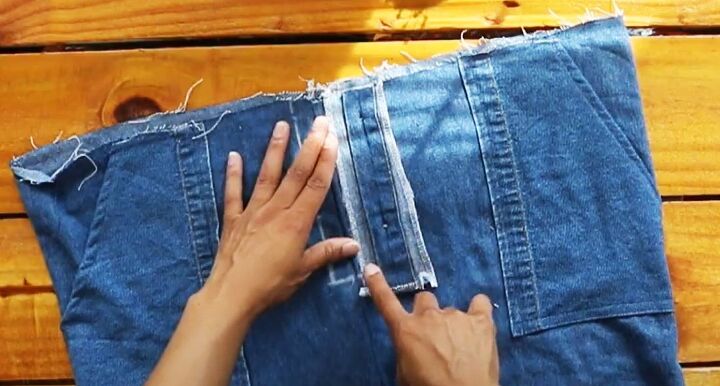
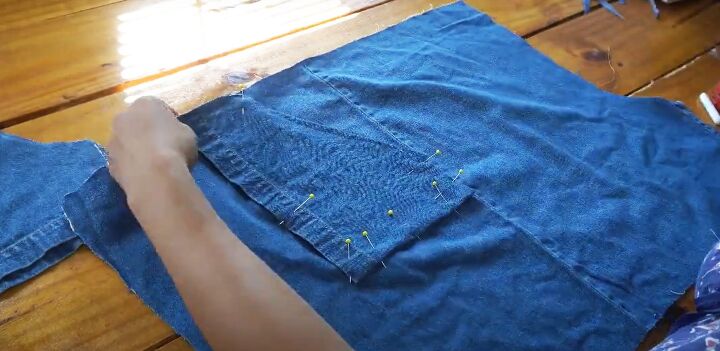
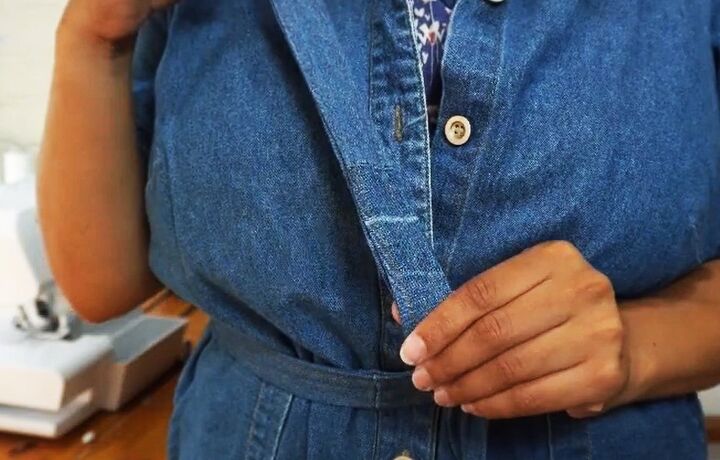
5. Shorts button placket
Sew the shorts side seams and try the two pieces on.
I realized that I needed a front opening in the shorts so I decided to extend the button placket.
Warning: I put the plackets on the wrong side originally so they didn't match the dress and had to redo them, but this is the method I used.
Cut a piece of the button and buttonhole plackets from the rest of the dress. Finish all the raw edges and button the plackets together.
Mark a rectangle on to the center front of the shorts the width of the placket and half an inch shorter than the length.
Align one long edge of the placket along one of the lines with right sides facing and sew it in place, stopping at the end of the line.
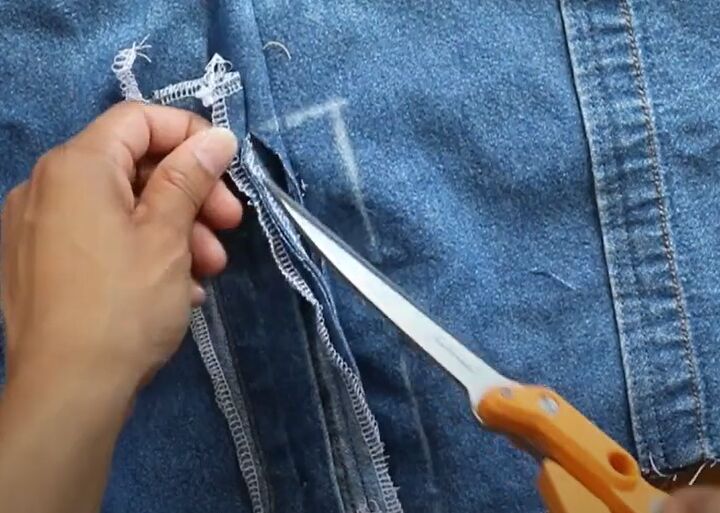
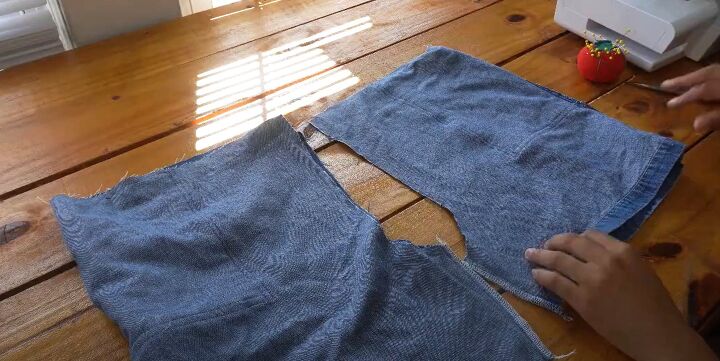
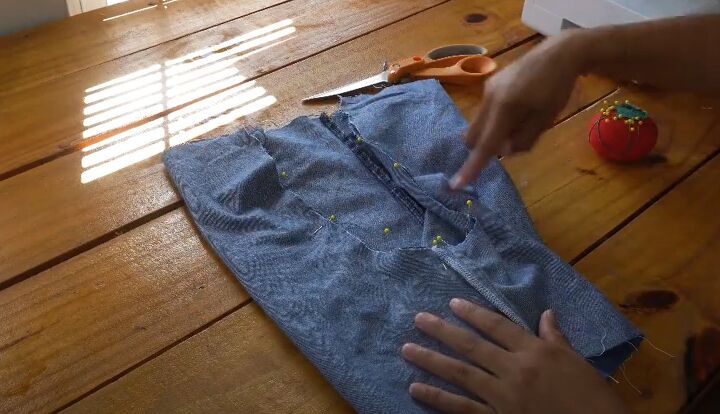
Cut open the center seam and into the corner by the stitching.

Cut out a narrow strip of fabric from the center and into the other corner.
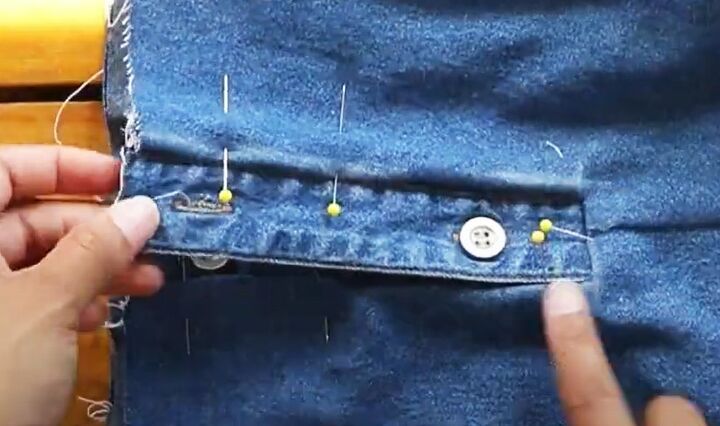
Fold the raw edges under and pin the folded edge to the placket, then sew.
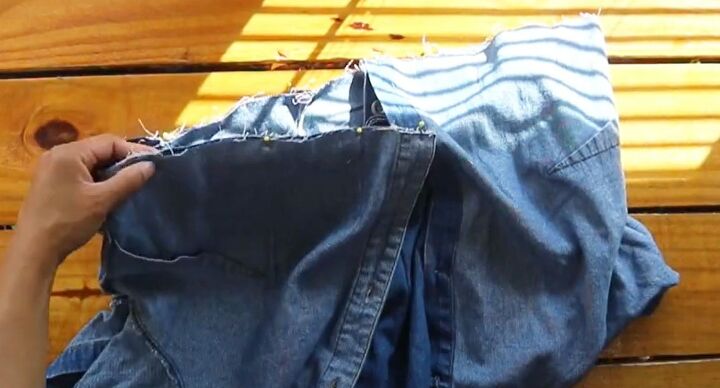
6. Join the top and shorts
Pin and sew the top to the shorts with right sides facing.
Try the romper on again.
I felt the shorts were still a little tight at the back.
7. Add extra fabric at the crotch
This is how to add extra fabric in the crotch area:
Cut open the inner leg seam.
Cut a piece of fabric about 5 inches wide and the length of the seam.
If your shorts are already hemmed, make hems to match on the short edges of the piece.
Pin and sew the fabric strip to the cut seam edges with right sides facing.
8. Hem
Finish all the raw edges.
I finished the second leg with a double fold hem but I was really unhappy with the difference between the two hems.
I turned up and sewed both hems one more time then put the rompers in the wash.
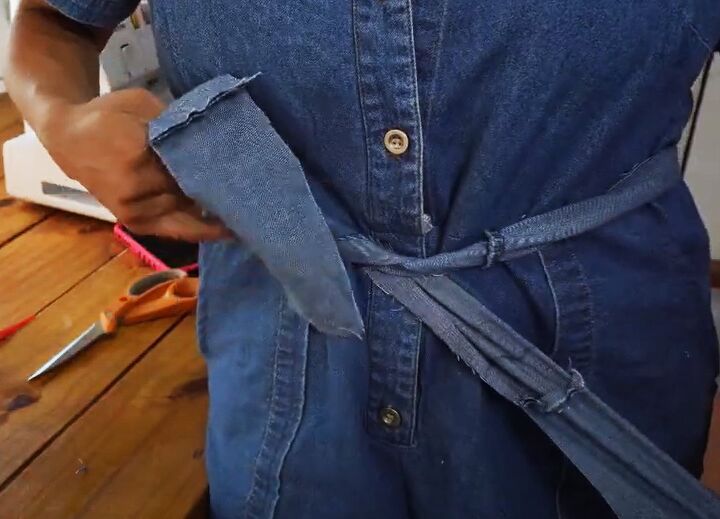
9. Belt
Join together all the scraps you can find to make a belt.
Fold it lengthways right sides together and sew, then turn it right side out and finish the short edges.
Add belt loops at the side seams and center back.
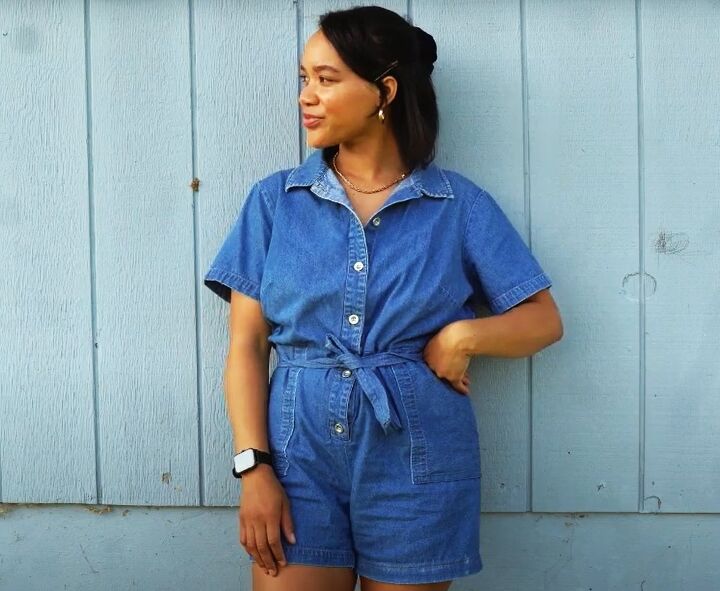
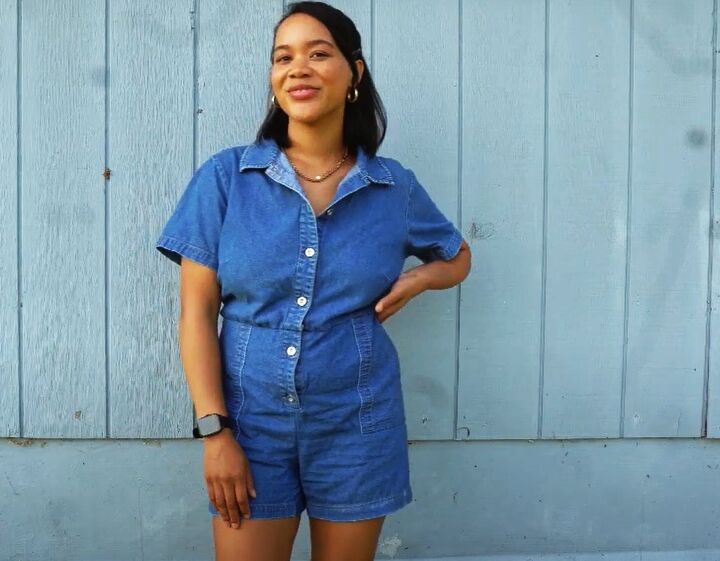
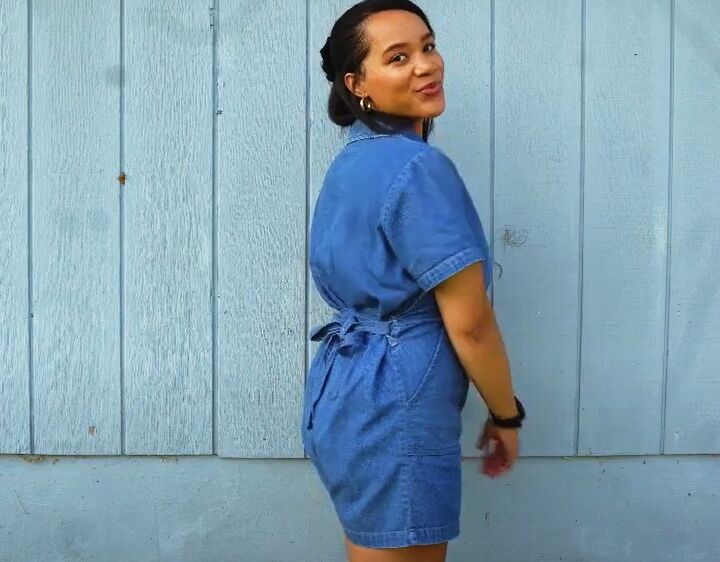
Romper DIY
I love thrift flipping my way to my dream wardrobe!
My romper DIY is just what I wanted. The belt looks just as good tied at the back as at the front, the fit is great and I have a trendy and cute outfit for spring and summer for almost nothing.
Let me know in the comments what else you'd like to see me make. I'm willing to try pretty much any thrift flip ideas you come up with.
Check out my post on How to DIY Comfy Gray Cargo Pants.
The author may collect a small share of sales from the links on this page.


Comments
Join the conversation