How to DIY Comfy Gray Cargo Pants

Hi everyone! Today, I'm going to show you how to DIY gray cargo pants.
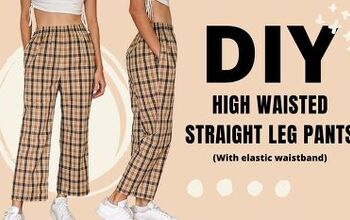
As it's the pockets that make any pants into cargo pants so you don't need a special cargo pants sewing pattern. I made these gray cargo pants from Simplicity pattern S9647, which has the fit that I wanted.
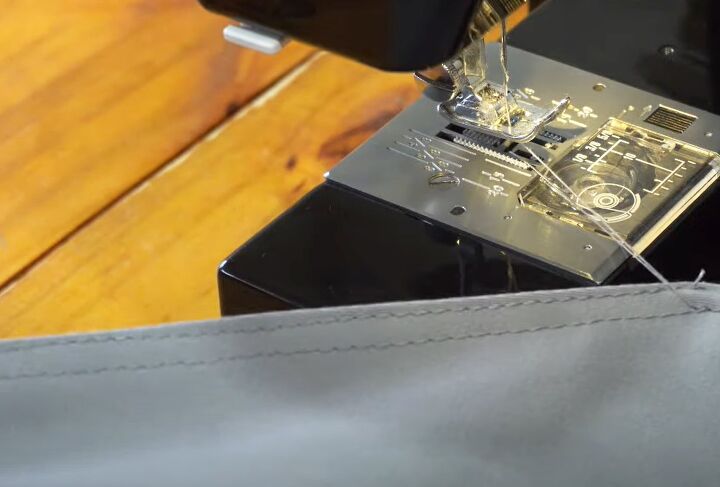
In this tutorial, I'll show you how I added the pockets and other design elements. I serged all the raw edges as I went.
Tools and materials:
- Simplicity pattern
- Pattern paper
- Fabric
- Interfacing
- Snap buttons
- Eyelets
- Zipper
- Tape or cord
- Pins
- Scissors
- Fabric marker
- Sewing machine
- Serger (optional)
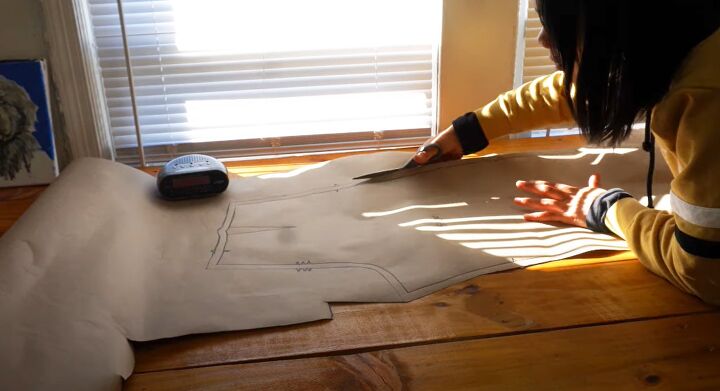
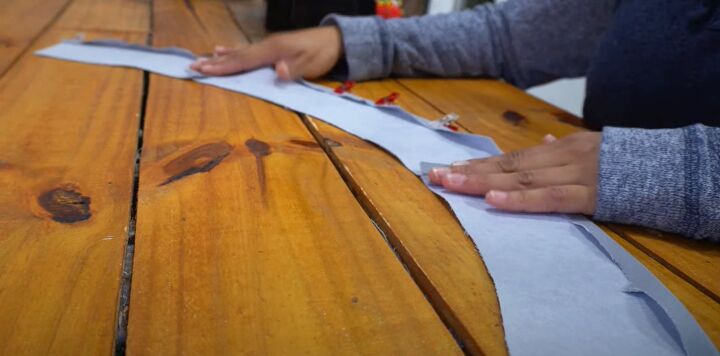
1. Cut out fabric
Trace the pattern pieces onto paper and cut them out. Pin them to your fabric and cut out the fabric pieces.
2. Side seam pockets
Sew the pocket facing to the front with right sides facing. Press it to the inside and double top stitch along the edge.
Sew the front pocket piece to the pocket lining.
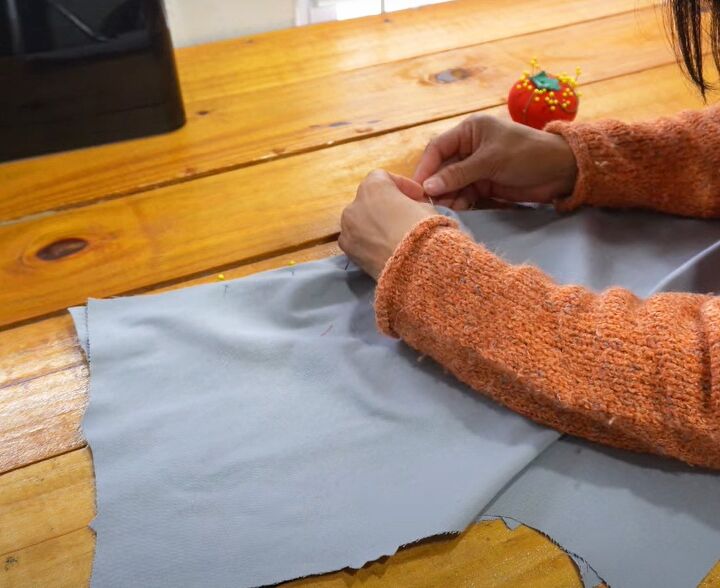
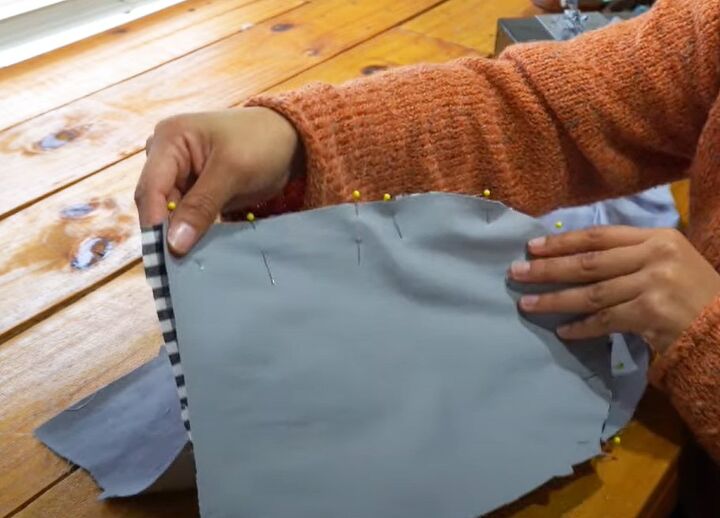
3. Side seams
Join the side seams and top stitch. Sew the back darts and tie off the threads.
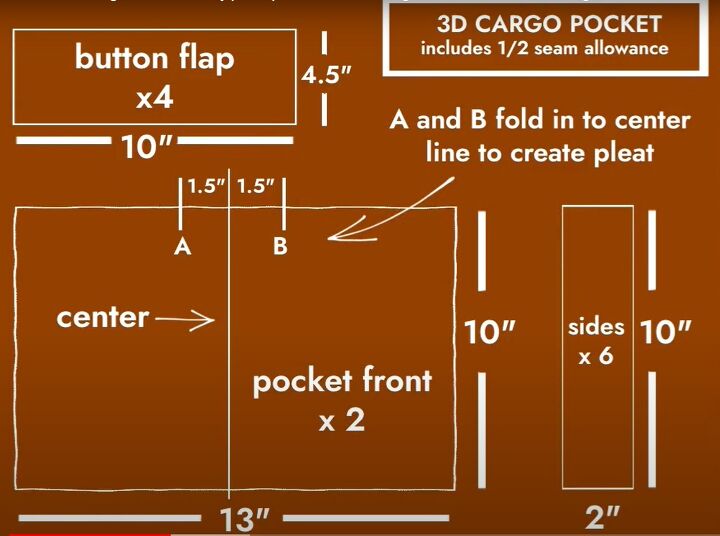
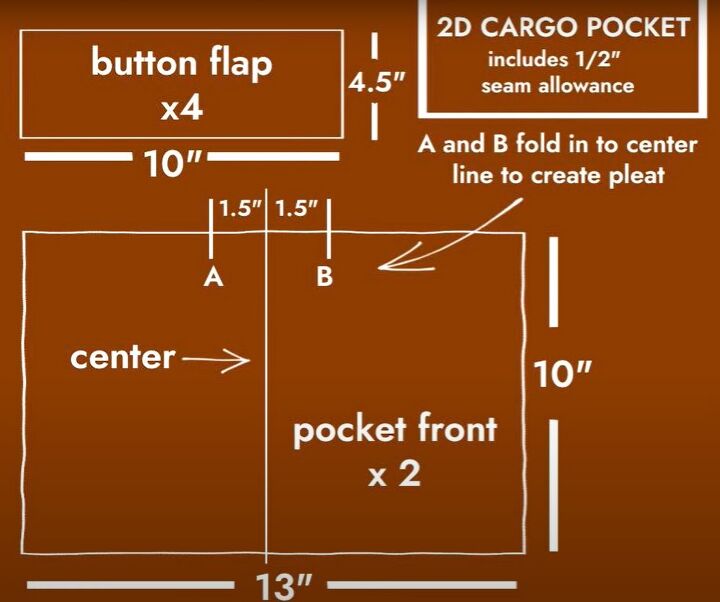
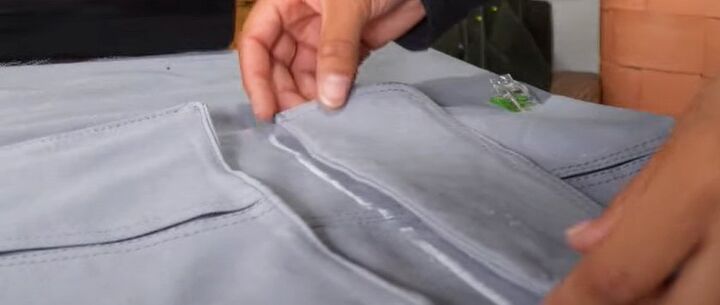
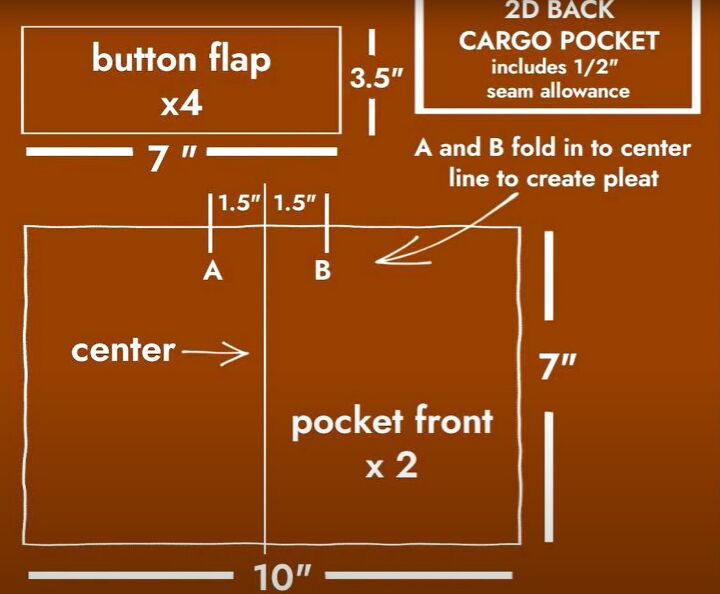
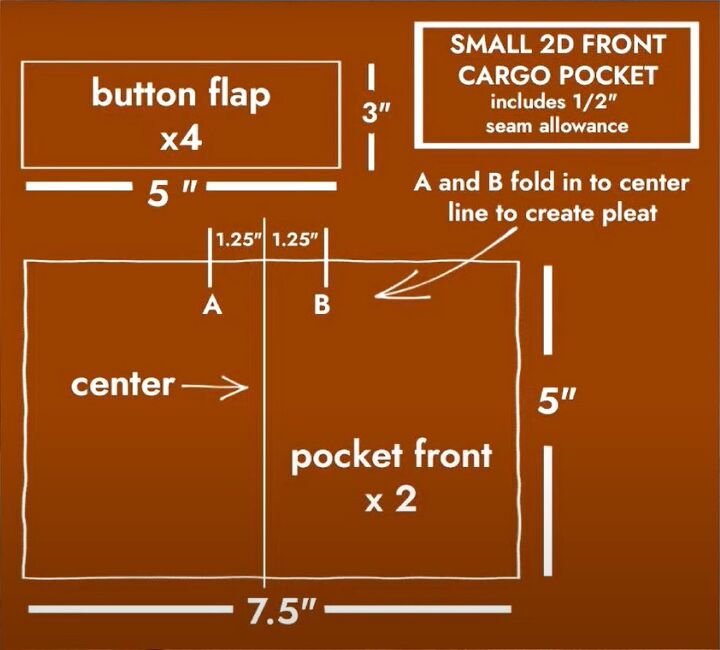
4. Make 3D pocket
Add interfacing to the undersides of the pocket flaps.
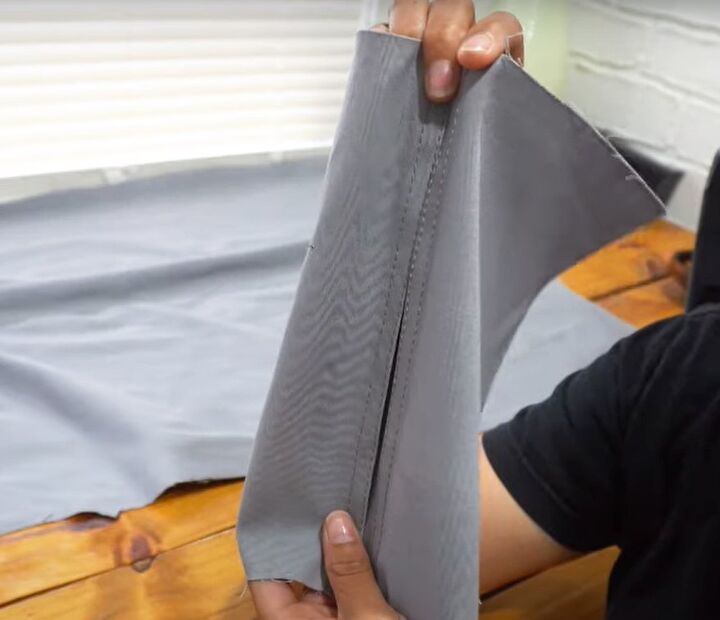
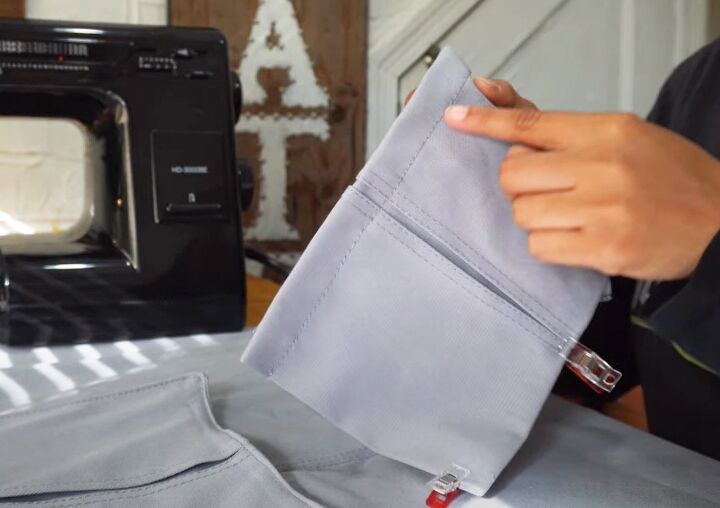
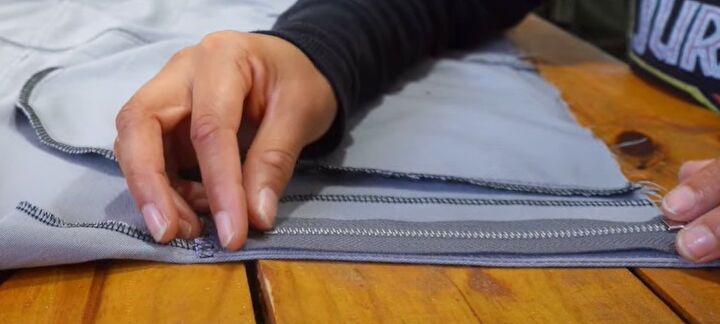
Press the center pleat in position and double top stitch each side. Sew the pleat along the top and bottom.
Join the short edges of the side pieces.
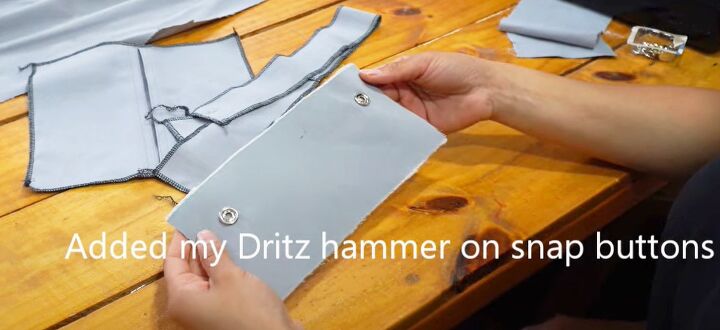
Add snap buttons to the underside of the flap.
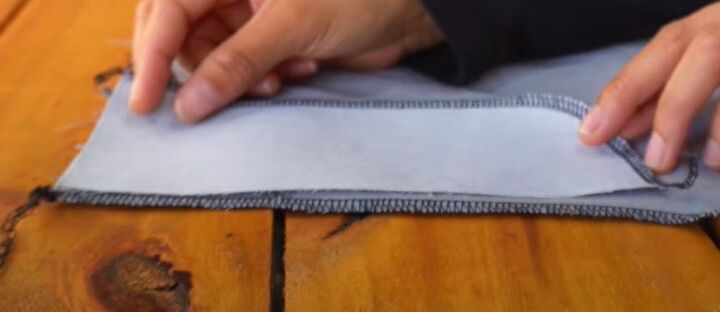
Join the upper and lower flaps with right sides together, leaving a gap, and turn them right sides out.
Press the flap and top stitch around the side and lower edges.
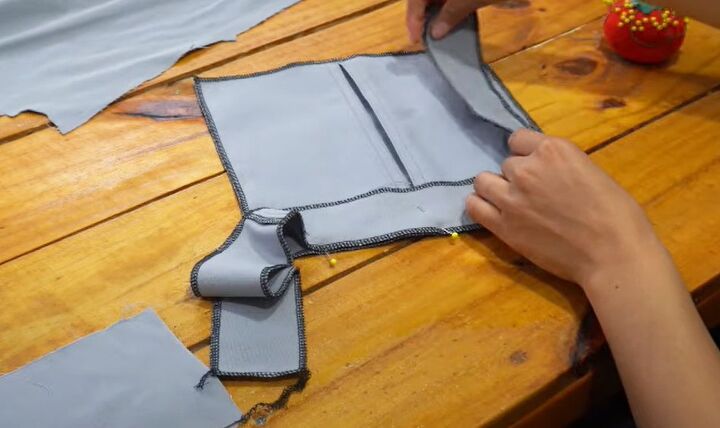
Sew the side pieces to the front pocket.
Fold over the top edge of the pocket by an inch and top stitch it. Top stitch the front of the pocket, folding the side edges under.
Add interfacing inside the pocket, then attach the snaps.
5. Attach 3D pocket
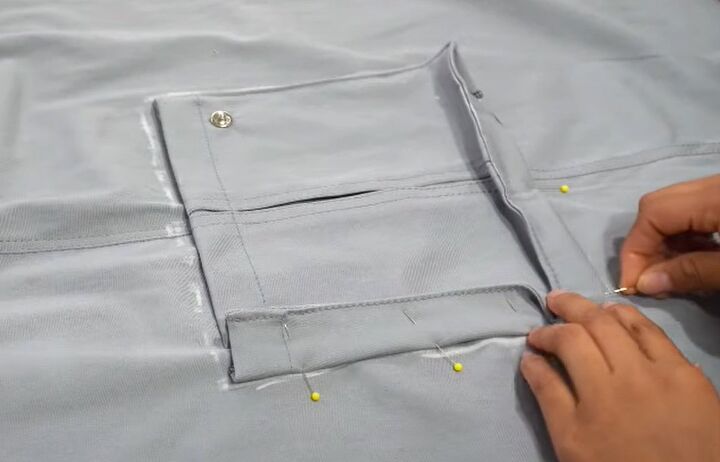
Trace around the pocket, lining up the pleat with the pants seam. Fold under the edge of the side pieces and sew the pocket in position.

Stitch the pocket down at the top side edges.
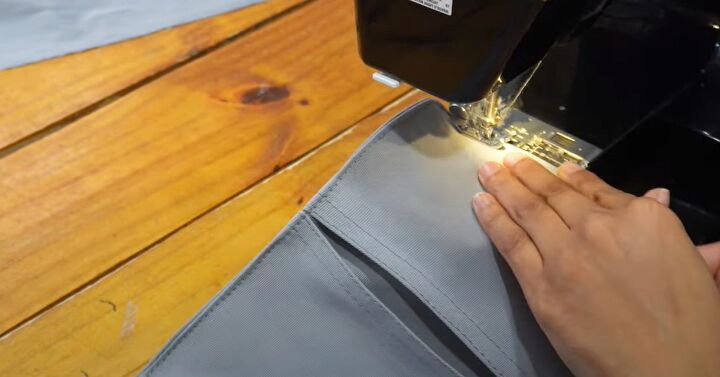
Pin the flap to the pants. Sew two rows of stitching on the right side.
6. Make flat pocket
Make this in the same way as the 3D pocket, without the side edges.
After top stitching the pleats, press in the sides of the pocket about half an inch and the top edge by one inch. Top stitch the top edge.
Add the snap buttons. Sew the pocket and flap to the pants.
7. Back pocket
Make a smaller flat pocket and add it to the back of the pants, lining up the pleat with the back dart.
Add pockets to the other side of the pants, in whatever formation you want.
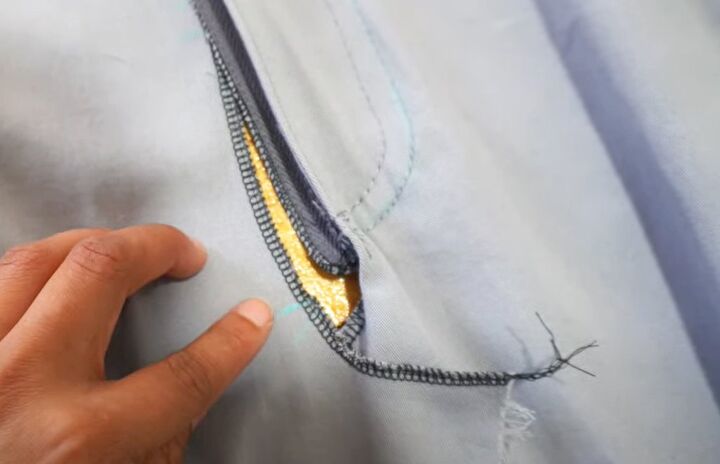
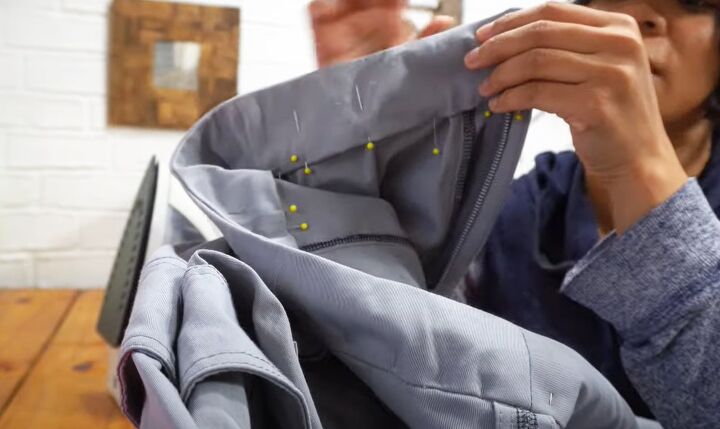
8. Insert zipper
Add interfacing to the zipper facing.
Fold the fly shield in half lengthways with right sides facing and sew the curved edge. Turn it right side out and press.
Sew the fly facing to the pants. Press the facing to the inside and top stitch close to the edge.
Pin the zipper to the fly facing, lining up the edge of the zipper with the edge you just top stitched, and sew in place.
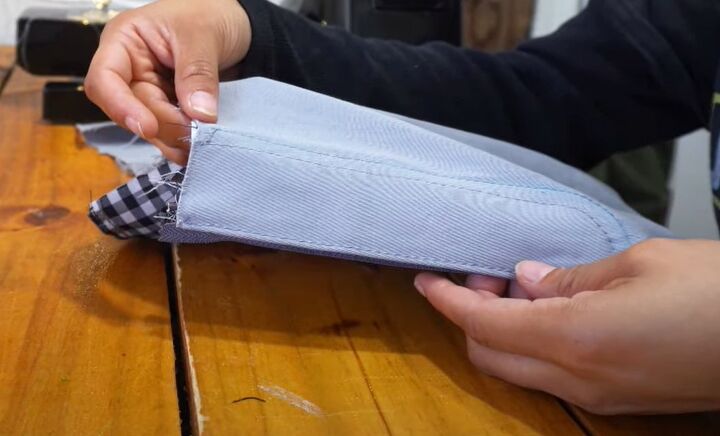
Mark the facing line on the right side and double top stitch it.
Sew the fly shield to the other side of the zipper.
Mark where the end of the zipper lines up with the other side of the front pants. Clip at that mark and press to the inside.
Lay the folded edge over the zipper and sew it in place.

9. Assemble pants
Top stitch the rest of the front seam together.
Join the center back seam and top stitch.
Join the pants along the inner legs.
10. Waistband
Sew the bottom edge of the belt loops in place.
Add interfacing to all the waistband pieces.
Join the waistband lining and outer pieces along the short edges. Press up the bottom edge of the lining by half an inch.
Sew the waistband to the pants with right sides facing.
Sew the waistband lining to the waistband along the top and inner front edges. Trim the excess fabric and turn the waistband right side out.
Top stitch two rows around the entire waistband and lining, then fold up the belt loops and sew in place.
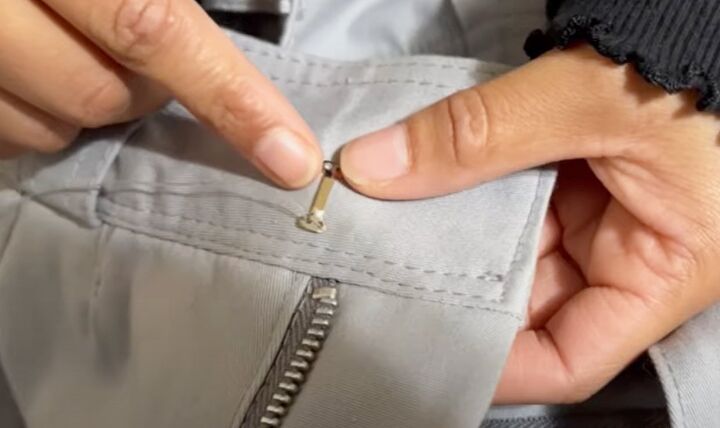
Add two sets of hooks and eyes.
11. Finishing

Optionally add smaller pockets above the 3D ones.
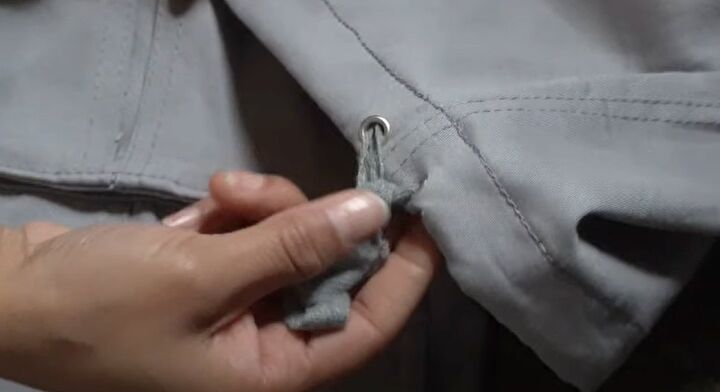
Sew the hem and thread tape or cord through the eyelets and the casing.
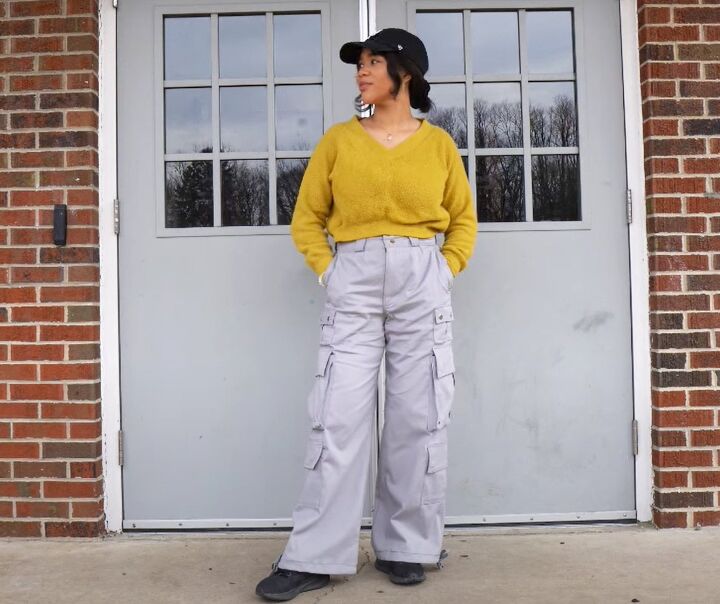
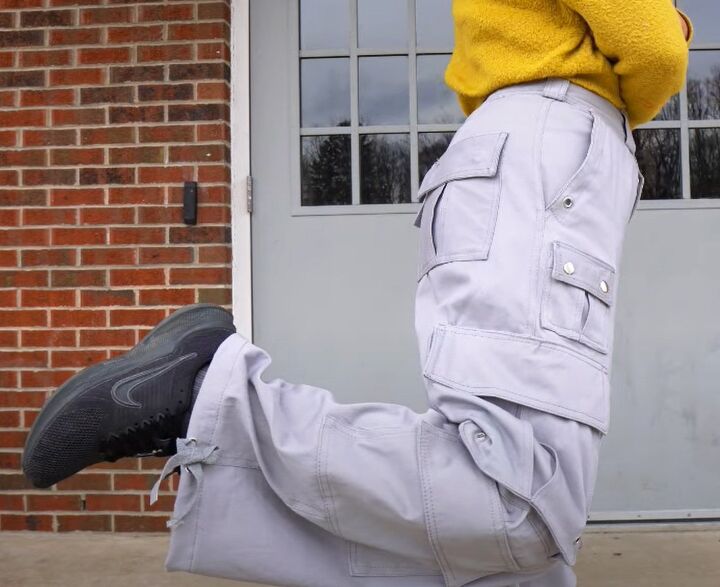
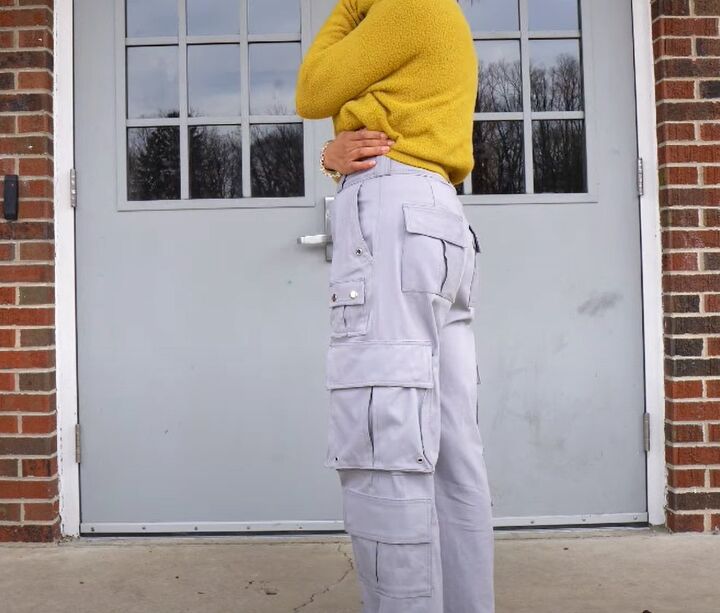
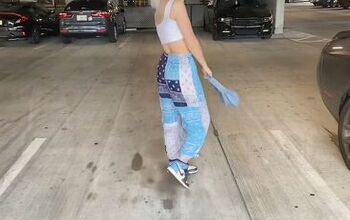
DIY gray cargo pants
I think my gray cargo pants came out super-cute and they fit perfectly.
I loved adding all the details but of course they're optional and you may not want so many.
I hope you give these pants a try and let me know how they turned out in the comments.
For more sewing content, check out my post on How to Make a Quilted Jacket For Spring Using a Thrift Store Blanket.
The author may collect a small share of sales from the links on this page.


Comments
Join the conversation
They look great!!! Awesome job!!!