How to DIY Free People-inspired Glitter Cargo Pants

Follow along to recreate these Free People-inspired, pearlescent, glitter cargo pants with me.
This thrift flip idea is a unique way to upcycle a pair of cargo pants that just need something extra.
Tools and materials:
- Soft cargo pants
- 8 oz pearl white metallic acrylic paint
- Drop cloth
- Water
- Medium paintbrush
- Squeeze bottle
- Cup
- Dryer
- Thin cloth
- Iron
- Ironing board
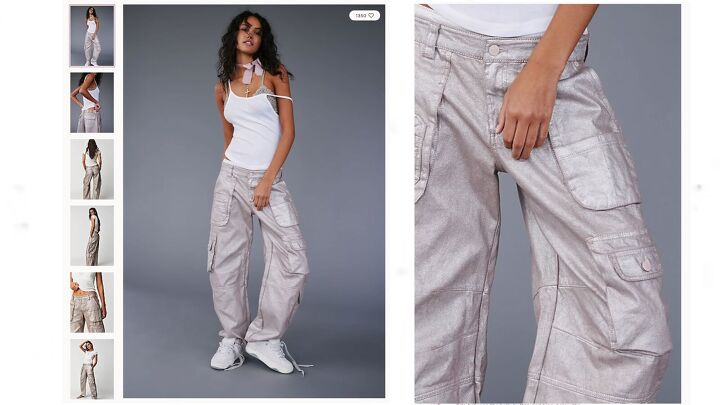
Here is our inspiration for today’s DIY pants.
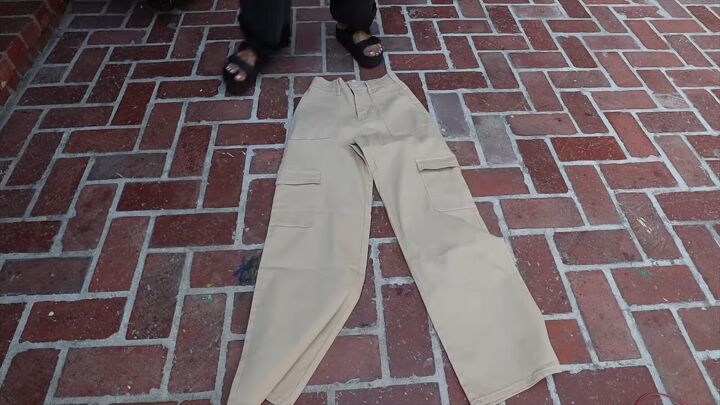
Make sure to use cargo pants that are relatively soft because the metallic paint is going to stiffen them up.
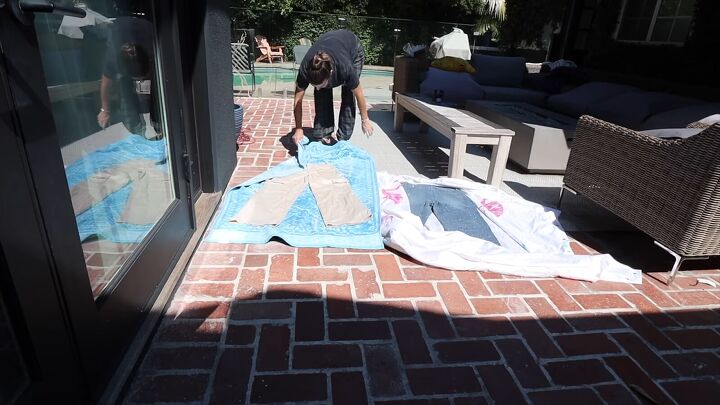
1. Set up and spill some paint
Lay a drop cloth down. Soak the pants in the sink or quickly run them in the wash.
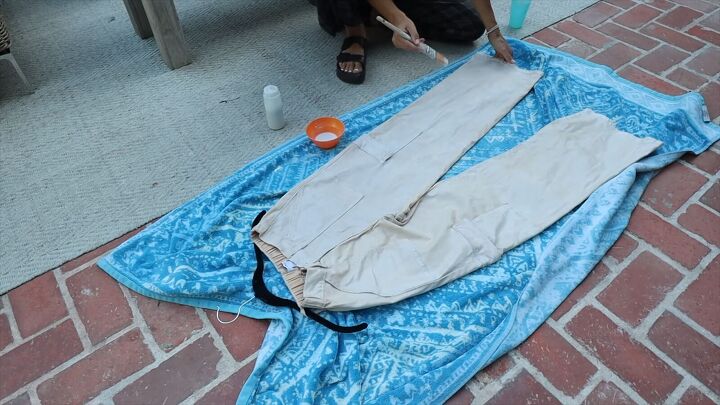
In a squeeze bottle, add ⅓ of the metallic paint and fill the rest with water. Squeeze some of the diluted paint onto the damp pants.
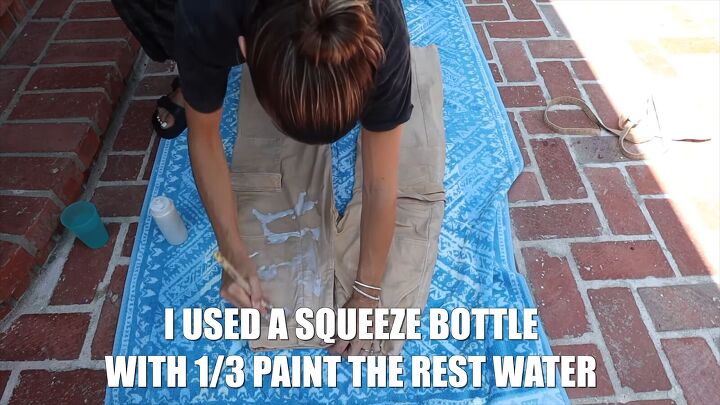
Add more water if necessary to evenly spread the paint.
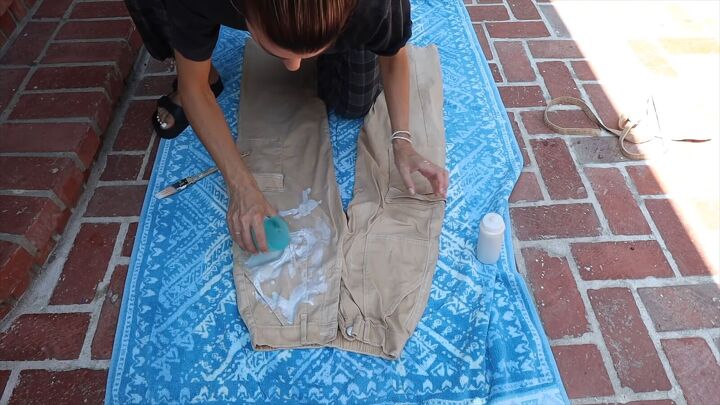
2. Cover the cargo pants
Use a combination of brush strokes and work the paint with your hands to achieve smooth coverage.

Dip the paintbrush in water to buff out any areas that get too concentrated with paint.
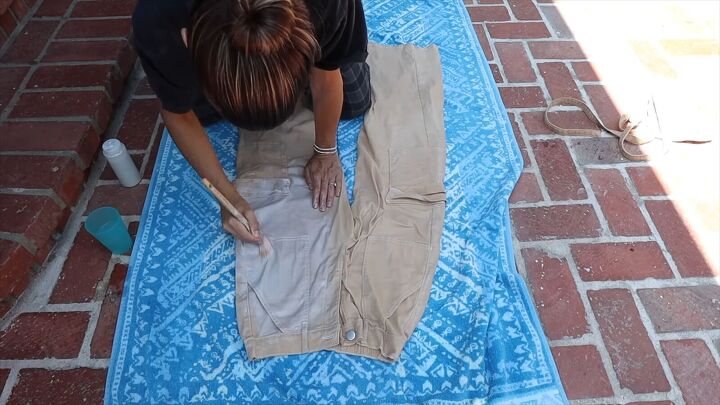
As you layer one section of spilled paint under the next, make sure to buff out the connection between them.
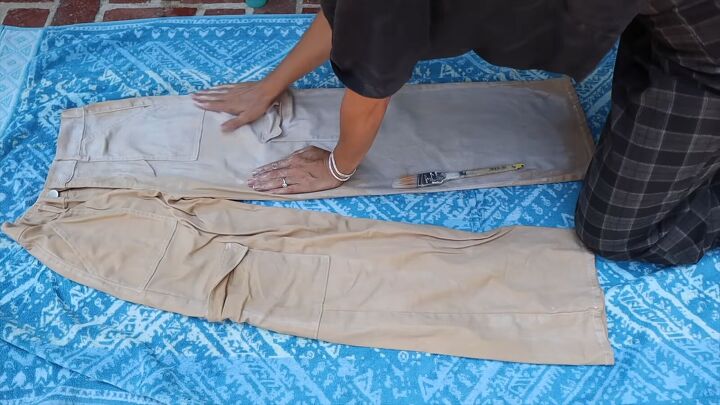
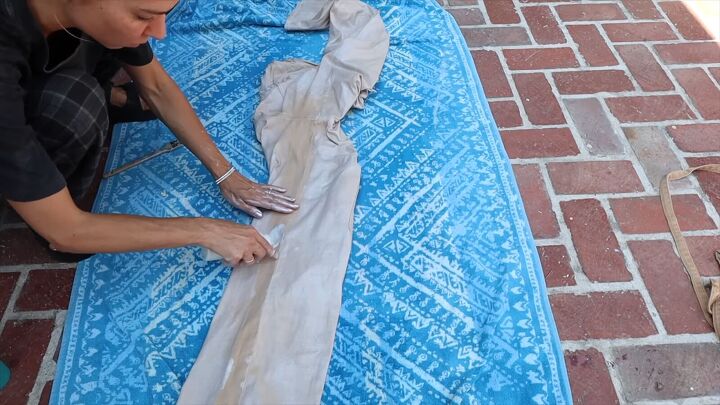
3. Flip and continue
Once you cover the entire front and are satisfied with the smoothness of the metallic paint, continue on the sides and the back.
To access the sides, fold the legs so that the side seam is in the center.
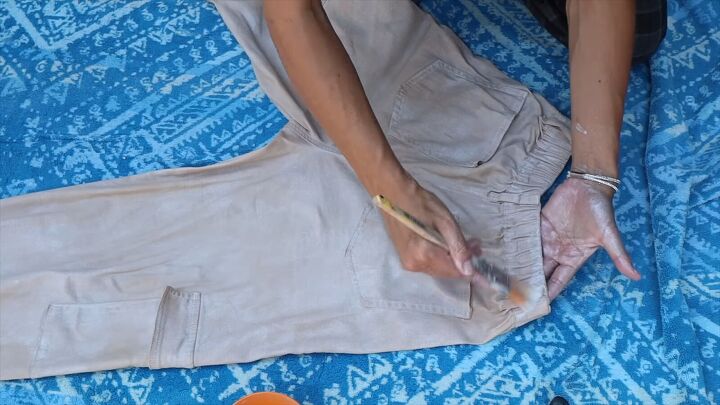
4. Cover the waistband
Don’t forget to cover the waistband. For details like this, you may prefer using the brush.
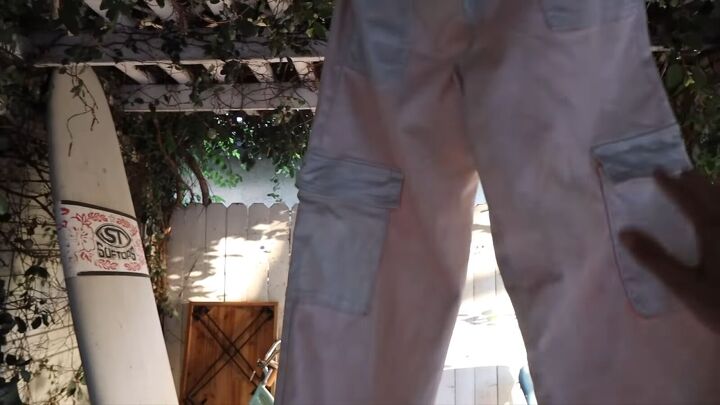
5. Let the 1st coat of paint dry
Once you’re satisfied with the paint coverage, bring your glitter cargo pants outside to dry in the sun.
6. Add a 2nd (or 3rd) coat of paint
Once your DIY pants are completely dry, add another layer of paint if you want a more saturated metallic color.
Once the pants dried again, I decided to add a 3rd layer of watered-down paint.
7. Set the pants
Let them hang until all coats of paint are dry.
Then run them in the dryer on the highest setting for 30 minutes. This will ensure that the paint sets.
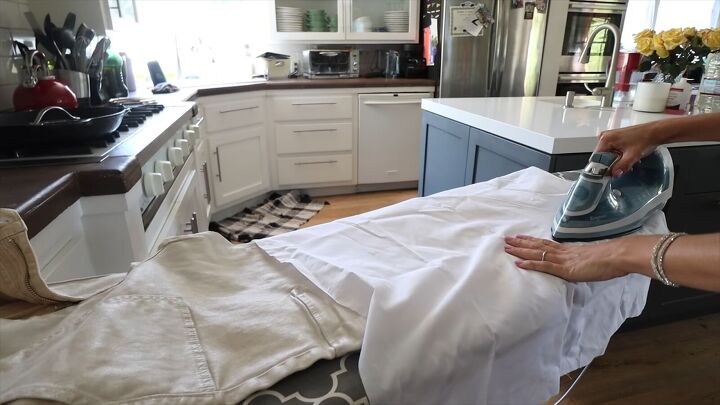
8. Press to fuse the paint
Set up an ironing board, cover sections of the pants with a thin cloth.
Press each section under the iron for about 10-15 seconds under the iron. This will fuse and soften the paint.
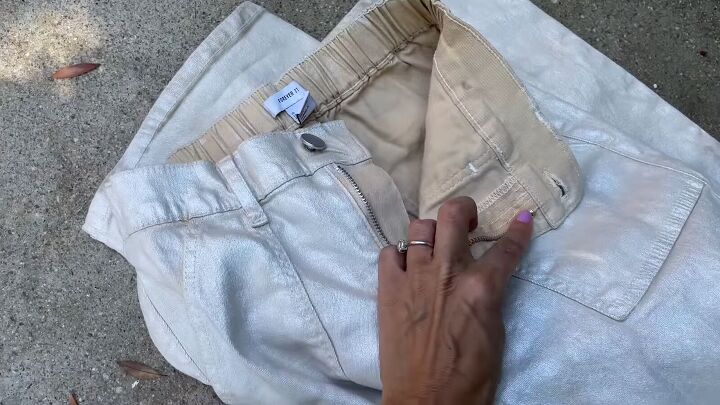
The camera doesn’t do these glitter cargo pants justice, but you can see the difference when comparing the inside fabric to the outside:
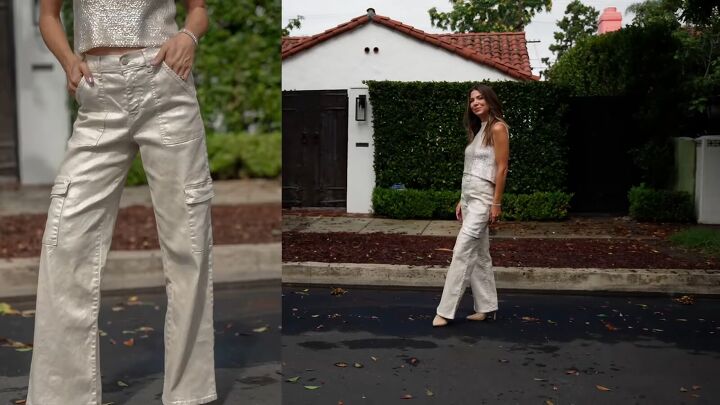
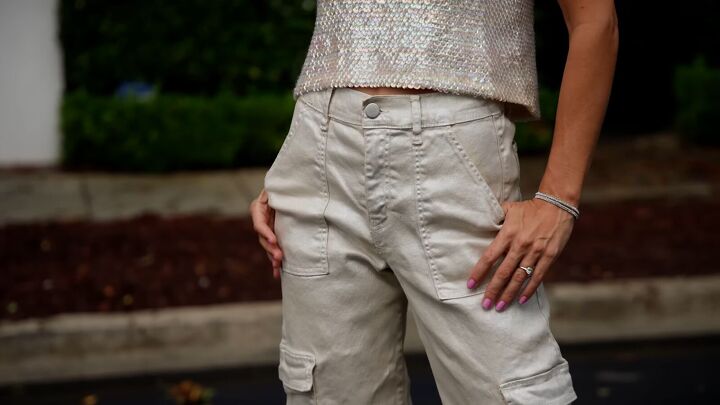
In person, the pearlescent effect is so impressive! The shine is so intense in real life. Here is a glam version of this look:
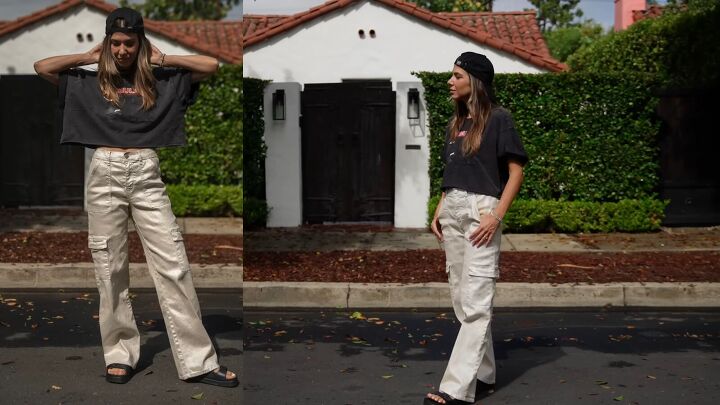
You can even dress down your iridescent, upcycled pants with a t-shirt and cap.
DIY glitter cargo pants
I hope you are inspired to create these gorgeous, glitter cargo pants! If so, leave a comment down below.
If you’re craving another DIY project, try this easy, no-sew ruffle t-shirt upcycle tutorial next.
The author may collect a small share of sales from the links on this page.


Comments
Join the conversation