How to DIY a Cute and Easy Plaid Skirt for Fall

Hey there! This tutorial will show you how to create a stylish, layered plaid DIY skirt, with no pattern required.
This is going to be a straightforward sewing project that's perfect for any season. So, let's get started!
Tools and materials:
- 1½ yards of fabric
- Sewing elastic
- Sewing machine
- Sewing pins
- Scissors
- Iron
- Safety pin
- Measuring tape
- Chalk or fabric marker
- Ruler
- Bleach (optional)
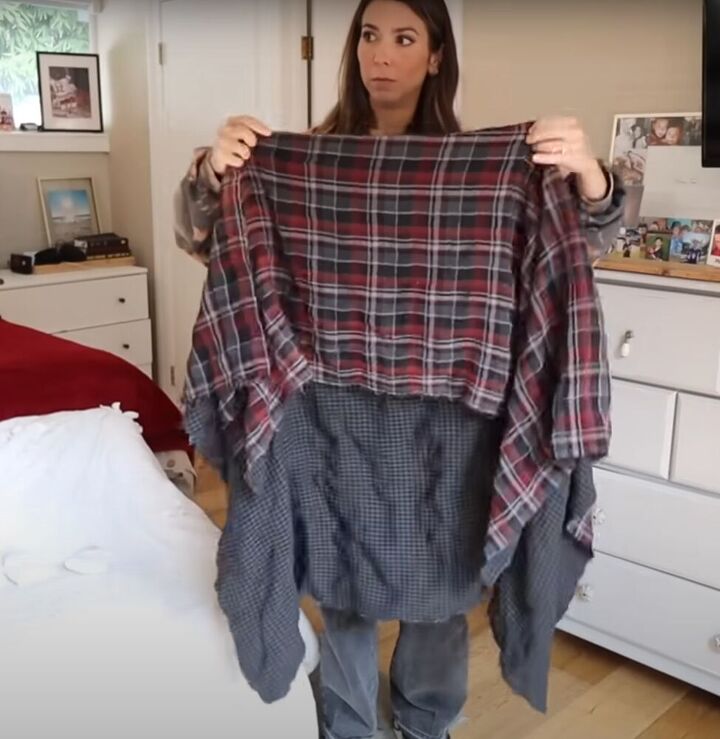
1. Choose your fabric
For this project, I'm using a reversible 100% cotton fabric with a plaid pattern.
I used a rectangle of fabric measuring 46 x 56 inches, but you can customize the measurement to your liking.
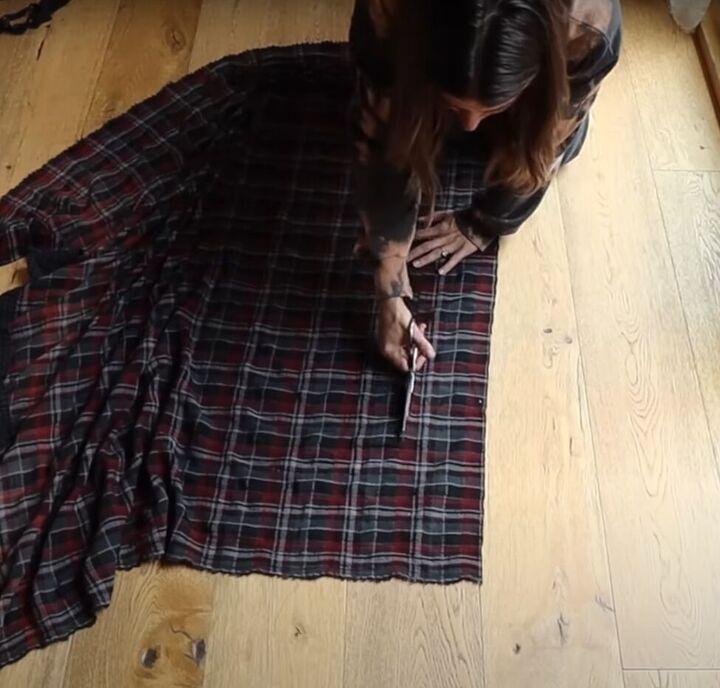
2. Cut the fabric
Start by cutting a 4-inch strip of fabric to use later for a waistband.
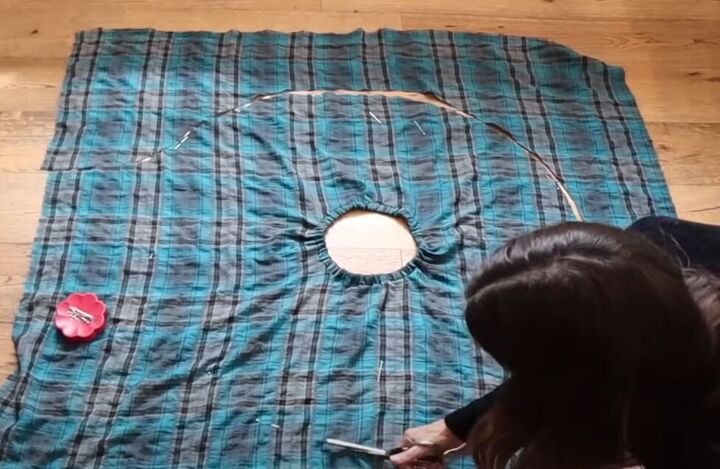
Fold your fabric in half to find the center, or fold it off-center if you want the front of your skirt to be shorter than the back.
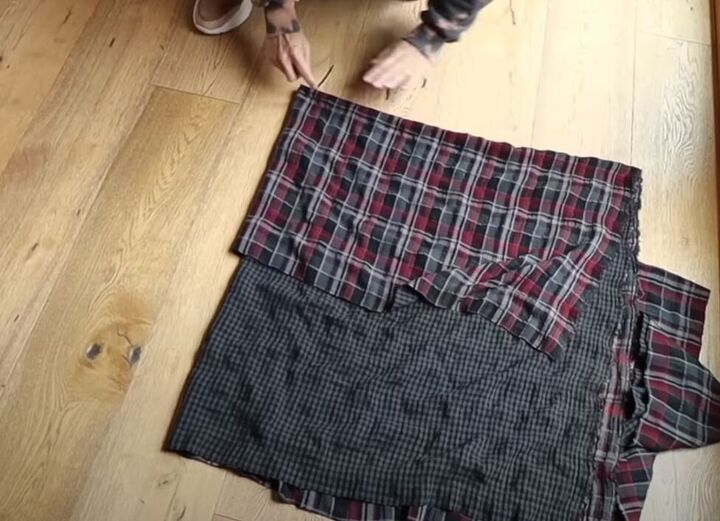
Then fold it in half again, creating a square shape.
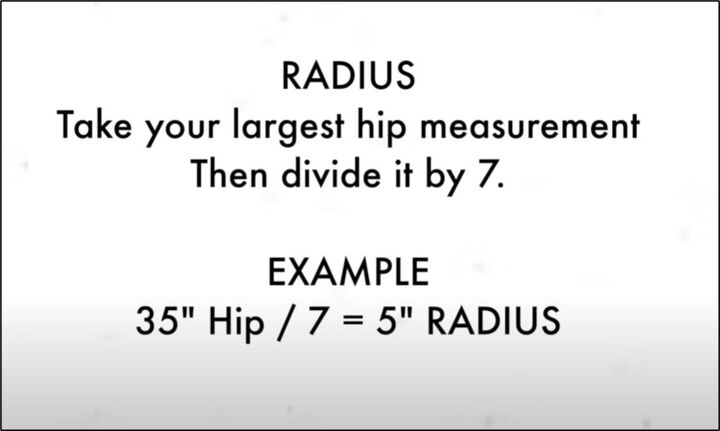
Before you cut the waist from your square, follow the math in the above image to get the radius of the hole you need to cut.
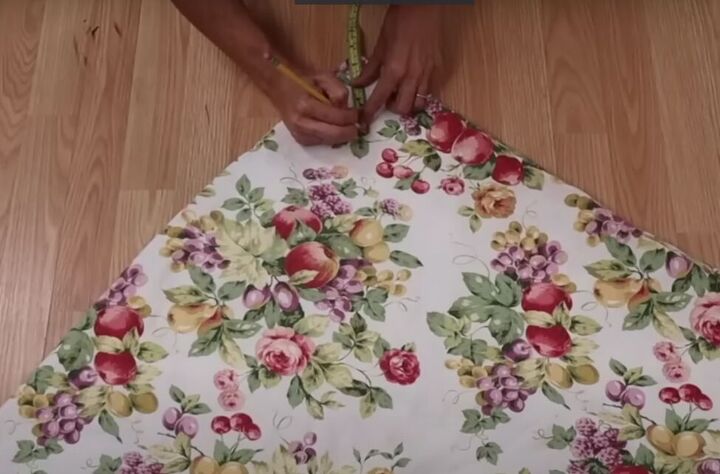
Mark and cut that radius from the folded corner of your fabric.
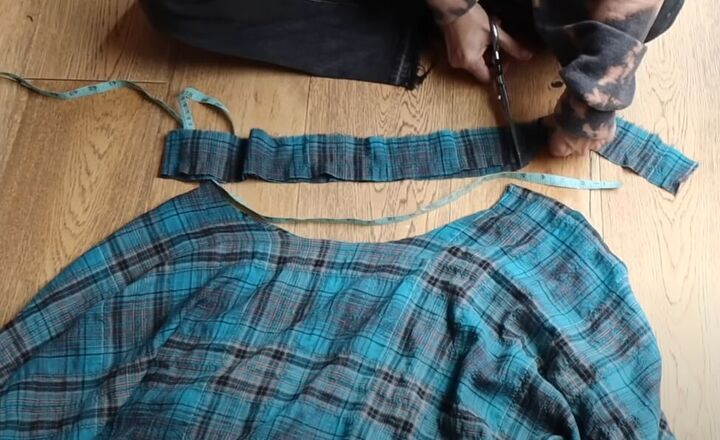
3. Make the waistband
Measure the opening of your skirt and cut that length plus a half-inch for seam allowance from your 4-inch waistband strip.
Optionally, you could just use wide sewing elastic for your waistband.
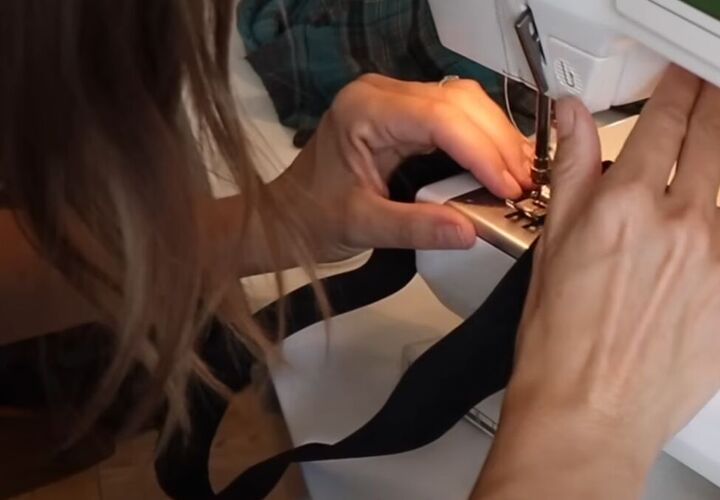
4. Sew the elastic waistband (option 1)
Sew the elastic ends together to form a closed loop.
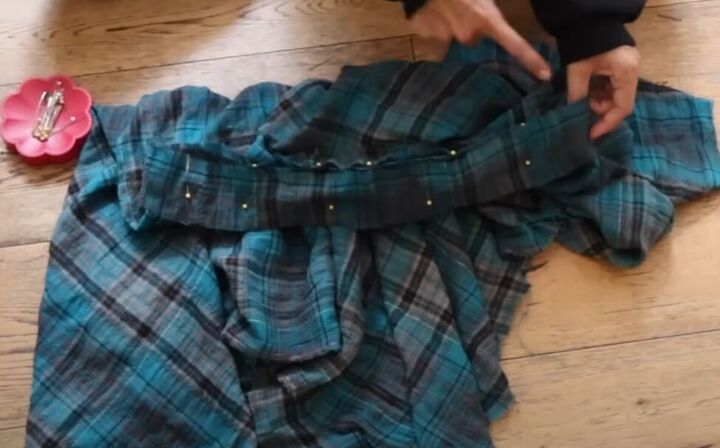
Pin the elastic to your skirt waistband.
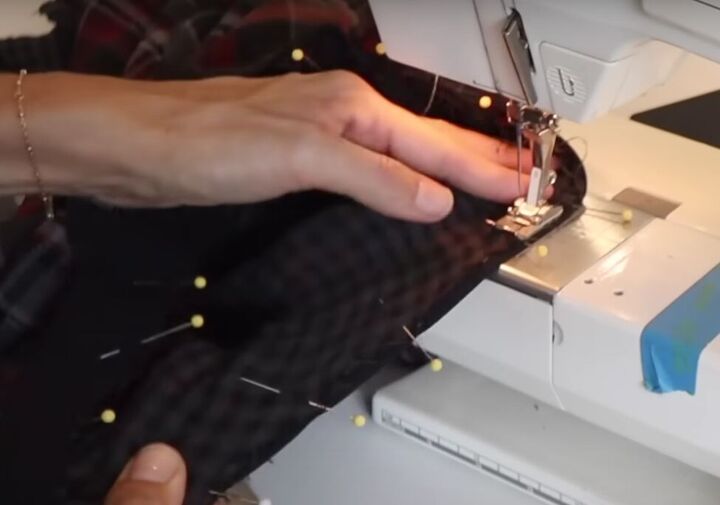
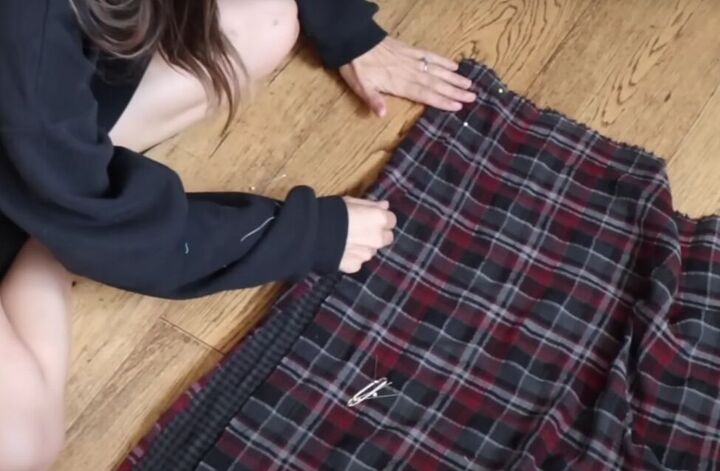
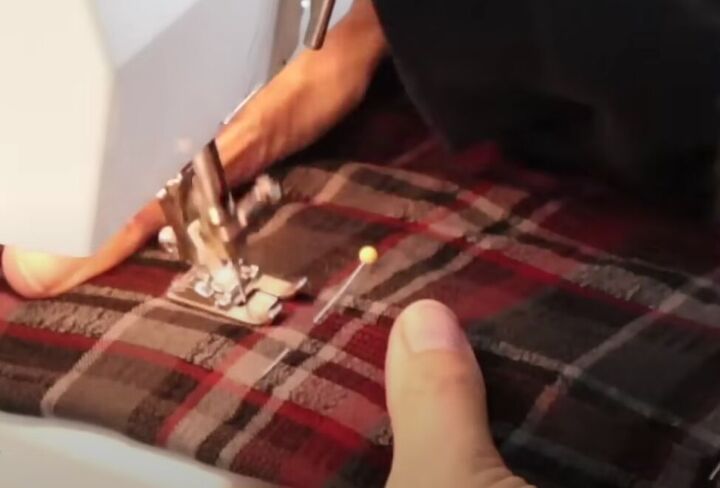
Sew the elastic to the skirt, stretching it as you go to create even gathers.
Add a topstitch around the waistband for a clean finish.

5. Add extra fabric for a stylish touch (option 1 - optional)
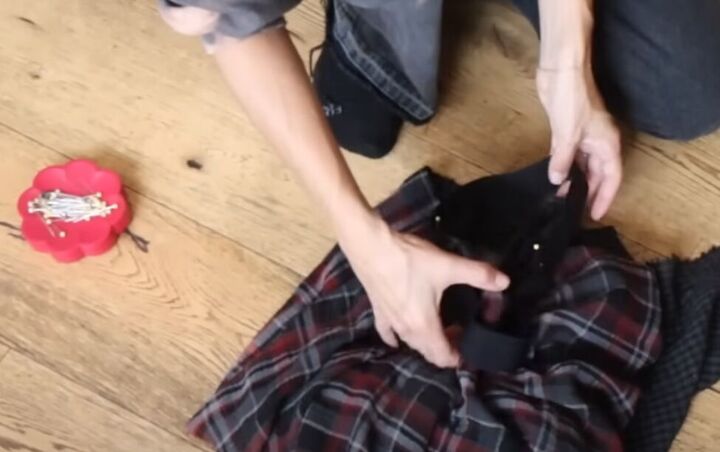
If you cut off a waistband piece earlier, like I did, you can reattach it to the skirt.
Fold the fabric strip in half and iron it to create a clean edge.
Pin it to the bottom edge of the skirt, sandwiching the fabric between the layers of the band.
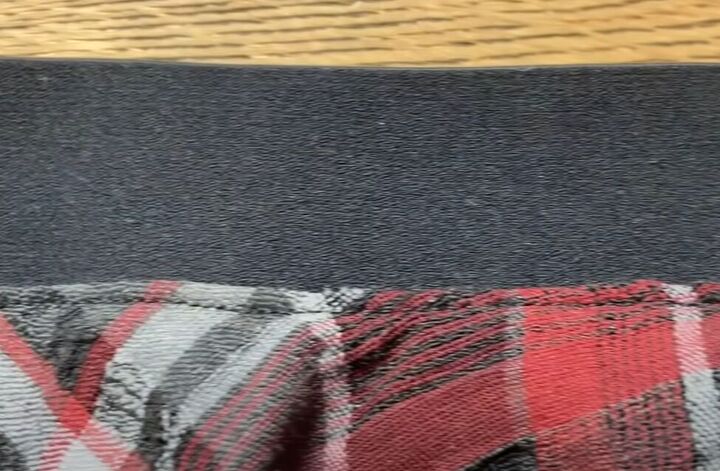
Sew it in place, creating a cool, textured trim.
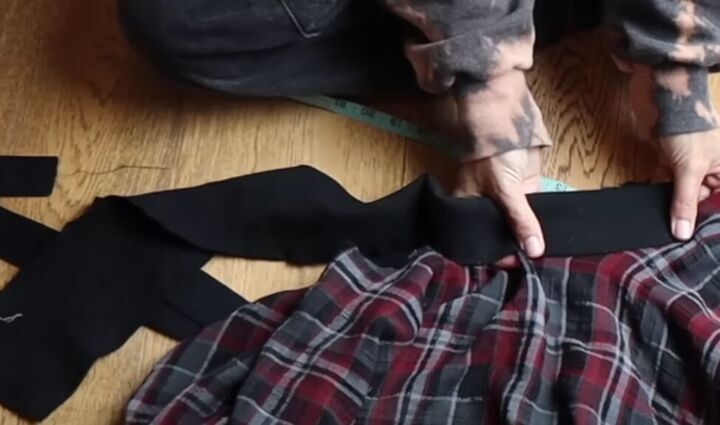
6. Sew the fabric waistband (option 2)
Fold your waistband in half, creating a loop with the right sides facing each other.
Pin the waistband to the top of the skirt, matching the edges.
Sew the waistband to the skirt.
Take the raw edge of the waistband and fold and pin it back into the seam allowance, creating a casing.
Sew the casing to the skirt, leaving an opening for the elastic.
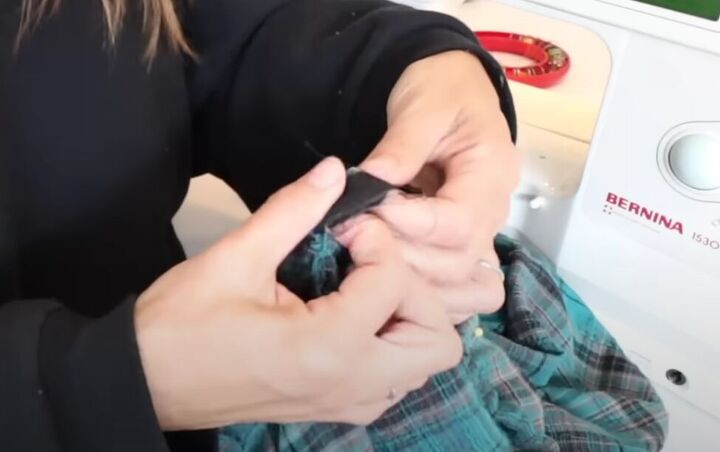
Feed the elastic through the waistband using a safety pin, connect the ends of the elastic and sew them together.
Close the opening in the waistband, securing the elastic inside.
7. Transform into a mini skater skirt (optional)
To transform your skirt into a skater style, measure and mark your desired length.
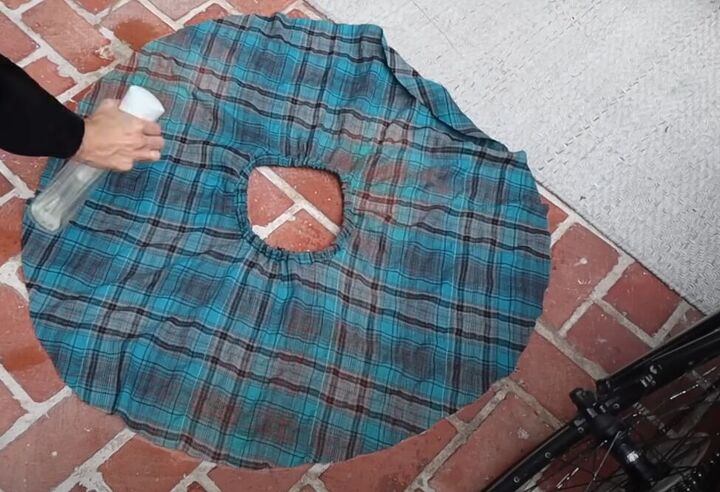
Cut the fabric at these marks.
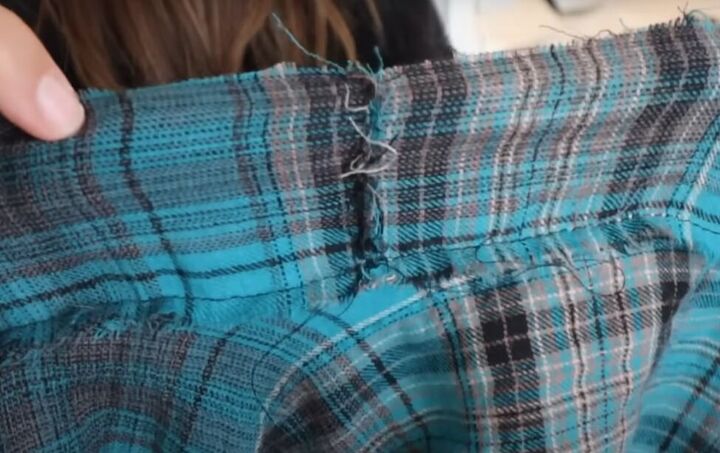
Wash the skirt to encourage fraying along the cut edges.
8: Add a grunge twist (optional)
If you want a grungier look, consider bleaching your skirt in random but intentional spots.
Allow the fabric to fray naturally for added effect.
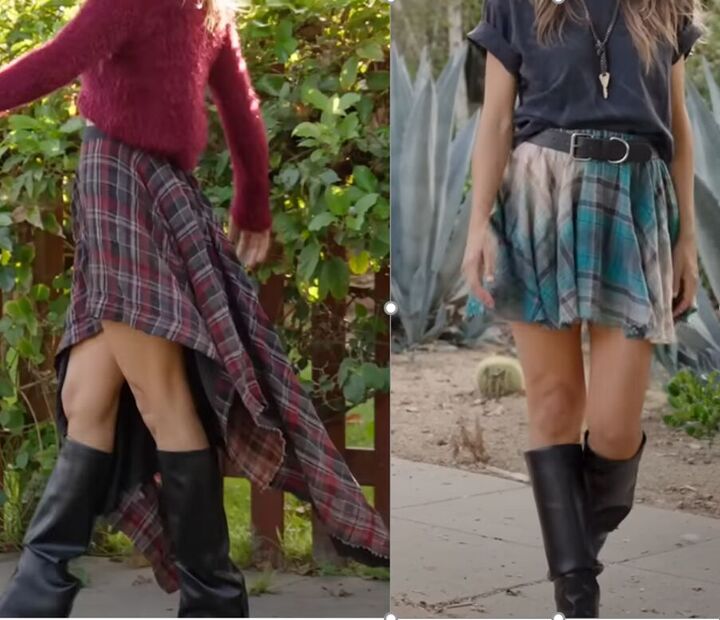
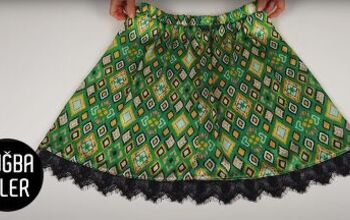
DIY plaid skirts for fall
And there you have it! Two stylish skirt options to add to your wardrobe.
Whether you choose the layered plaid skirt or the grunge-inspired skater skirt, this versatile DIY skirt project allows you to express your personal style.
Enjoy wearing your unique creation, and leave a comment to let me know which style you chose to make!
Next, learn How to DIY Free People-inspired Glitter Cargo Pants.
The author may collect a small share of sales from the links on this page.


Comments
Join the conversation