How to Sew a Simple but Super Cute Layered Ruffle Skirt

In this tutorial I will show you how to make a layered ruffle mini skirt. Follow along for the ruffle skirt pattern and step-by-step sewing instructions.
This layered ruffle skirt is so comfortable and versatile, that you’ll get tons of use from it and love wearing it! And it’s easy to make, too, so let’s get started.
Tools and materials:
- Fabric to measure
- Sewing elastic
- Tape measure
- Scissors
- Sewing pins
- Thread
- Sewing machine
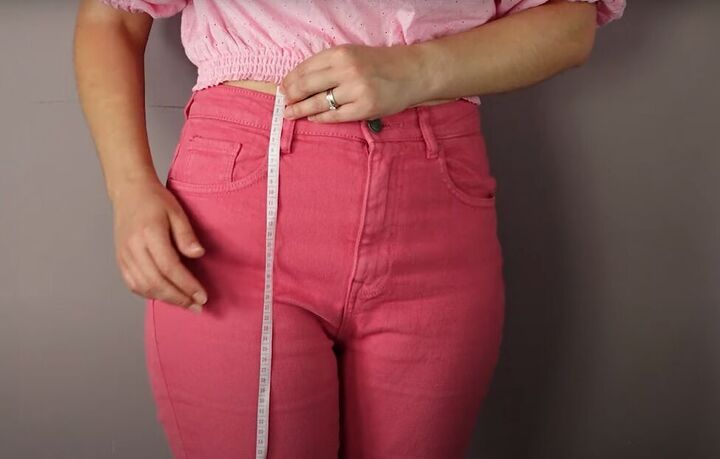
1. Take your measurements
Take your waist measurement, right between the top of your hip bone and the bottom of your ribs.
Then measure the length of your skirt. Put the top of the measuring tape at your waist and drop it straight down.
Check the length you want for your skirt without bending at your waist.
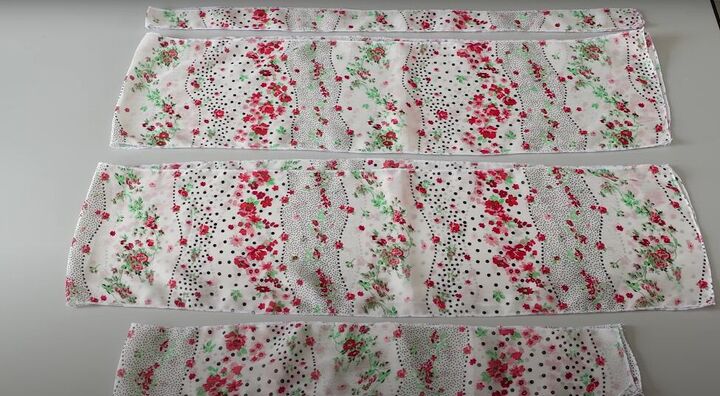
2. Cut your fabric
In total, you will need 4 pieces of fabric: 3 for the ruffled layers and 1 for the belt.
Follow the video from 1:24 to 2:00 to see how to determine the size of the belt piece and the elastic for the belt that you need to cut.
The largest layer (let’s call it ‘layer A’) will be the width of your waist plus 2 centimeters (0.78 inches) seam allowance, and the length will be the total length of your skirt minus the width of your belt piece.
Your next layer (layer B) will be twice your waist width plus 3.5 centimeters (1.3 inches), and the same length as layer A.
Your final layer (layer C) will be the same width as layer B, but only 5 centimeters (1.5 inches) long.
If you want to line your skirt, then cut the belt lining the same size as your belt fabric piece, and the skirt lining to match the width of skirt layer B, and the height of layer A.
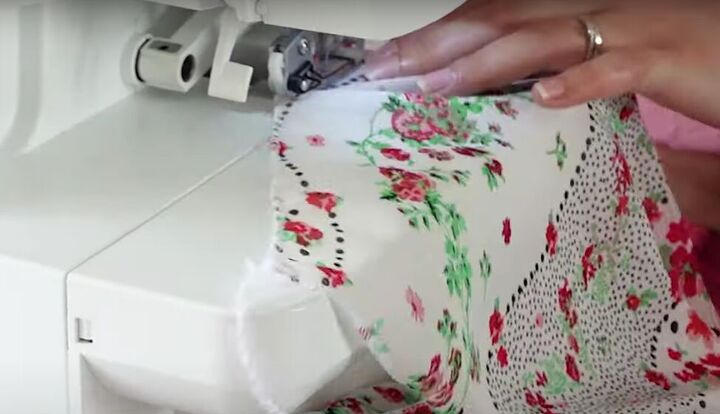
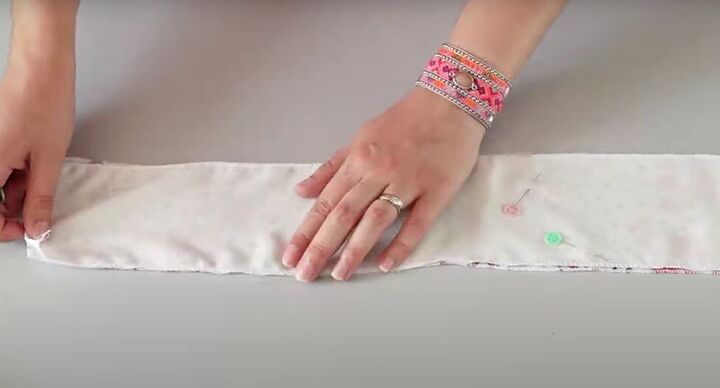
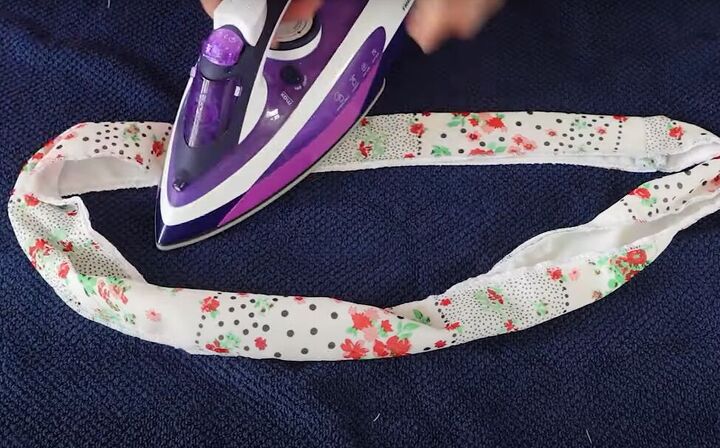
3. Overlock all pieces
Sew an overlock stitch around all the sides of each piece. I used the rolled hem setting on my machine for the overlock stitching.
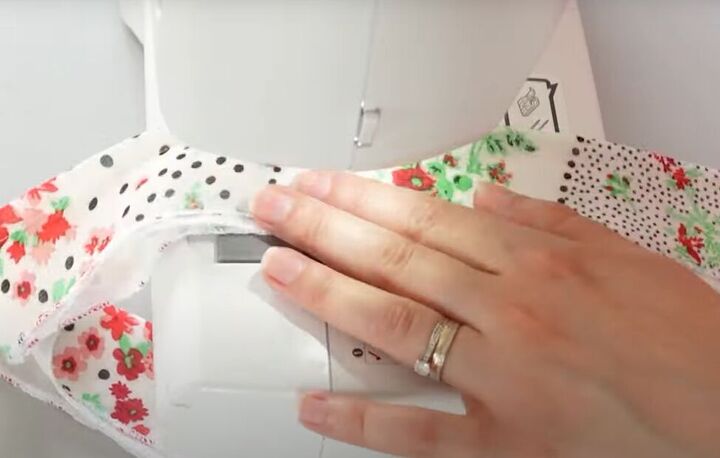
4. Sew each layer
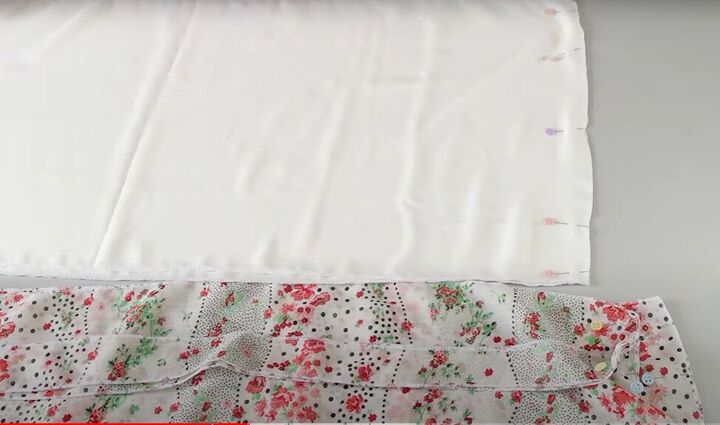
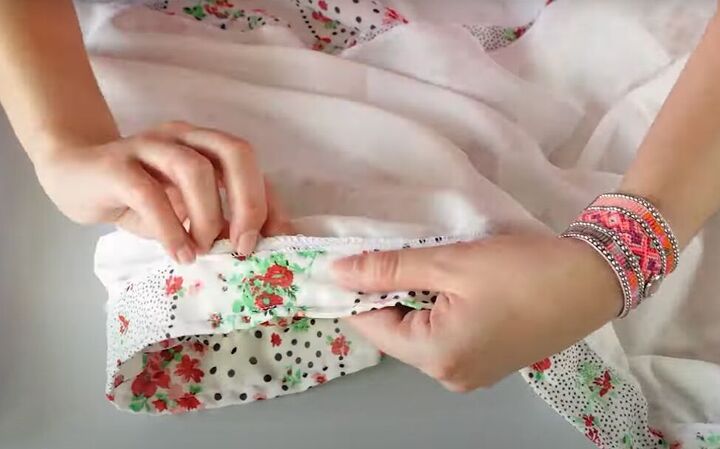
Fold each of the three layers and your main lining piece is half widthwise, with right sides facing. Pin and sew the open short edges.
5. Attach lining
With wrong sides facing, pin the belt lining to the belt fabric. Then sew all around.
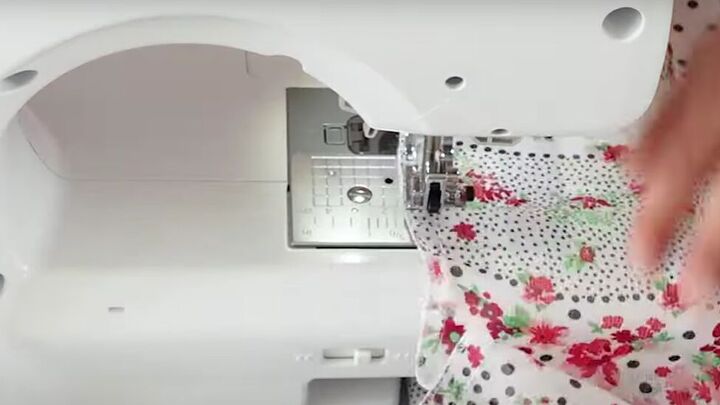
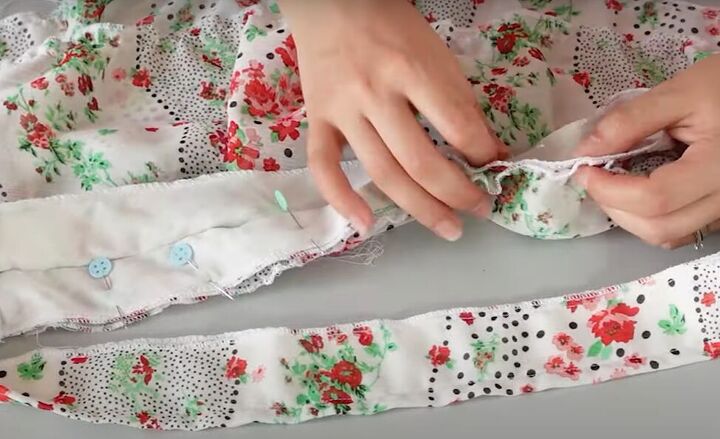
6. Gather your layers
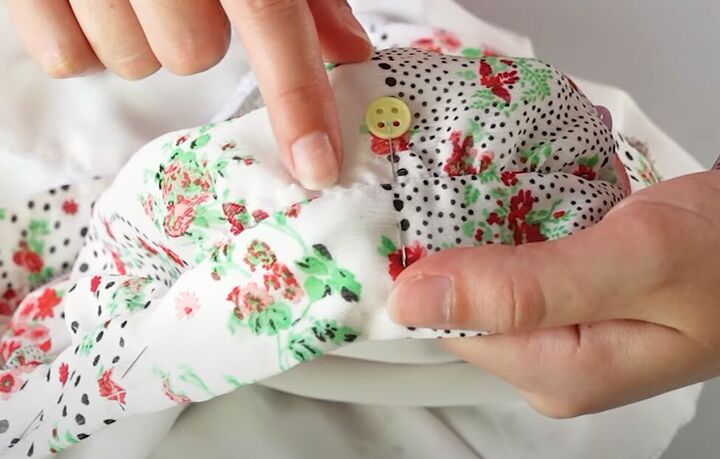
You will need to gather the top and bottom edges of layer A, and the top only of layers B and C and the main lining.
Set your sewing machine to the longest stitch length and sew a gathering stitch around the top of each of your skirt layers on the wrong side.
Leave a long thread for gathering at the beginning and end of your stitch, and don’t do a back stitch.
Tip: If you are not used to gathering, sew a second line parallel to the first one, in case your thread breaks while gathering.
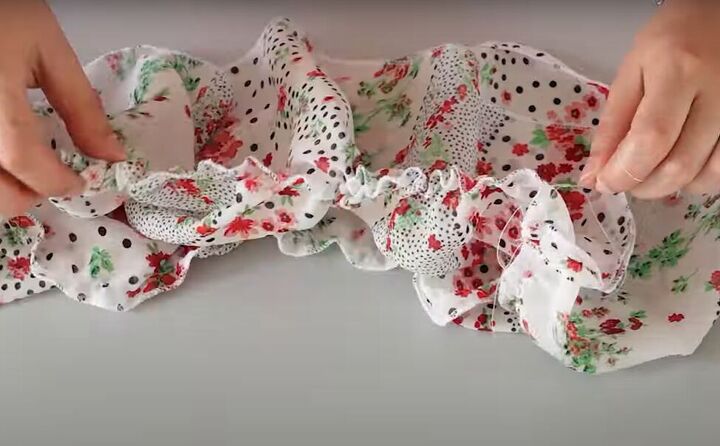
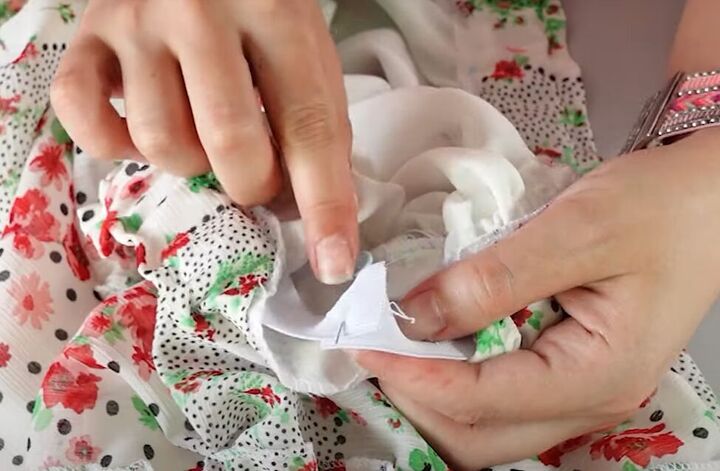
Now you can pull the gathering threads to gather the edges of your layers.
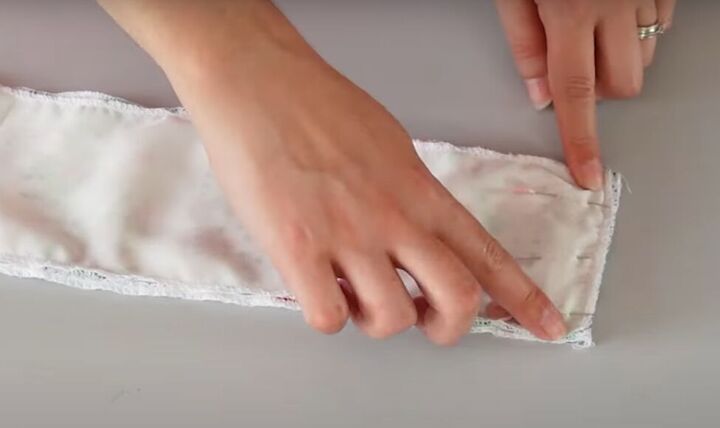
7. Sew the belt
Fold your belt in half widthwise, with right sides facing. Pin and sew the open short edge.
Now, fold the belt in half lengthwise, with the right side facing out, and iron it flat.
Sew the folded edge of the belt 1 centimeter (0.39 inches) from the edge.
8. Assemble layers A and B
Unfold your belt and, with right sides facing, pin the bottom edge of the belt to the top edge of layer A. Sew 1 centimeter (0.39 inches) from the edge.
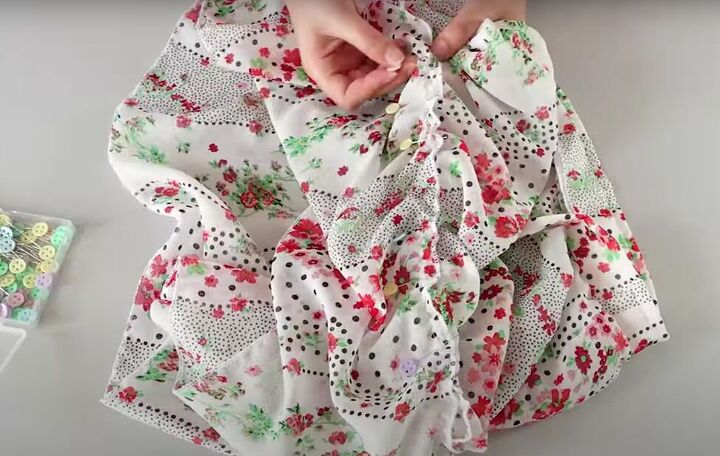
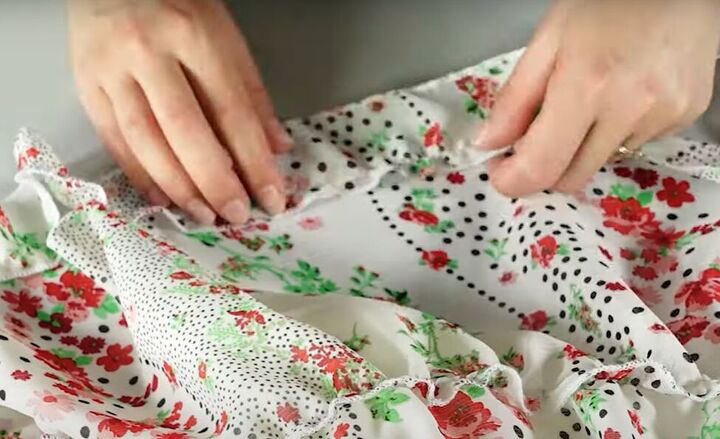
With right sides facing out, pin the top of layer B to the bottom of layer A, moving around the gathers so they are evenly distributed.
Sew layer B to layer A, and then remove the gathering stitch.

9. Attach the lining
Check that the gathering on the top of the lining makes the lining match the size at the top of your skirt (below the belt).
Place the lining inside the skirt, aligning the top of the lining with the top of layer A.
Pin and sew the lining to the belt side of the top of layer A.
10. Finish the belt
Fold and pin the belt to the inside top of the skirt.
Sew the belt along the same seam line you created when you sewed it to the outside of the skirt, leaving an opening for the elastic.
Insert your elastic through the opening, sew the ends of the elastic together, and sew the gap closed in the belt.
11. Attach the last layer
Sew layer C to layer B following step 8.
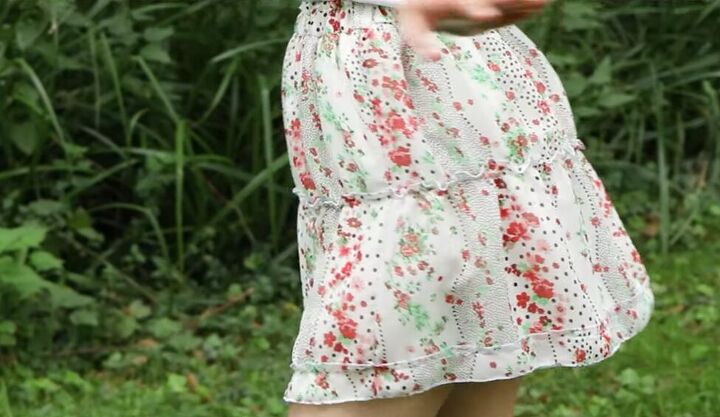
Layered ruffle skirt
It’s so flowy and the elastic waist is comfortable! I hope you love wearing this layered ruffle mini skirt as much as I do.
Leave a comment to let me know how yours turned out!
The author may collect a small share of sales from the links on this page.


Comments
Join the conversation