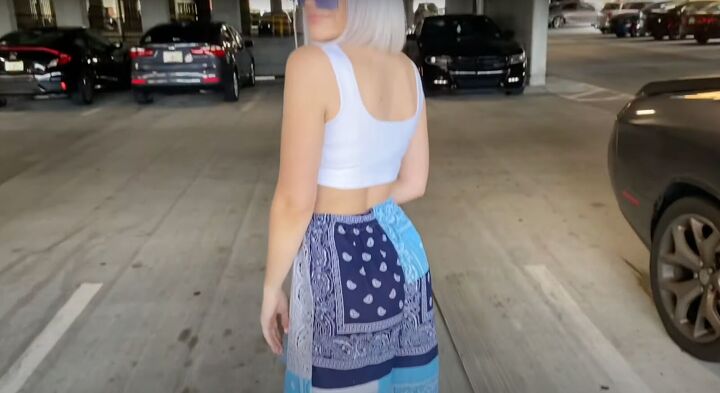
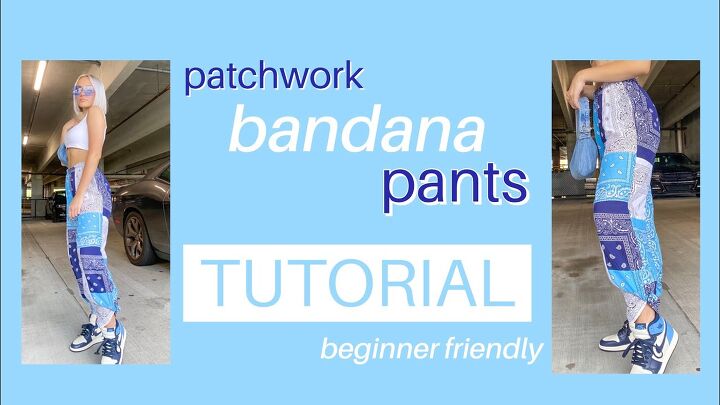
Need Some Cute & Comfy DIY Pants? Try This Bandana Pants Tutorial

Bandanas are so cute and perfect for patchwork! Here’s a bandana pants tutorial that’s super simple and easy, so you can make your own bandana patchwork pants!
These are so adorable and I’m so excited to have you make your own DIY bandana pants. Let’s get started!
Tools and materials:
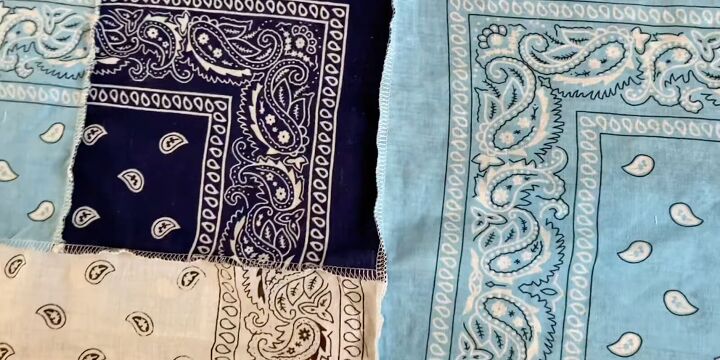
- Bandanas - 10+ of them
- Your own well-fitting pants
- Scissors
- Sewing machine
- Serger (optional)
- Pen/marker
- Pins
- 1-inch elastic
- Cord or ribbon (optional)
- Freezer paper
- Safety pin or bodkin
Bandana fabric isn’t the greatest. It might be a bit see-through, so know before you sew!
It is very important to wash and dry the bandanas in the washer-dryer first because the fabric shrinks - in some cases, almost in half!
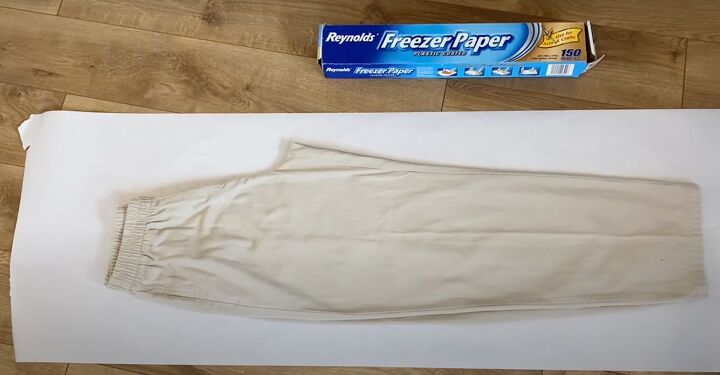
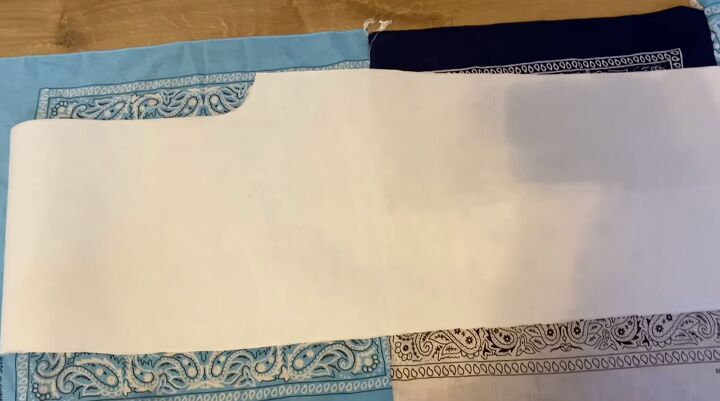
1. Make the pattern
Cut off a large piece of freezer paper to serve as your pattern paper. It’s widely available in grocery stores and supermarkets.
Fold your pants in half and pull out the crotch. The simplest way is to just make the front and back pattern the same.
However, if you have more of a backside, make 1 pattern for the front and 1 pattern for the back with extra space at the crotch. These pants are baggy and looser so you may not need to do so.
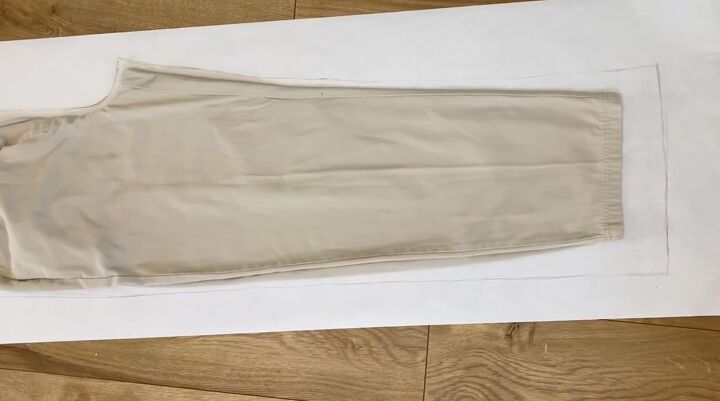
Trace the outline of the pants with a ½-inch seam allowance and 1½ to 2 inches extra on the bottom for hemming.
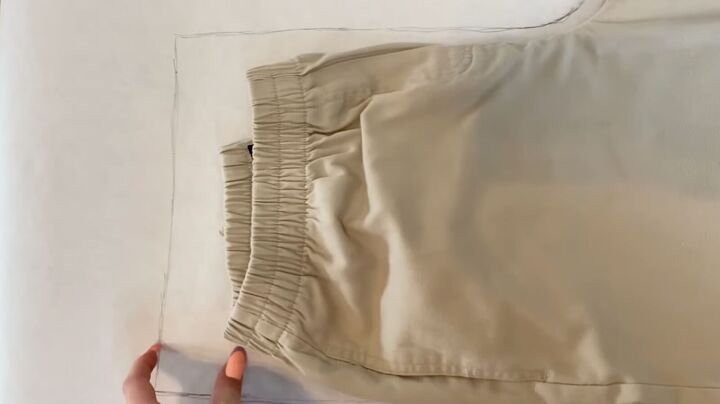
Square the top of the pants and add at least 2 inches extra on top to allow for an elastic waist so you have as much room as possible.
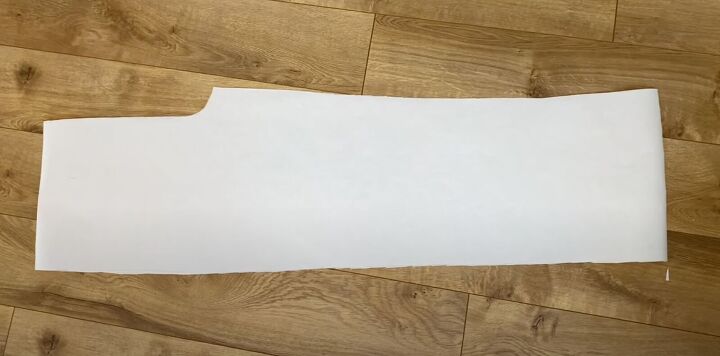
Cut the paper pattern out.

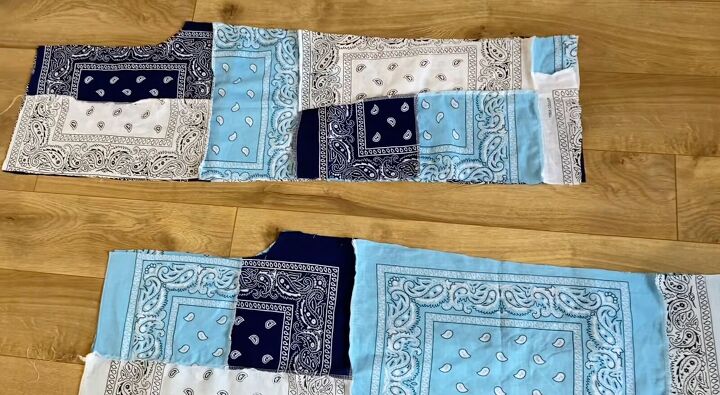
2. Design your bandana patchwork
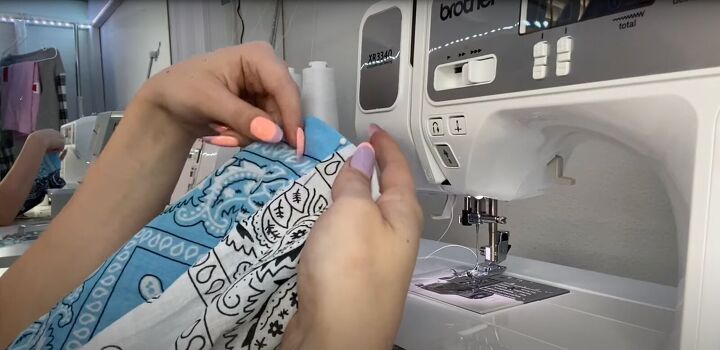
Lay the bandanas down on the pattern. This is your chance to be creative and make the pattern you love! It doesn’t need to be symmetrical.
Cut your bandana pieces to match the pattern you designed.
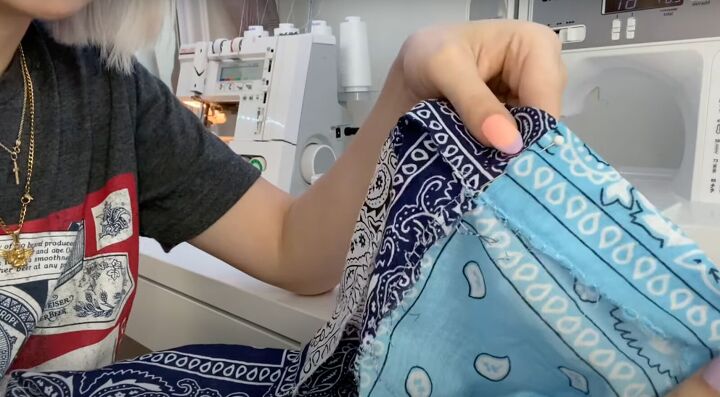
Serge or use an overlock stitch to keep the ends from fraying. Sew the seams together.
Once you’ve sewn the bandanas to each other, lay the paper pattern directly on top of the sewn patchwork.
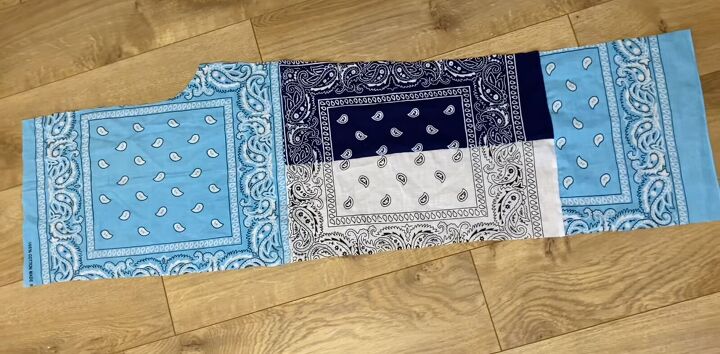
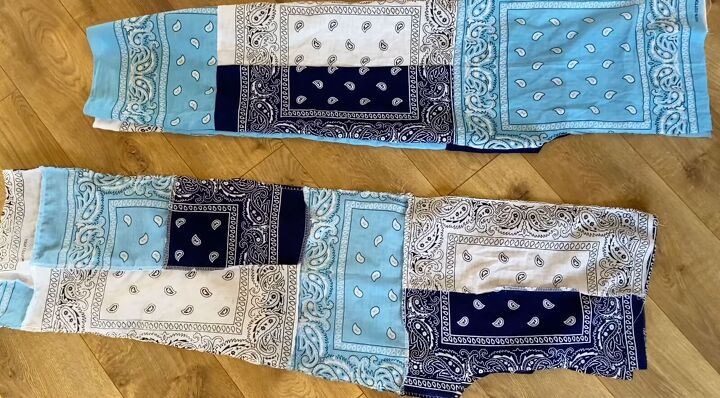
Cut the patchwork to match the paper pattern. Congratulations! You’ve made the first panel!
For the second panel, lay your new patchwork and follow the technique you used for the first panel.
To make the back panels, flip the pattern so the crotch is on the other side.
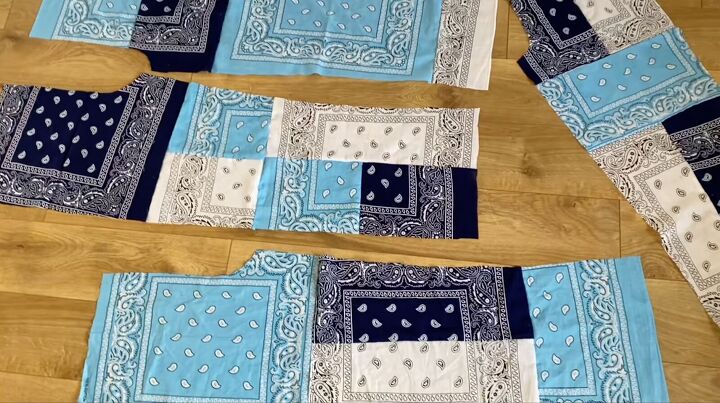
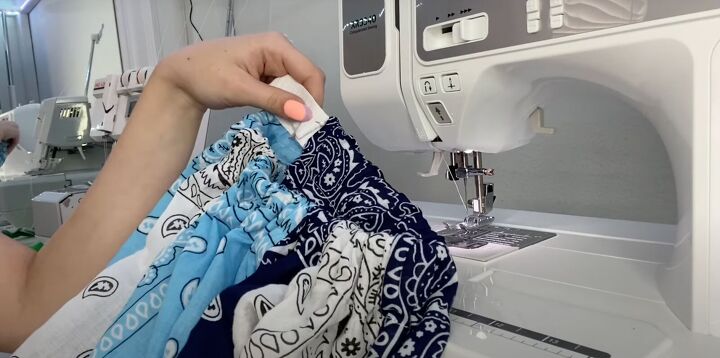
Once you’ve cut the 4 panels, it’s time to sew them together.
3. Sew the pants together
Lay the panels right sides together, front with front and back with back. Sew the outer seam and the inner seam up to the crotch area. Don’t sew the crotch area yet.
Once those seams are sewn, turn one leg so the right side is facing out.
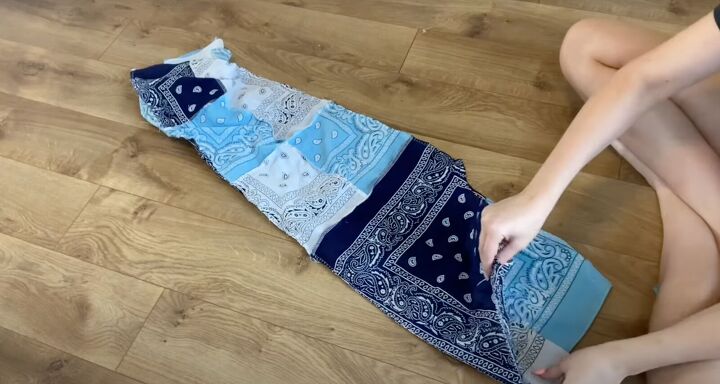
Tuck the right side facing out leg into the pant leg that is wrong side facing out. Line up the crotch and pin in place. Sew the entire crotch together in one straight line.
Turn the entire pant so the right side is facing out.
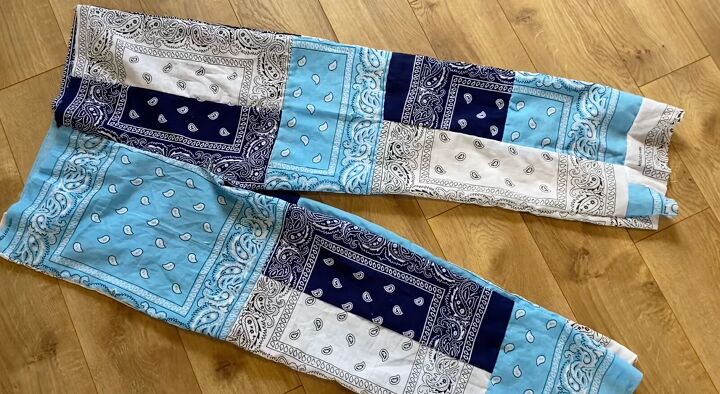
4. Make the waistband
Try the pants on to see how the fit is. It doesn’t have a waistband (yet!). If the fit is too tight, you can open the outer side seams and add some more bandana fabric. Measure your waist and cut a piece of elastic to your measurement.
Turn the pants so the right sides are together. Trim the top edge so it’s more even. Trim the front of the pants an additional ¾ inches so it sits lower on the waist than the back.
Use your serger or an overlock stitch so the edges don’t fray.
Fold over the top about 2 inches towards the wrong side. Pin in place. Sew across right at the edge of the seam and leave a small space unsewn - about 1½ inches.
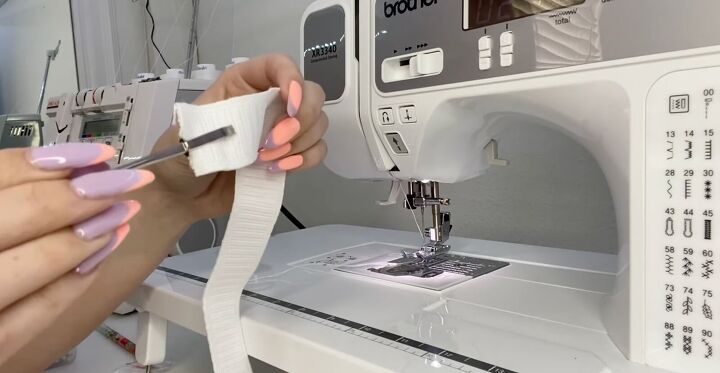
Take the elastic and either attach a safety pin or a bodkin (a special tool that helps tunnel elastic or ribbon through a casing) and place it inside the space.
Feed it through the casing until the ends of the elastic meet. Check to make sure the elastic isn’t twisted or bunched up.
Pin the elastic in place and sew to secure. Then hand-sew the small space you left open closed.
If you want to make a drawstring, make the casing but instead of leaving a space unsewn in the new seam, make 2 small holes in the front right in the center.
Insert the cord or ribbon through the first hole using the bodkin or pin and pull it through the second hole. Knot the ends and tie the drawstring closed.
The next step is totally optional but makes your pants look less homemade and much more professional. Sew a straight stitch across the elastic in the center. You can even add some more rows.
When you do this, make sure the elastic isn’t bunched up and the gathers in the waistband are equally distributed.
5. Hem the pants
Mark the length you want with a pin. Fold the hem to the wrong side and sew with a straight stitch.
If you want to make them into joggers, follow the method you made the waistband with the elastic and use them on the bottom hems of each pant leg.
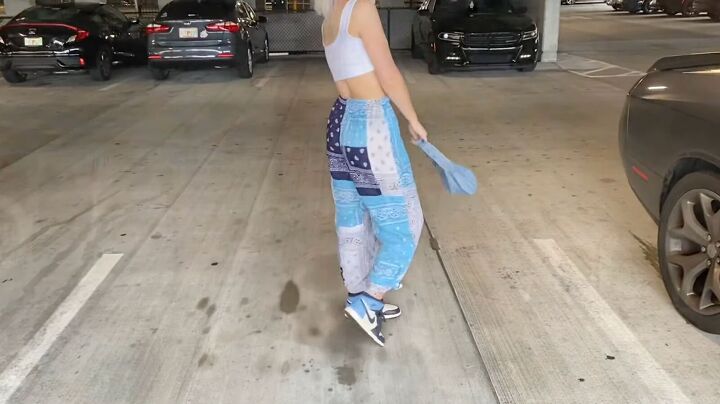
Bandana pants tutorial
I hope this tutorial on how to make bandana pants helped you make your own comfy DIY bandana pants! Please let me know in the comments if you made them and how they look! I love hearing from you!
The author may collect a small share of sales from the links on this page.


Comments
Join the conversation
One time, Going back to the 70’s, we used bandanas to tuck and roll the ceiling in a friends bedroom.
A fun pair of pants!