Thrift Flip Tutorial: Easy Quilted Jacket From an Old Blanket

Start with a thrift store quilted blanket and then follow this tutorial to learn how to make a quilted jacket from it.
This DIY quilted jacket is perfect for spring or fall weather (or year-round if you’re lucky enough to live somewhere temperate!)
I create a similar garment in my previous tutorial, How to Make a Cozy Reversible Quilted Jacket Out of Old Blankets.
This time, I wanted to make a lighter version for spring, so I opted for a lightweight quilted blanket.
Tools and materials:
- Lightweight quilted thrift store blanket
- Scrap lightweight fabric
- Scrap linen fabric
- Hoodie for pattern
- Pattern paper
- Pen or pencil
- Scissors
- Sewing pins
- Snap button kit
- Bias tape
- Thread
- Sewing machine
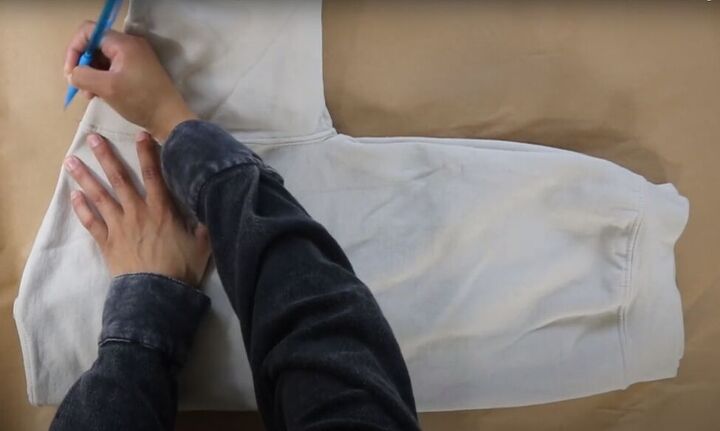
1. Create the quilted jacket pattern
Tuck the hood of your hoodie inside so it’s out of your way. Fold your hoodie in half lengthwise and mark the top and bottom of the shoulder seam on your paper, then trace the outline of the body of the hoodie on your paper.
Tip: If you want your jacket to be longer or shorter than your hoodie, trace the back to your desired length.

Fold back the sleeve of your hoodie so you can trace the armhole curve onto your paper.
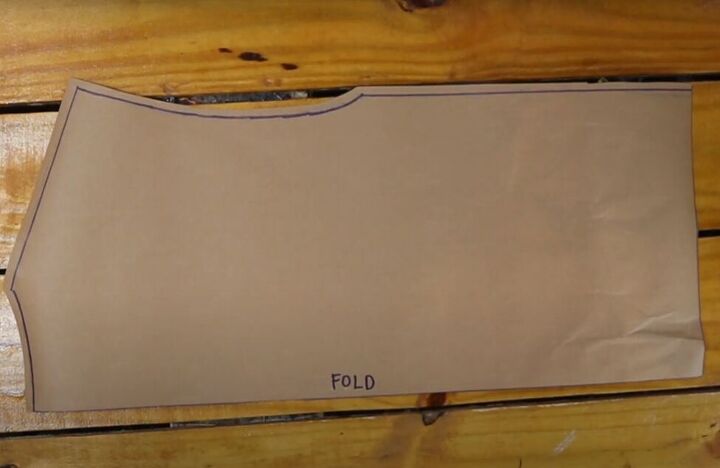
Cut your pattern, adding a seam allowance on all sides except the long straight back edge, which will be placed on the fold of your fabric.
This will be the pattern piece for the back of your jacket.
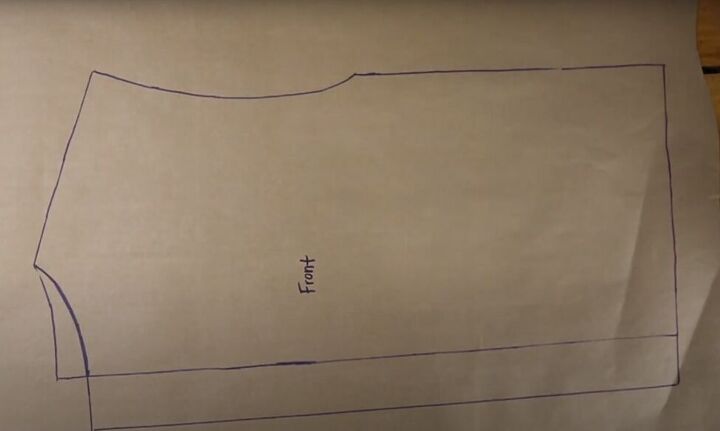
Now trace this pattern piece onto another piece of paper. Lower the neckline and add 2 inches to the “fold” edge for a button placket on the front of your jacket.

Trace the sleeve of your hoodie, including the shoulder, onto your paper. Then, flip over your seam and trace it again in a mirror image to the first.
Tip: Check with a ruler to make sure both sides are the same length!
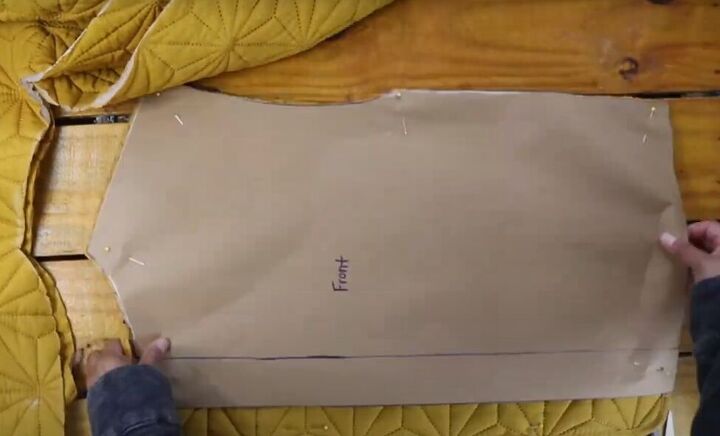
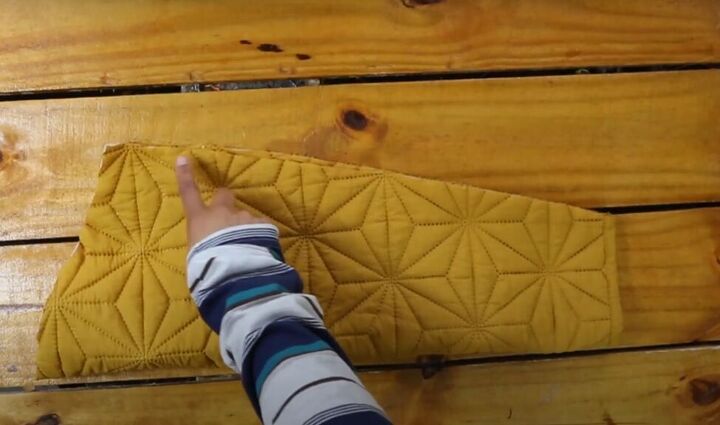
From your quilted fabric, cut out two front pieces adding another two inches to the front of those pieces. Cut out one back piece on the fold and cut out two sleeves.
Tip: line up the bottom of your front and back pieces with the bottom of the blanket so that you won’t have to do any hemming.
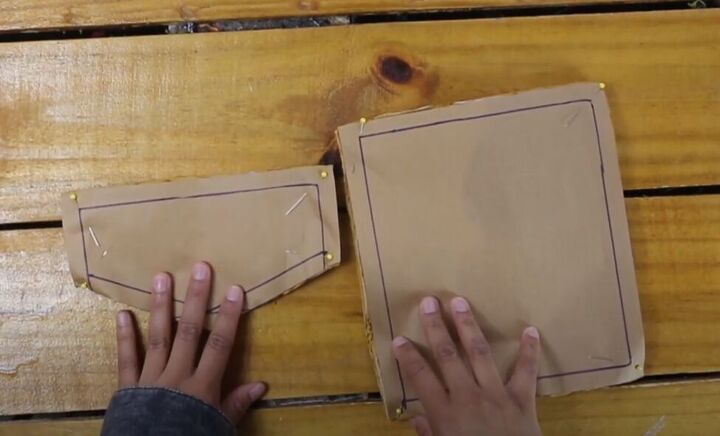
2. Make pockets
For each pocket you want, cut out one pocket and one pocket flap from your quilt fabric as shown in the image above. You can free draw these to your liking.
Cut a second pocket and pocket flap from some matching or coordinating lightweight scrap fabric.

With right sides together, sew the quilted and lightweight fabric pocket pieces and flap pieces together, leaving an opening on each to turn it right side out.
Snip the bottom corners of both pieces, turn them right side out, and sew the gap closed. Then, topstitch both the pocket and flap pieces.
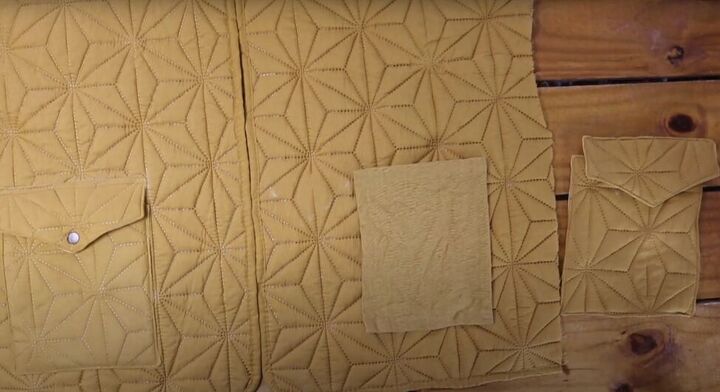
I chose to make a second pocket with no flap from a light-weight linen fabric alone.
This second pocket will sit behind the quilted pocket.
Sew that second pocket to the jacket front about 5 inches from the inside edge leaving the top open.
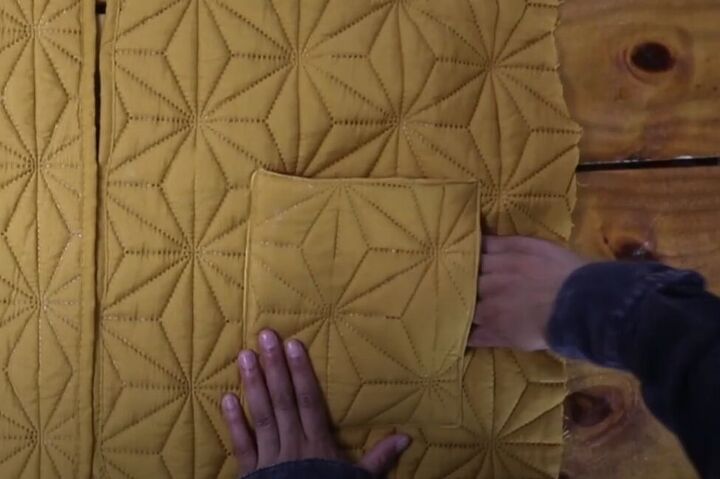
Pin the quilted pocket on top of the lightweight pocket, aligning the edges.
Topstitch the quilted pocket on three sides, leaving the top open as well as an opening on the side facing the outer edge of your jacket to put your hand in.
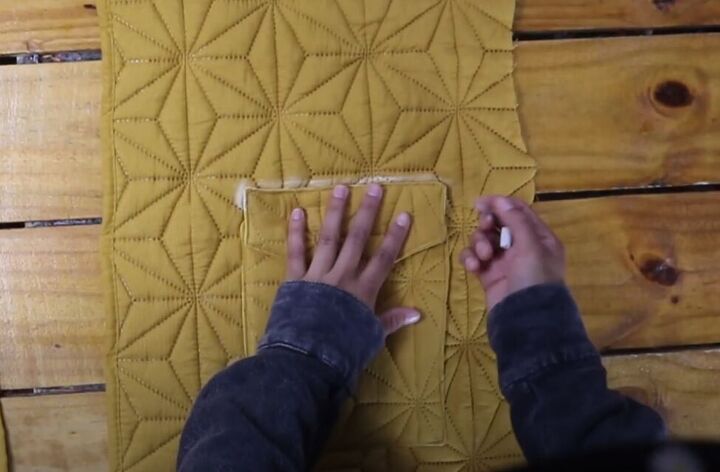
Mark the position for your pocket flap above the pocket on your jacket.
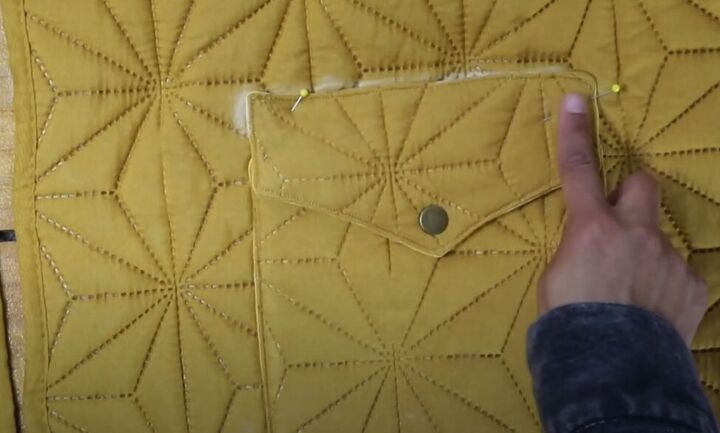
Add a snap to the outer layer of your pocket and your pocket flap and then sew your pocket flap into place.
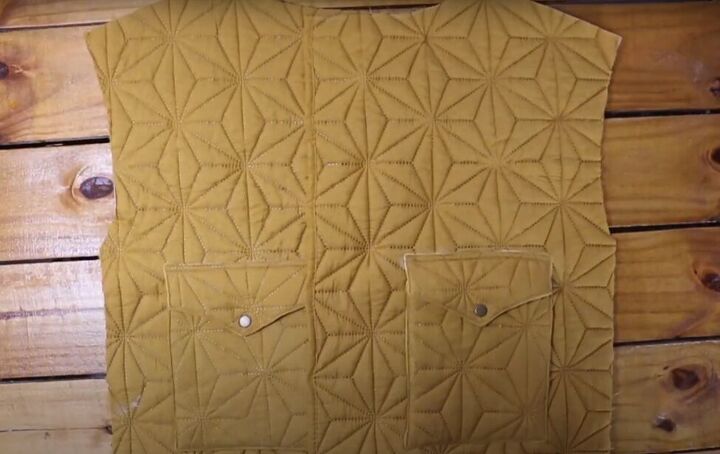
Repeat for a second pocket if you wish to have one.
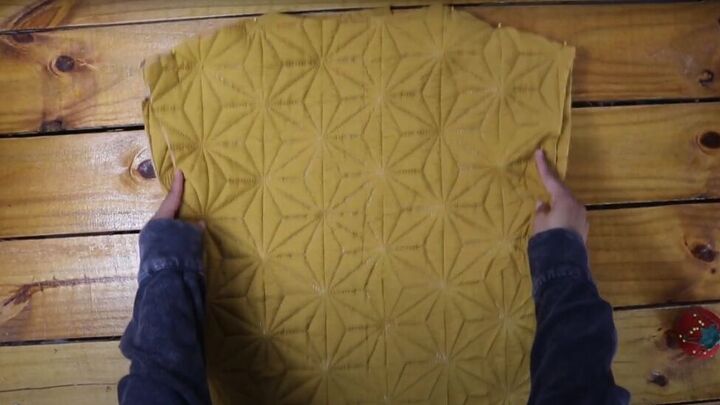
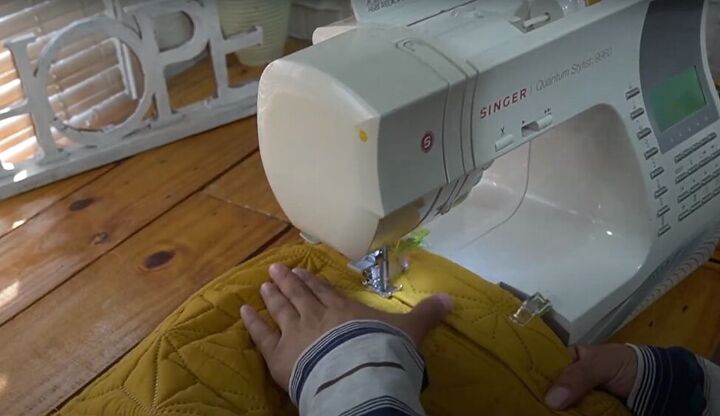
3. Sew the shoulder and side seams
With right sides facing, pin and sew the two front jacket pieces to the back piece along the shoulders and sides.
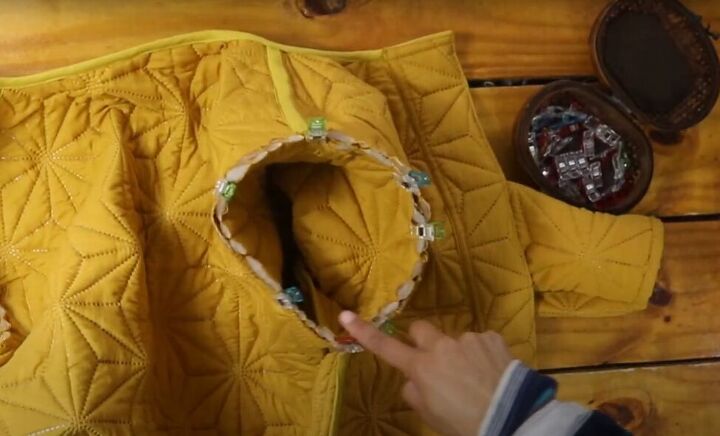
4. Finish the neckline
Add bias tape to the neckline by following my instructions in the video from 4:36 to 5:20.
5. Finish the front plackets
On both front pieces, fold in the 2-inch front placket and sew it in place.
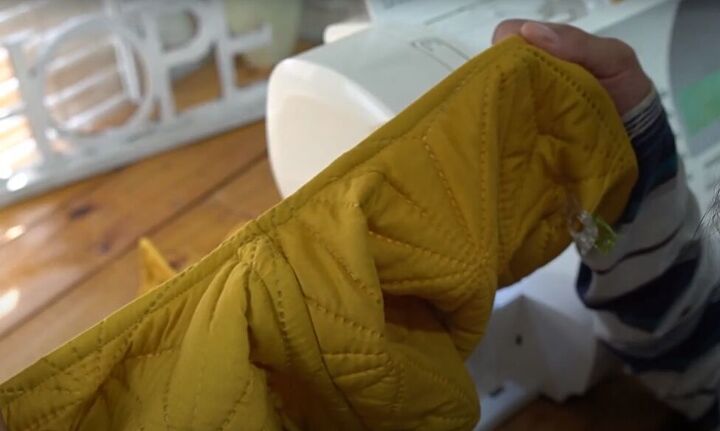
6. Make the sleeves
Fold each sleeve in half and sew along the open long edge.
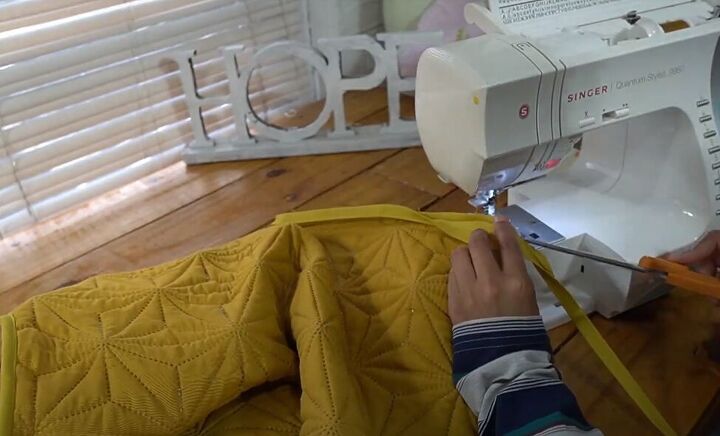
Add bias tape to the raw edge, as well as to the raw edges of the side seams of the jacket. Follow along with me in the video from 6:38 to 7:08 to see how I did this step.
7. Attach the sleeves
With right sides together, pin and sew the sleeves into the jacket armholes.
Add bias tape to both seams by following me in the video from 7:27 to 8:07.
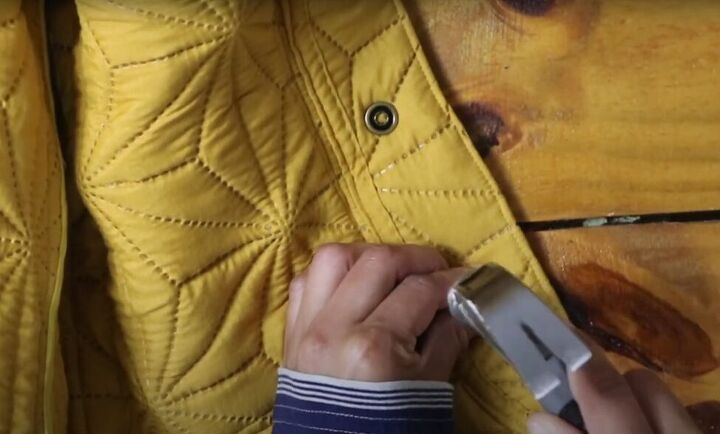
8. Add front snaps
Follow the instructions on your snap fastener package to add snaps to the front plackets of your jacket.

How to make a quilted jacket
All done. Stay warm and cozy and enjoy showing off your new DIY quilted jacket!
Give this a try and let me know in the comments how you liked making a quilted jacket from a thrift store blanket.
DIY a Denim Jacket With a Cozy Lining This Winter
The author may collect a small share of sales from the links on this page.


Comments
Join the conversation
Love it. So creative!