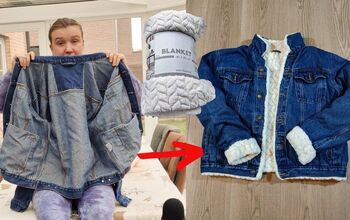
DIY a Denim Jacket With a Cozy Lining This Winter

This tutorial is so exciting because it features a DIY I have wanted to do for ages! I took men’s jeans and completely refashioned them to create a super on-trend denim jacket that has become one of my absolute favorite pieces! Follow a few simple steps and find yourself creating a gorgeous new jacket.
Tools and Materials:
- Men’s Jeans x2
- Fleece blanket
- Measuring tape
- Scissors
- Pattern paper
- Pencil
- Pins
- Seam ripper
- Sewing machine
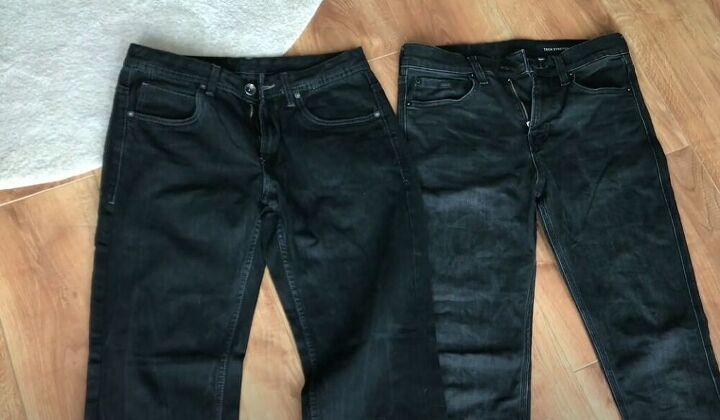
For this denim jacket DIY, I would use these two pairs of men’s jeans. I was lucky to find pairs with a similar wash for this upcycle.
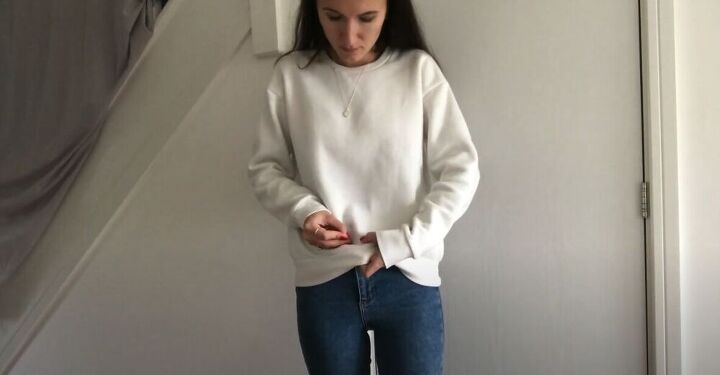
Pin the new length
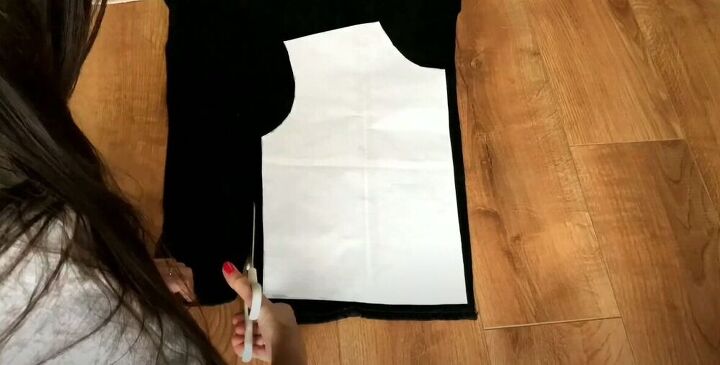
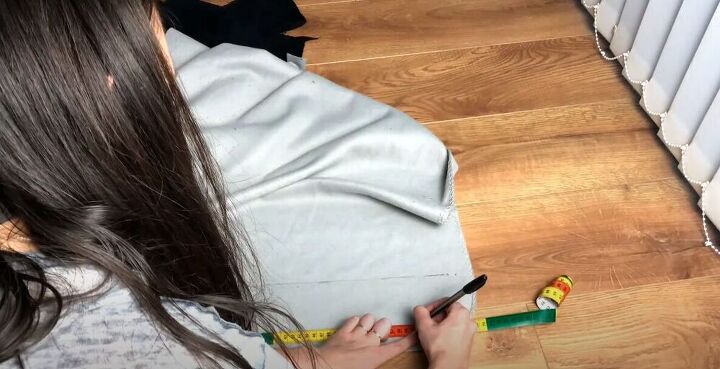
To make the pattern for my new jacket, I decided to use a comfy sweater that had a great fit. I pinned on the sweater where I wanted my denim jacket to end.

Create a pattern
I traced my sweater onto a piece of paper to create my pattern pieces. I traced the back, the sleeves and then folded the sweater in half to create two front pieces for the denim jacket.
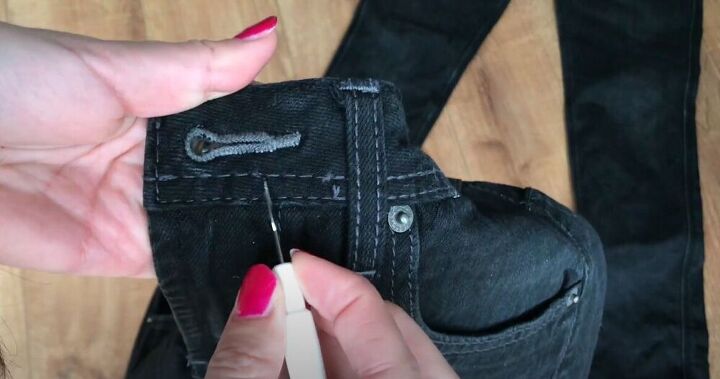
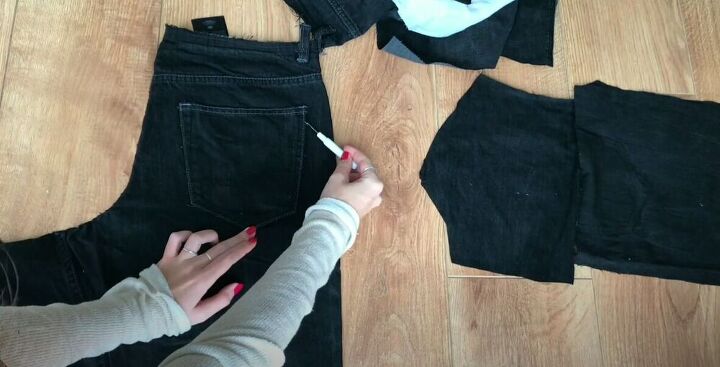
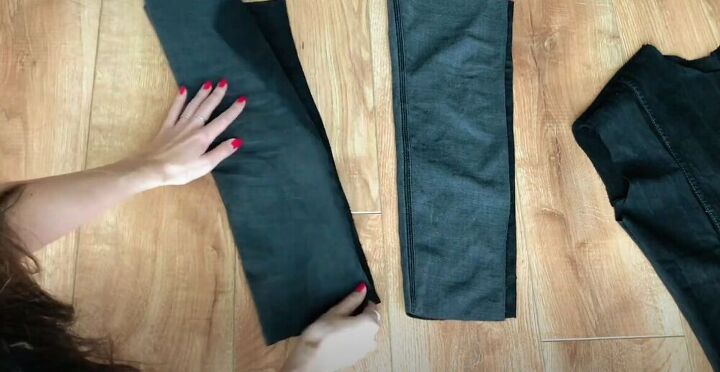
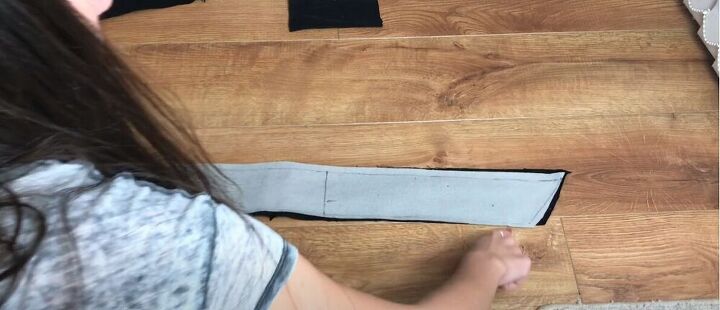
Cut the jeans
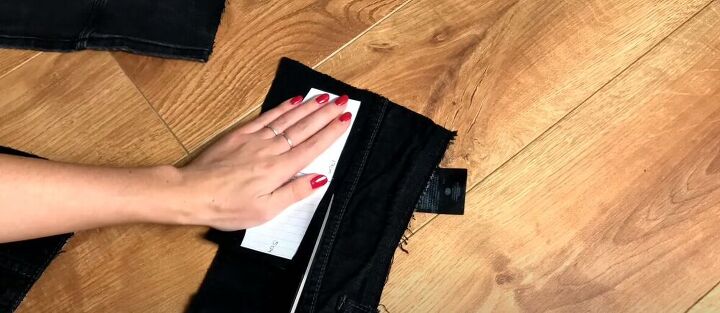
Next, I seam ripped the waistband off of the first pair of jeans as I would use it later.
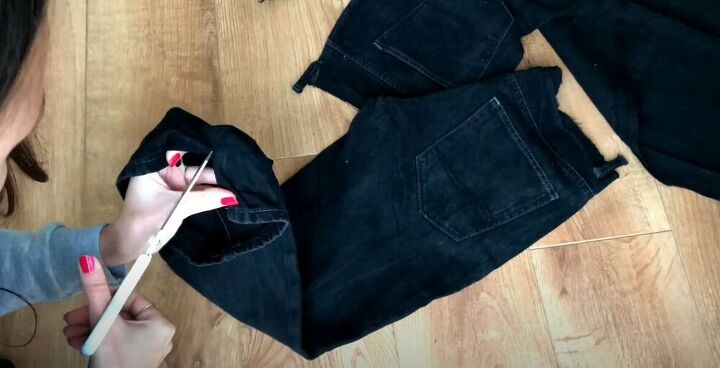
I seam ripped the side seams of the pairs of jeans and cut where the pockets were attached to save some time. I also cut where the two legs were attached so that I could fully open up each leg.
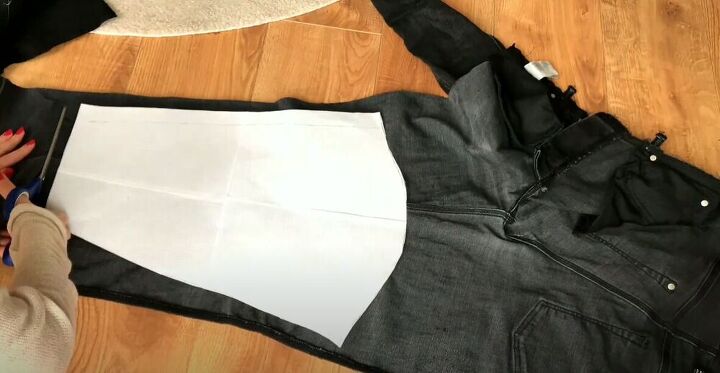
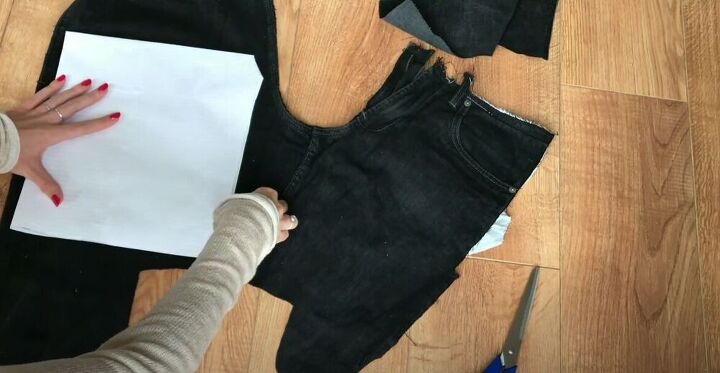
Next, I placed my pattern pieces on the denim and cut out the fabric that I needed to make this awesome jacket. I made sure to add a bit of seam allowance while cutting.

I placed the first front piece, right sides together on the other leg, and cut out the second front piece.
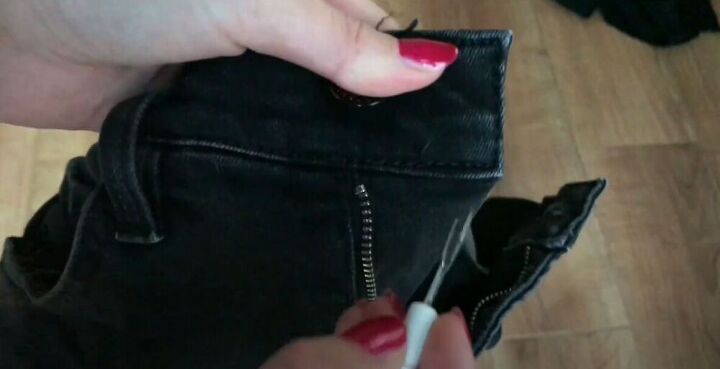
I then seam ripped the second waistband and put it aside to use later.
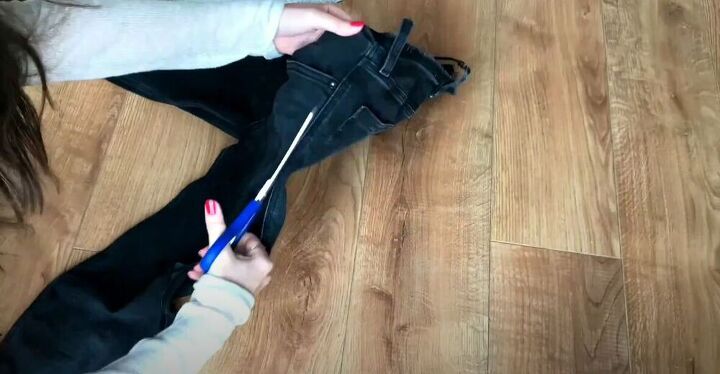
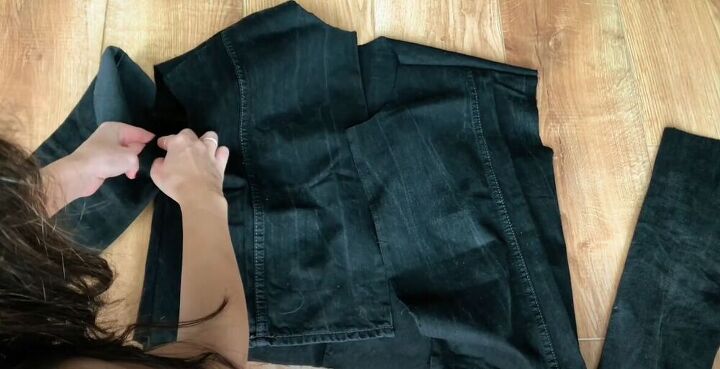
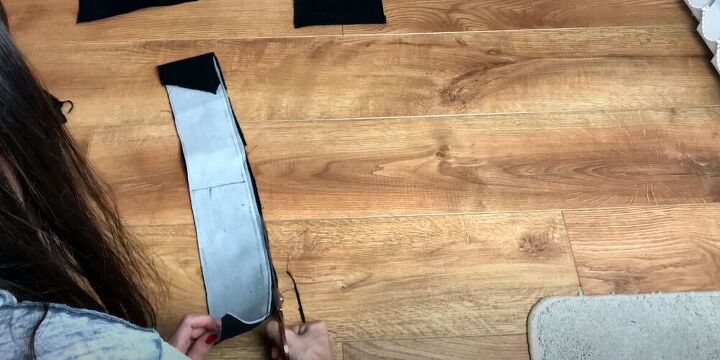
Next, it was time to take apart the second pair of jeans.
I placed my sleeve pattern on the leg and cut the fabric with some added seam allowance. While cutting, I decided to make the bottom of the sleeve a little wider than the pattern. I used the other leg to cut out the second sleeve.
Next, I seam ripped the pockets of the other jeans and put them aside to be used later.
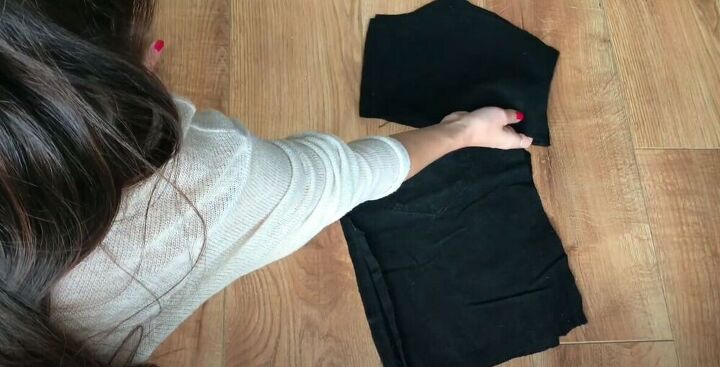
I didn’t have enough denim to cut the back piece as one so I folded the pattern piece into 4 and used whatever fabric I had left to cut out the four pieces for the back piece, adding seam allowance of course.
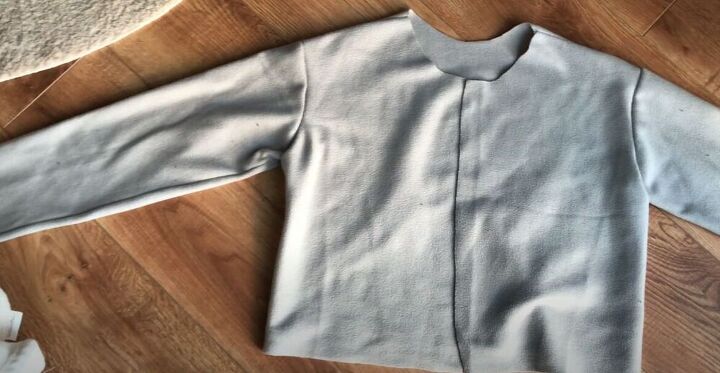
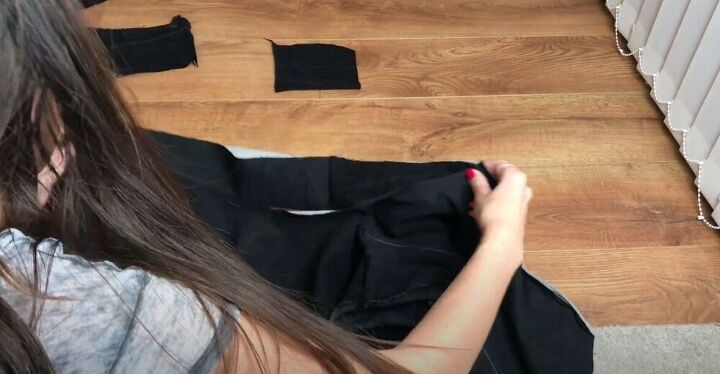
Assemble the jacket
With the 4 pieces cut out, I attached them, right sides together.
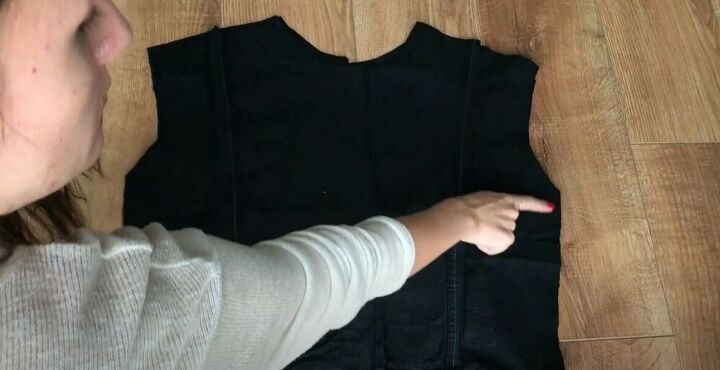
The back piece was put together so I decided to attach the two front pieces. I placed them over the back piece, right sides together, and sewed the shoulder and side seams.
I then sewed each of the sleeves, right sides together.
With the sleeves ready, I attached them to the jacket, sewing them right sides together.
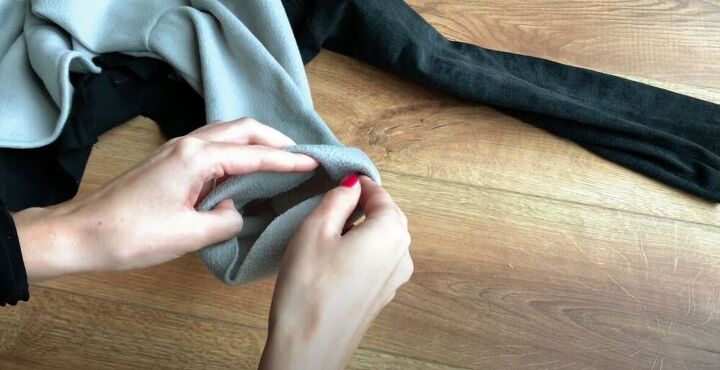
Attach the lining
I had a warm and cozy fleece blanket that I never used anymore. I decided to make my denim jacket more winter-friendly by adding a fleece lining. I traced my patterns onto the fleece blanket and then assembled the lining just as I had done with the denim jacket.

I attached the lining to the jacket, right sides together, by sewing along the front opening and neckline.
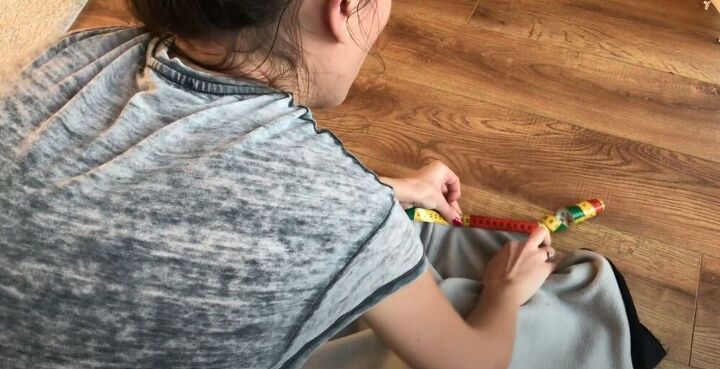
Add a collar
To create the collar, I first had to measure the length of the neckline.
I then drew a trapezoid shape on the fleece. The bottom line of the shape matched the length of the neckline. I drew the collar about 8cm (3.15 inches) high.
I cut out the lining fabric and a piece of denim for the collar. I sewed the pieces, right sides together along the top and sides.
I grabbed a pair of scissors and trimmed off the excess fabric. I then turned the collar right side out.
I realized that I should have left the neckline open so I used my seam ripper to open it back up. I then sandwiched the collar in between the two layers with the longer side facing down. I then sewed the neckline closed again, attaching the collar at the same time. I was careful to make sure that the lining side of the collar was facing the lining side of the jacket.
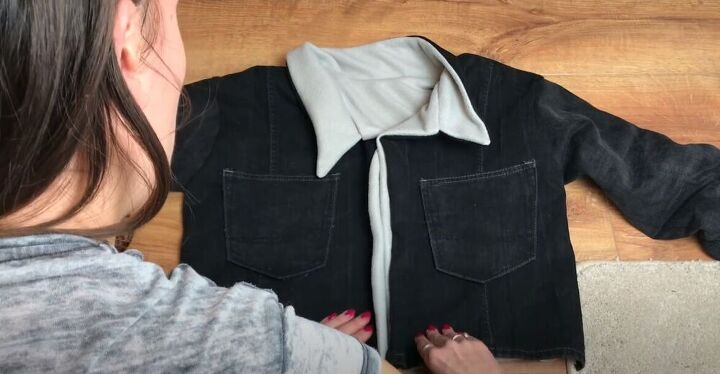
Sew on pockets
Next, I attached the pockets that I had cut off of the jeans, to the front of my jacket. These are just a great added detail to the jacket!
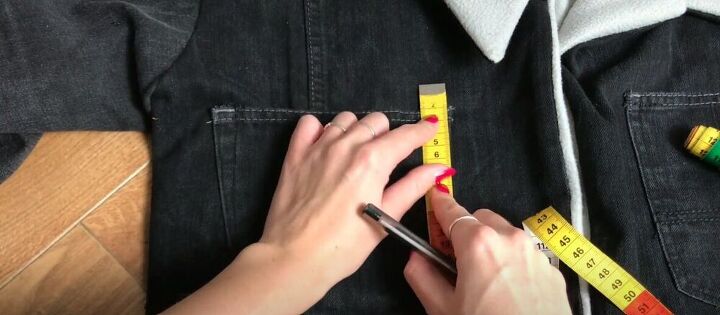
Using my measuring tape, I measured the width of the pocket and measured how long I would want the pocket cover to be.
I created a little pattern from my measurements and cut out 4 pieces from the denim scraps I had leftover. I attached the pieces to each other, right sides together leaving one of the sides open.
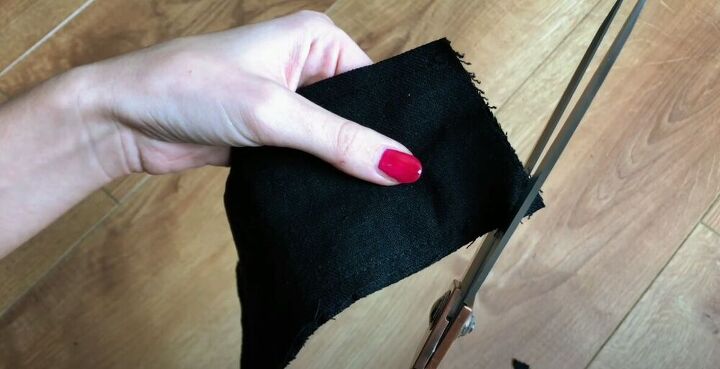
I trimmed off the excess fabric, especially at the corners.
I turned the piece right side out and then folded in the raw edges that I had left open. I then sewed along all the edges twice to give the piece that typical denim look.
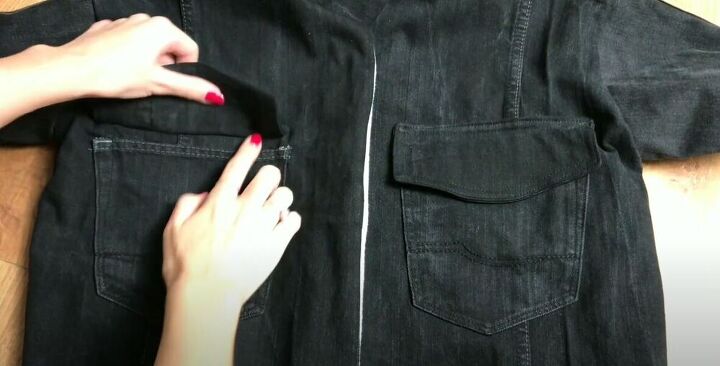
I carefully placed the pocket covers on the jacket and then sewed them onto the denim fabric making sure not to sew them to the lining.
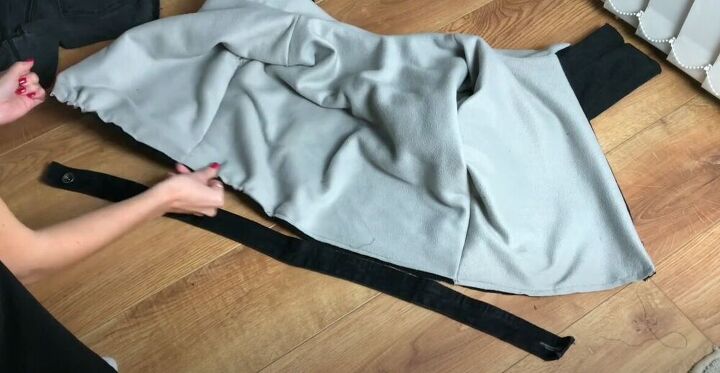
Sew on the waistband
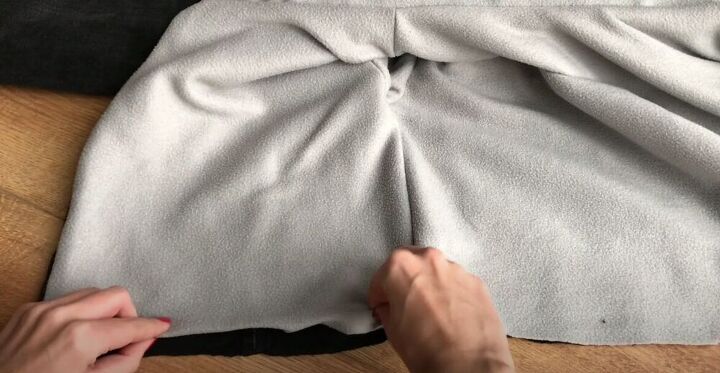
I decided to rough up the bottom of the jacket by gathering it. I then attached the waistband I had removed from the first pair of jeans to the gathered bottom of the jacket with a straight stitch.

Crop the jacket
I tried on the jacket and although it looked good, I wasn’t happy with the length. I decided to remove the waistband, crop the jacket, and leave the bottom raw.
To make sure the lining wouldn’t peek out, I folded in the edge a little and sewed it down.
Finish the sleeves
I did the same to the lining of the sleeves.
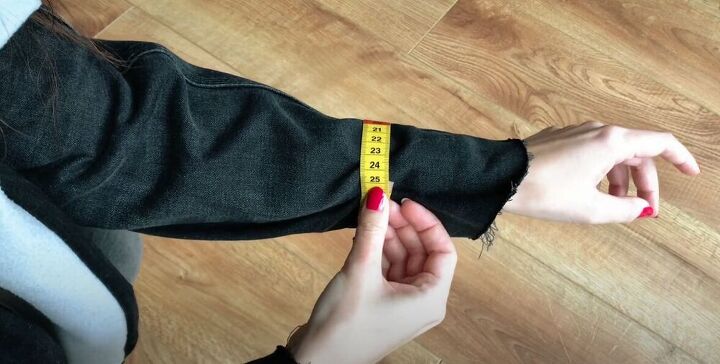
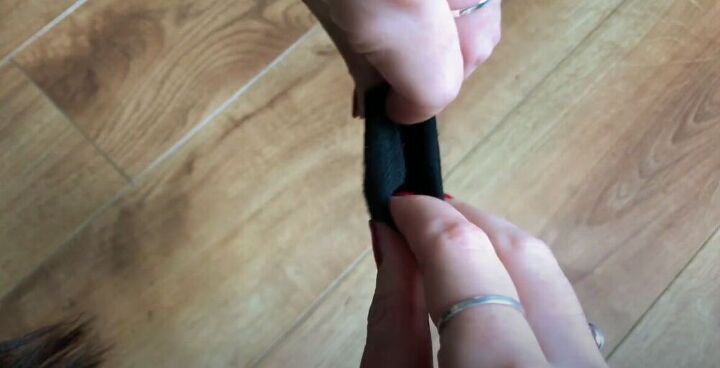
I then measured to check how long I would need the waistbands to be to fit around my wrists.
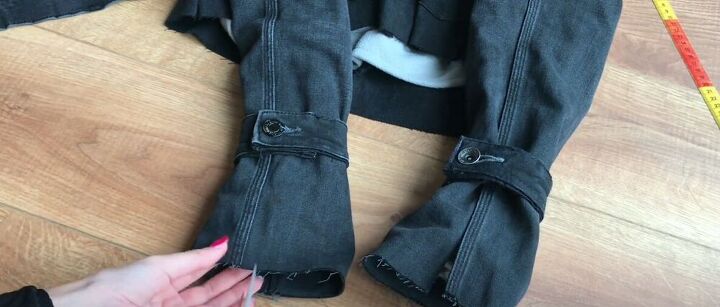
I cut the waistbands to size and decided not to sew them on so that I would have more styling options to play around with. I then cut along the seams of my sleeves to have them flare a little more.

This DIY denim jacket is absolutely perfect for winter! Let me know what your favorite detail of this piece is in the comments!
How to fold a jacket
The author may collect a small share of sales from the links on this page.


Comments
Join the conversation
This is so cute! I love that you cut the sleeves to flare a bit. Super cute and original!
WOW! You go, girl! I love it, but you are a far better seamstress than I! Thanx for sharing!