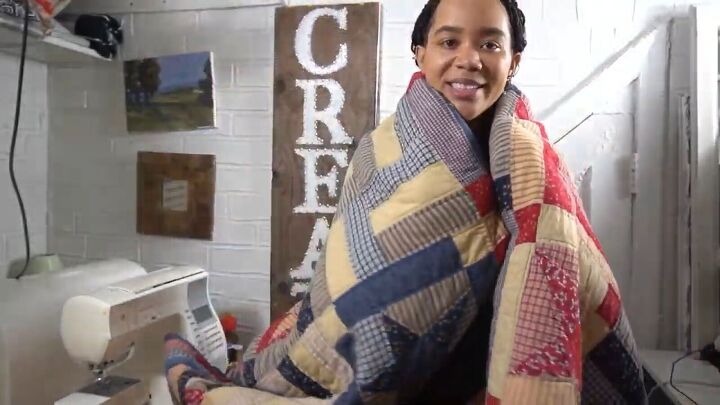
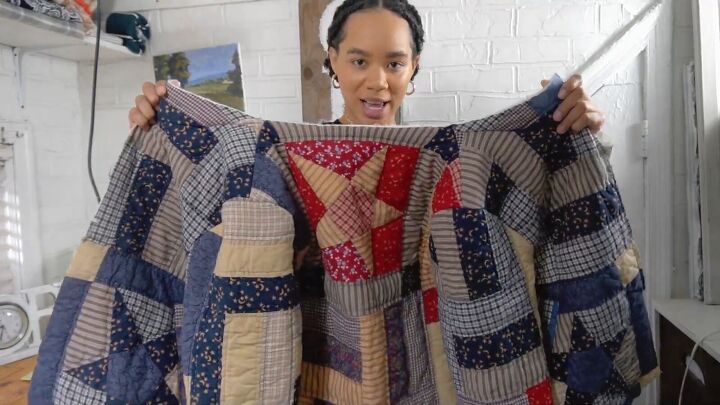
How to Make a Cozy Reversible Quilted Jacket Out of Old Blankets

Do you have a quilted blanket lying around, catching dust? You can turn it into a very trendy DIY quilted jacket with a few easy modifications! Join me as I show you how to make a quilted jacket with welt pockets and a zipper.
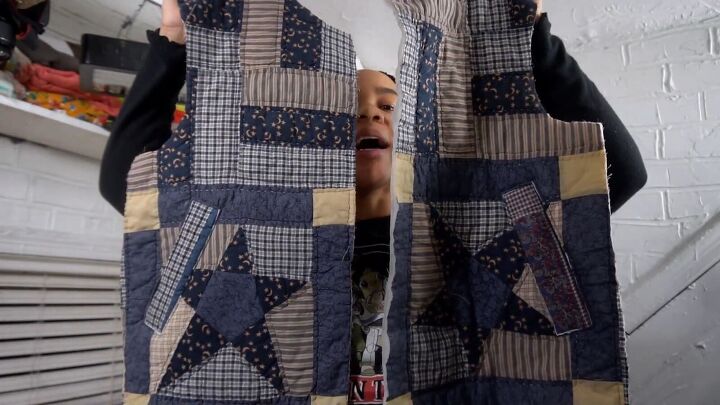
Also, you can make this jacket reversible if you have two quilted blankets. You’ll be amazed by this transformation so be sure to see the end for results!
Tools and materials:
- Quilted blankets (extra is optional)
- Hoodie as a guide
- Paper
- Pen
- Sewing machine
- Thread
- Iron
- Zipper
- Zipper foot
- Lining
- Scissors
- Measuring tape
- Pins
- Linen fabric

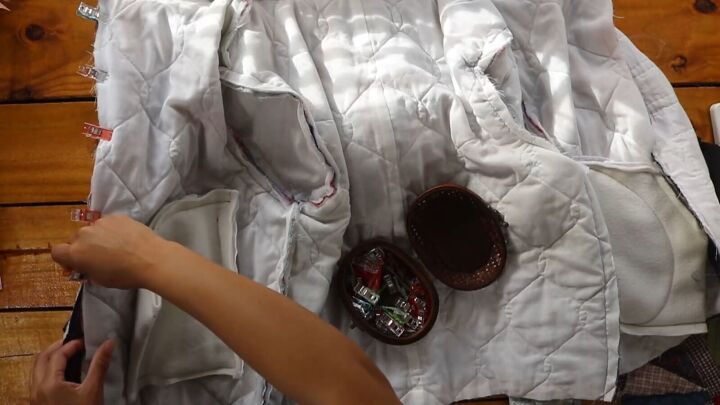
I've been seeing lots of super-cute quilted-style jackets recently. I love them and I wanted to make one myself.
I'm doing this the "short" way because instead of quilting the pieces together, I'm using thrifted quilted blankets!
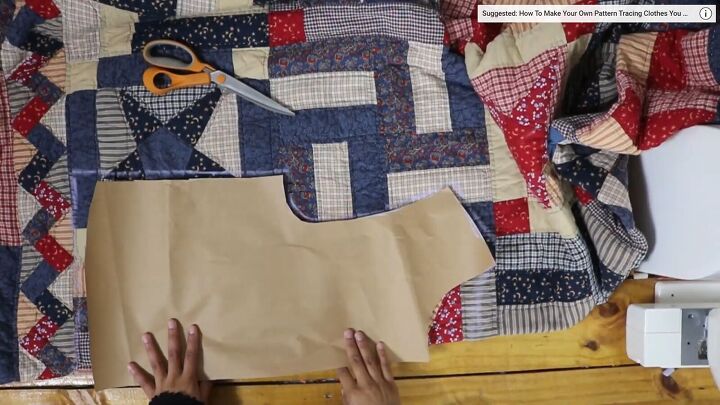
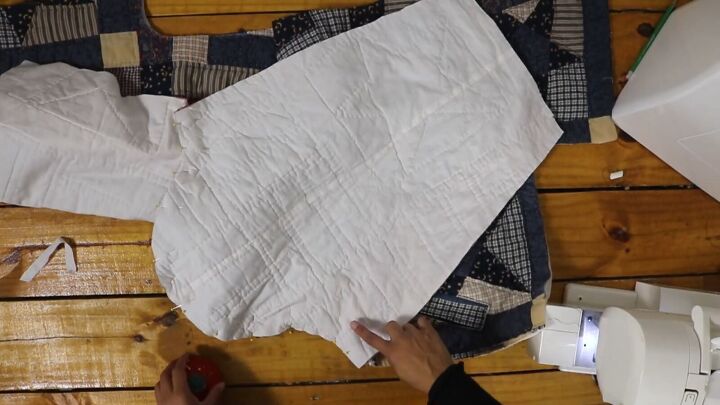
1. Make the pattern
For the quilted jacket sewing pattern, trace the pattern of your favorite loose-fitting hoodie. Make sure to raise the neckline for the back piece. Cut on the fold to make sure the pieces are symmetrical.
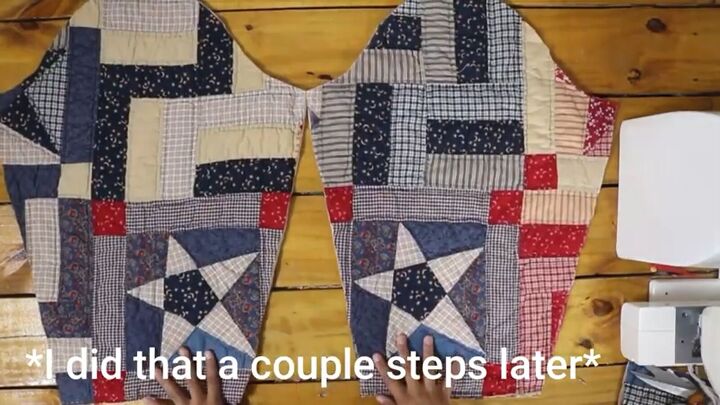
Cut out all your pieces, including the front, back, and sleeves.
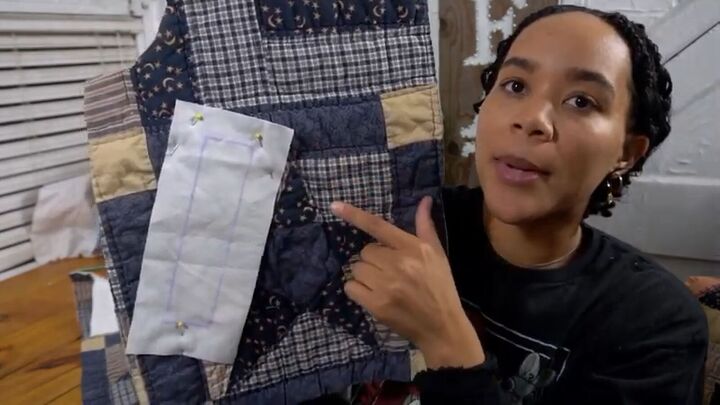
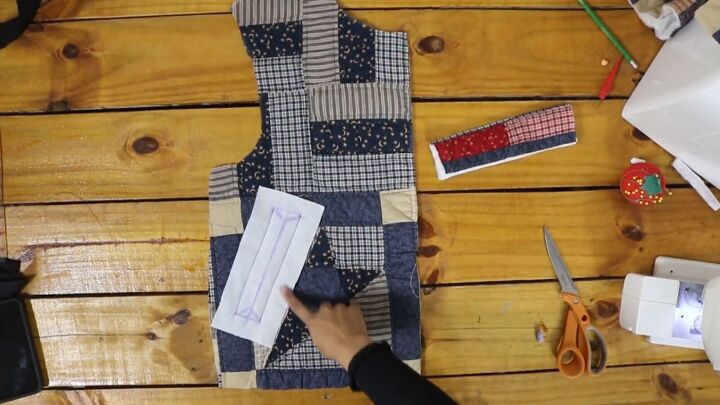
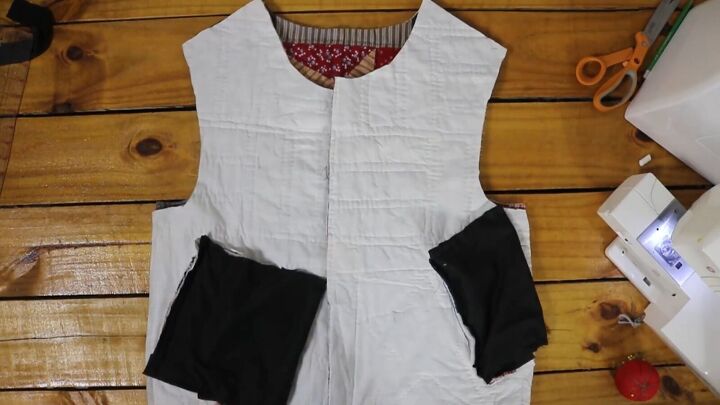
2. Make the welt pockets
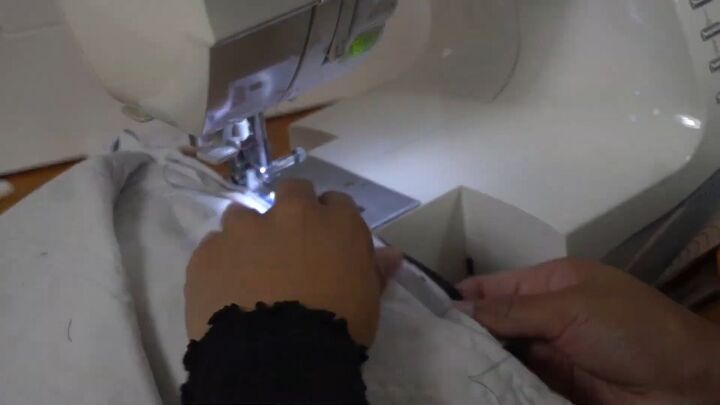
Cut a rectangular piece of fabric and pin it onto your jacket at an angle. I'm using linen because I don't want to add too much bulk to the seams.
Mark the width and length that you want your welt to be.
Sew along the long outer lines. Then, mark a centerline down the middle and two triangles along both ends.
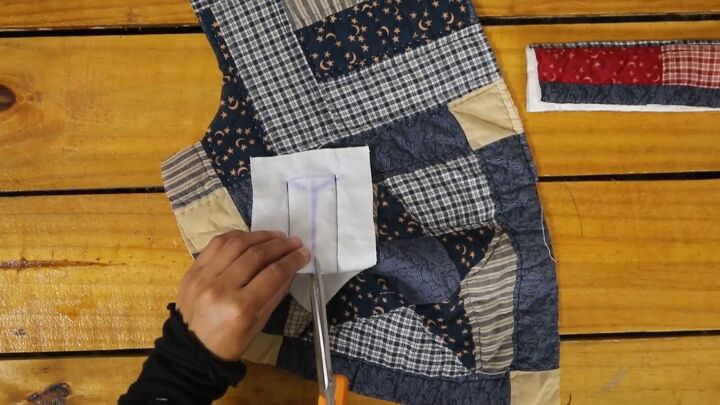
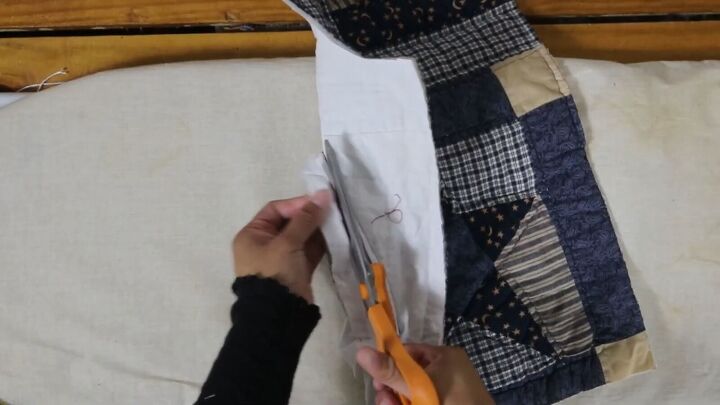
Snip into the center line and cut it open. Also, cut along the two triangular diagonal lines on each end.
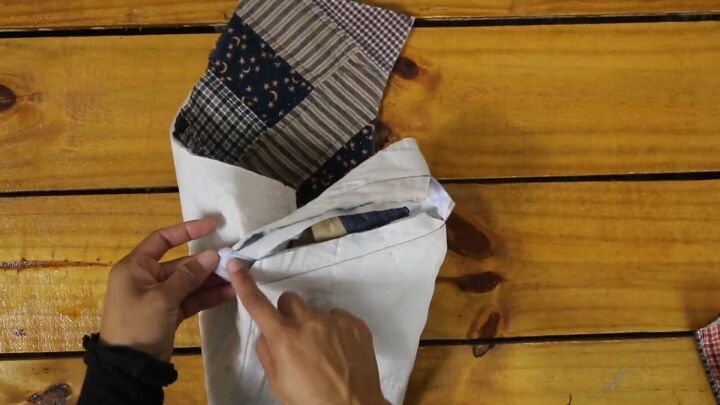
Flip the fabric and sew along the bottom of the triangles, as shown.
Turn the linen fabric into the hole so it’s sitting on the wrong side of the quilted fabric.
Cut the extra bulk between the layers.
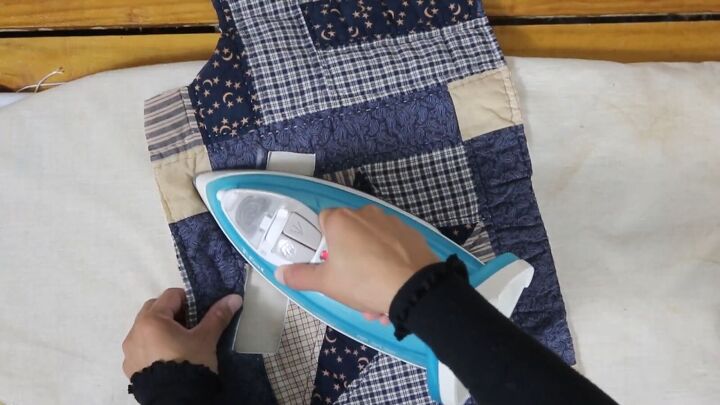
Press the linen piece to the inside.
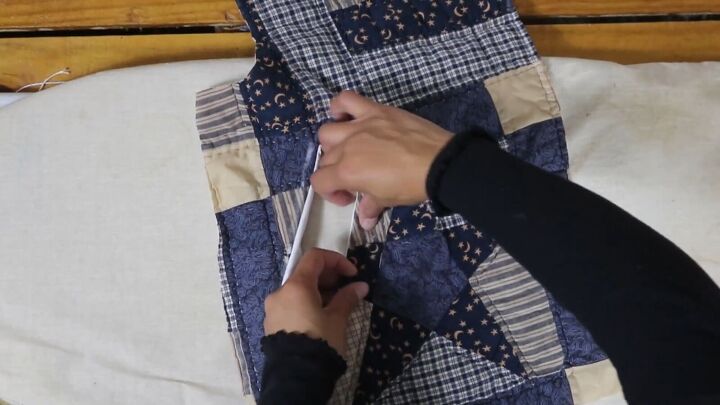
Cut a piece of quilt in a rectangular shape (measuring the same as the open pocket area).
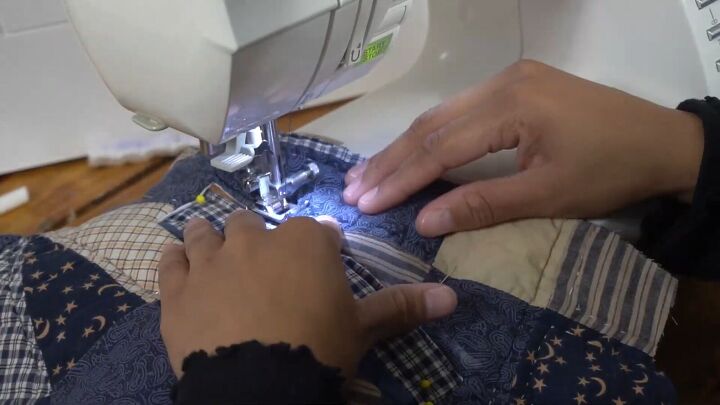
Sew along the fold and then attach it to three sides of the pocket opening.
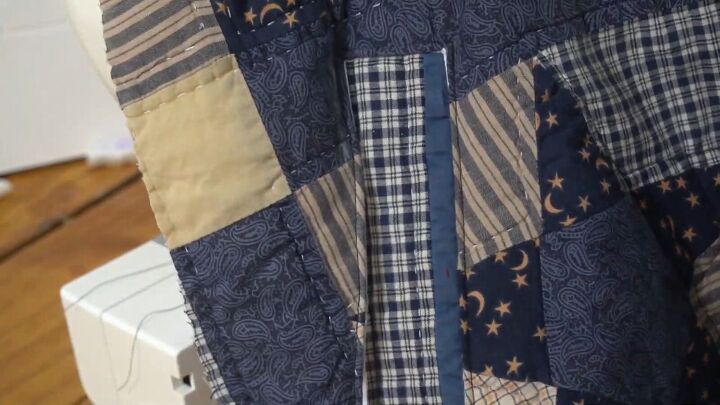
This is what it should look like.
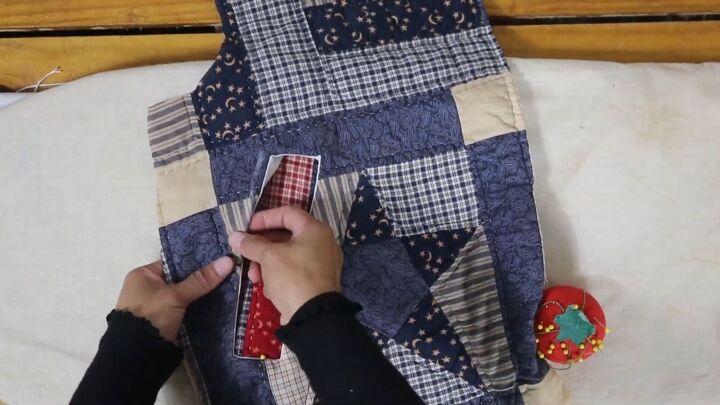
Cut a piece of lining and sew it to the bottom edge of the welt.
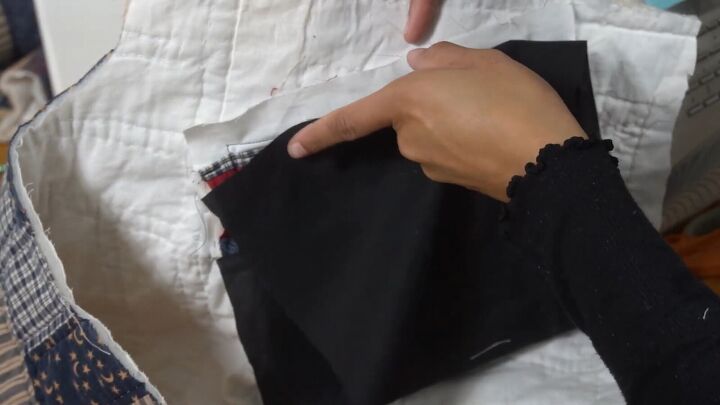
Fold the lining to the top edge of the linen piece and sew along the top and sides to close the pocket.
Repeat for the other side, too.
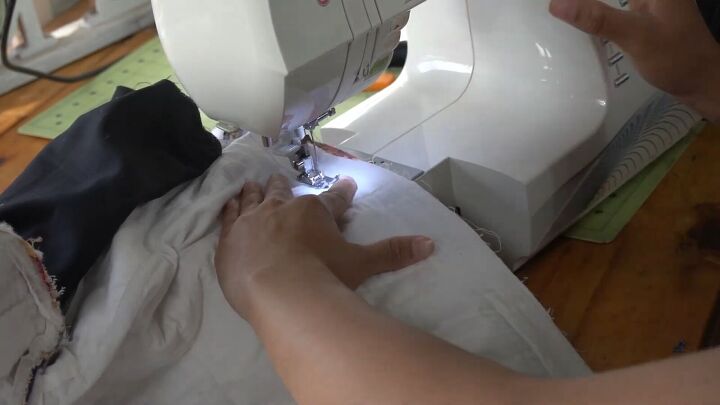
3. Assemble the DIY quilted jacket
Sew the front sides to the back piece at the shoulder seam. Make sure they are right sides facing.
Open the jacket and pin the sleeves to the armhole, right sides facing. Make sure the seams align and then sew to secure.
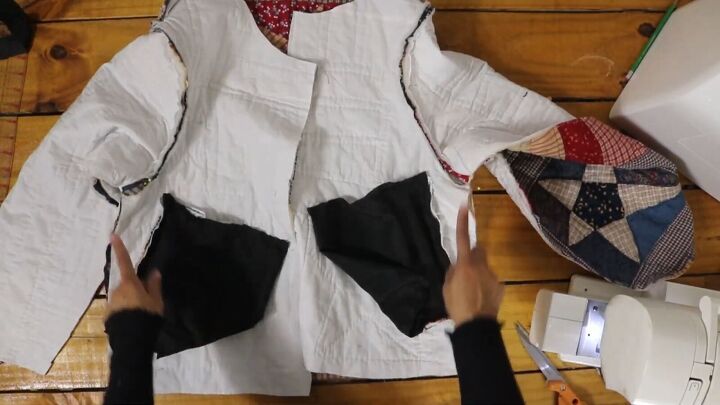
Fold the sleeves and pin the armholes, sleeves, and jacket’s sides. Sew to secure.
4. Make a reversible side
I decided to make this jacket reversible. So, I went to the dollar store and purchased another quilt.
I followed the same steps as above but made the pockets smaller. You can do the same if you wish or carry on to the next step if you don’t want a reversible side.
5. Create the hood pieces
To create the hood pieces, measure the whole top neckline of your jacket.
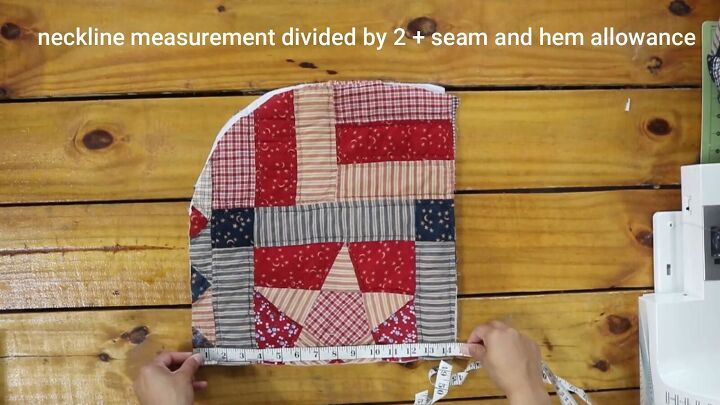
Divide that measurement by two and add a little extra for seam and hem allowance.
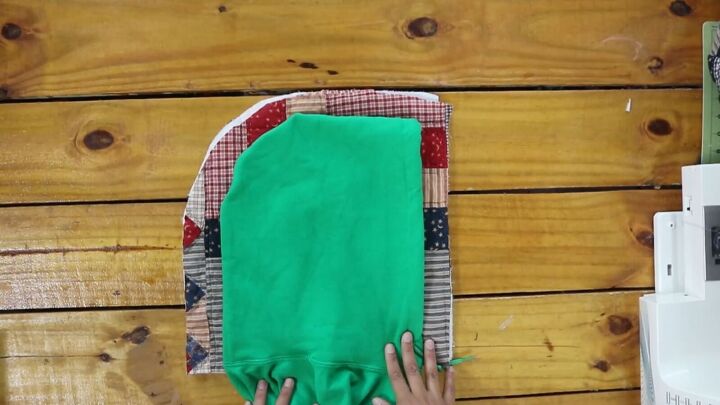
Use an existing hood to trace out the curved edge.


Sew both pieces along the curved edges and press the seam open. Remember, I’m making two, as mine is reversible.
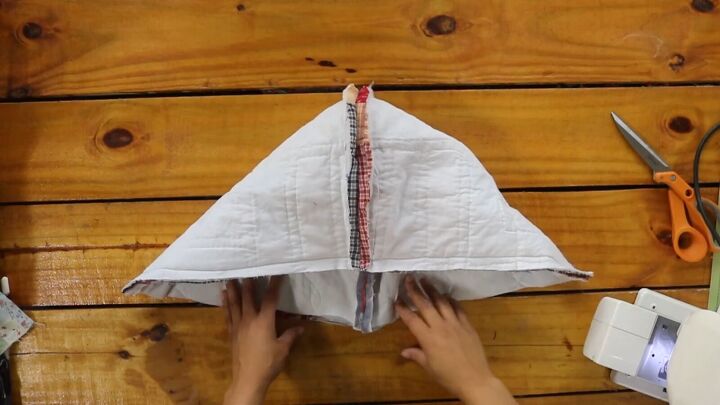
Pin the hoods together, right sides facing, and sew them together. (Not applicable if the jacket isn’t reversible.)
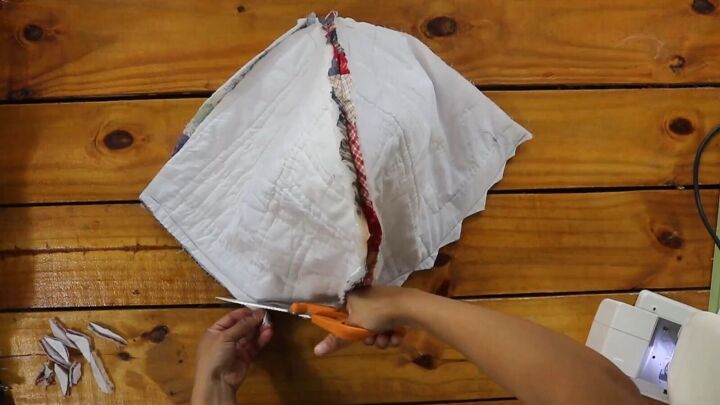
Cut triangles along the seam to reduce bulk and topstitch along the edge.
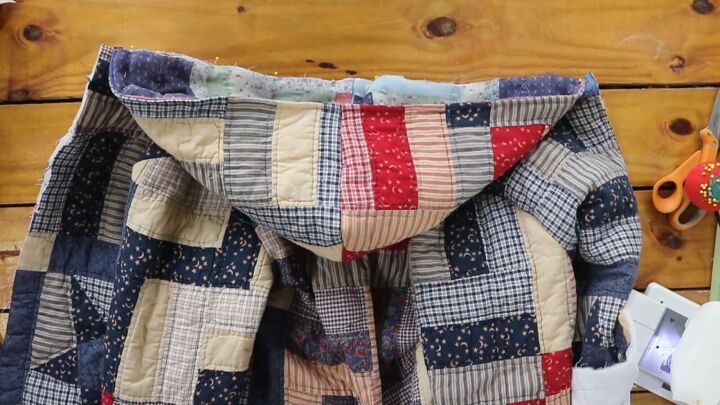
Line the center back of the hood with one side of the jacket. Pin along the neckline and sew to attach both pieces.
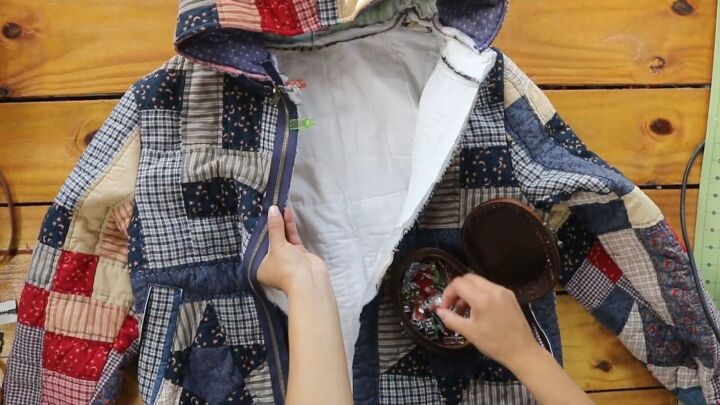
6. Attach the zipper
Now it’s time to attach the zipper. Here, you’ll be attaching one zipper to one side of the jacket.
For detailed instruction on how to do this, watch the video tutorial from 7:45 minutes.
7. Attach the other jacket (optional)
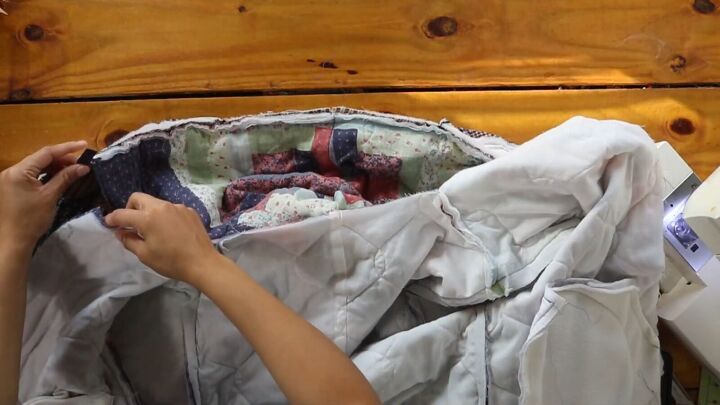
Now it’s time to attach the other DIY quilted jacket. First, pin both necklines with fabric right sides facing. The hoods should be sandwiched inside.
Sew down the neckline. This can be challenging due to all the bulk. After sewing, you can cut triangles into the seam to reduce the bulk.
Pin the sides, sandwiching the zipper between the two jacket edges. Then, sew the sides closed using your zipper foot.

Pin the edges of each sleeve opening together. Make sure to align the seams. Sew them together.
With the jacket turned inside out, pin the bottom closed. Sew two inches up from the bottom edge if your zipper is shorter than your jacket.
Leave a 10-inch gap in the back center to pull the jacket’s right sides out.
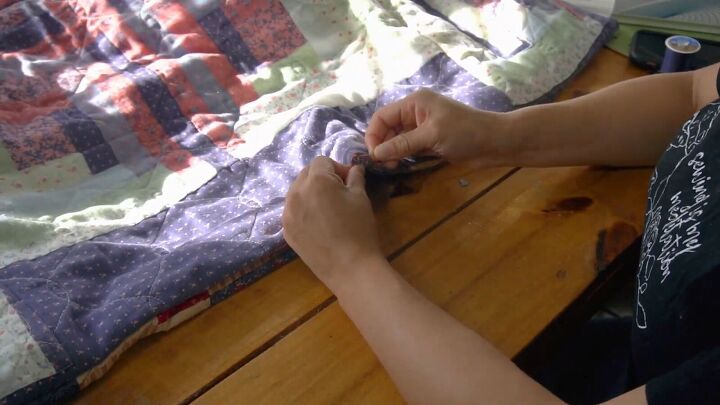
Pull the jacket right sides out, then hand-sew the opening closed.
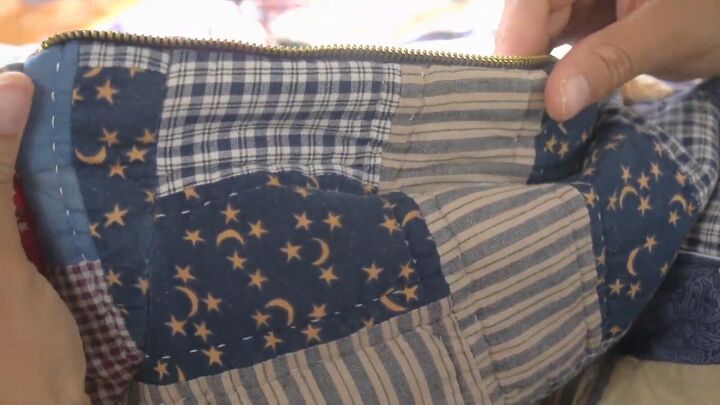
To finish, topstitch along the zippers.

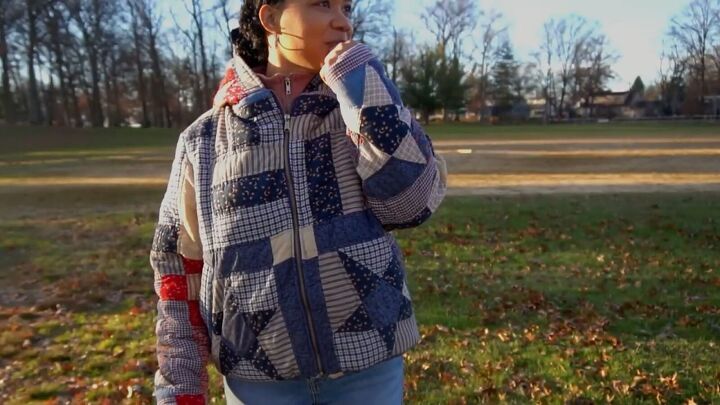
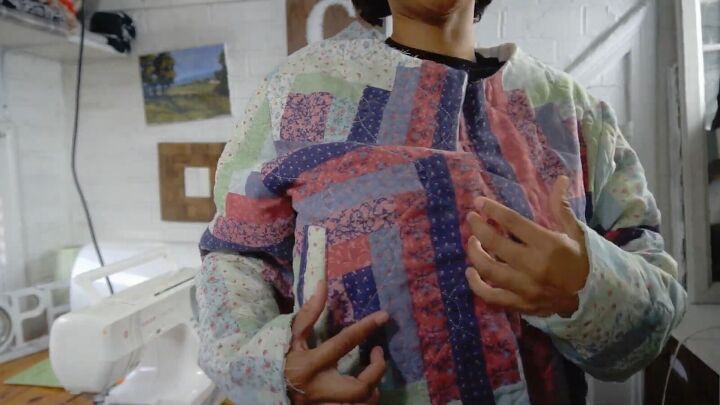
How to make a quilted jacket
Blanket-style jackets are super trendy right now, and this is how to make a quilted jacket without breaking the bank.
I hope you all enjoyed my tutorial on how to make a quilted jacket from old blankets. Whether you’d like it to be reversible or not, this is a fun upcycle, giving life to old items.
Let me know what you think of the results in the comments below!
The author may collect a small share of sales from the links on this page.


Comments
Join the conversation
Thank you for sharing this terrific idea. Very clear tutorial. Looking forward to making one….
That is awesome! The jacket turned out
beautifully. I would love to try and make
one one day myself. Thanks for sharing.