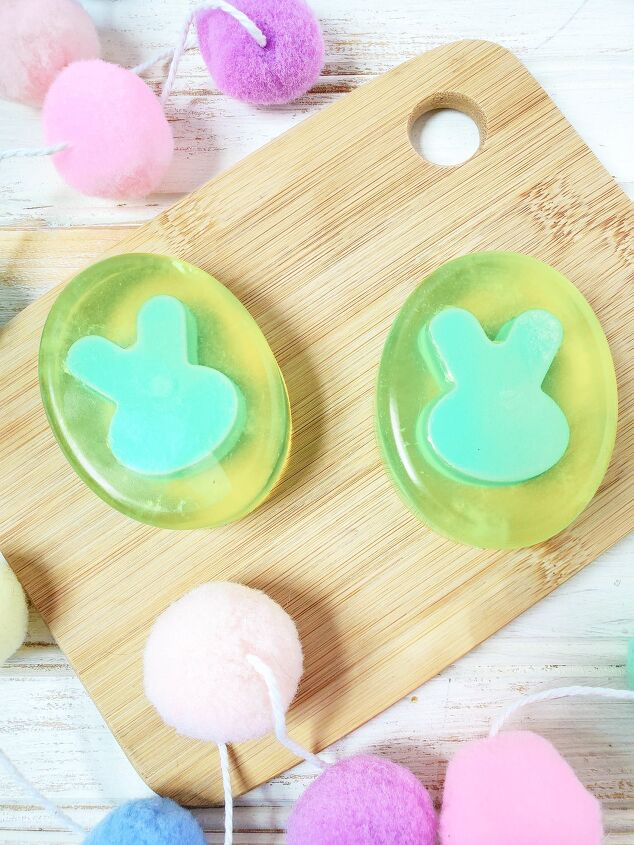
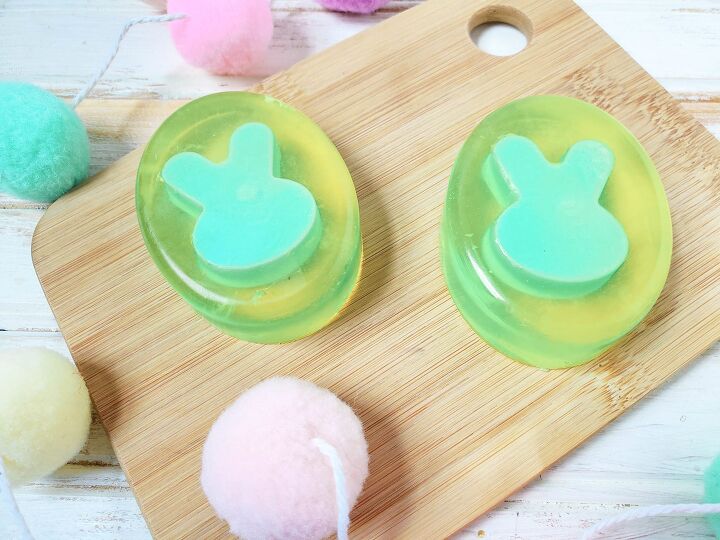
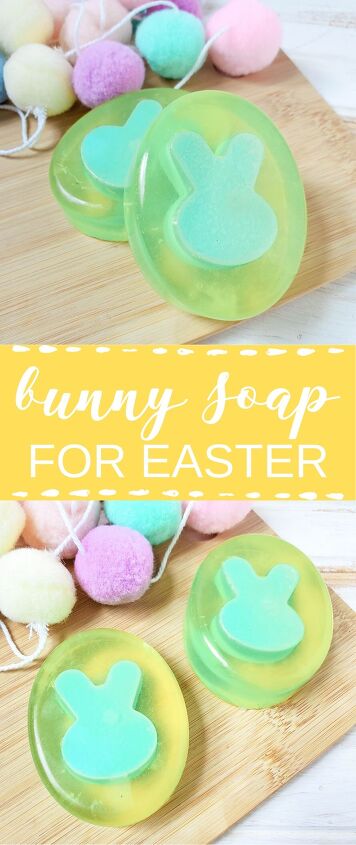
Lilac Scented Layered Bunny Soap
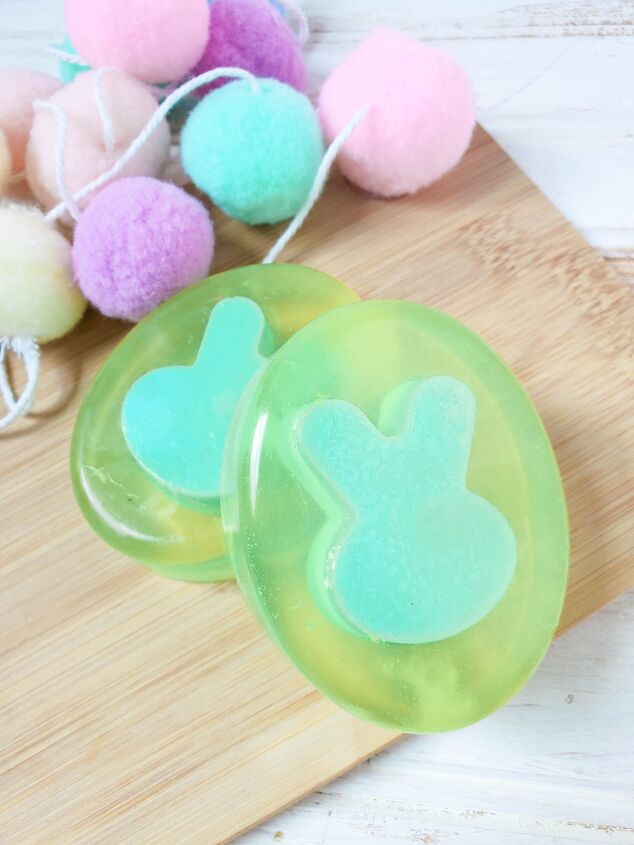
This layered bunny soap is a perfect one for Easter, and will make a great basket filler for children, and adults alike. It’s really simple to make – much easier than you might think it would be.
The beauty of this particular soap is that you can choose to use whatever scent that you would like, or you can even opt for no scent at all. I just particularly love the scent of lilac for spring!
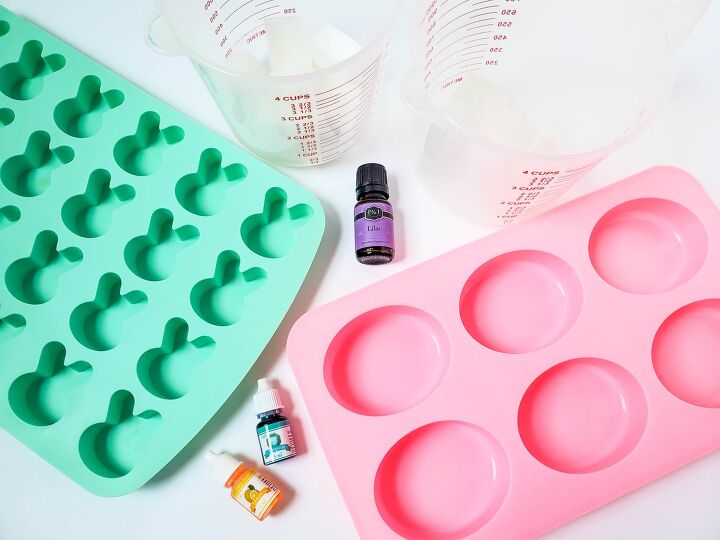
Supplies:
- ¼ lb of Goat’s Milk Melt and Pour Soap Base
- ¾ lb of Clear Glycerin Soap Base
- Lilac Fragrance Oil (optional)
- Turquoise Soap Colorant
- Lemon Soap Colorant
- Oval Soap Mold
- Bunny Silicone Mold
- 2 – 4 cup measuring cups
- Spray bottle with rubbing alcohol (optional)
Directions:
Step 1: Cut your soap base into one inch cubes, and place the Goat’s Milk Melt and Pour Soap Base in one measuring cup, then place the Clear Glycerin Soap Base in the other measuring cup.
Step 2: Place the measuring cup filled with Goat’s Milk Melt and Pour Soap Base in the microwave and heat for 30 seconds on high. Stir. If needed, heat for additional 10 second increments until fully melted, stirring in between.
Step 3: Remove from microwave, stir well.
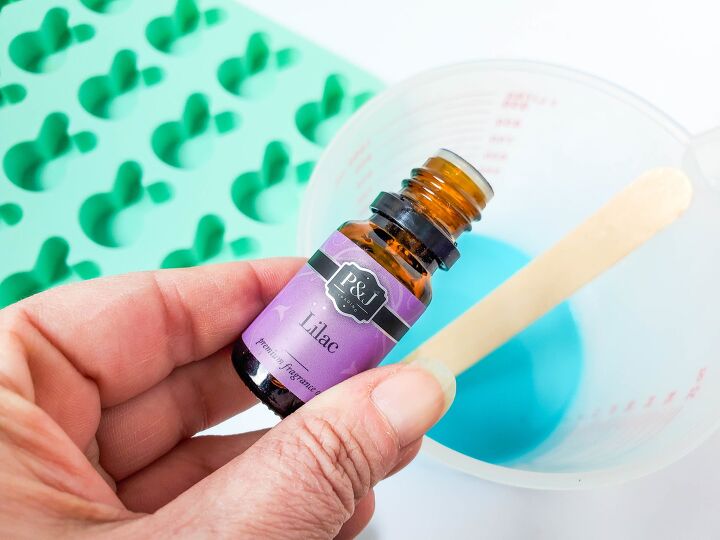
Step 4: Add 10 drops Lilac Fragrance Oil and 2-3 drops Turquoise Soap Colorant. Stir well until a solid color forms.
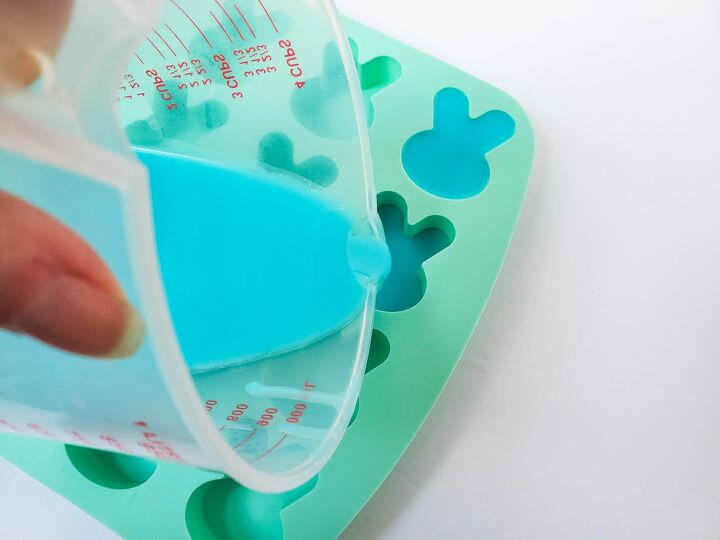
Step 5: Pour into bunny mold, filling 6 of the cavities.
Step 6: Let set for about 30-60 minutes until solid bars are formed. Remove from mold.
Step 7: Place the measuring cup filled with Clear Glycerin Soap Base in the microwave and heat for 30 seconds on high. Stir. Heat for additional 10 second increments until fully melted, stirring in between.
Step 8: Remove from microwave, stir well.
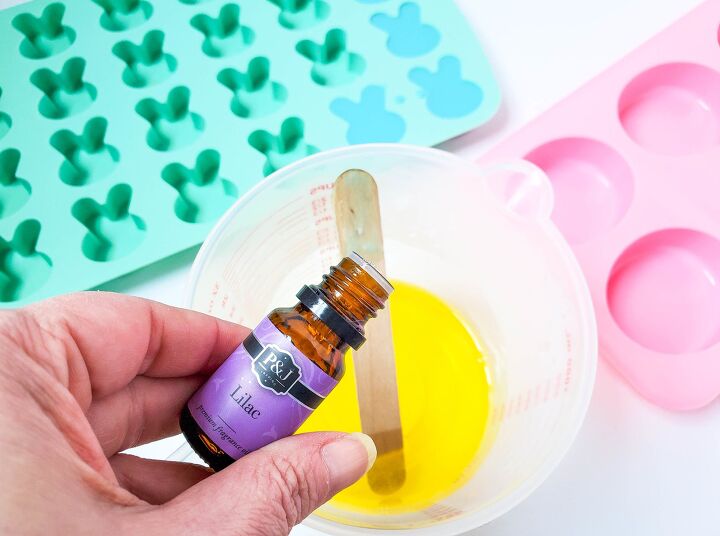
Step 9: Add 20 drops Lilac Fragrance Oil and 1-3 drops Lemon Soap Colorant. Stir well until the color is solid.
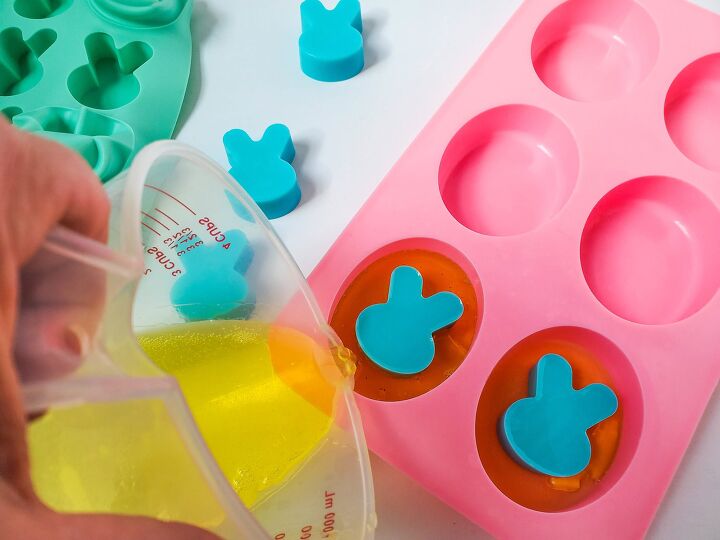
Step 10: Pour a small amount of soap base into the oval mold, just covering the bottom of it.
Step 11: Place a bunny soap upside down into the center of the oval soap cavity (on top of the layer you just added), and Pour the melted glycerin soap base around it, until it covers the bunny and reaches the top of the mold.
Step 12: Spray with rubbing alcohol to reduce bubbles.

Step 13: Repeat steps 10-12 until all 6 soap cavities are filled. You may need to heat the soap base again in between, as it may start to get a thick layer, as it cools as starts to form.
Step 14: Let soap bard set for about 1-2 hours and remove from mold.
The author may collect a small share of sales from the links on this page.


Comments
Join the conversation
So cute🐰
Granddaughter's would LOVE making these when they come to gram's and papa's for Easter!! Fun for them to take home and use to remember our 'project time' together!