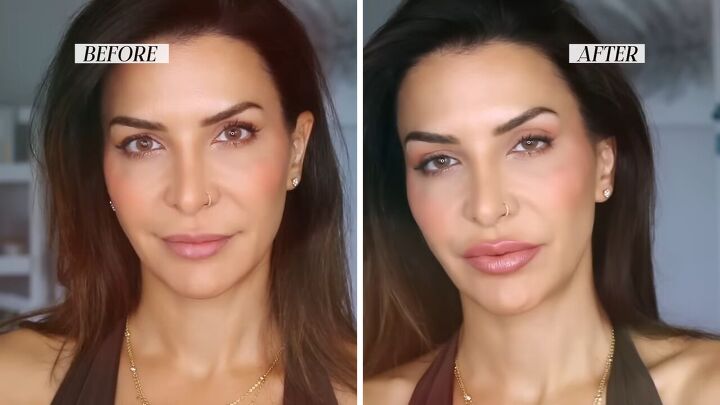
Lip Contouring Tutorial: Easy Big Lips Hack

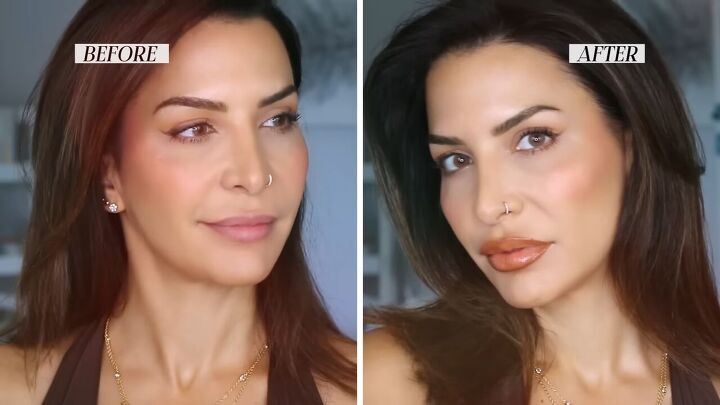
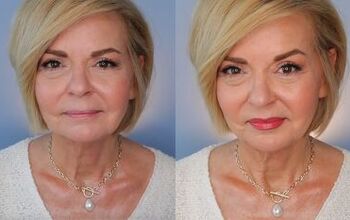
Do you find that your lips aren’t as full as you’d like them to be? When we age, our lips tend to thin out.
With that in mind, I’m going to teach you a lip contouring trick for sexy lips.
Tools and materials:
- Toothbrush or lip scrub
- Lip plumper
- Tissue
- Contour stick
- Crease brush
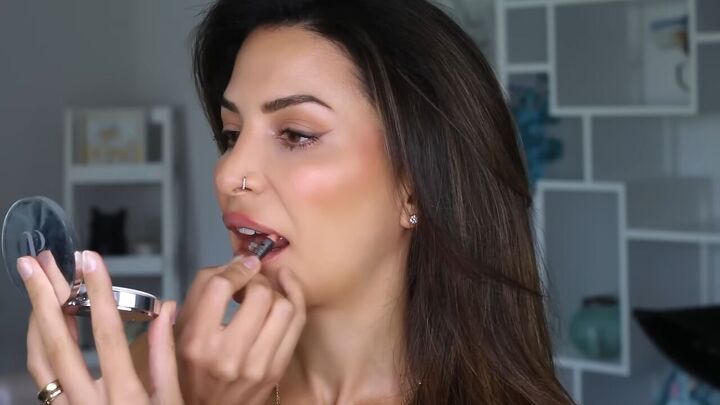
- Hand mirror
- Brown lip pencil
- Nude plumping lip gloss
- Concealer
- Flat, concealer brush
- Setting powder
- Pink matte plumping lip product
- Pink lip gloss
- Lip liner that matches your lip color
- Lip liner that’s 1 shade darker than your natural lip
- Lip gloss in a natural shade
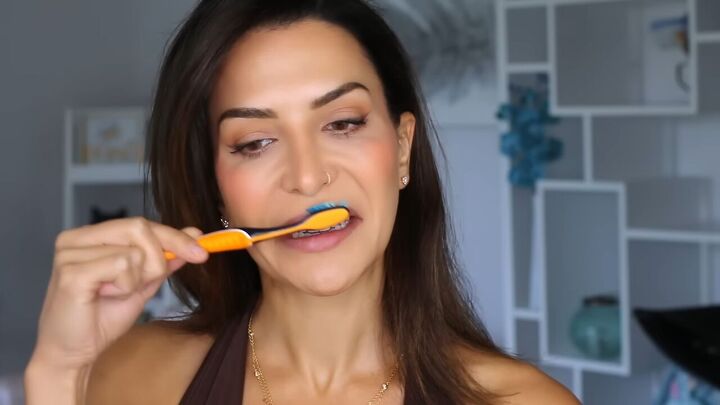
1. Prep your lips
Start off with your favorite exfoliating technique. Here, I’m gently brushing my lips with a dry toothbrush.
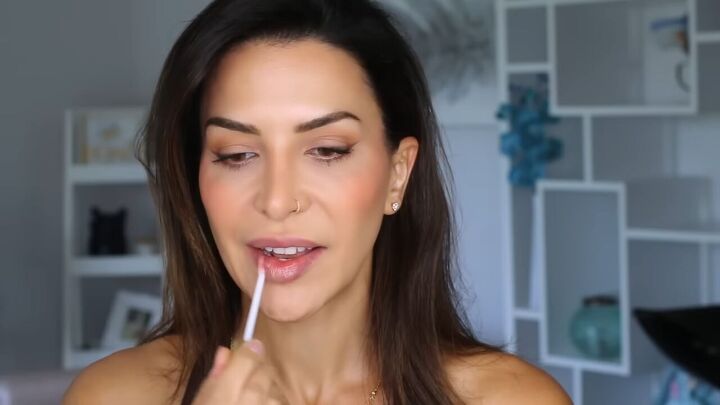
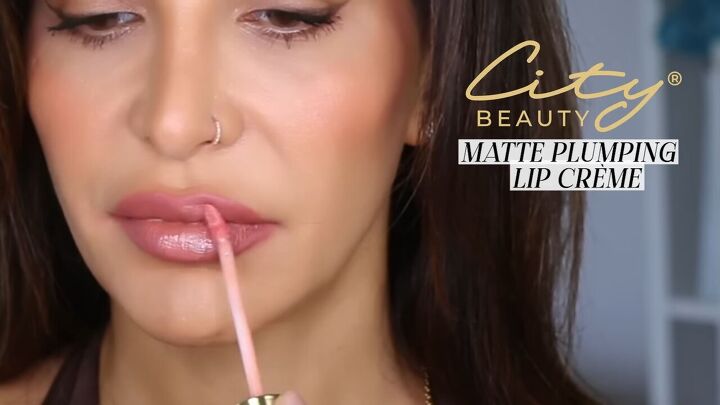
2. Use a lip plumper
Apply a lip plumper to clean, dry lips. Wait 5 minutes until you notice your lips start to flush.
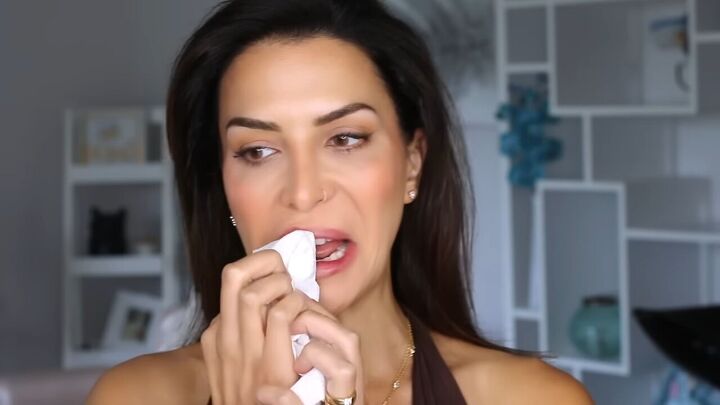
Then remove the plumper with a tissue.
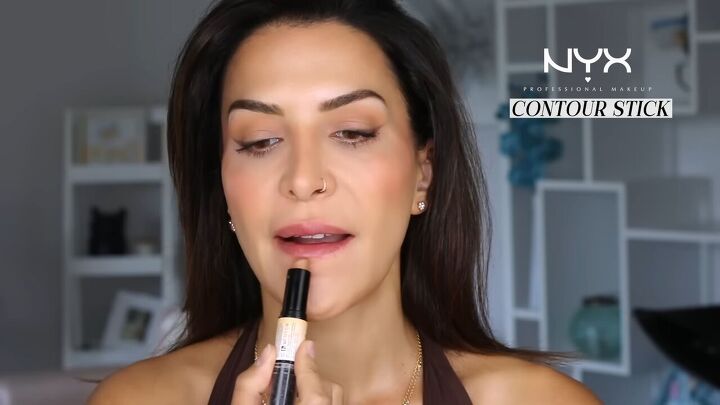
3. Contour your lips
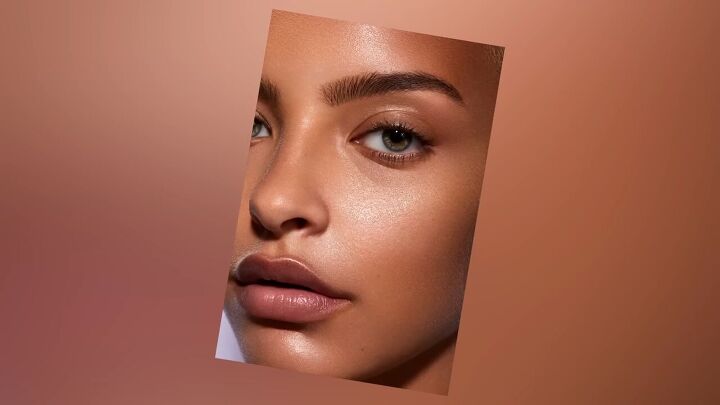
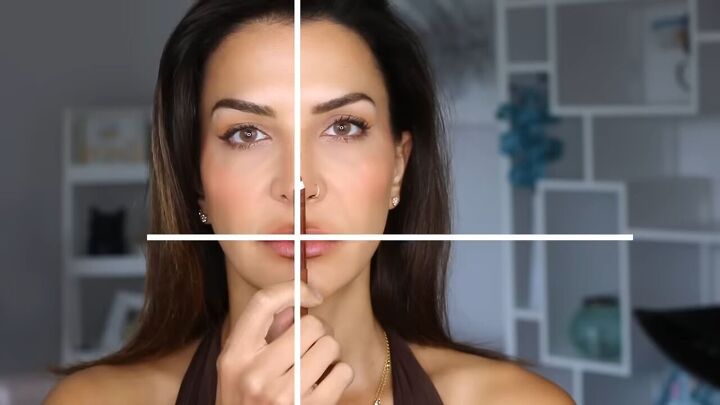
For women with naturally plump lips, their lips cast a shadow on the top of the cupid’s bow and in the center of the bottom lip.
To fake this shadow with makeup for the illusion of fullness, draw in those shadows with a contour stick.
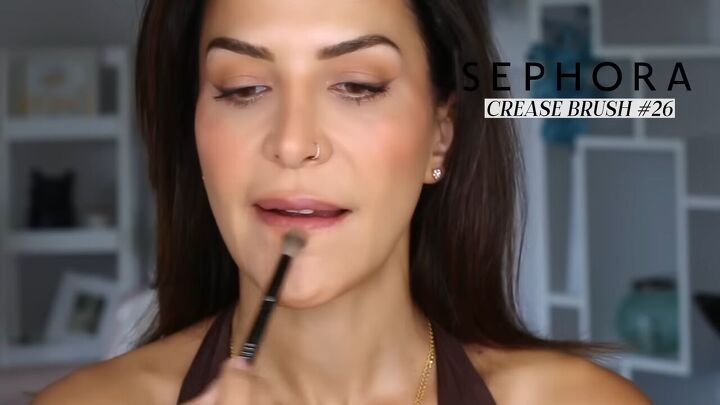
Then blend it in with a crease brush.
For lip color, I’m going to show you the 3 most requested looks by my clients.
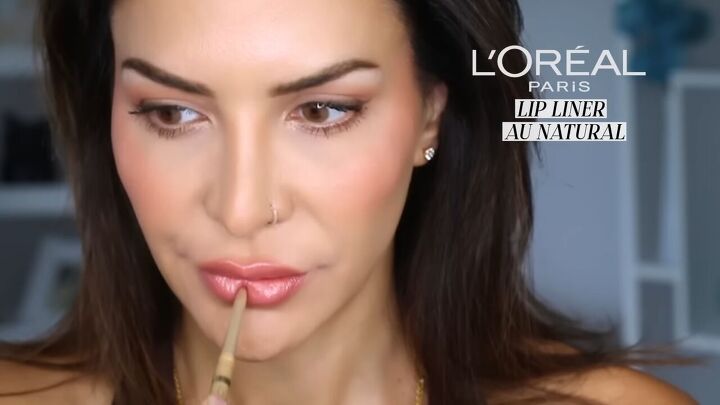
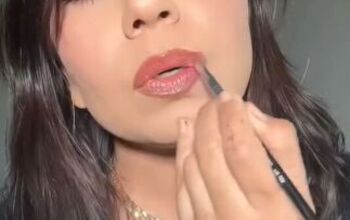
Look 1: Trendy 90’s brown lip
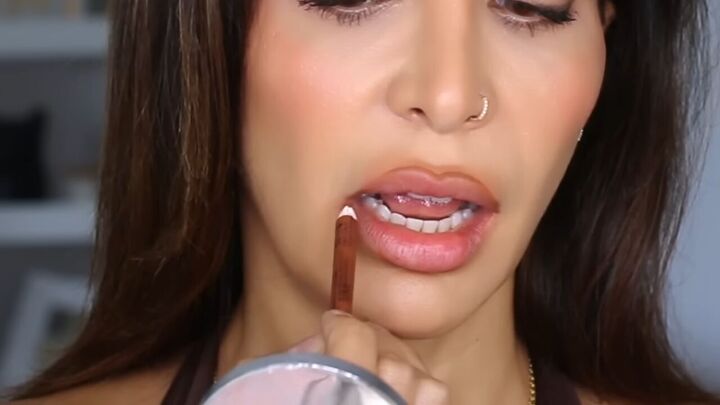
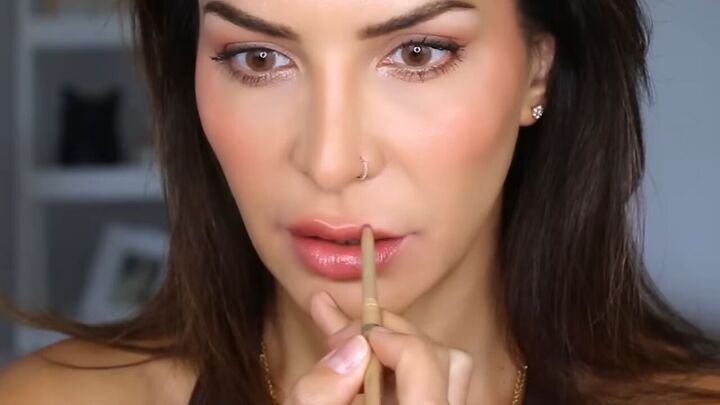
Overline with a brown lip pencil. Avoid overlining the entire lip because this will give you a very wide, joker lip.
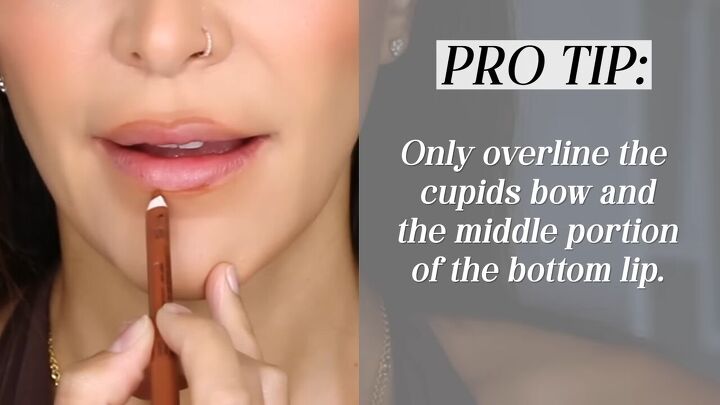
Make sure that the center part that you overline is symmetrical.
Imagine a line dividing your face in half and match the cupid’s bow on both sides as well as the bottom lip on both sides.
Shade the corners of your lips slightly.
Now shade in (not overline!) the tops and bottoms, between the overlined portions, meeting the natural lip line.
Line the center of your bottom lip for that Angelina Jolie, super pouty vibe.
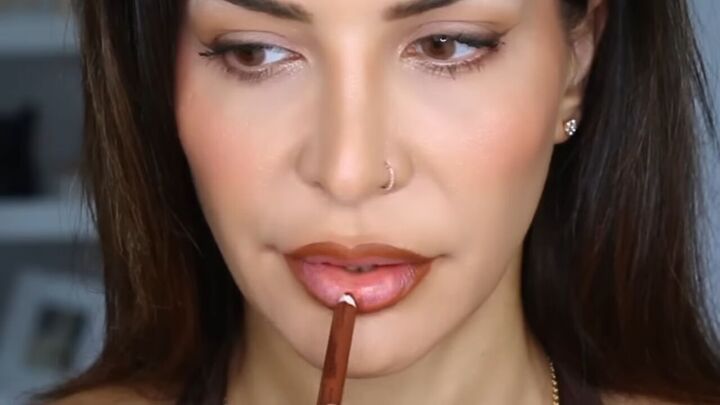
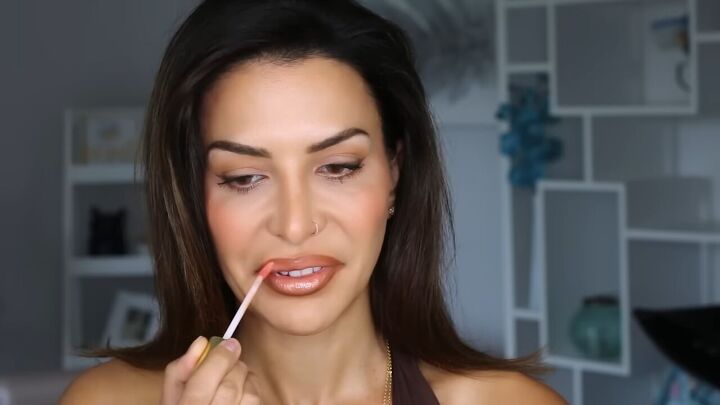
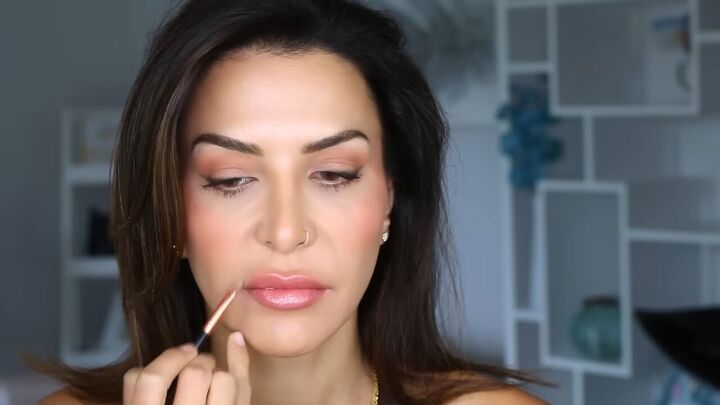
Cover your lips with a nude, plumping lip gloss.
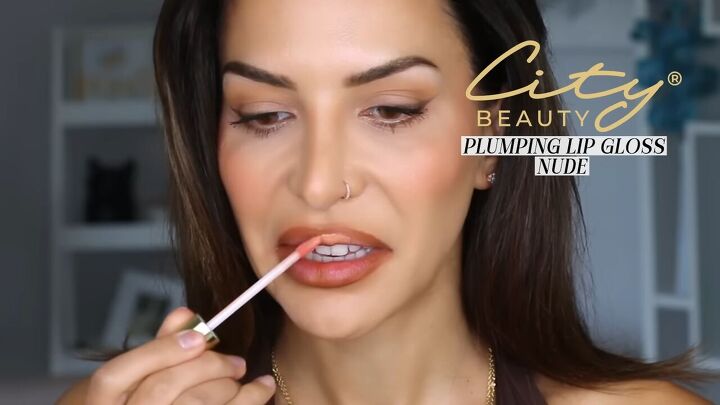
Your lips should look darker along the perimeter and gradually get lighter on the interior.
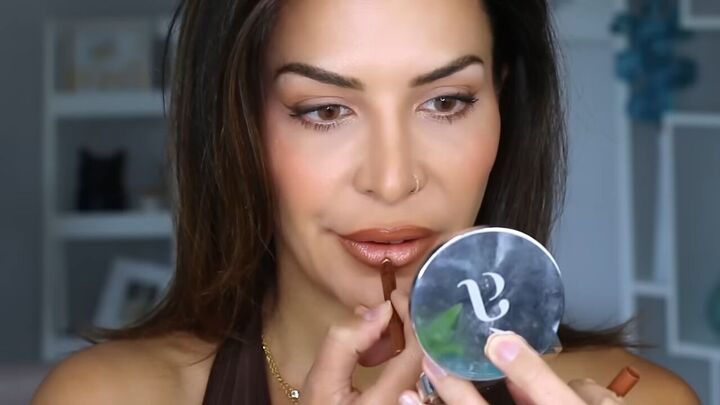
Apply the pencil above the gloss for diffused emphasis.
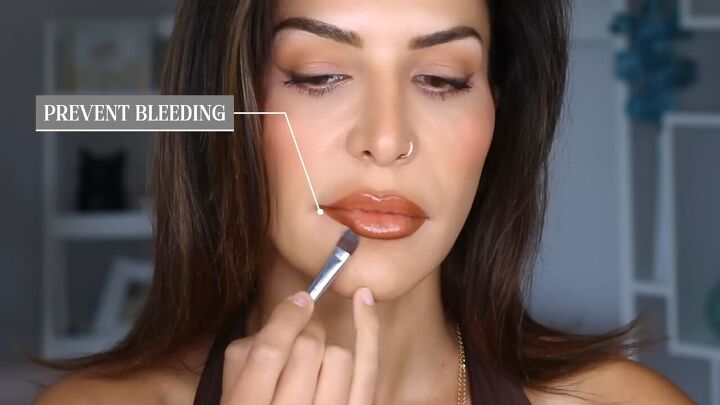
Clean up the outline with some concealer.

Add setting powder around the perimeter to prevent bleeding of the lip color.
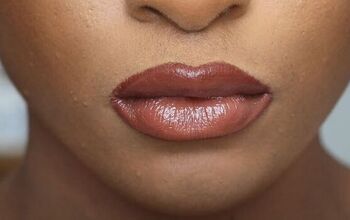
Here is the finished look:
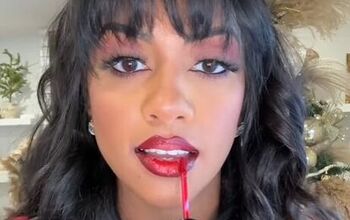
Look 2: Nude pink
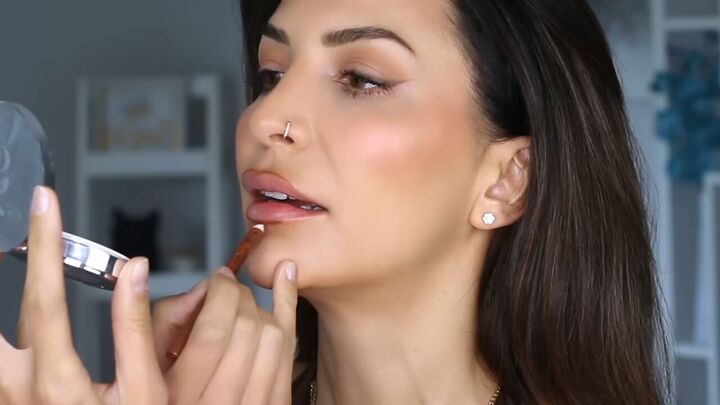
This look is a little less bold. Overline your cupid’s bow and the center of the bottom lip with a nudy-pink lip liner.
Then, meet the lip line where it naturally is.
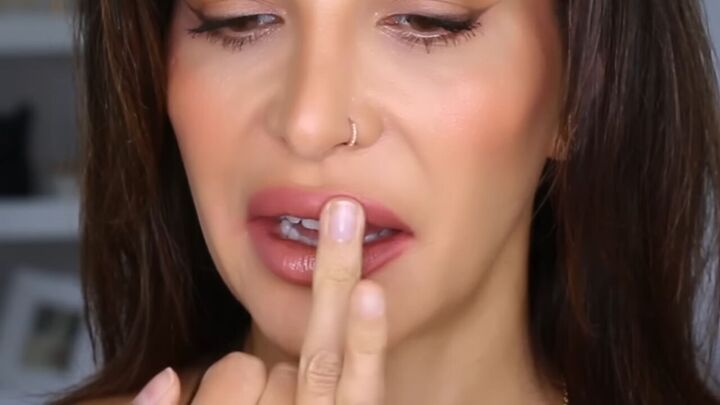
Apply a matte plumping lip creme. I’m using a pink taupe shade here.
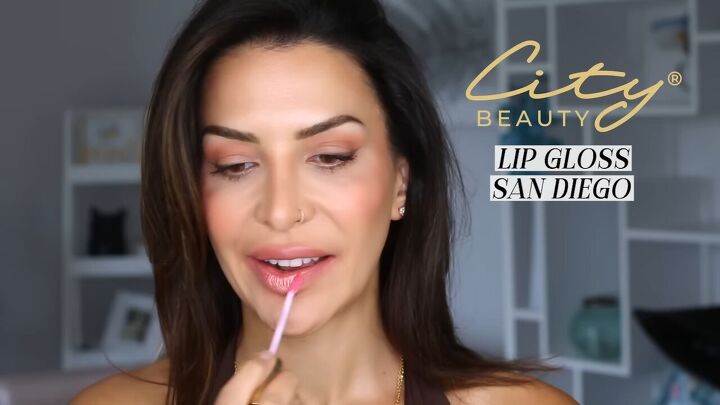
If you want to maintain a matte lip but still want the juicy look, spot highlight with some gloss instead of using it on the entire lip.
I’m using a pink lip gloss here.
Tip: Gloss is a highlighter, so if you are overlining a lot, keep the gloss away from the overlined areas. You don’t want to emphasize that area.
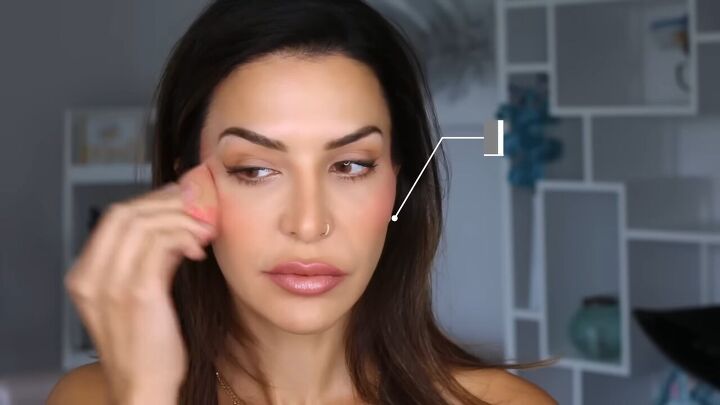
Tip: Make sure that your lip color compliments the rest of your makeup. My makeup above was slightly too bronzy to match these pink lips.
To fix this, I added some pink blush.
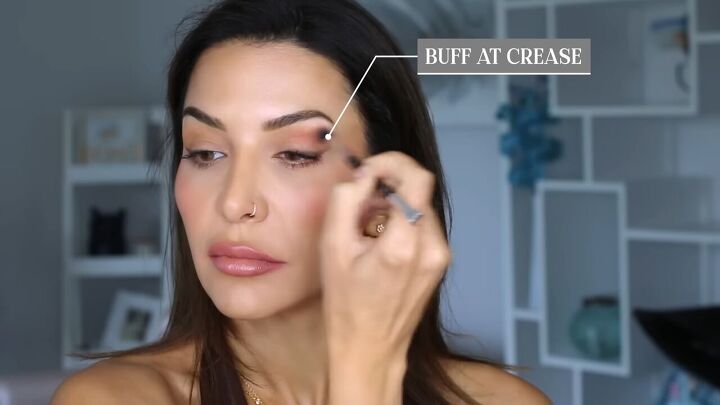
I also grabbed that blush color and buffed it into the creases of my eyes.
Check out the finished look:
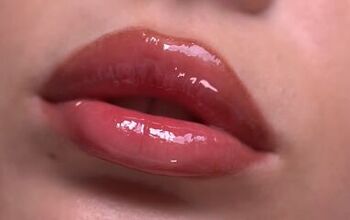
Look 3: Natural glossy
This last look is my favorite! It reminds me of a natural yet glossy, rounded, Bratz Doll lip.
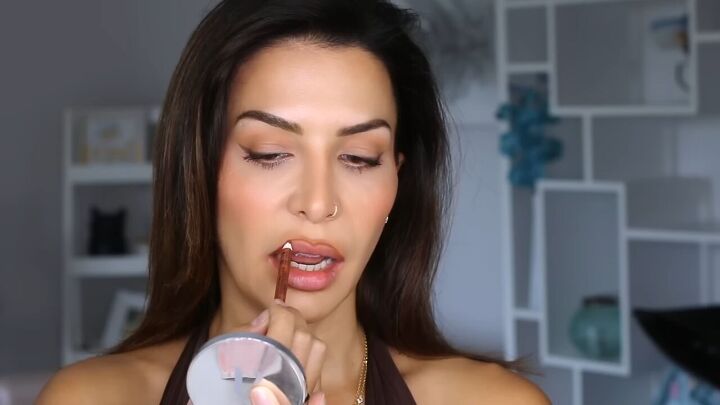
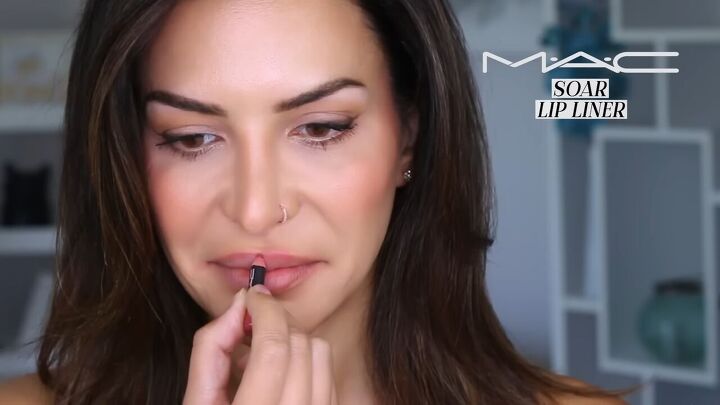
Overline with a liner whose shade is similar to your natural lip color. Mine is a rose color.
Emphasize the cupid’s bow here but maintain the size of your natural mouth by hardly lining anything else.

Cover your lips with a natural looking shade of lip gloss. Mine is nearly clear with just a subtle hint of pink and iridescence.
Go over the sides of your lips with concealer. This is like erasing so that the lips appear less wide on the sides but puffier in the middle.
It’s a crazy illusion, right?
Add powder on a beauty blender to that area to camouflage the sides even more.

Go over the cupid’s bow and the bottom-center again with a liner that’s 1 tone darker than the original.
Apply it to the center of the bottom lip as well.
Here’s the final look:

Lip contouring tutorial
I love seeing how much makeup can do! Let me know in the comments which of the 3 lip contouring looks was your favorite.
Then try out these 6 cute summer hairstyles with me.
The author may collect a small share of sales from the links on this page.


Comments
Join the conversation