Cute Little Red Riding Hood Halloween Makeup Tutorial

In this tutorial, we’re going to be doing Little Red Riding Hood Halloween makeup with some really basic and easy special effects makeup like a wolf bite wound on the jaw. Let’s get started!
Tools and materials:
- Foundation
- Concealer
- Translucent powder
- Eyeshadow
- Brow pencil
- Eye pencils
- Liquid eyeliner
- Cream pencil
- Mascara
- Bronzer
- Blush
- Lipstick
- Lip liner
- FX Wax
- Sculpt gel
- FX paints
1. Apply foundation
Apply foundation to your face. Apply with a brush first and then with a dampened makeup sponge to push the foundation into the skin. This is going to help even out the application.
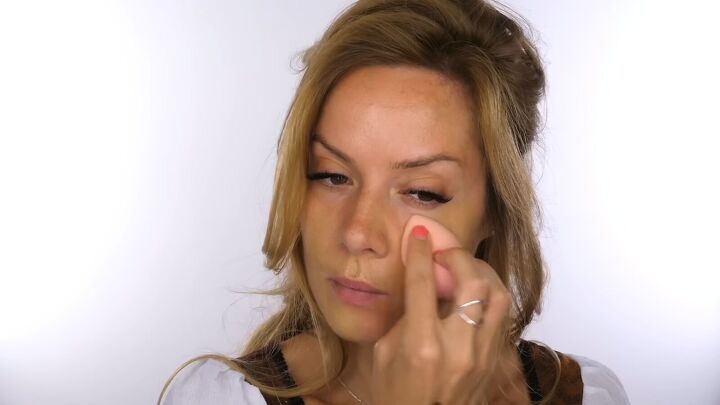
2. Apply concealer
Apply a very small amount of concealer underneath your eye using your ring finger. Using your finger warms up the product so it goes into the skin better.
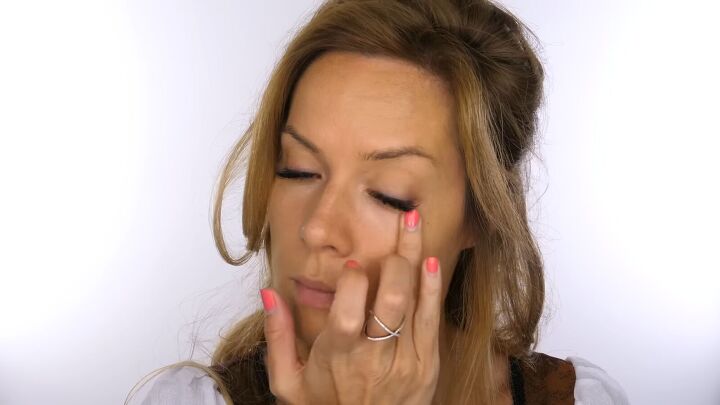
3. Setting powder
Next, use a setting powder to set your foundation into place. It will also give you a little bit of extra coverage.
Use a light color through the center of your face, and then use a base shade around the circumference of the face. This helps the face look less flat and still look natural.
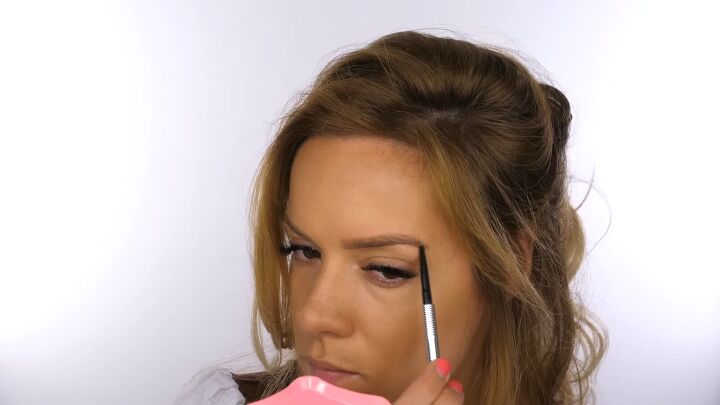
4. Fill in your brows
I’m using two shades to fill in my brows to create a bit more of a natural appearance.
The first shade I’m using at the front half of my brow, and the second, I’m using to fill in the outer half of my brow since the hair there is naturally sparse.
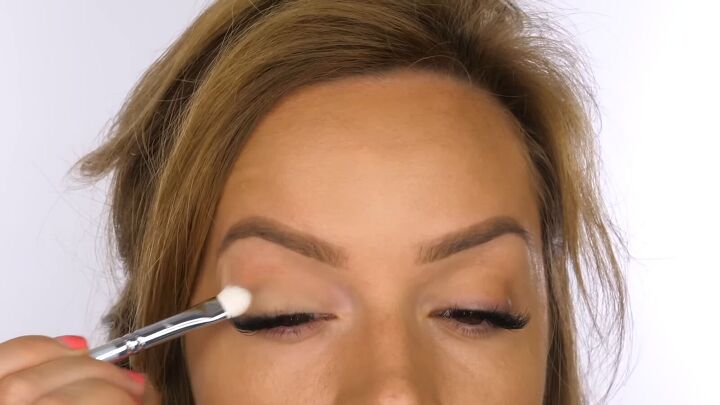
5. Apply eyeshadow
Apply a matte finish milky beige color all over the mobile eyelid, taking it up just above the socket line. Since this is quite a light shade, you’ll want to apply a couple of layers.
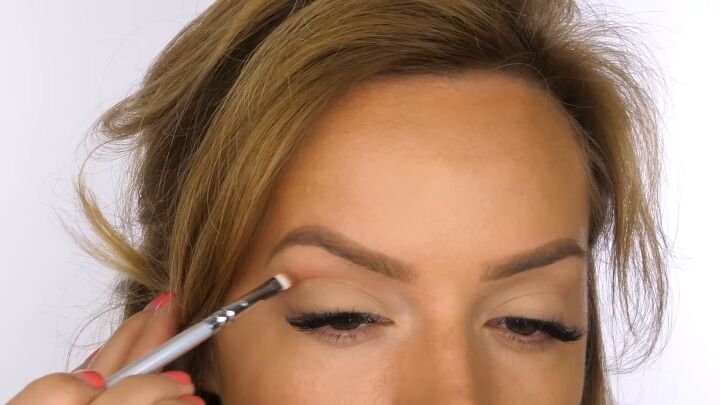
6. Use brown eyeshadow to create a false crease
Use a rich espresso brown shade to cut the crease by tracing the natural socket line and taking the new line up by a millimeter or two to make your eyelid look a bit bigger.
All fairy tale princesses tend to have really big eyelids, so this false crease will help with that illusion.

Use a clean brush to blend and soften that line. Go back in repeatedly to intensify the line while still keeping it soft.
Blending and reapplying will give you a nice gradient on the top half of the socket and a defined line on the bottom half.
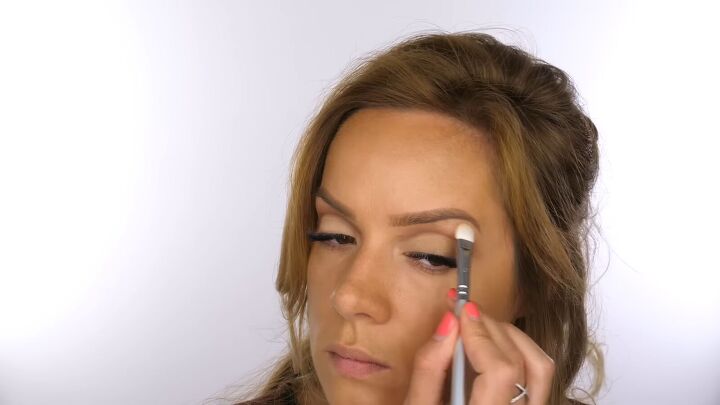
7. Apply eyeshadow to the eyebrow bone
Apply the same milky beige eyeshadow to the eyebrow bone.
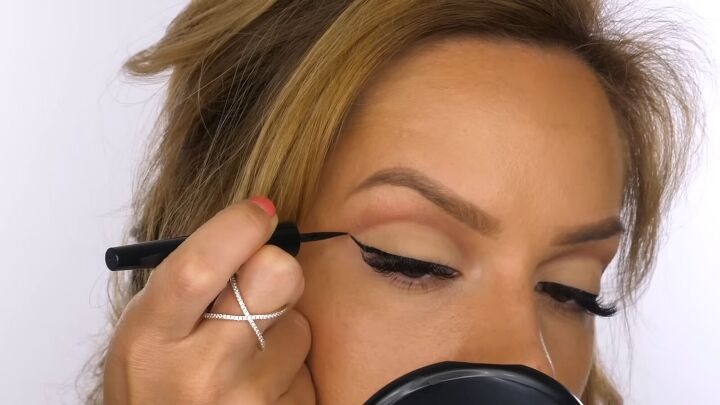
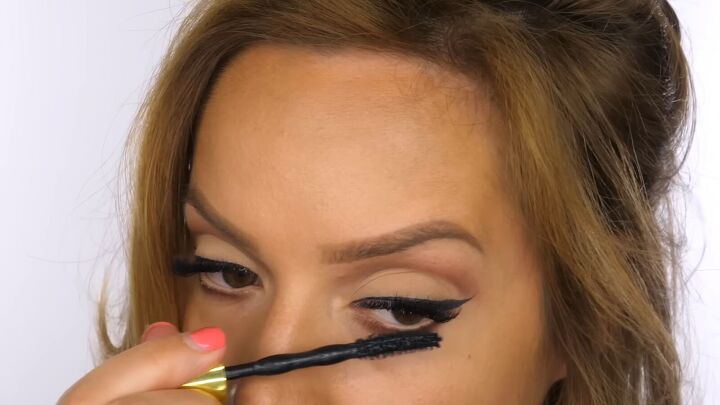
8. Apply eyeliner
For the base, I used an eyeliner pen before switching to a liquid eyeliner to form the wing since it’s more fluid but both eyeliners I’m using give you a nice matte finish.
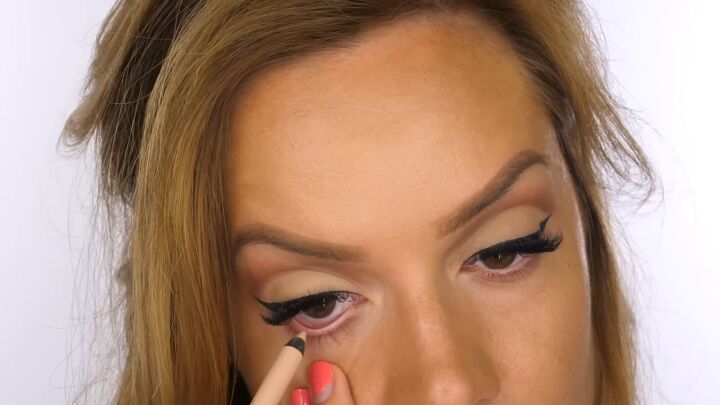
9. Line your waterline
Use a cream coal pencil on your waterline. This gets rid of any pink tones and makes you look more awake and your eyes bigger.
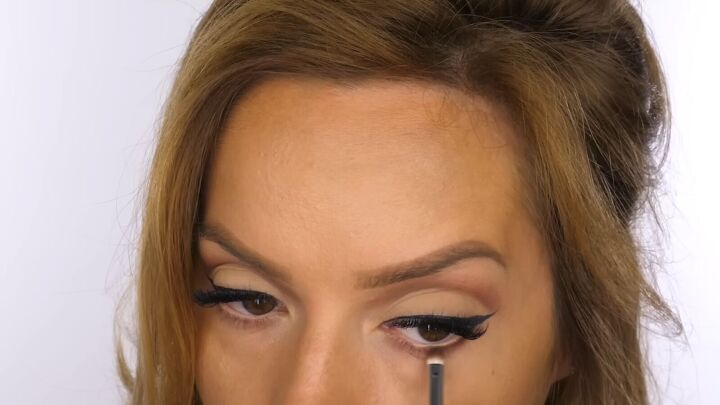
10. Underline your lower lashes
Work a small amount of brown eyeshadow underneath the lower lashes. This frames the eyes, makes the root of the lashes look fuller, and emphasizes the cream color.
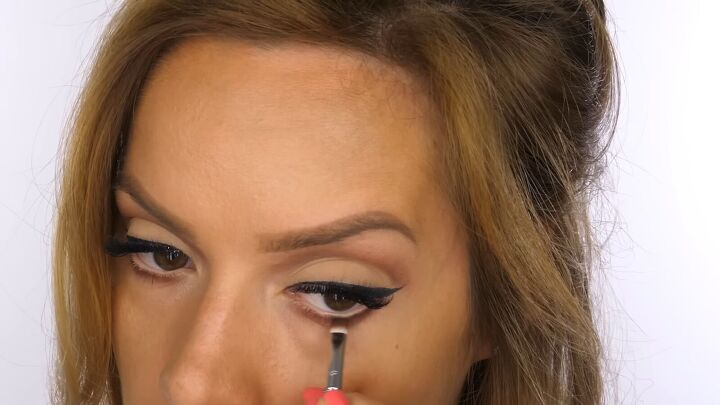
Then, use a black eyeshadow right between the roots so the black fades into the brown.
11. Apply mascara
Apply a light coat of mascara to your lower lashes to balance out the top. If you don’t have eyelash extensions like I do, use a pair of falsies.

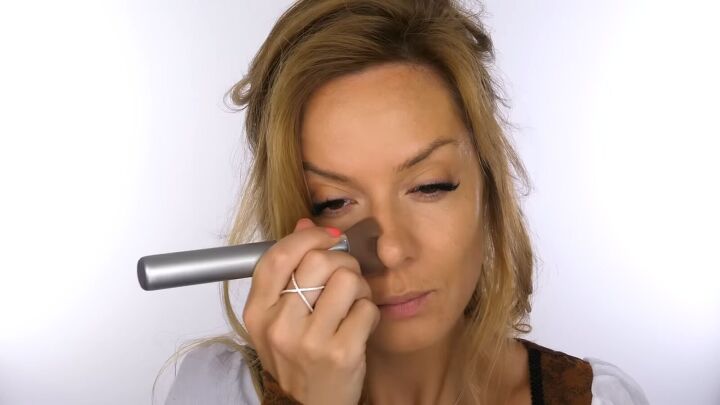
12. Apply bronzer
Apply a matte bronzer to sculpt the cheeks.
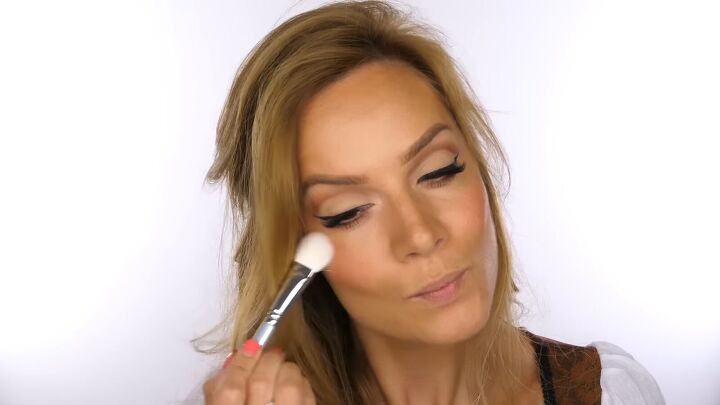
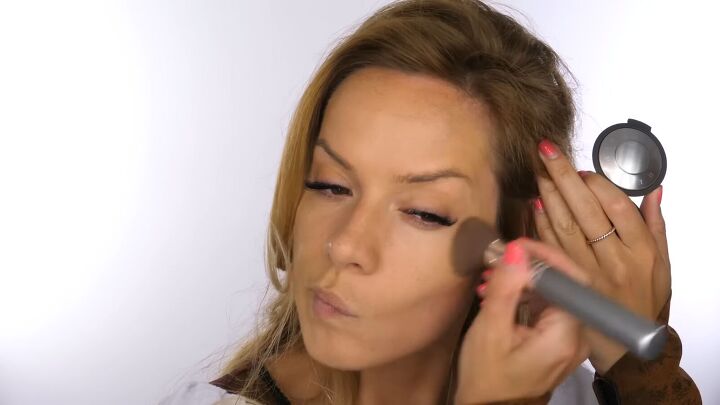
13. Apply blush
Apply blush to the apples of your cheeks and pull the color backward.
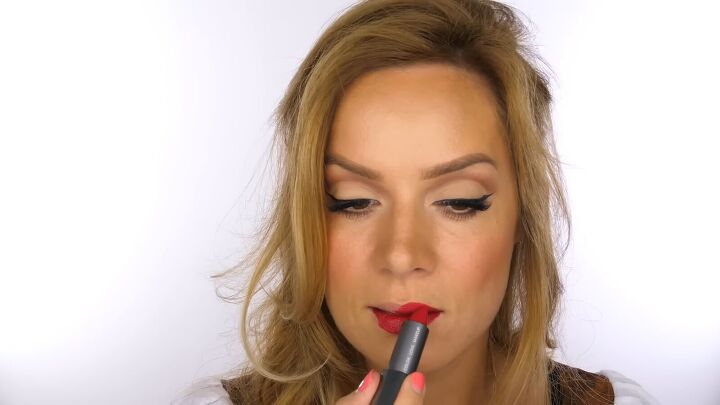
14. Apply lipstick
Apply red lipstick. It’s okay if it’s too red to begin with because we’ll be going over it with a pencil.
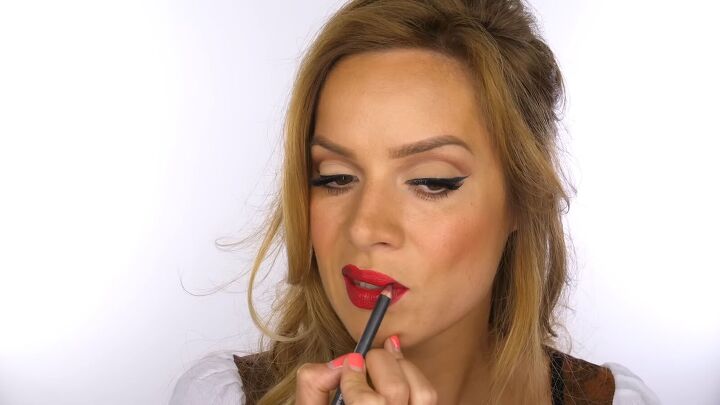
15. Line your lips
Go over the red lipstick with a pencil lip liner in a purple tone. Start in the outer corners of the lips and then pull it upwards to create a nice gradient.

Use a brush to soften the pencil and blur the seams of the two.
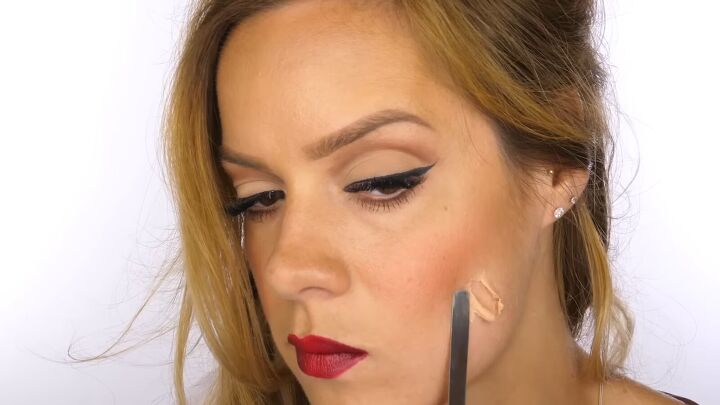
16. Create the bite wounds
Now, let’s move on to making this into scary Little Red Riding Hood makeup.
The first method we’re using is FX wax. Roll the wax into two sausage-shaped pieces, place them on your skin, and then blend the edges into your skin. The open middle is going to be the wound, and you can fill in the redness.
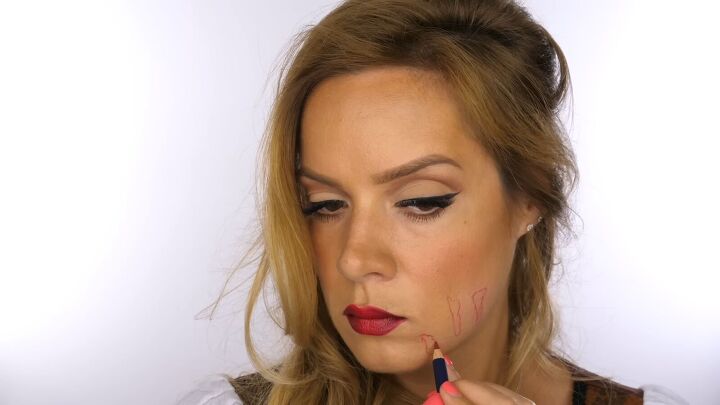
The alternative method is to use a red lip liner or even a white coal pencil to map out roughly where you want the wounds to be.
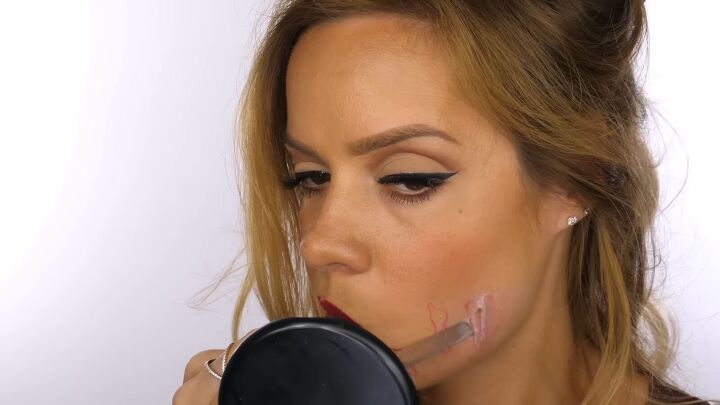
Then use sculpt gel to build up the wound.
Like we did previously, create two side walls with a little bit on the top, then blend in the edges. You can use a translucent powder to get rid of the shine over the silicone.
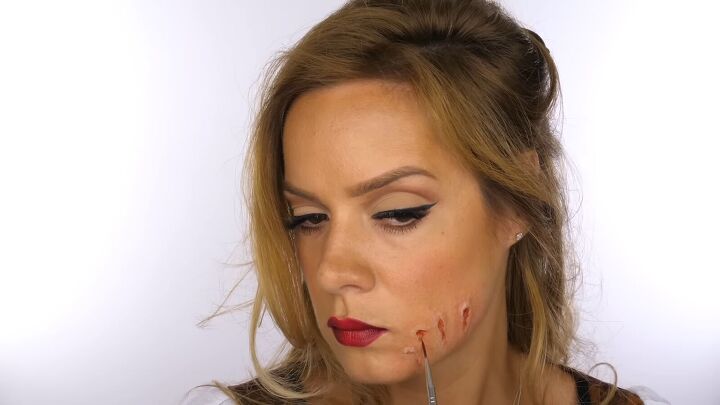
Then just use FX paints to add redness to the wound.

You can also add a small amount of black to give the appearance of congealed blood.
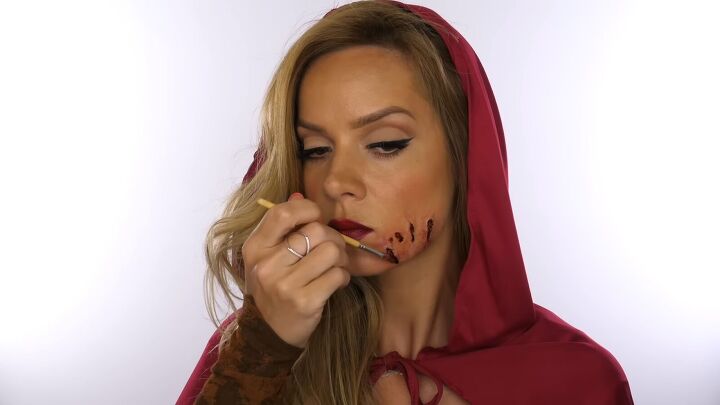
17. Apply fake blood
Drip a small amount of blood into the wound.

Use a tissue to smear it into the skin.

Little Red Riding Hood Halloween makeup
That’s it! This dramatic Red Riding Hood makeup look is perfect for those who have no experience in creating special effects, but still want something spooky for Halloween.
It’s super effective, even if it isn’t perfect. Let me know what you think down below!
The author may collect a small share of sales from the links on this page.


Comments
Join the conversation
LOL love it and the simplicity. Thank you for sharing.