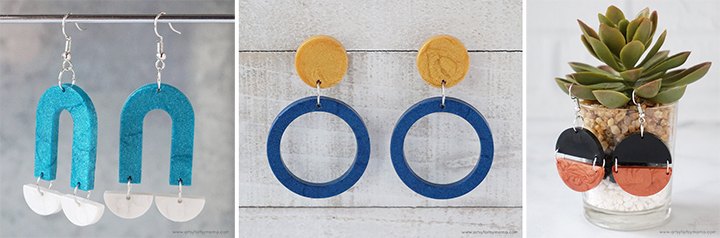
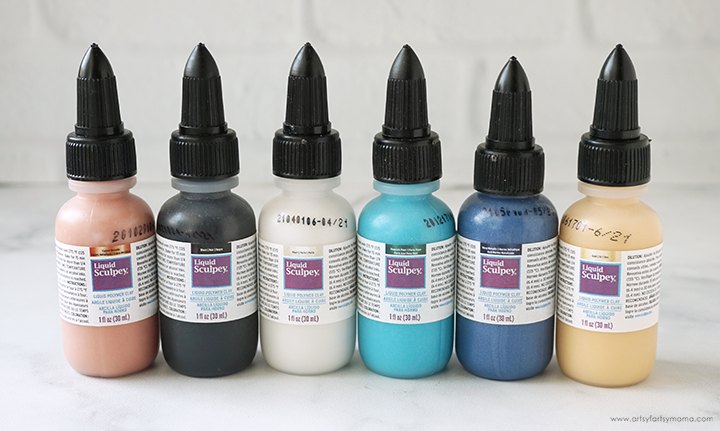
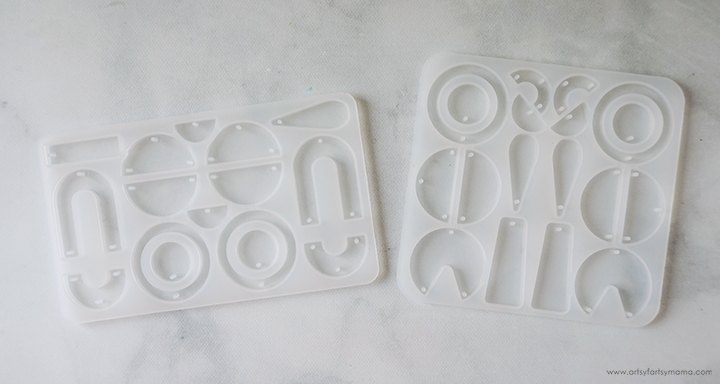
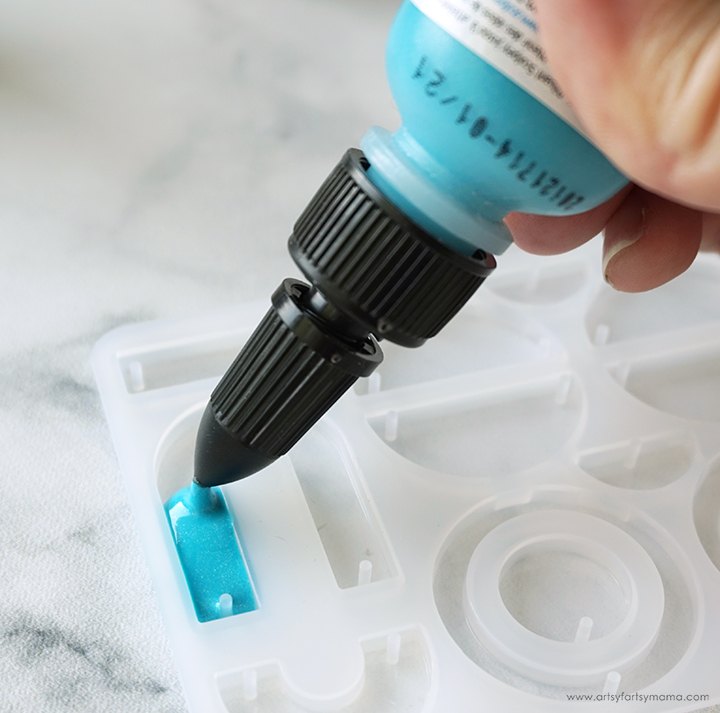
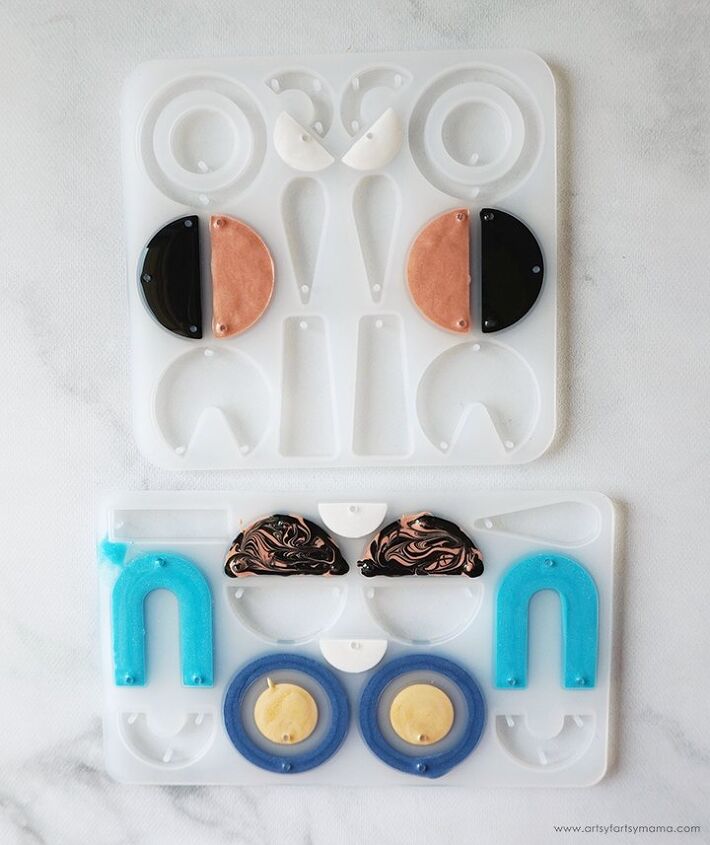
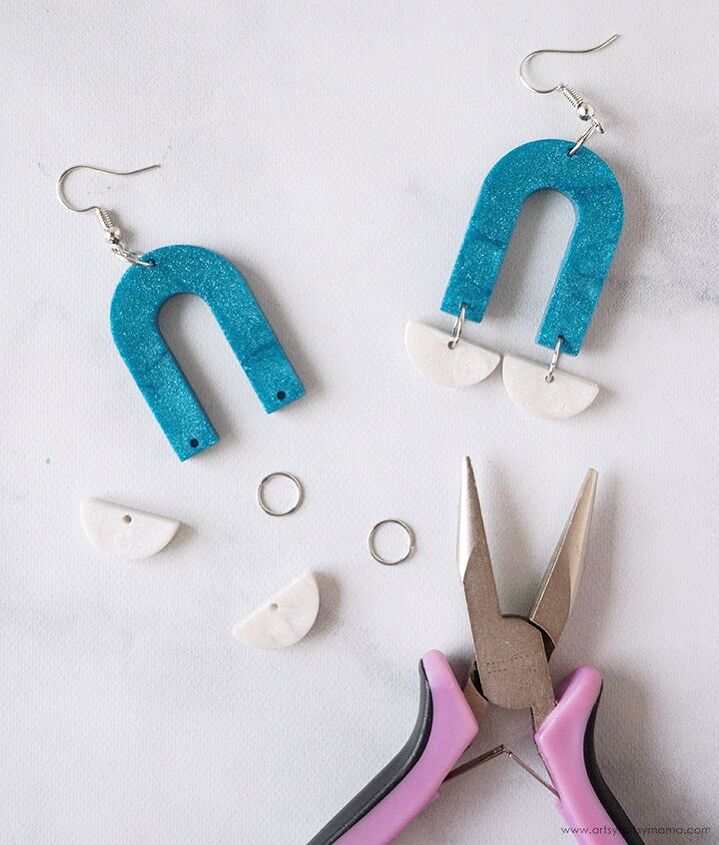
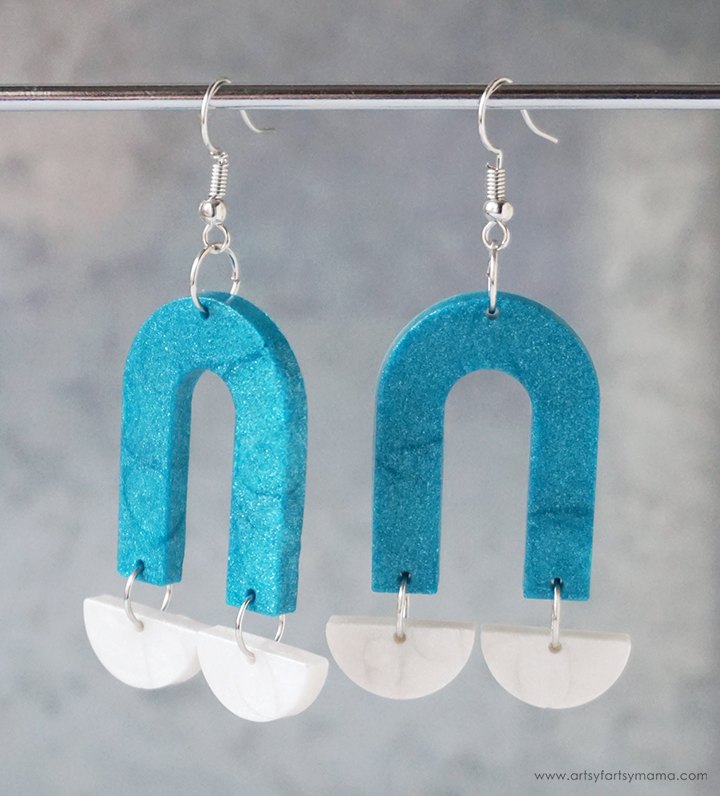
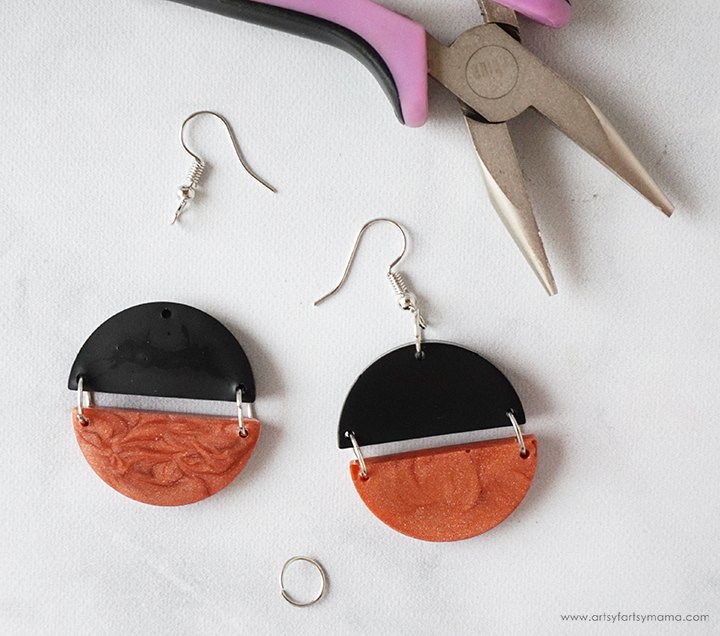
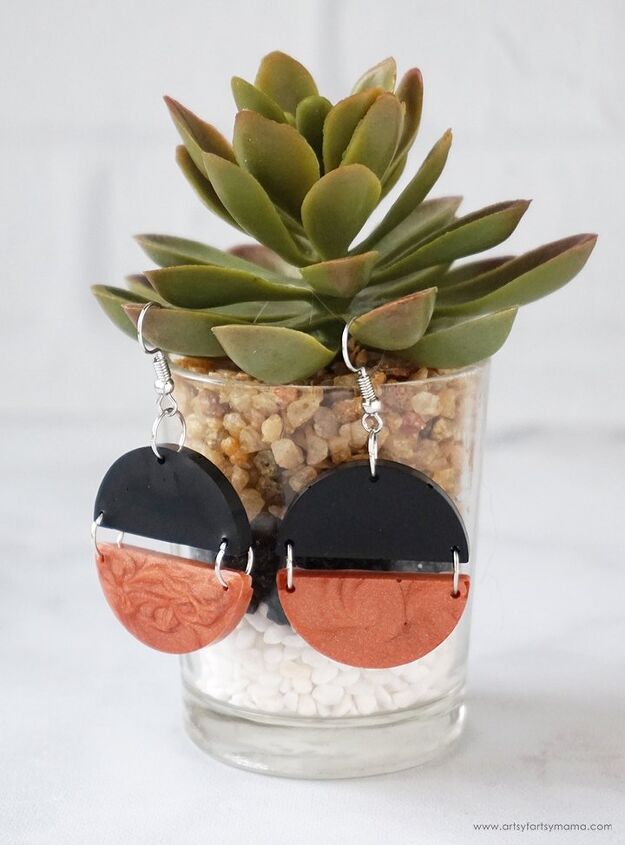
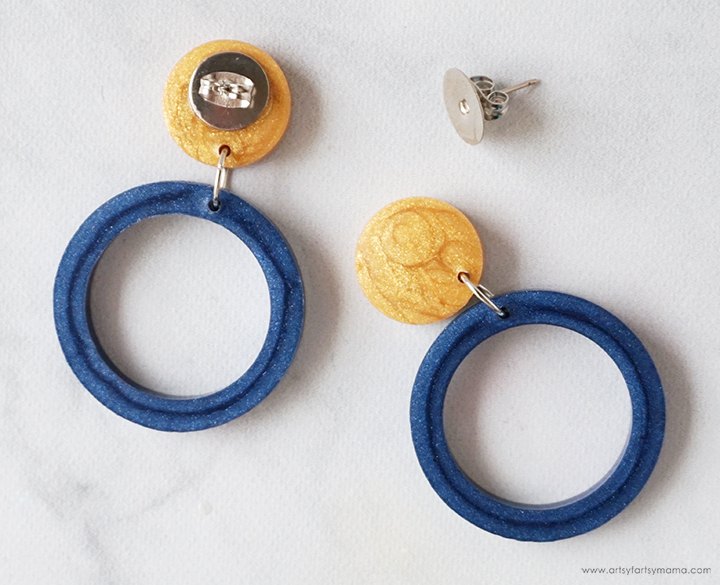
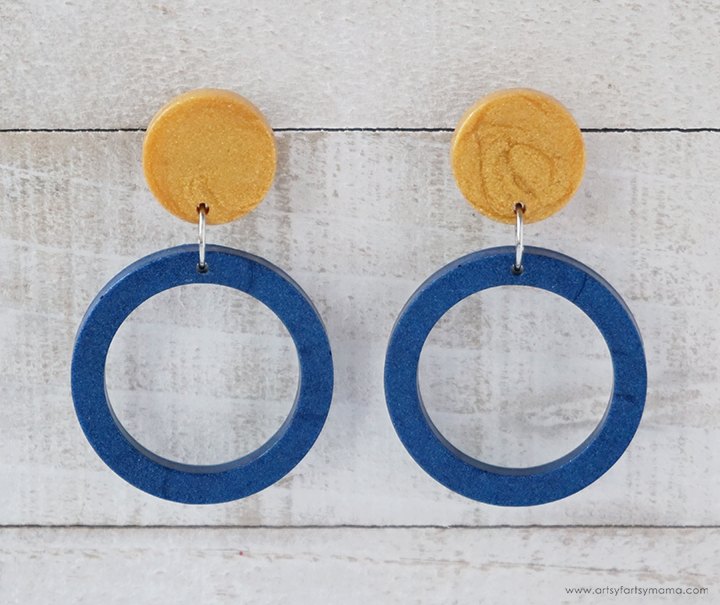
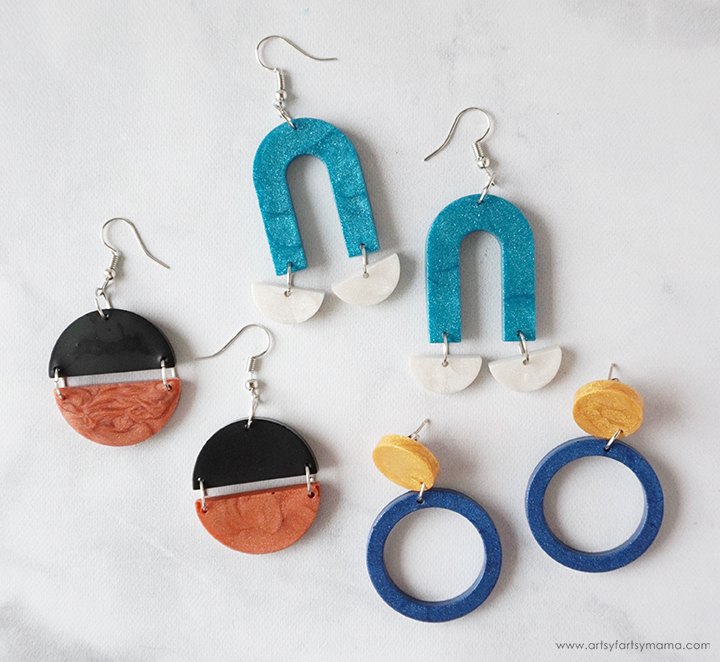
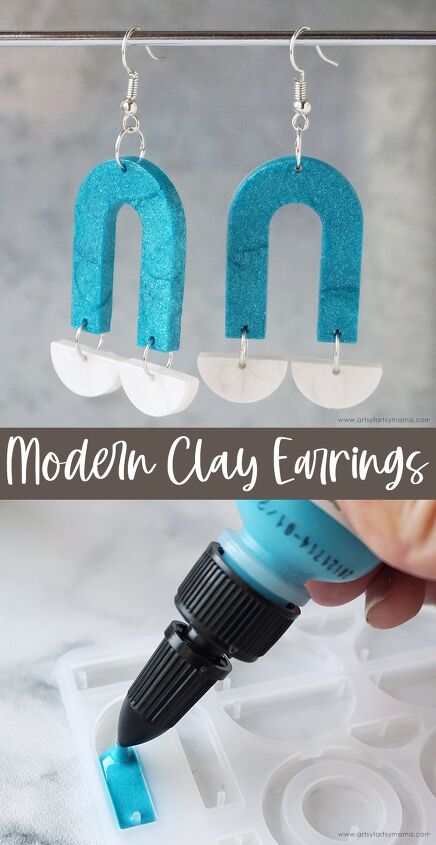
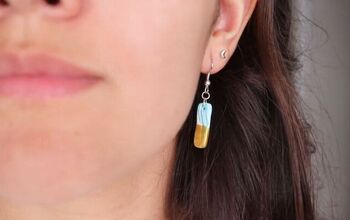
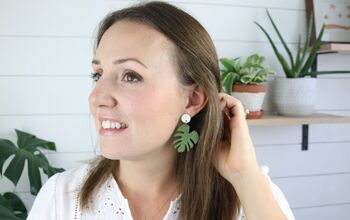
Modern Clay Earrings
$10
1 Hour
Easy
Make some stylish Modern Clay Earrings with Liquid Sculpey!

The author may collect a small share of sales from the links on this page.

Want more details about this and other fashion and style ideas? Check out more here!


Comments
Join the conversation
Love these earrings, will have to look & see if I can purchase Liquid Sculpey here in Australia. This would be a great project for my granddaughter as she already makes air dried clay earrings.
i will want to save on pinterest