How to Make High-Waisted Bikini Bottoms Inspired By '80s Swimwear

Ever wondered how to make high-waisted bikini bottoms? Well, I will show you how to make your own in this step-by-step DIY high-waisted bikini bottoms tutorial. Let’s start!
Tools and materials:
- Swimwear fabric (two to make it reversible)
- ¼“ swimwear elastic
- 1” swimwear elastic for the waist - optional
- Seam ripper
- Rotary cutter or scissors
- Regular sewing machine
- Serger - optional
- High-waisted bikini bottom sewing pattern
- Thread
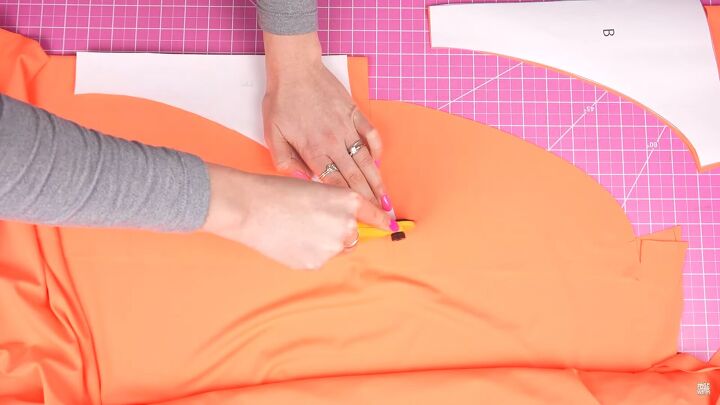
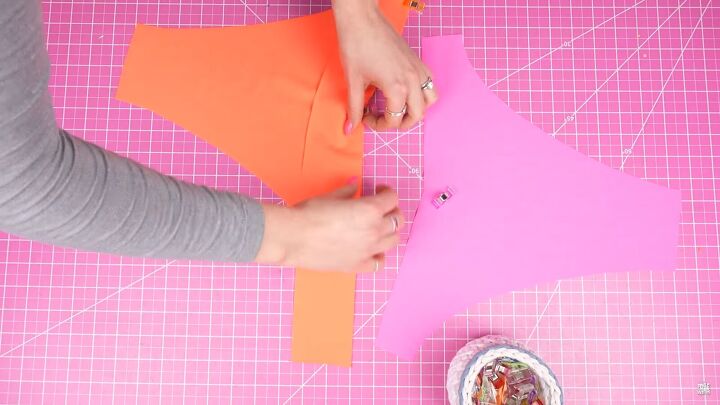
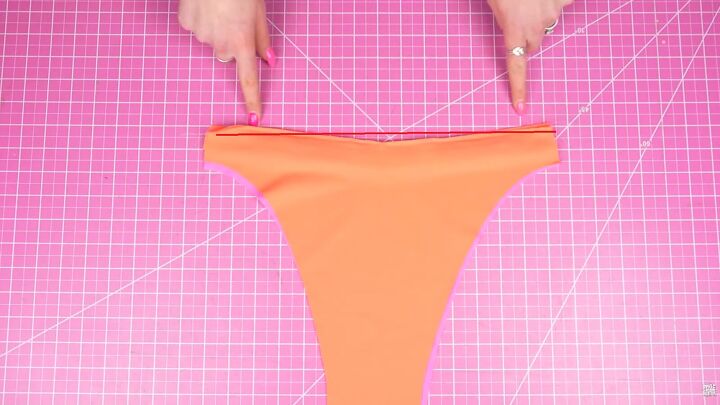
1. Cut the pattern pieces
Cut out two of each pattern piece. I’m using two different fabrics, so I will cut one in each color to make the style reversible. Also, a ¼ “ of seam allowance is already added.
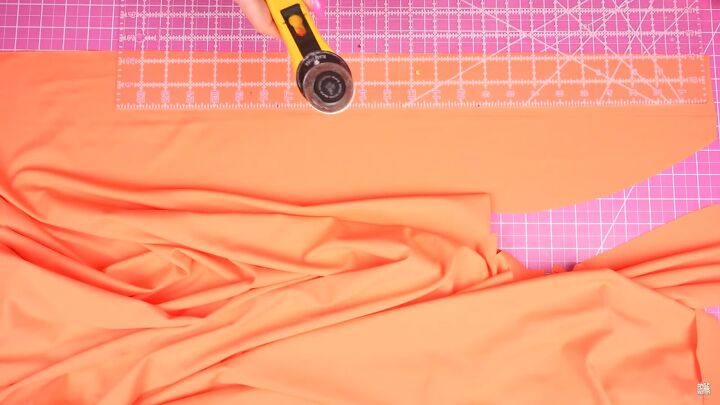
Cut your band pieces (measurement included in the pattern). This band folds over at the top; there isn’t a seam. Whichever color you choose for the band, just know it’ll show on either side of the bikini bottom.
2. Construct the DIY high-waisted bikini bottoms
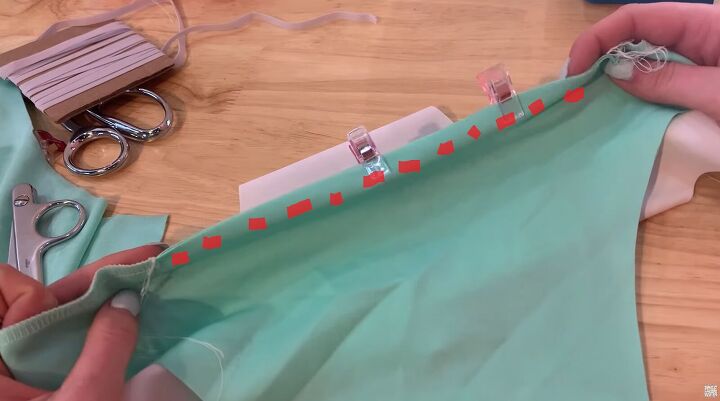
This construction method is going to be a little different than usual. First, attach the band to both the front and back pieces. Starting with the front pieces, match the right sides together - the waistline of the front piece with one side of the band.
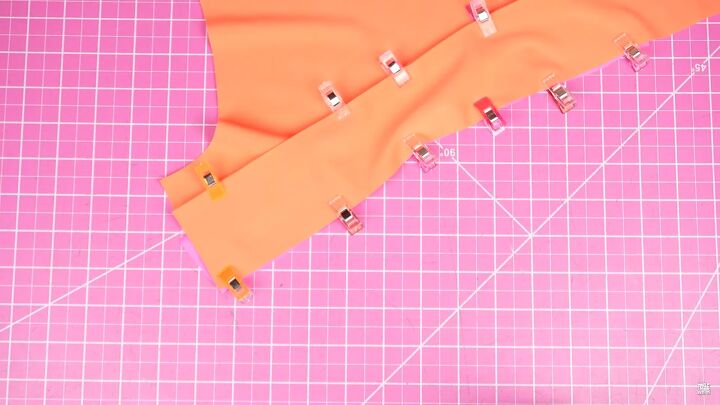
Do the same to the other front piece. Pin the waistline to the band, right sides facing.
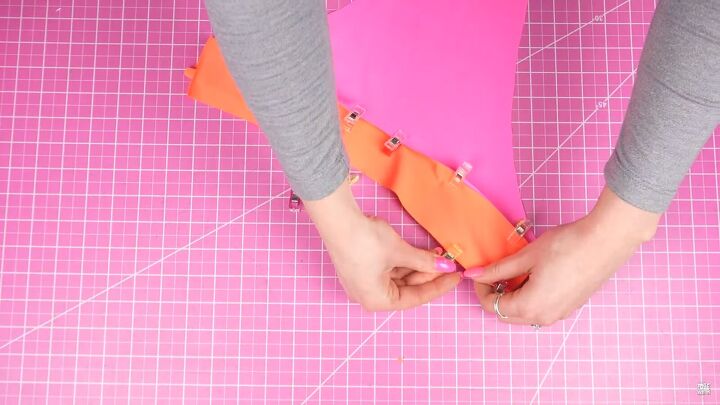
Same with the back pieces, align right sides together along the waistline.
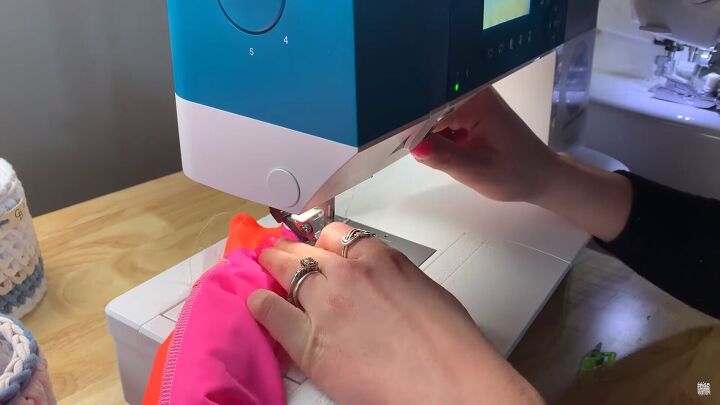
Sew the band in place. The front and back will be treated differently. For the back piece, use a basting stitch (that’s intended to be removed). This is just to tack the fabric together temporarily. We’ll do the final stitch later on.
For the front piece, use either a zigzag or an overlock stitch about an inch in from either side (see the highlighted edge for reference). This will be a permanent stitch. The middle part will be a basting stitch.
Here I have sewn a little on both ends.
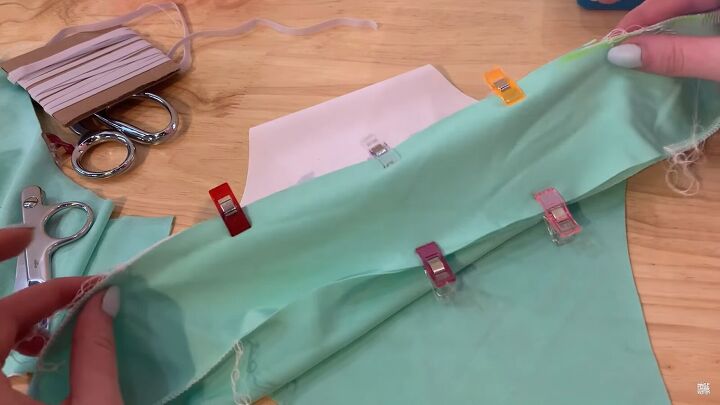
Sew the basting stitch in the middle (on either side).
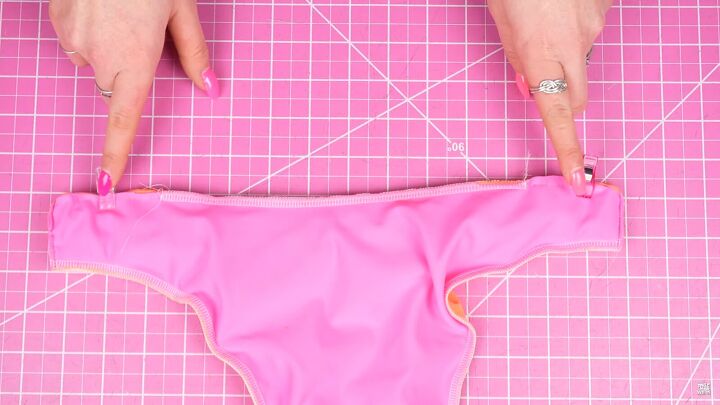
Here’s what the front piece looks like with the band.
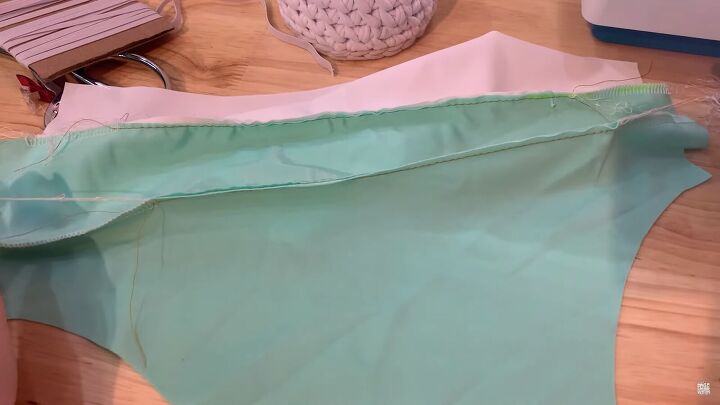
Do a final stitch to the back piece. This time, sew across four layers of fabric. To do this, tuck in the band and match up those two basting stitches you just sewed by sewing this seam shown above. This will seal in that band and prevent it from wiggling.
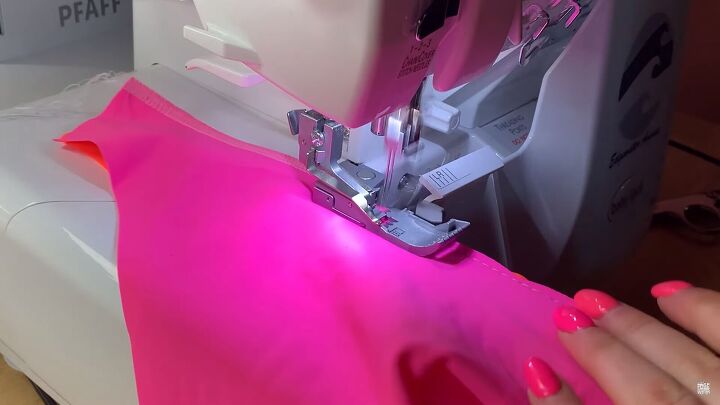
Sew down that band with an overlock stitch or a zigzag stitch if you don't have a serger.
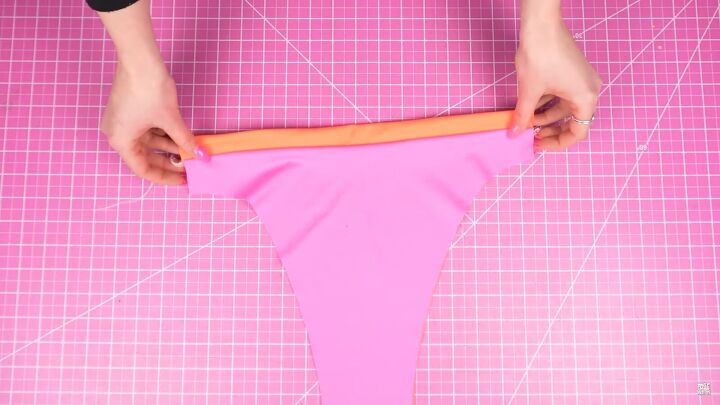
Take the back piece to the right side, and you'll see you have this secured band.
Note: These DIY high-waisted bikini bottoms are not fully reversible, and on the back side, there will be fold-over seams. This is really going to help them stay in place.

3. Create fold-over seams
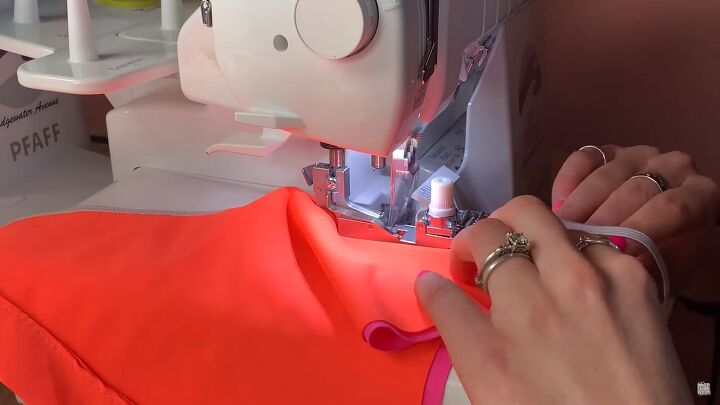
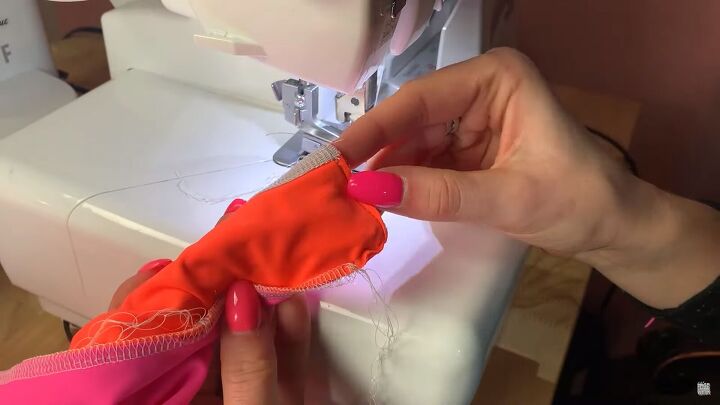
With the back piece’s right sides facing out, sew the leg holes together using an overlock machine. At the same time, attach the ¼“ elastic, too. You want to have a bit of stretch in the elastic so that the seam is secure.
As far as stretching goes, you can do this a couple of ways;
- Reduce the seam by 1%-3%.
- Use an elastic foot and tighten the knob until it has a little bit of stretch.
- Stretch the elastic as you're sewing. Just keep an eye on it.
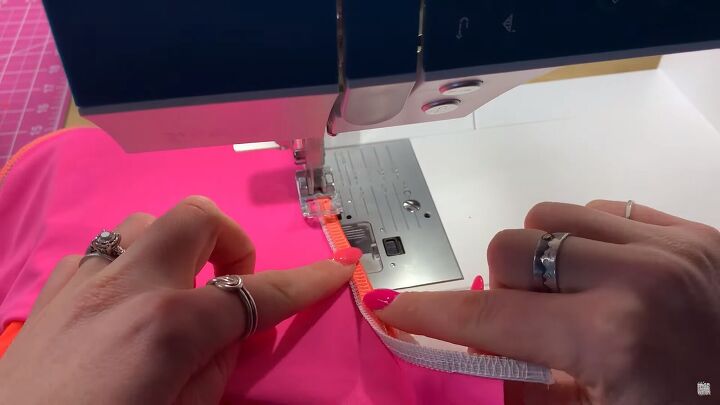
Fold-over the seam and do a zigzag stitch.
Let’s focus on the front piece. It will have concealed seams on the legholes. Match the pieces' right sides together and sew an elastic onto each of the legholes. I recommend not stretching the elastic for this step; unless you want to. If you do, it makes a tighter fit but it also tends to scrunch.
4. Secure the band
You want the band super secure. So, fold the band inside and use an overlock stitch to secure it. Leave 3” unsewn on either side (you’ll see why in the next step).
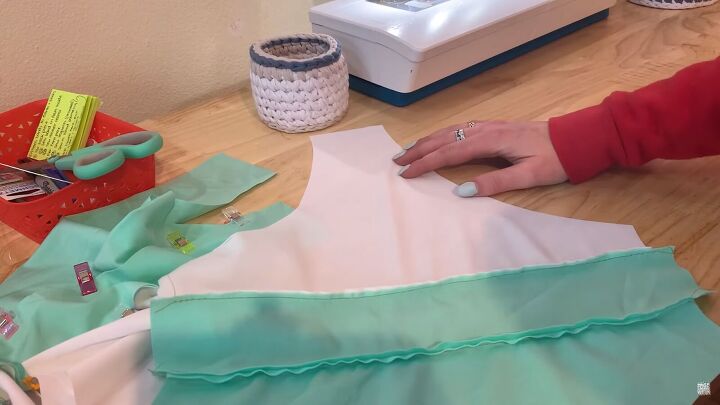
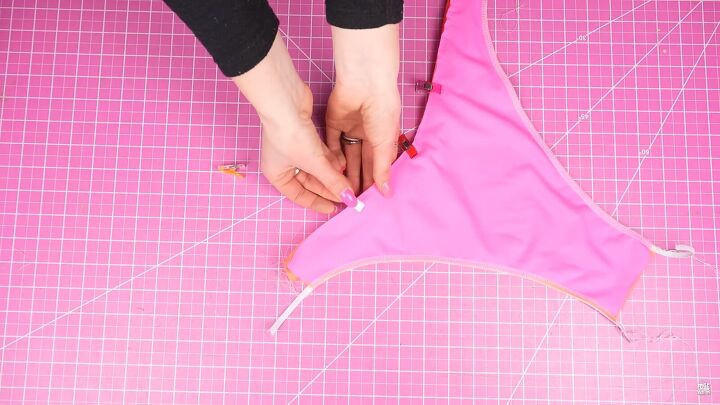
5. Assemble the bikini bottoms
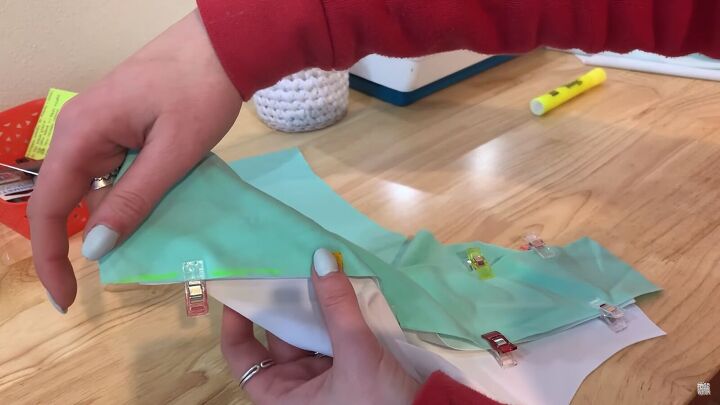
Ensure your back piece is right sides out and insert it inside of the front piece. Align it at the sides and the gusset.
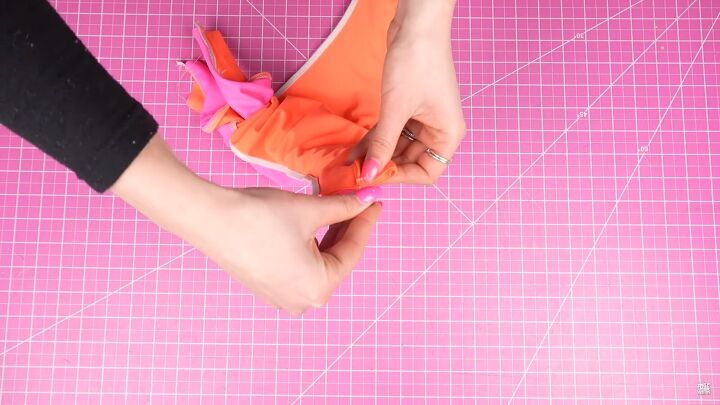
This is why we didn't sew that band completely down. You can insert those sides to sew a stitch right across them, and that's going to sew in the band as well. Sew a straight stitch and sew a ¼ “ in from the edge to account for the seam allowance.
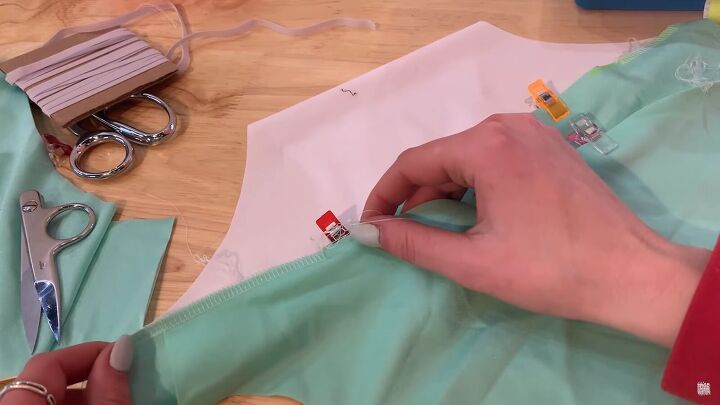
You can now get a bit closer to the band's edges, but you won’t be able to sew entirely over it. Using your overlock stitch, sew one more time and get as close to the edges as possible to secure the band.
Remember at the beginning mentioned you need a zigzag or overlock stitch for the sides? This is exactly why you're not going to be able to sew across this entire band because there is a little piece of that band folded under. If you sew across it, you're won't be able to take it to the right side.
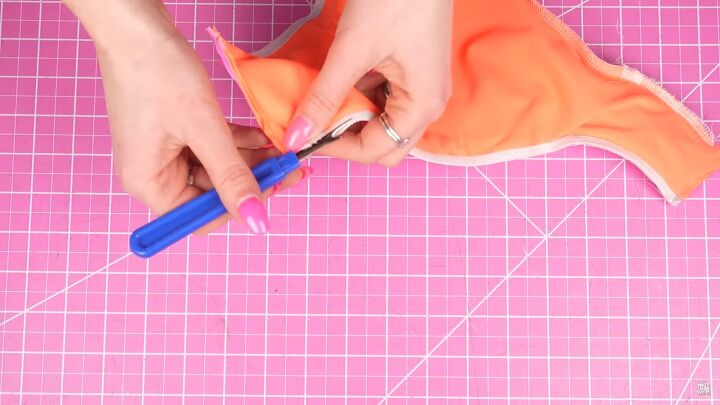
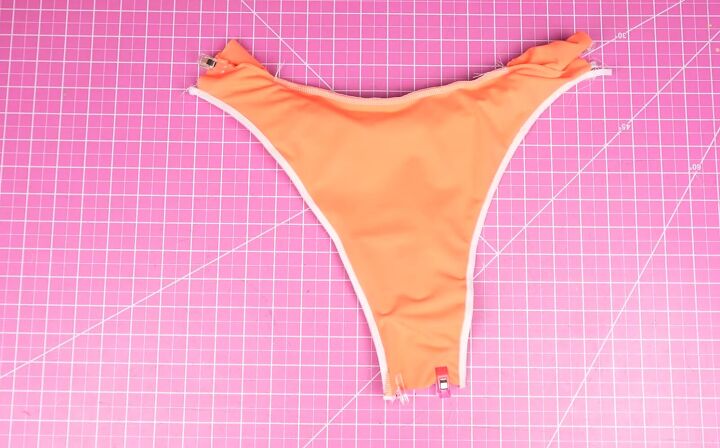
Seam rip along an existing seam. I like to do it at the very bottom of the leghole. Then, take everything to the right side and finish off the hole with an invisible stitch or topstitch.
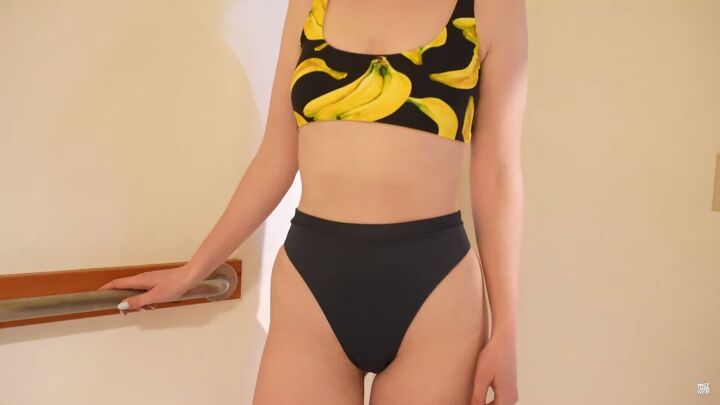
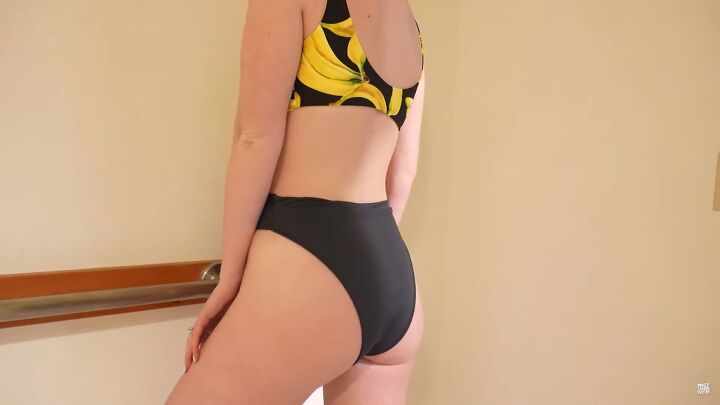
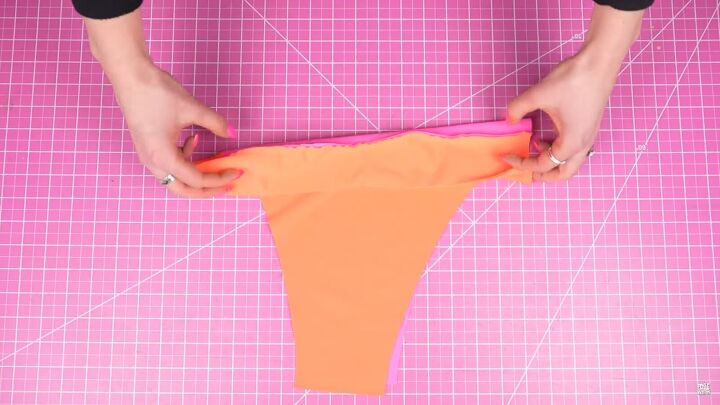
How to make high-waisted bikini bottoms
This completes the DIY. Here’s the result! Thanks for joining me, and I hope you now know how to make high-waisted bikini bottoms with the pattern linked on top. Good luck!
The author may collect a small share of sales from the links on this page.


Comments
Join the conversation