How to Sew a Hoodie & Jumpsuit Loungewear Set Without a Pattern

Need some inspiration for your next sewing project? Let’s do a DIY loungewear set together! I’ll show you how to sew a hoodie and a really comfy jumpsuit!
The best part about this tutorial? You don’t even need loungewear sewing patterns! Just use your best-fitting clothes as a guide.
Tools and materials:
- Cotton jersey fabric
- Drawstring
- Tank top and leggings as a guide
- T-shirt as a guide
- Sweater with a hood as a guide
- Scissors
- Pins
- Sewing machine
- Thread
- Ruler and measuring tape
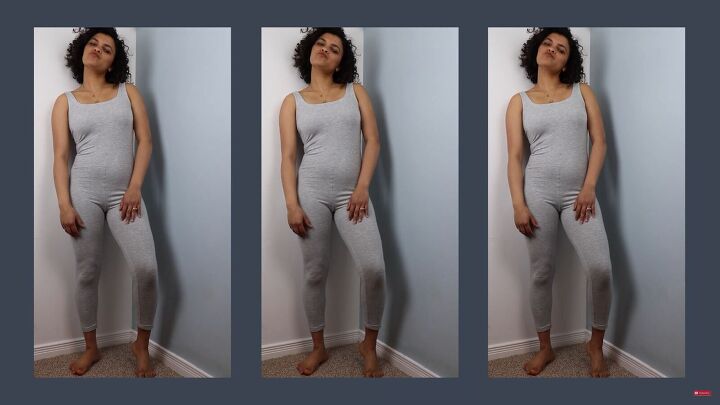
DIY jumpsuit
1. Make the jumpsuit pattern
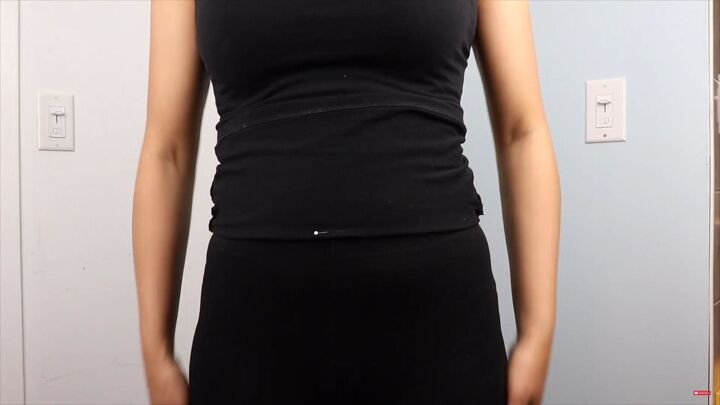
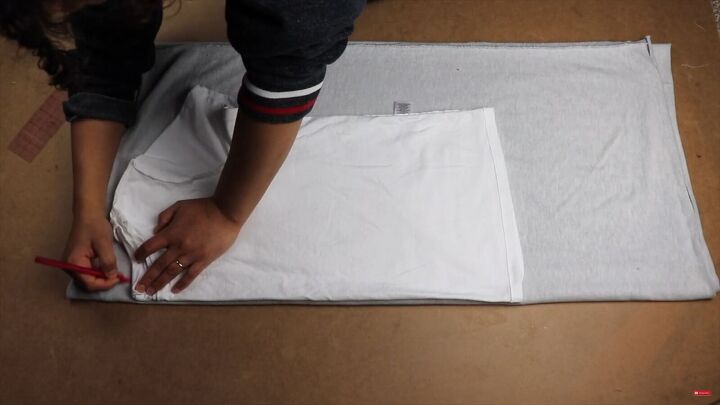
You’ll need to wear a pair of leggings and a tank top for the jumpsuit. Then, mark your desired length on the tank top with a pin. It should be at the waistband of the legging.
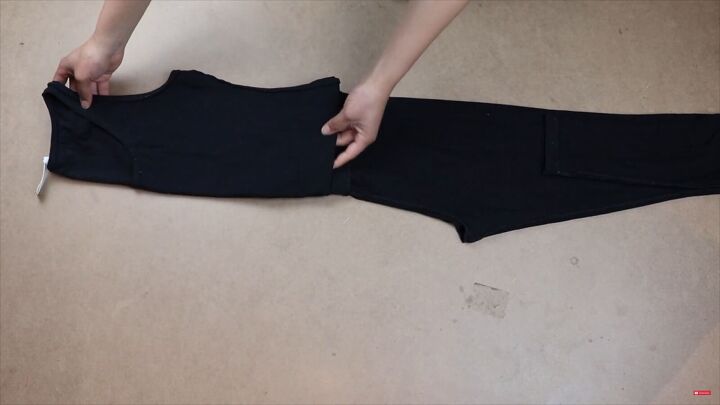
Turn both items inside out. Fold the tank top so the front faces out and place the leggings with the front facing up.
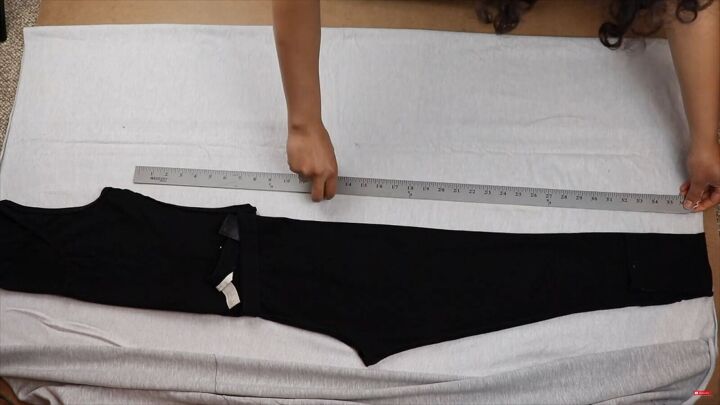
Fold your fabric along the grain and draw a line down the center of the folded area. This will be your side seam.
Tip: It’s best to pre-shrink the fabric beforehand (wash and dry on high heat).
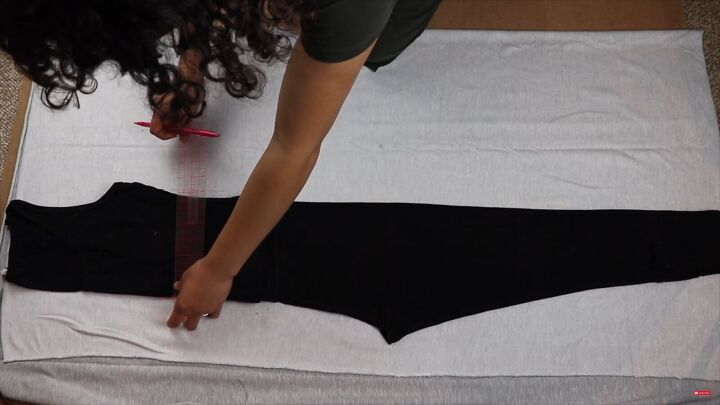
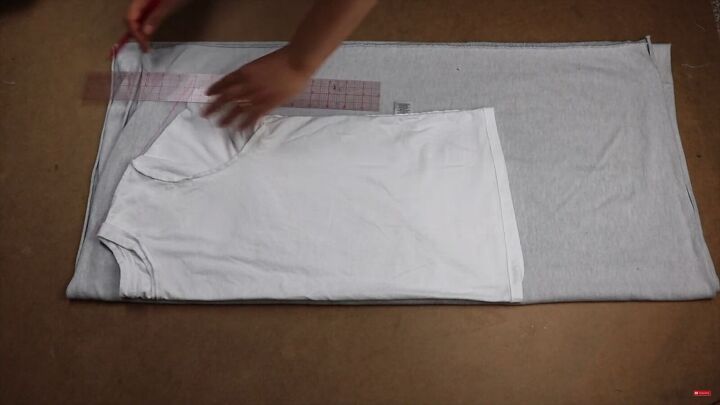
The side seam will essentially be a fold, so take in the waist on the center front seam.
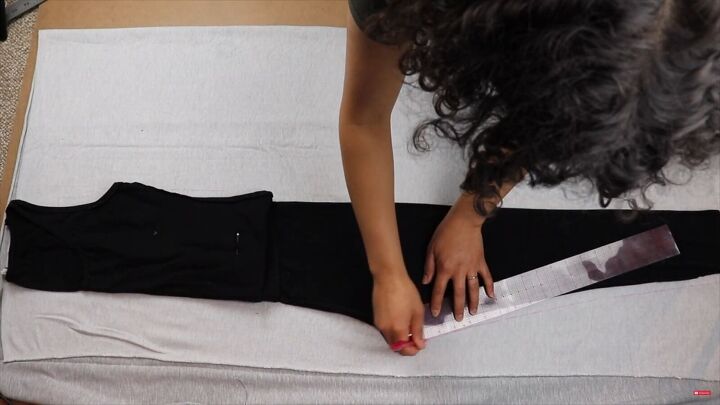
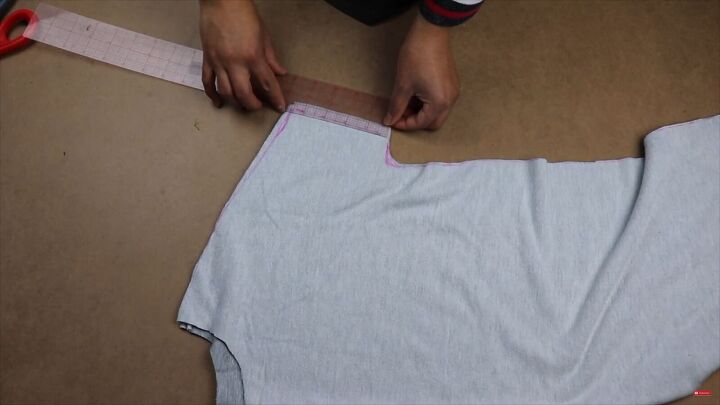
Trace around your garments, adding some width if your fabric is less stretchy than the garments.
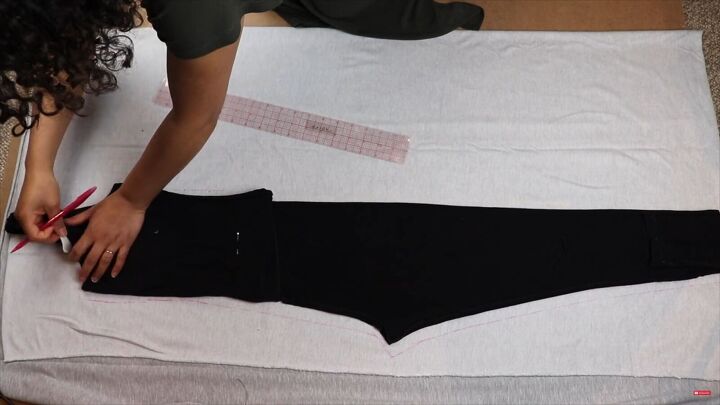
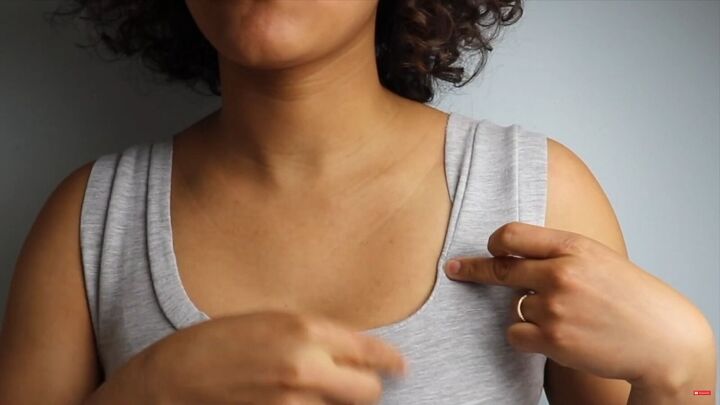
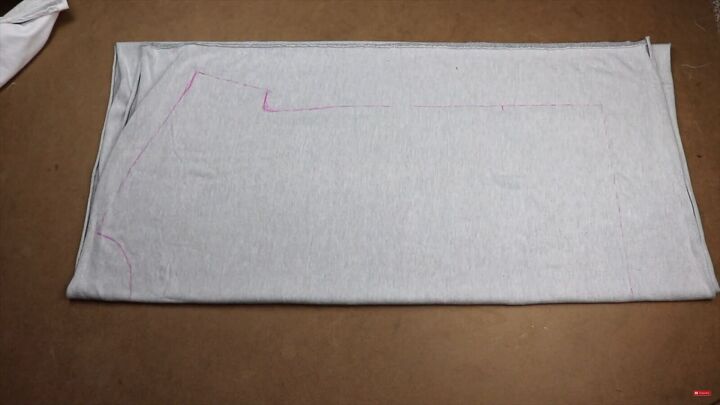
Create a square neckline so it's easy to get into and out of without having to add a zipper.
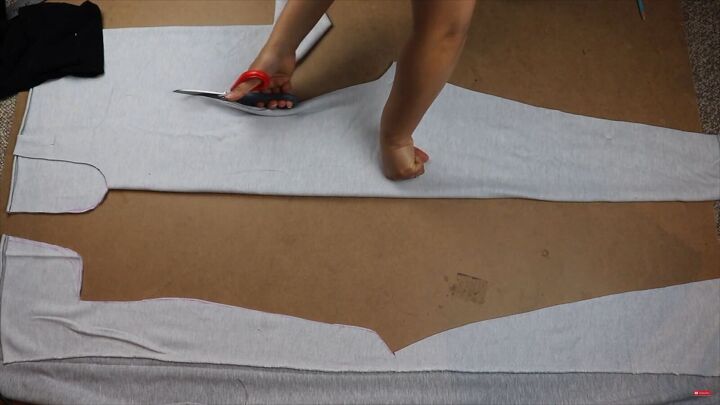
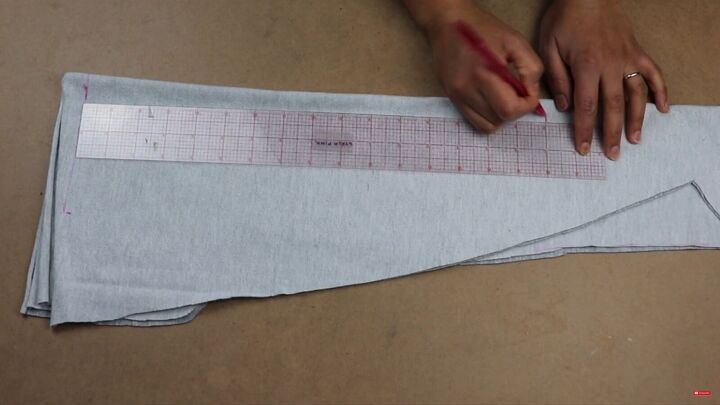
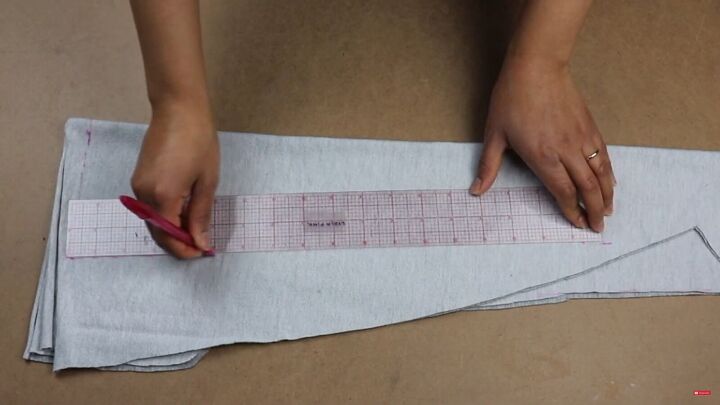
Flip over the leggings so the back faces up and that it lines up with the center line. Trace out the leg and the crotch seam.
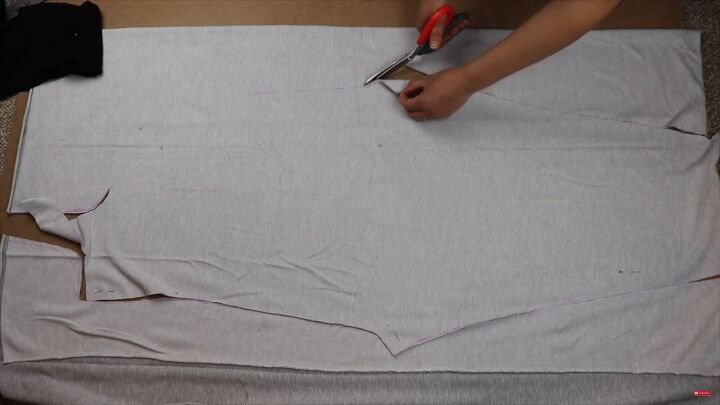
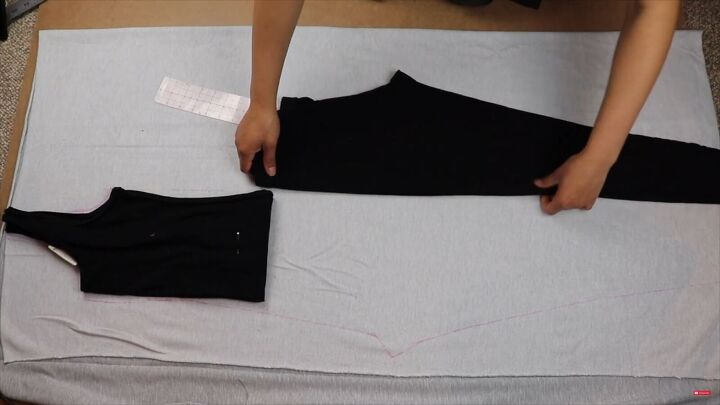
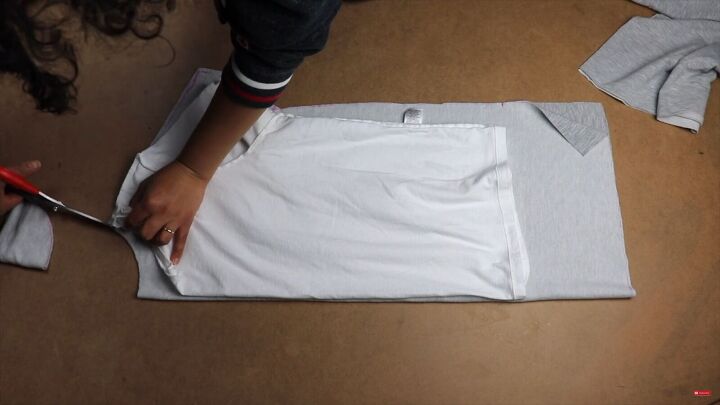
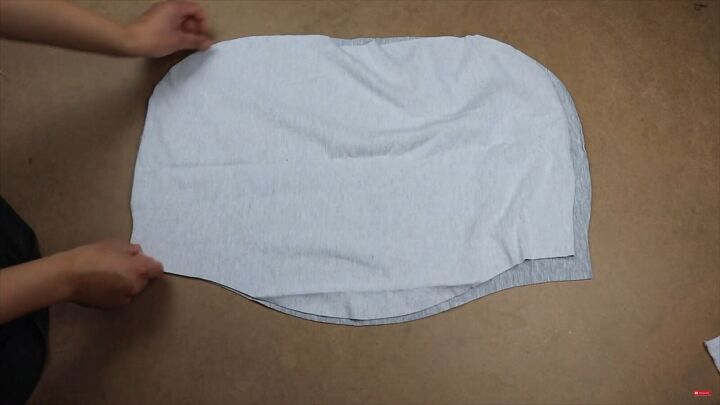
2. Cut out the fabric
Cut out the front side and back bottom.
Flip over the front and cut the mirror shape for the back (top section). Then, make two pieces and mark the back and the front for reference.
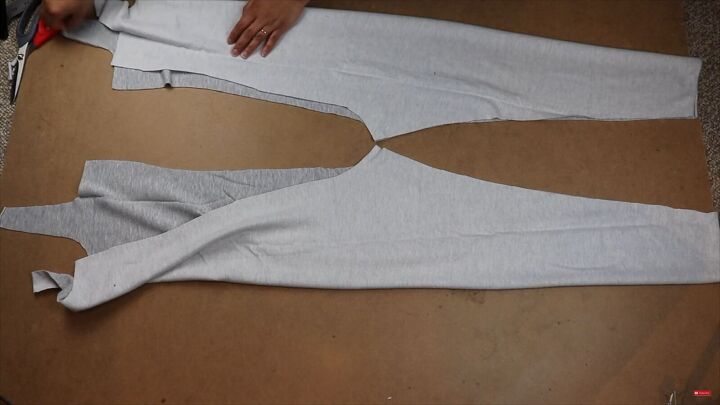
3. Sew the seams
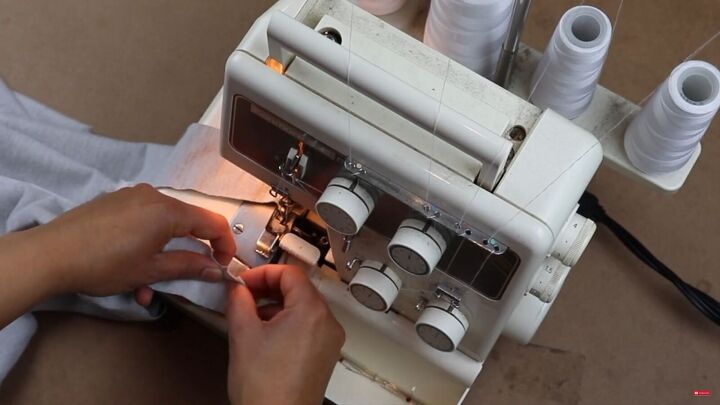
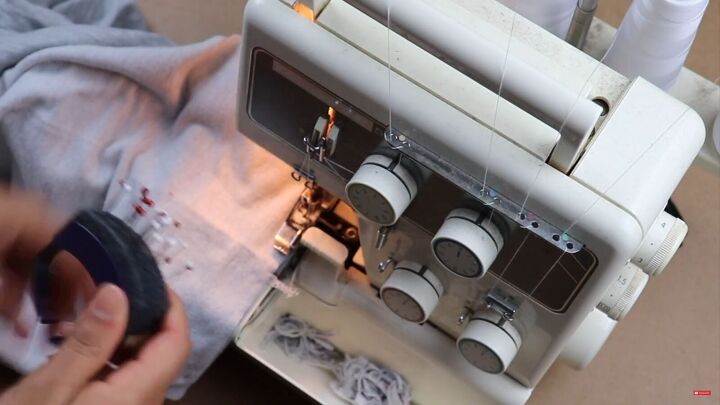
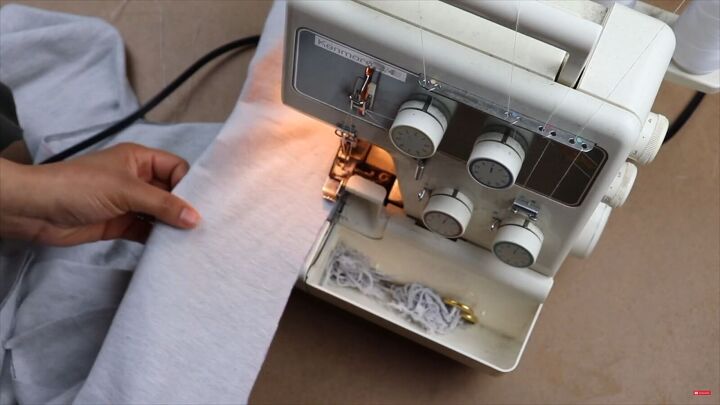
Fold each piece and serge the pant leg inseams. If you don’t have a serger, use a zigzag stitch.
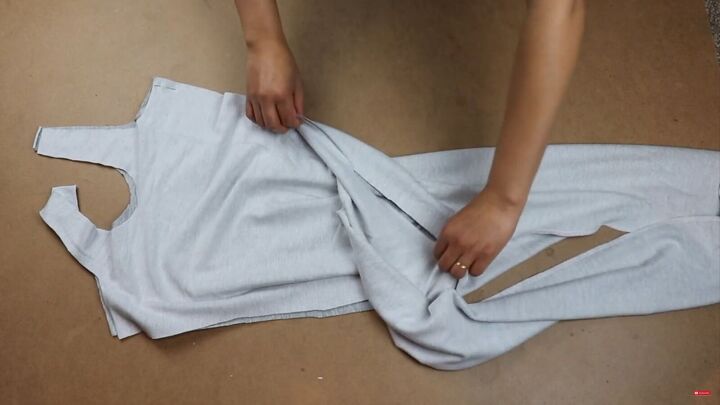
Match the front and back seams and sew the entire seam.
Before sewing the neckline, sew the shoulder seams.
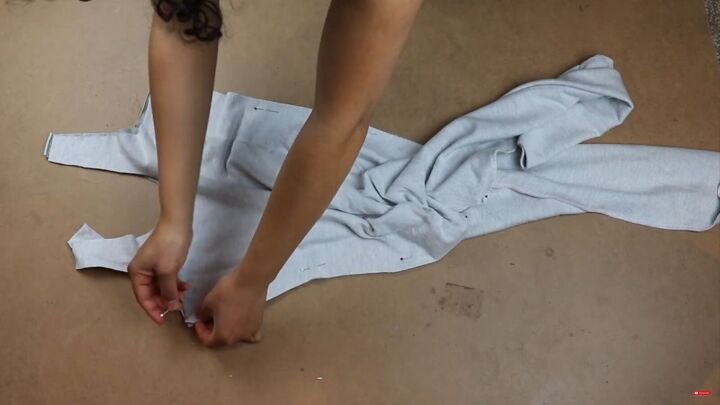
4. Finish the edges
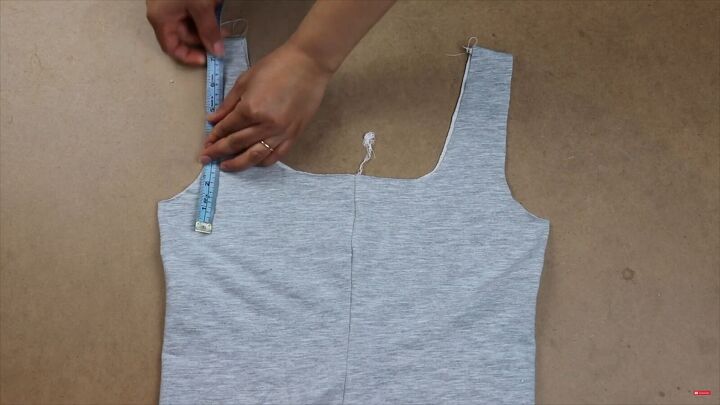
Measure the neckline and armholes and cut 1-inch strips in those lengths.
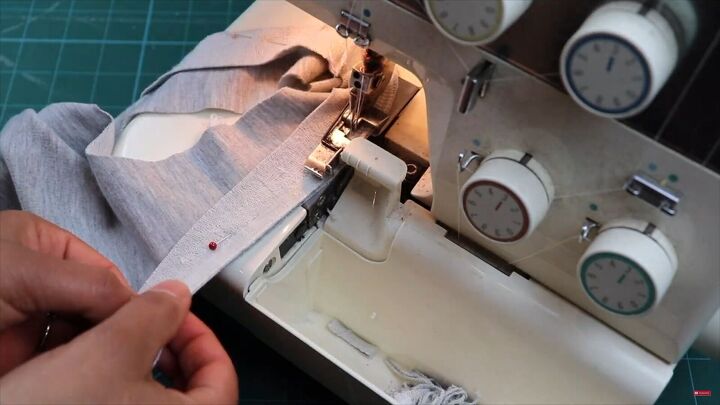
For edge finishing the neckline, start your strip at the shoulder, leaving room for seam allowance. Make a snip where it lines up with the center-front seam, center-back, and shoulder seams.
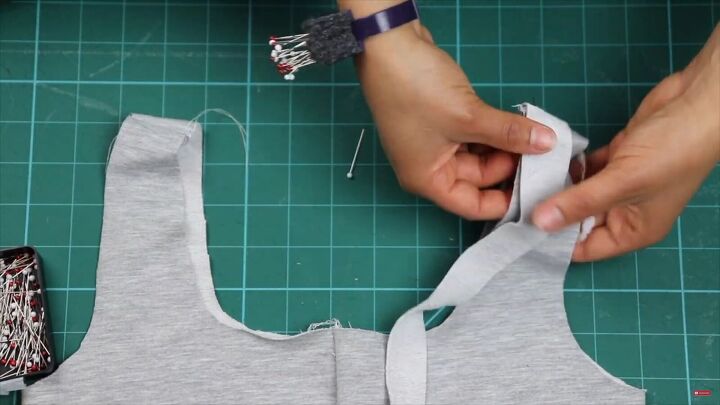
Tip: Stretch the strips while pinning, so that the neckline doesn’t gape.
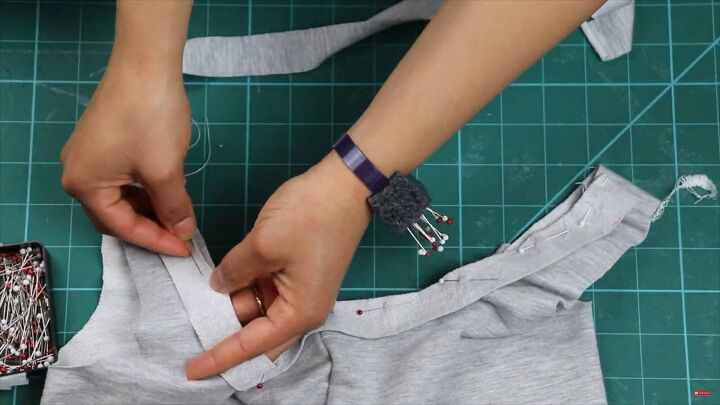
Pin and sew all around to secure. Repeat for the armholes, too.
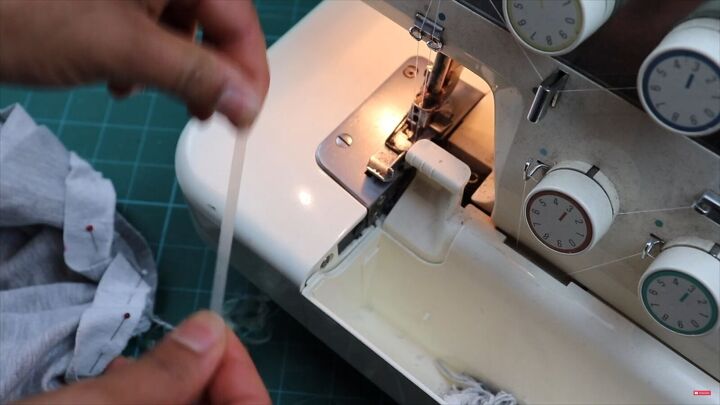
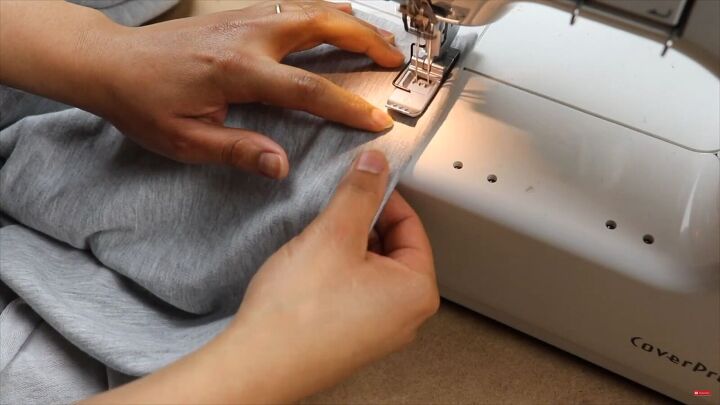
When sewing the layers, add a clear elastic strip to the neckline. Get the needle into the elastic before you lower the foot and start sewing.
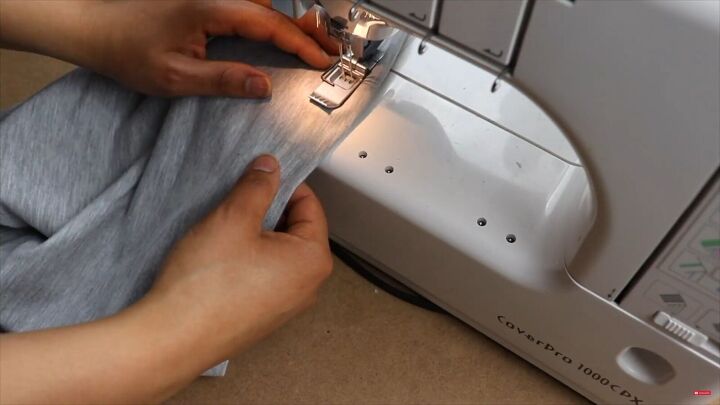
Now, flip the strip under and coverstitch it.
Hem the legs and press to complete.
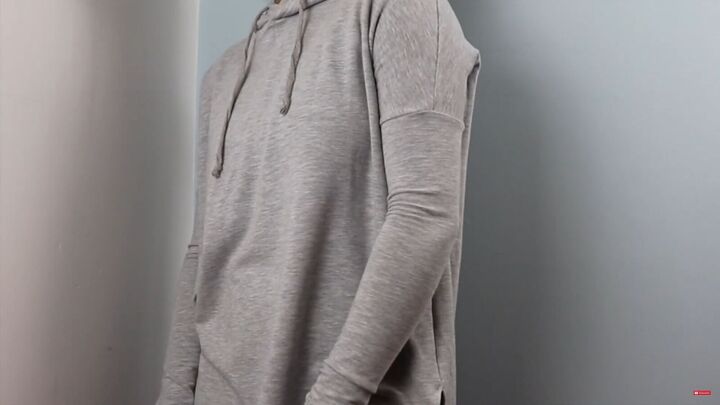
DIY hoodie
1. Make the hoodie pattern
Making your own hoodie is super easy! Let’s start with a loose-fitting t-shirt. Take your fabric and fold it so there are 4 layers of fabric. On the fold, place the center front of your shirt and trace accordingly.
Around the sleeve area, create a drop shoulder. Also, trace out the back neckline first because it is higher. Make sure the sleeve area is wide enough for your bicep with seam allowance included.
Add length to the hoodie so that it’s at hip length. Also, create a notch for the side slits.
2. Cut the fabric
Cut out the pattern and trace the front neckline on one of them and cut it out.
3. Make the sleeves
Measure your sleeve opening and transfer it to two folded strips.
Decide your length and measure out half your wrist length (plus seam allowance).
Connect these markings and cut with a 1-inch sleeve hem allowance.
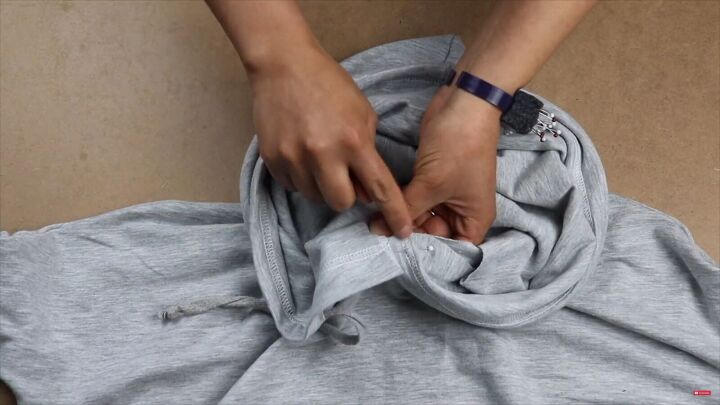
4. Make the hood
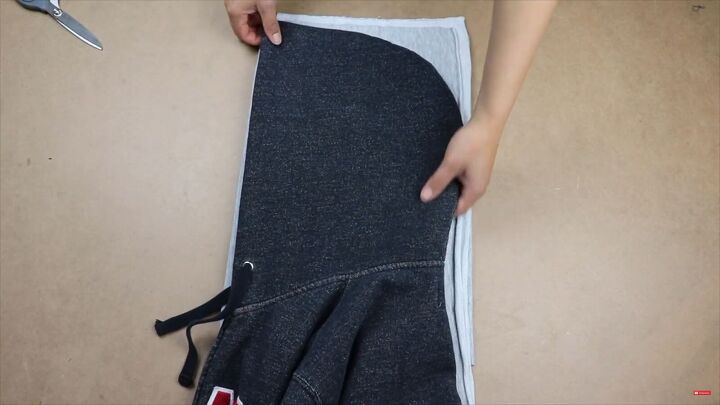
For the hood, fold your fabric into 4 layers to create a fully lined hood. Use a hood from a sweater as a guideline.
Place the hood with the opening on the double fold. If you want the hood to overlap, add some width to the base.
Tip: It's best if the hood you are copying is similar or the same size as the neckline.
Cut and sew around the hood, leaving the bottom open.

Iron the folds of the hood opening and mark a 1-inch line from the fold.
Use this as a guide to sew around to create a casing.

Mark 3 inches from the neckline on either side and feed through a drawstring.
5. Sew the hoodie
Place the sweater body pieces right sides together and sew the shoulders. Then, open it up and pin the armholes to the upper sleeves. Sew to secure.
Sew up the side seam. I'm leaving a side slit open
Attach the hood, overlapping at center-front. Make sure the seams align. Then, sew to secure.
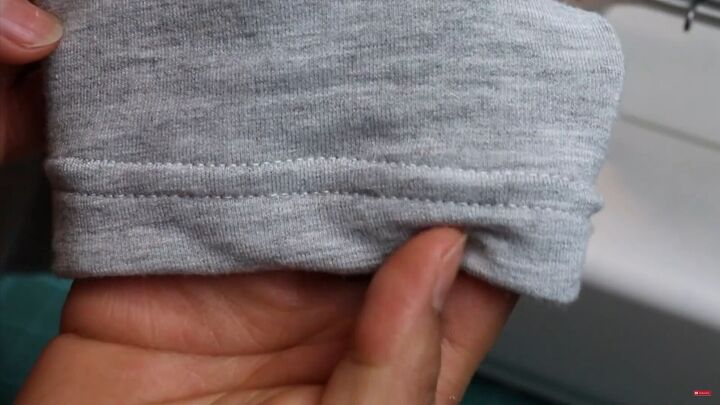
To finish the hem, fold the edge back by 1 inch and zigzag stitch. Don’t forget to hem the sleeves.
Tip: Iron the hem before stitching
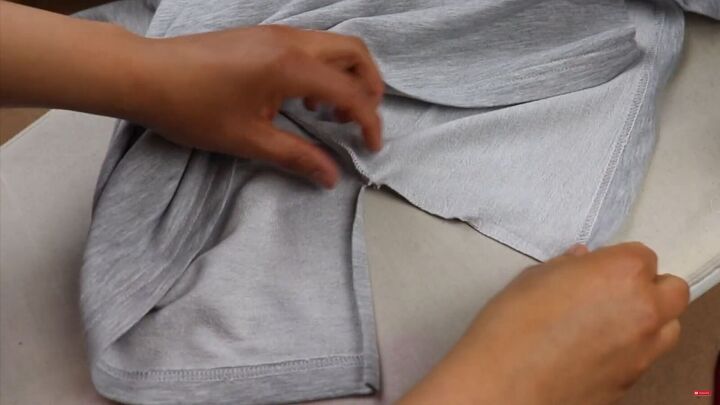
Fold the slit’s edges by a ¼ inch (twice), iron, and sew.
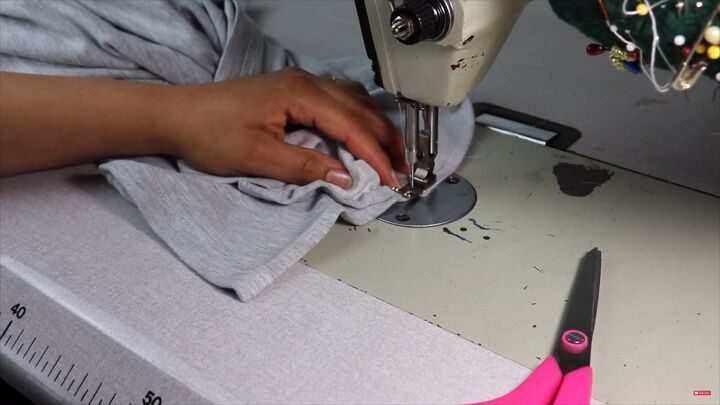
Remember to reinforce the seam with a backstitch before moving down with a straight stitch.

DIY hoodie and jumpsuit loungewear set
Now that you’ve learned how to sew a hoodie and a beautiful DIY loungewear jumpsuit, there’s no excuse to try out this DIY for yourself.
I love how everything matches so cohesively; it’s a comfy and fabulous ensemble! Thanks for joining me and I’ll see you next time.
The author may collect a small share of sales from the links on this page.


Comments
Join the conversation