See How I Made an Entire PJ Set Out of One Yard of Fabric

Everyone loves pajamas, and if you say you don’t, you’re lying. I think PJ sets are the cutest thing ever, and when I found this fabric at a local thrift store, I knew I had to use it to make one. The problem was that there was only one yard of fabric total, so I had to get a bit creative, but I’m really happy with the end result. Check out this tutorial to see exactly how I did it.
Tools and materials:
- Fabric
- PJ set
- Pattern paper
- Notebook and pencil
- Red ribbon
- Elastic
- Safety pin
- Sewing machine
- Sewing pins
- Buttons
I used a PJ set I already owned to make the pattern for this set and added a few adjustments. So I laid down some pattern paper and traced around the different parts of the PJ set. As I drew the pieces, I marked which pieces needed to be folded, and how much of the piece I needed to cut out of the fabric. When I traced the pants, I made them shorter, since I was going for shorts instead of long pants, and drew shorter sleeves as well.
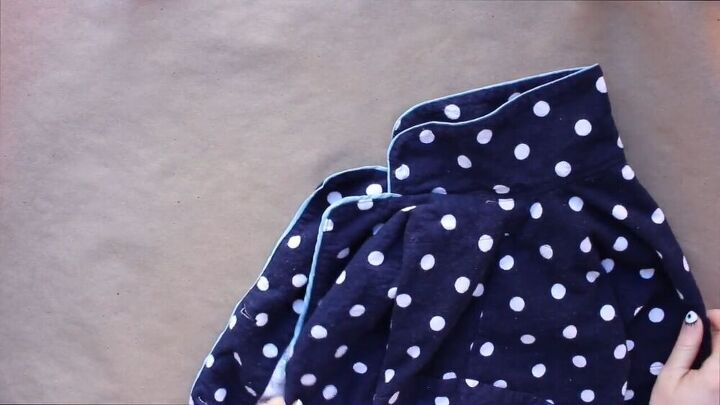
With my fabric cut out, I pieced all the pieces together. I started at the top, sewing the pieces right sides together at the shoulder seams and side seams. Then I pinned and sewed on the sleeves. Next, I took a cuff piece and pressed down the raw edges with my iron. I then pinned them to the ends of the sleeves, sandwiching a piece of red ribbon to act as piping, and hemmed the end of the sleeve. I finished each sleeve by sewing it together to close it up.
The next step was to sew on the placket with piping at the edges. I cut out two pieces for the inner layer, so I stitched those two together. I added the piping by again sandwiching it in between the layers and pinning it in place all the way to the bottom. When I was done I turned it inside out and pressed it with my iron, so that the piping was at the edge. I finished off the placket by serging the inside raw edge, folding it under, and stitching it down.
For the collar, I needed a bit more fabric so I used a similar white cotton that I happened to have. I sewed the pieces right sides together and added more piping in between the layers, along the top edge. I then pinned the underside of the collar to the top of the shirt. I folded the front two ends under in order to keep the piping showing nicely. Then I stitched some ribbon on top of the raw edge to hide it.
With most of the top done, it was time to add the buttons. I found these adorable lip-shaped buttons and I hand-sewed four of them in place. Then I created red buttonholes with my machine on the other side. To make the set even more adorable, I added some red frilly trim to the bottom of the shirt, by stitching it to the underside. The last thing I added was a breast pocket made from leftover scraps.
Making the shorts was super easy. I took the back two pieces, placed them right sides together, and sewed them along the rise. I did the same thing for the front pieces then opened them both and sewed the front to the back, right sides together, on the end seams and side seams. Lastly, I serged all the raw edges to finish it off nicely.
The waistband I added was elastic with a faux tie at the front. First, I made two buttonholes at the front and pulled my ties through slightly, then stitched them to the inside of the top so that they lay flat when I folded over the hem. This essentially created a tube for my elastic to slide through. When the tube was stitched down, I pulled my elastic through with a safety pin and stitched the opening closed. Lastly, I added the ribbon trim to the bottom hems of the shorts.
That’s it! I absolutely love this PJ set. It’s so adorable and I can assure you, it is VERY cozy. I love the way the buttons and the trim match the fabric, and I’m just obsessed with the final product? It’s totally legit for me to live in these forever, right? If you make this, I’d love to see how your versions turn out, so drop ‘em in the comments!
Enjoyed the project?
Suggested materials:
- Fabric
- PJ set
- Pattern paper
- Pencil
- Red ribbon
- Elastic
- Safety pin
- Sewing machine
- Sewing pins
- Buttons
The author may collect a small share of sales from the links on this page.


Comments
Join the conversation
Great job! So cute too.
Fantastic & I like your material & trim .