How to Upcycle Low Waisted Jeans Into High Waisted Jeans

Do you have a pair of low-waist jeans you don’t wear anymore? Are you in the market for some trendy high-waist jeans?
Low-waist jeans had their time in the sun for many years, but as time goes by high-waisted jeans have become the new wardrobe staple.
I’m going to teach you a quick upcycled jeans hack to turn those low-rise pants into high-rise alternatives.
Tools and materials:
- Low waist jeans
- Seam ripper
- Scissors
- Measuring tape
- Fabric marker
- Sewing machine
1. Determine the length
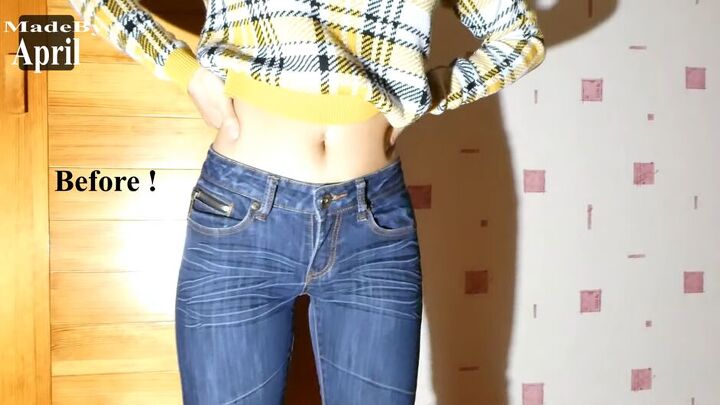
Start by putting your pants on and getting an idea of how high you want the waist.
I decided to add 4cm to the current length.
2. Cut the crotch
We are going to make modifications to these jeans on the crotch and inner legs.
Start by undoing the seams at the crotch with a seam ripper.
3. Take measurements
Turn the jeans inside out.
Measure the length from the waistband up to the crotch area. The measurement on my low-waist jeans was 18cm.
I decided I wanted to add an extra 4cm to the length of the waist, which meant I wanted to alter these jeans to 22cm.
Mark 22cm on both sides of the open crotch.
4. Rip the inner legs
Rip the seams down both sides of the inner legs until it reaches that 22cm mark.
By doing this we are starting the crotch lower and therefore lengthening the waist.
You should now have a much larger hole.
We will now close this hole up in 3 places: the front of the jeans, the back of the jeans, and the crotch.
5. Sew the front of the jeans
Beginning with the front of our jeans, match up the 2 ripped sides.
Pin them together.
This is how you want to place your pins.
Sew along the pinned line, remember to backstitch, you want this seam to be secure.
Now it should look like this.
6. Sew the back of the jeans
This is the hole at the back after sewing the front closed.
Match the two back sides.
Pin them in a line, like this.
Sew along the pinned line, making sure to backstitch.
7. Sew the crotch
We still have a tiny hole in the middle of the crotch to close.
Turn the jeans inside out.
Cut off any excess fabric, keeping your newly sewn seams intact.
You are then going to sew from this point.
Across to this point.
Upcycled jeans
That’s it! You’re done
Here is the finished look from the back.
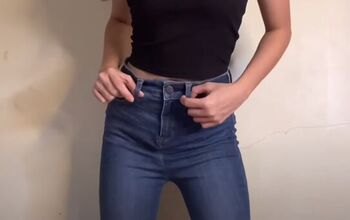
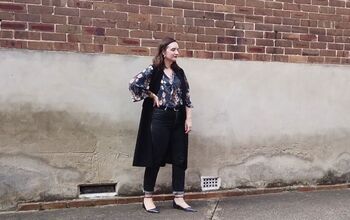
These turned out perfectly. They are flattering and modest and can be dressed up or down.
It took the fashion industry a good few years to finally give us the confidence to wear a pair of mom jeans. I suggest you jump on the bandwagon and make your own upcycled jeans that fit your waist and allow you to bend down confidently.
Please share in the comments if you enjoyed this hack and let me know if you have your own great clothes hacks.
Enjoy the rest of your day and I’ll see you next time!
Enjoyed the project?
Suggested materials:
- Low waist jeans
- Seam ripper
- Scissors
- Measuring tape
- Fabric marker
- Sewing machine
The author may collect a small share of sales from the links on this page.


Comments
Join the conversation
I'm petite and an hour glass. I buy low-rise pants because they both fit better and look best. It doesn't matter that you want to declare high waist jeans that are "back in" style, it matters what you look like not just "fashion"!
How does this affect the length of the jeans?