How to Make Trendy DIY Bell-Bottoms Using Leggings as a Pattern

Flared pants and jeans are so on-trend right now. So, I've decided to show you how to make DIY bell-bottoms using leggings as a pattern!
If you’re a DIY sewing enthusiast just like me, you’re going to love how easy and seamless these bell-bottoms are. Let's get started.
Tools and materials:
- Fabric
- Measuring tape
- Paper
- Pen
- Sewing machine
- Matching thread
- Ruler
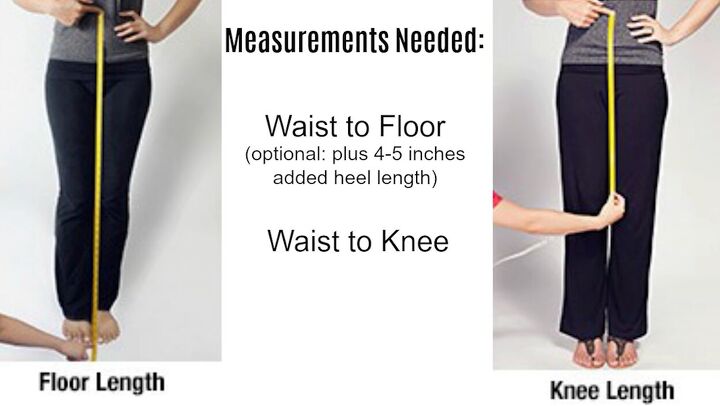
1. Take your measurements
Before we get started on these groovy DIY bell-bottoms, you’ll need to write down a few measurements.
- Waist to floor + 4-5 inches
- Waist to knee
2. Make the DIY bell-bottoms pattern
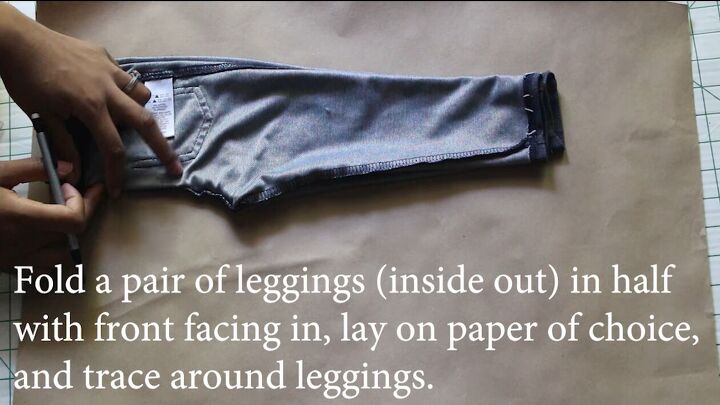
Fold your favorite pair of leggings in half, turn them inside out, and lay it on your tracing paper with the front side facing inward. Then, trace around the leggings.
Note: For the purpose of this tutorial, I’m also creating a mini pattern so that it fits in my camera’s frame.
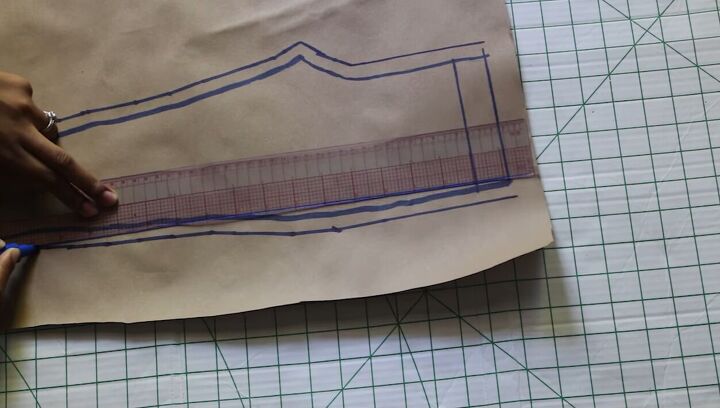
Draw a waistline line on top and a ½-inch seam allowance around the outer edge.
Next, mark your waist to knee length and your waist to hem length. Add extra inches for hem-to-heel purposes. Next, create a new hemline and knee line.
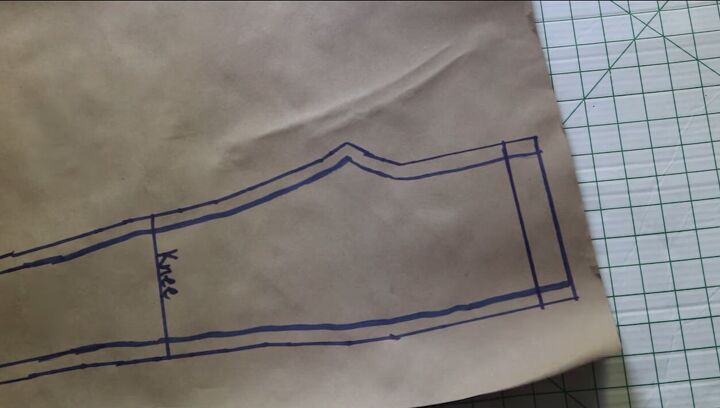
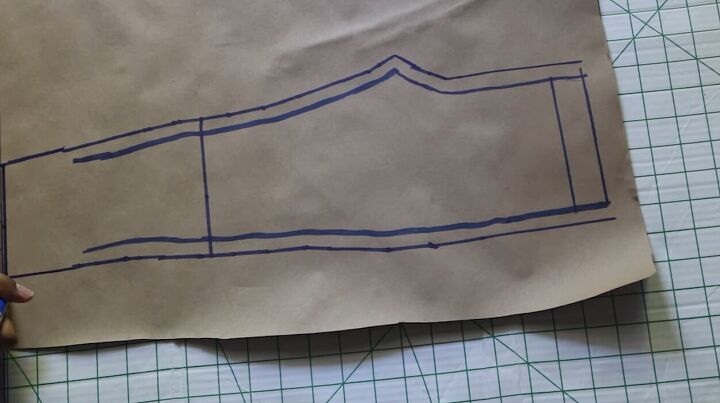
Clean up your lines and label them before you cut the pattern.
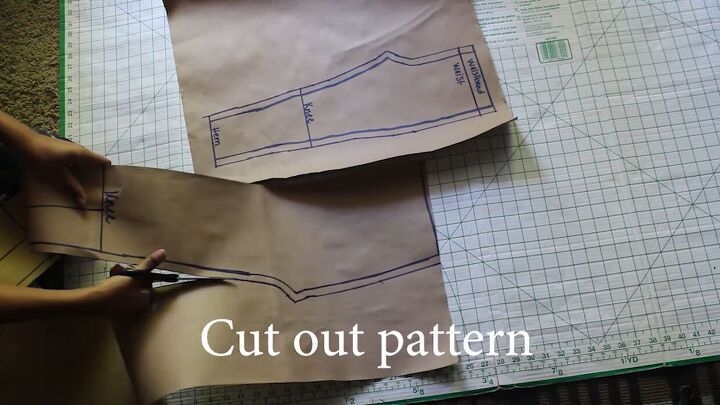
Cut out your pattern.
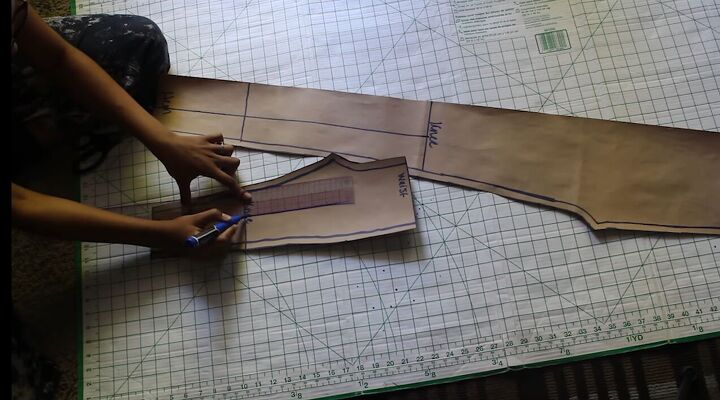
Mark the center of the knee line and draw a vertical line to the hemline.
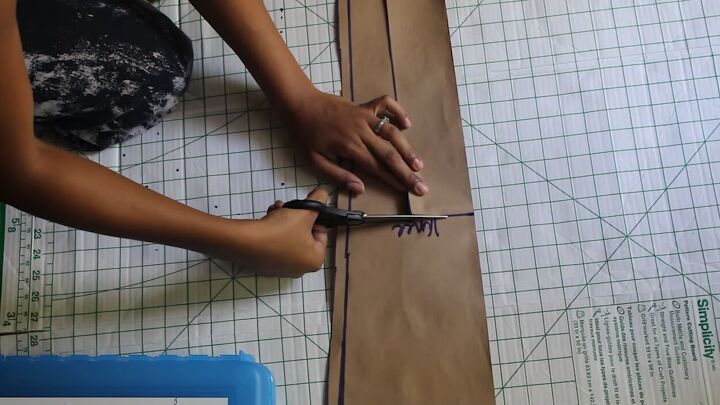
Now, cut the knee line, but don’t cut the actual portion completely. Cut along the outer edge of both sides until you reach the border.
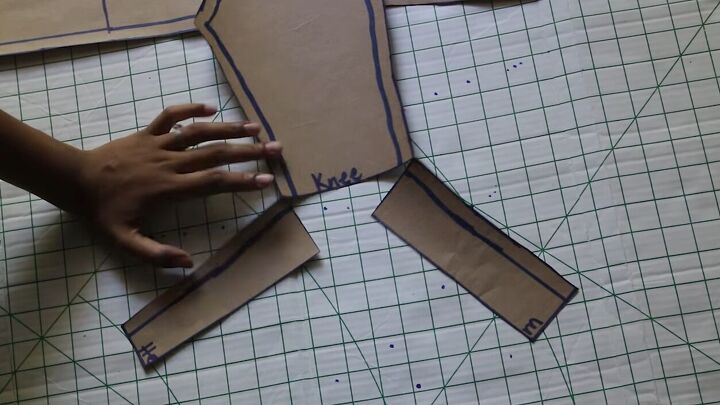
This is what it should look like. As you can see, both side pieces should still be attached.
3. Cut the fabric
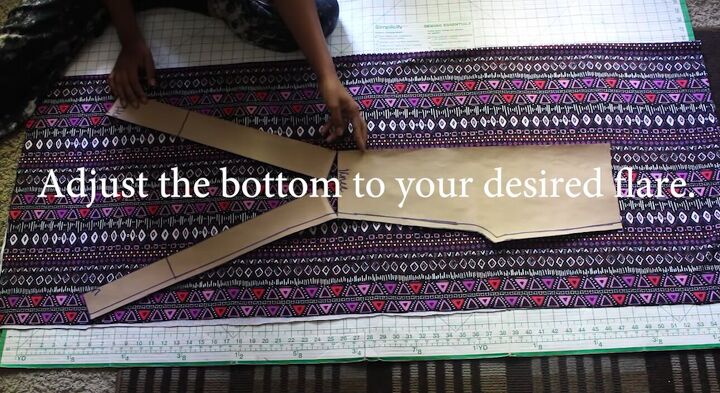
Lay your pattern on a folded piece of fabric and adjust the bottom to your desired flare.
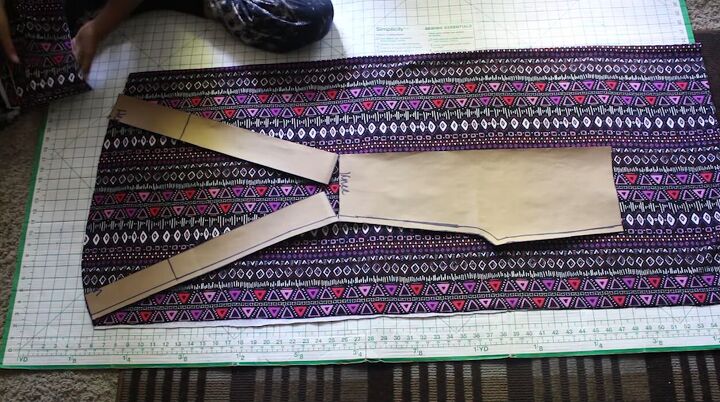
Start cutting around the pattern, making a curve around the bottom end, as shown. You should have 4 pieces.
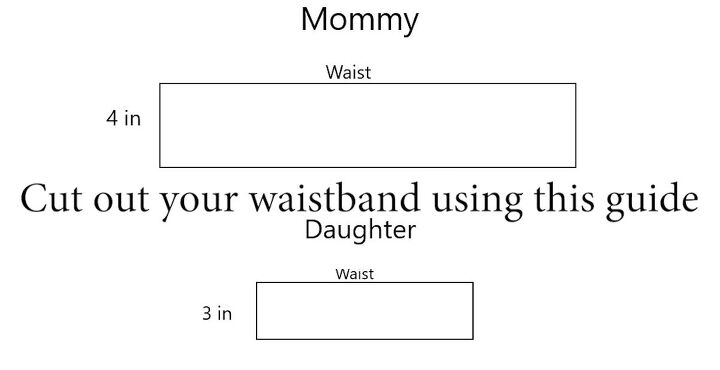
Next, cut out your waistband using the size as shown above. Remember to measure your waist to get the correct hip size.
4. Sew the DIY bell-bottoms
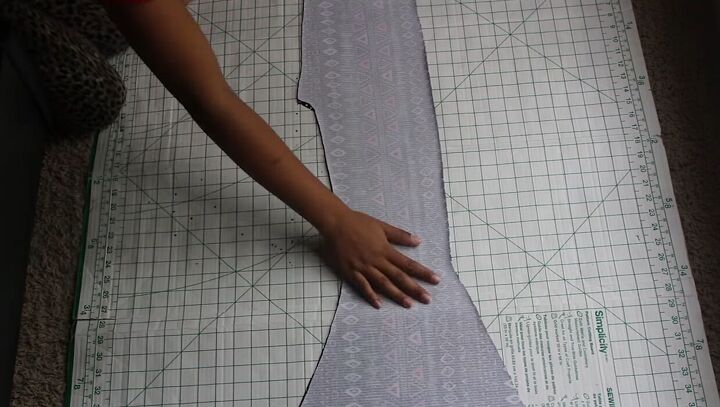
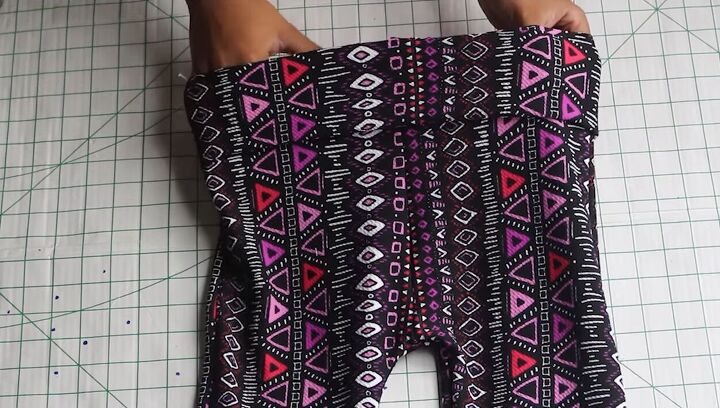
Layer both leg pieces on top of each other, with the right sides facing. Align the seams, pin, and sew the outer straight seam.
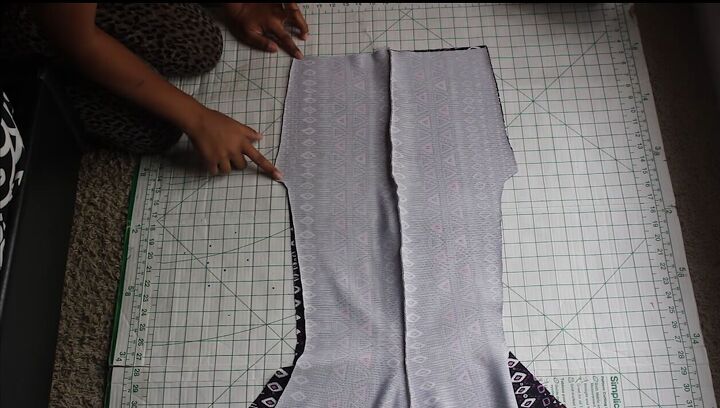
Now, line the full pieces on top of each other and sew along the crotch lines.
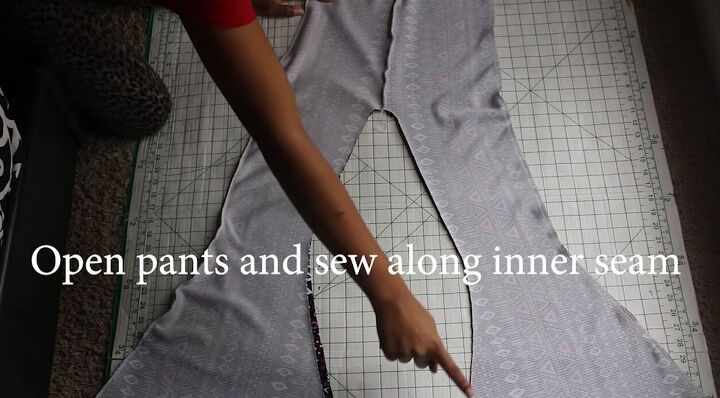
Then, open the pants and sew along the inner seams.
5. Attach the waistband
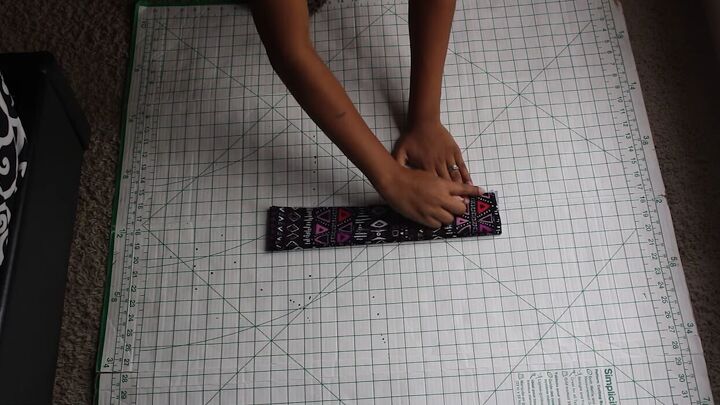
Fold the waistband in half (widthwise) and half again (lengthwise). Then, sew the ends to form a circle.
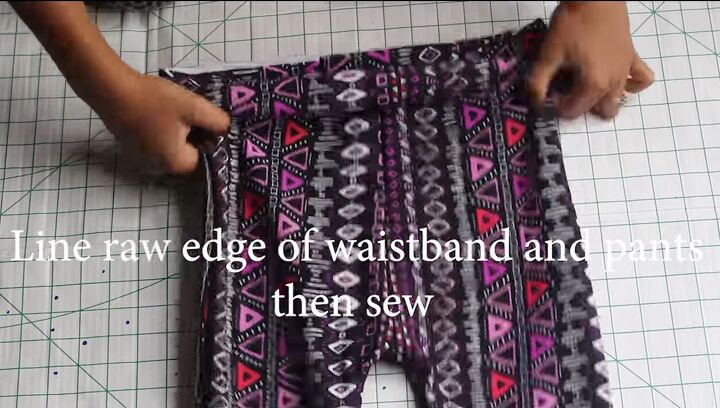
Line the raw edges of the waistband and pants. Make sure the seams align. Then, sew to secure. Also, don’t forget to hem the top and bottom of the pants.
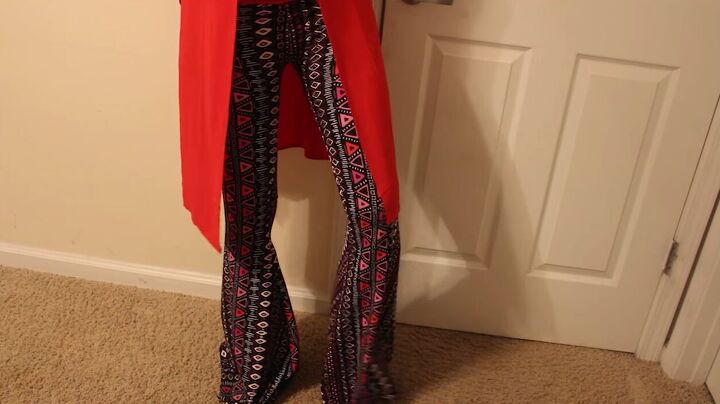
DIY bell-bottoms tutorial
Your DIY bell bottoms are complete! With a simple yet effective technique, you can achieve that desired flare easily!
Now that you know how to sew bell-bottoms, what funky pattern will you be going for? Let me know in the comment section below.
The author may collect a small share of sales from the links on this page.


Comments
Join the conversation
Fantastic! You made it look easy peasy! Thanks
They were so fun to make!