Sewing Tutorial: How to DIY Classic Paperbag Pants

Today, I want to show you how to make these easy DIY pants.
I’m going to walk you through the pattern and sewing of these high-waist, paperbag pants. You will not believe how simple this project is. Let’s get started!
Tools and materials:
- Fabric
- Scissors
- Chalk
- Pins
- Sewing machine
- Elastic
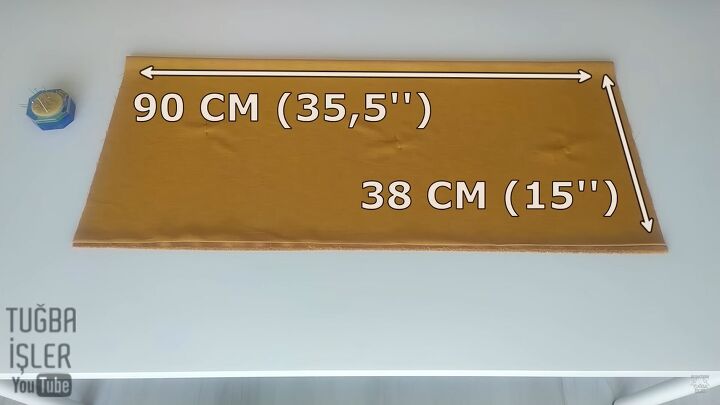
1. Take your fabric
Take a piece of fabric that is 90 cm (35.5 in wide) and 152 cm (59.8 in) long. Fold it in half twice so you have 90 cm (15.5 in) in width and 38 cm (35 in) wide.
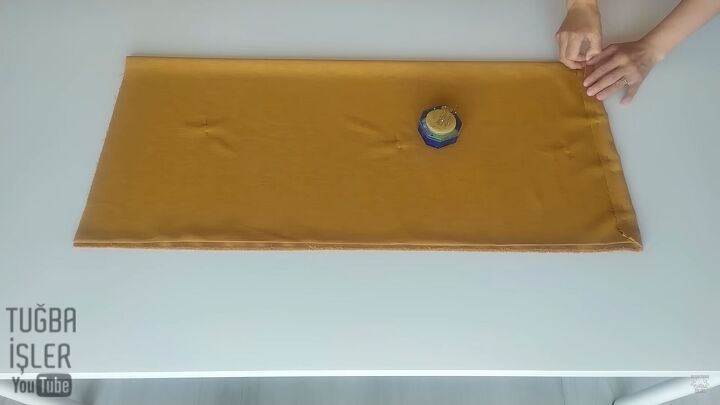
2. Pin the fabric
Place three pins across the center to hold the fabric in place. Then fold one edge of the length in 3 cm (1.2 in) and pin it in place.
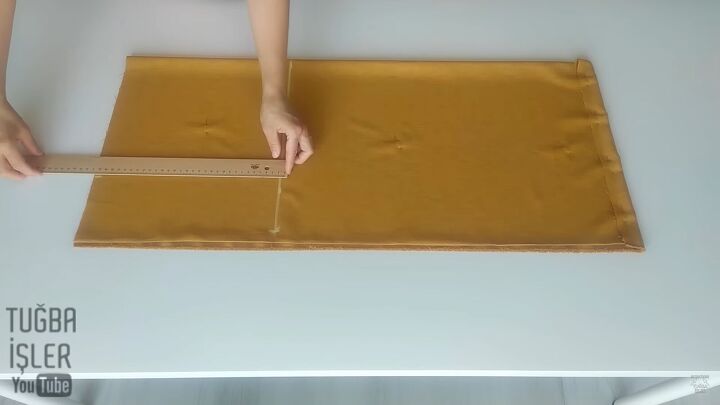
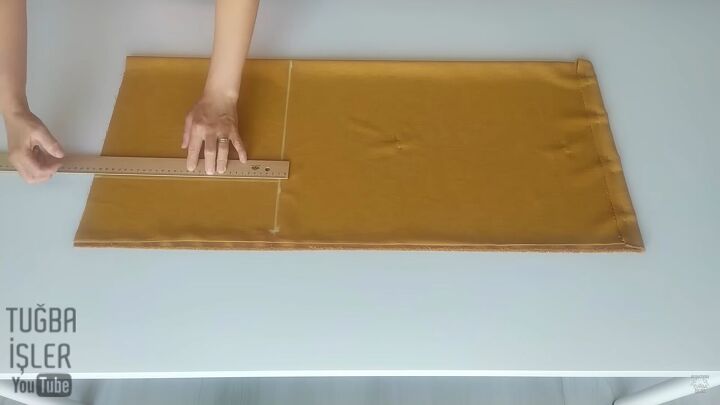
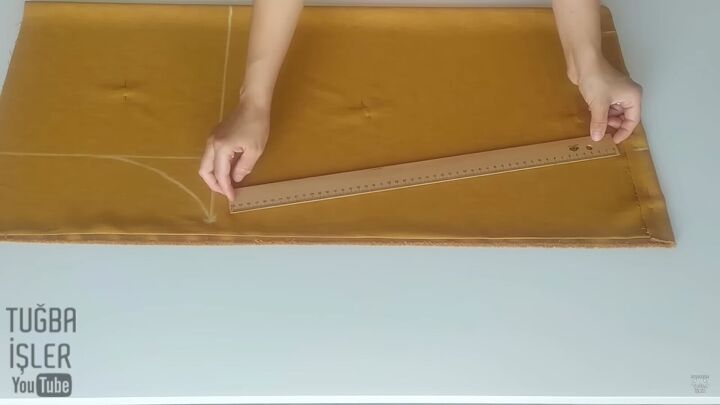
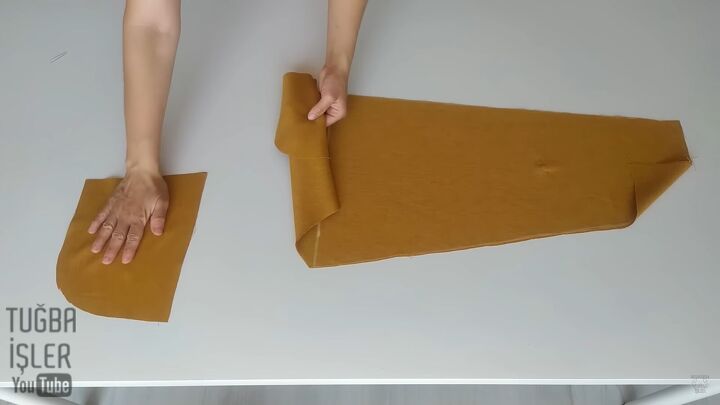
3. Measure and mark
On the opposite corner, where the fabric is folded, measure 30 cm (12 in) along the length. With chalk, draw a line across.
On the same side, measure 27 cm (11 in) on the width.
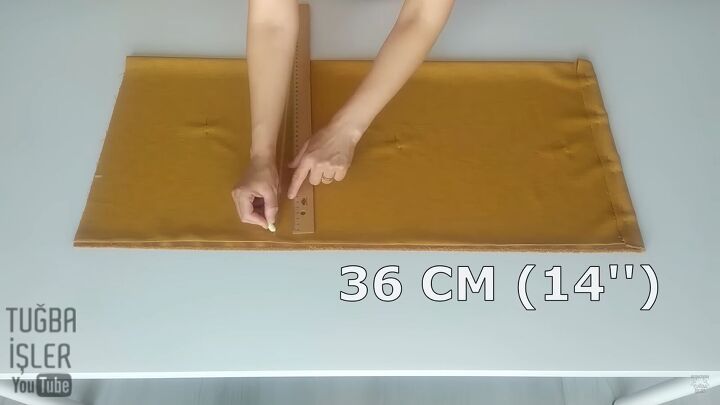
Back at the first line, mark 36 cm (14 in) along the width.
Draw a line connecting the 27 cm (11 in) mark with the 30 cm (12 in) line.
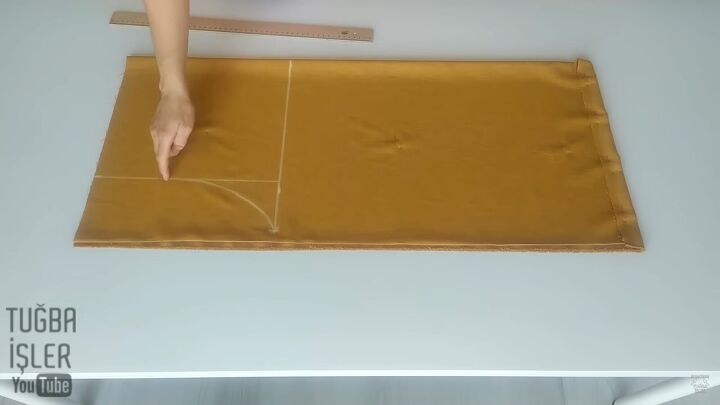
On the left side of that 90-degree angle draw an arch connecting the horizontal and vertical lines.
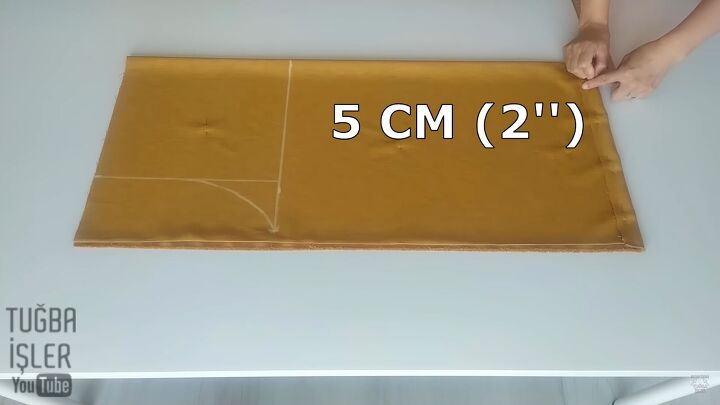
Back at the folded edge, mark 5 cm (2 in) along the length.
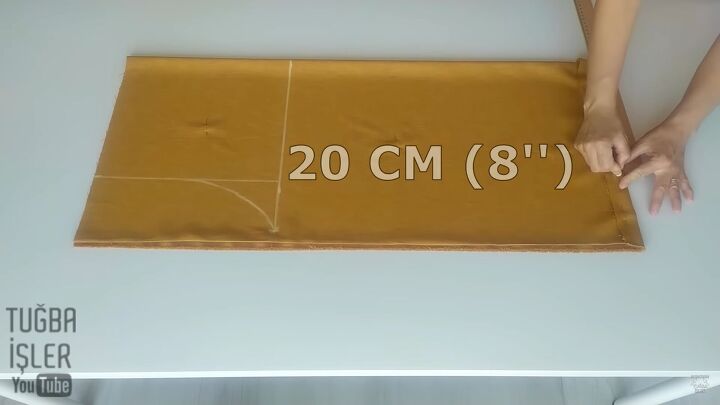
From that point, measure 20 cm (8 in) and connect that point to the 36 cm (14 in) mark.
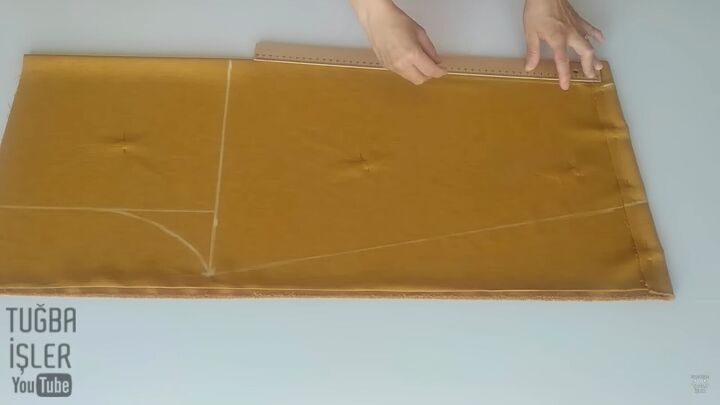
Draw a line connecting the 5 cm (2 in) mark to the 30 cm (12 in) mark.
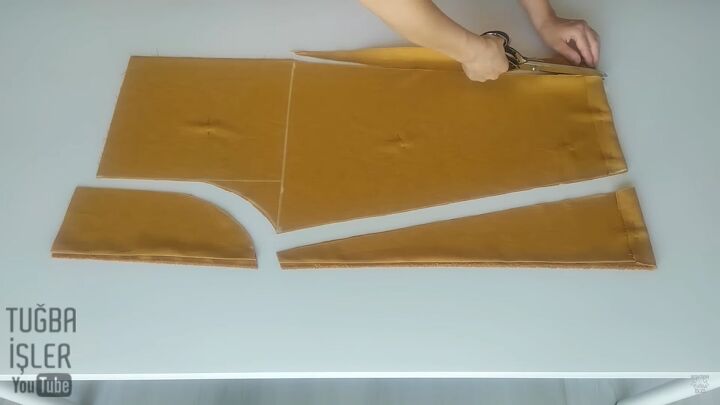
4. Cut
Cut the excess pieces from the pattern and cut along the folded edge as well. Remove the pins.
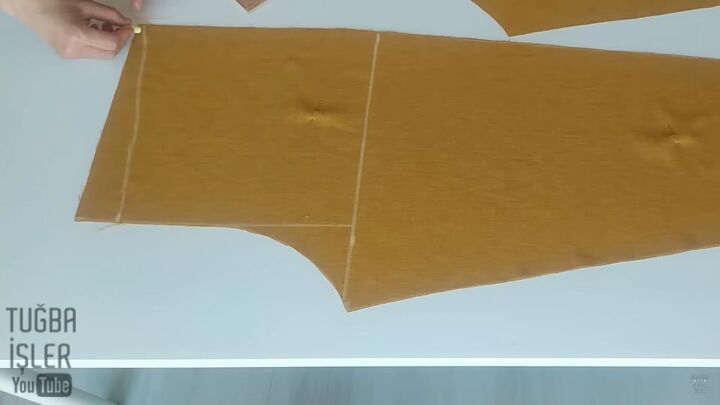
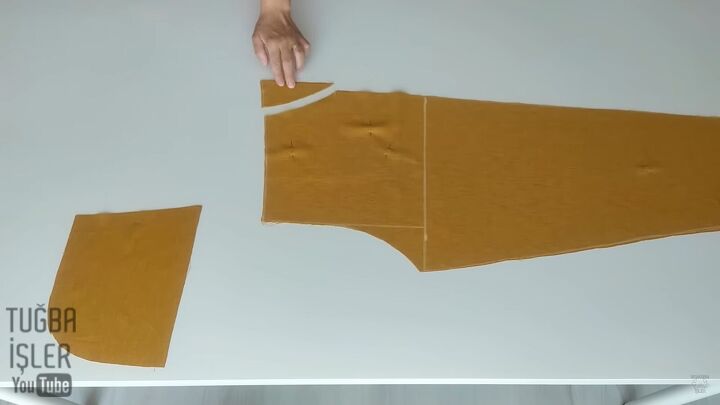
5. Pin and mark
Take two of the four pieces and pin them together. Measure 5 cm (2 in) down from the waist of the pattern.
Draw a diagonal, slightly rounded line to the opposite edge.
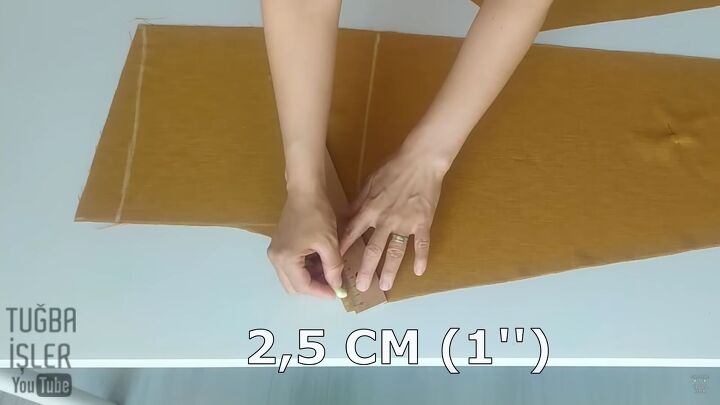
At the curve for the crotch, mark 2.5 cm (1 in) inward and draw a line from there to the bottom of the pant leg.
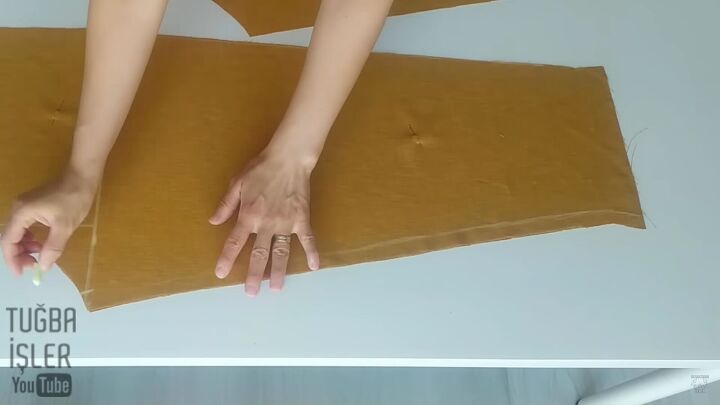
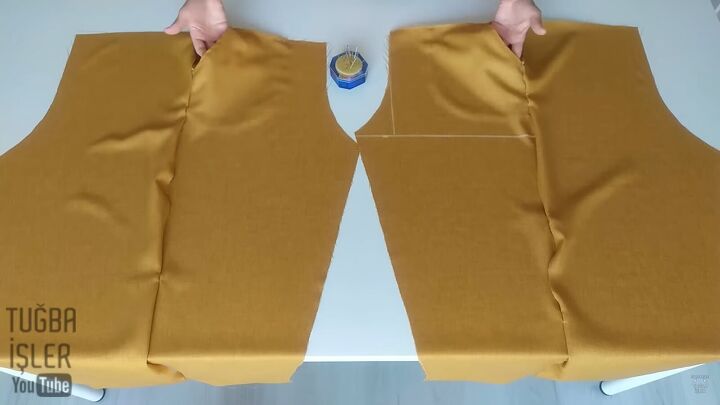
6. Trim off excess
Cut out the excess from the top and side of the pattern.
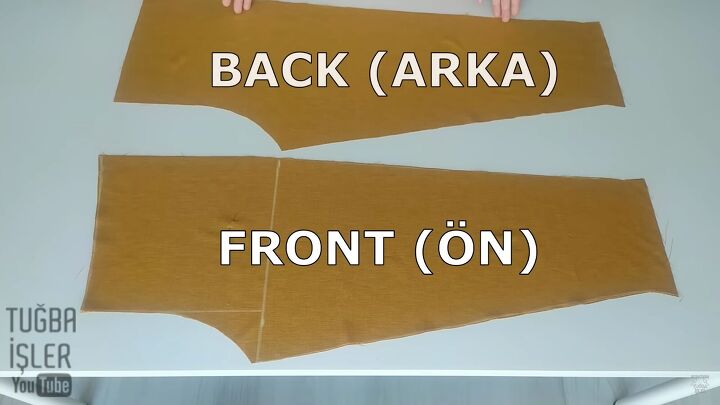
These two pieces will be the front of the pants.
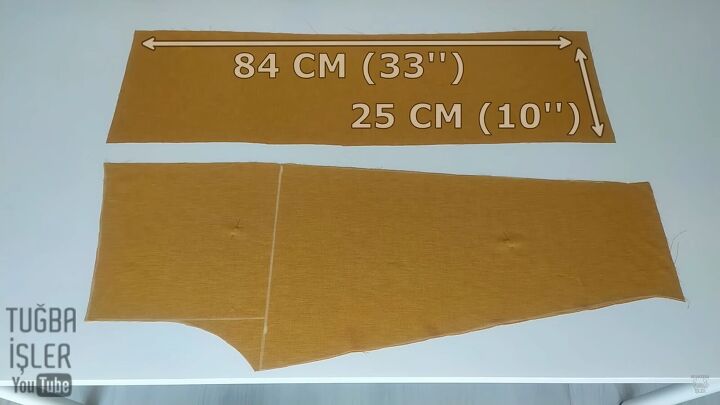
7. Take a separate piece of fabric
It should be 84 cm (33 in) by 25 cm (10 in) and fold it in half twice.
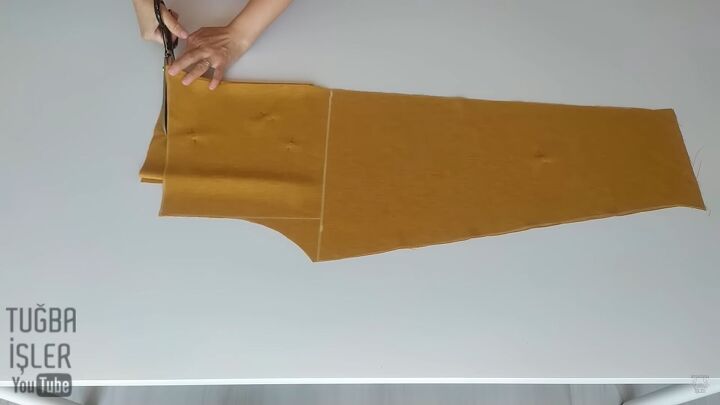
8. Cut
Place it under the top of the front pieces and cut the waistline to match. Cut along the folded edges.
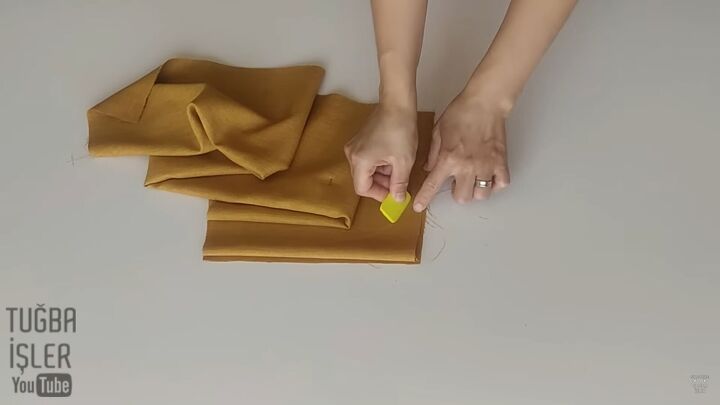
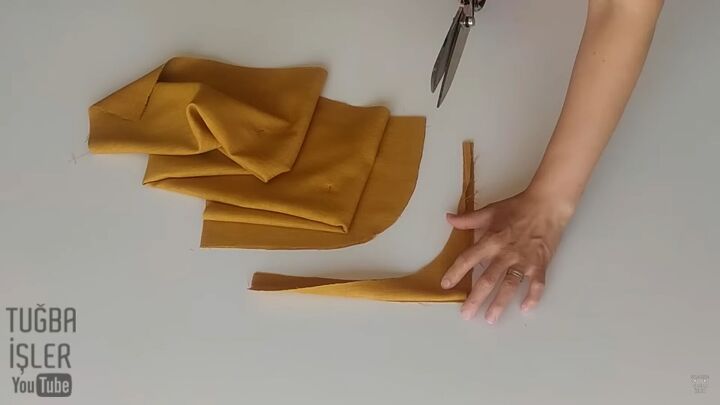
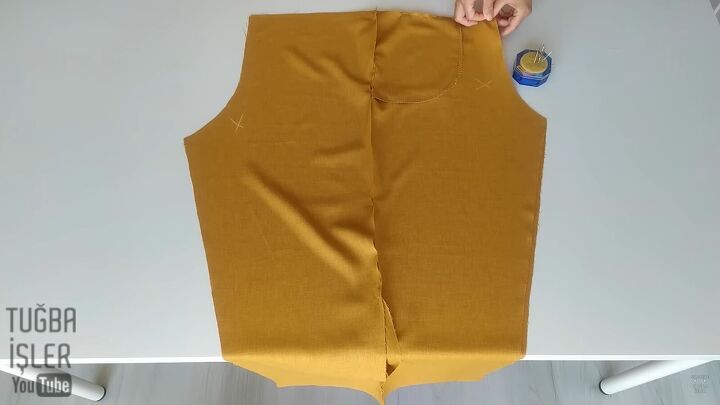
9. Create pockets
Use the pants to measure and draw a curved line for the pockets and cut off the excess.
Set two of those pieces aside.
Measure 6 cm (2.4 in) in from the waist. Mark 13 cm (5 in) down from waist. Draw a slightly arched line connecting those two points and cut it out.

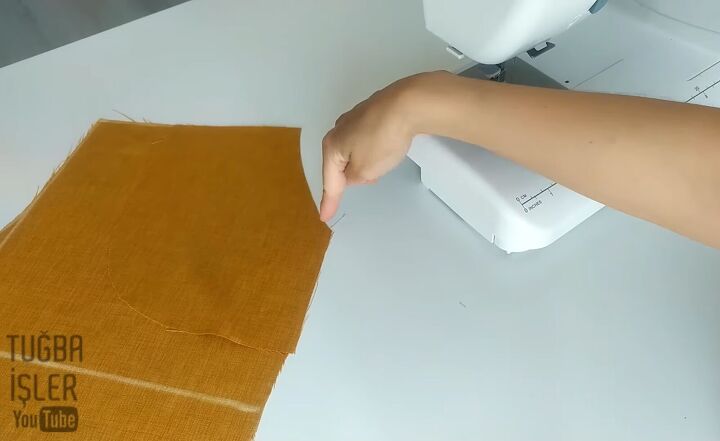
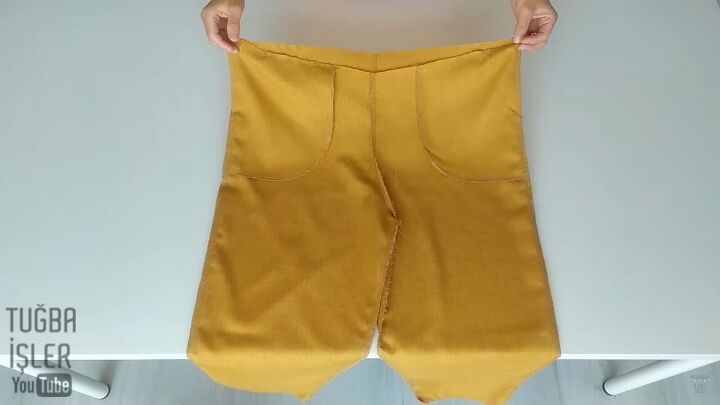
Take one of the two smaller pocket pieces and sew it to the top of the pants, aligning the arched line.
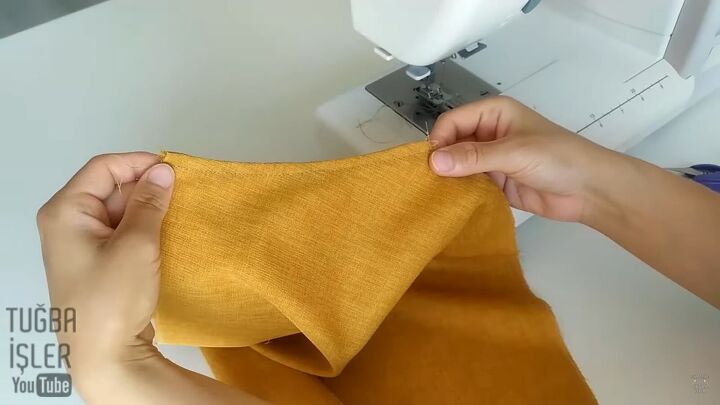
Flip the seam in and topstitch along the edge.
Take one of the two larger pocket pieces and sew it to the smaller pocket piece that you just attached to the pant leg.
Pin and sew the pocket to the waist and the length of the pants. Repeat these steps on the other front leg piece.
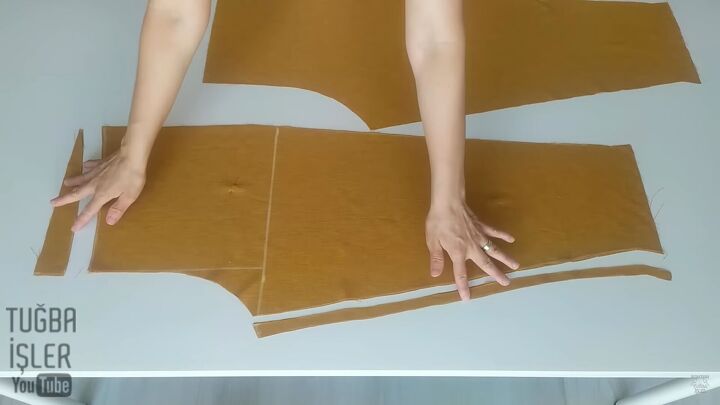
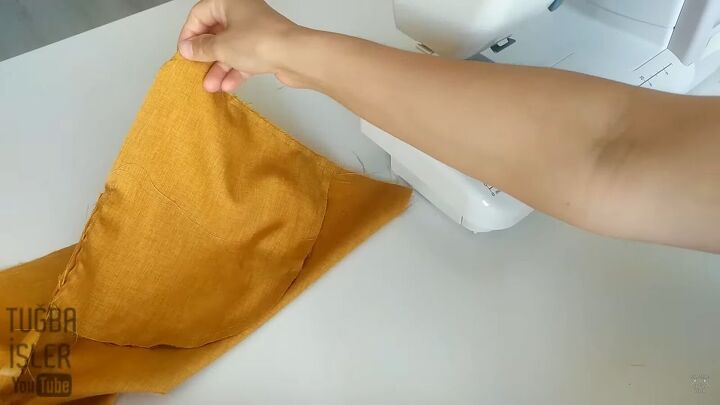
10. Pin back and front pieces together
Take the back leg pieces and pin them face down to the front pieces.
Then open those up and place one on top of the other and pin the crotch lines in place.
Open that and pin together the inner edges of the pants. Sew all pinned seams in place.
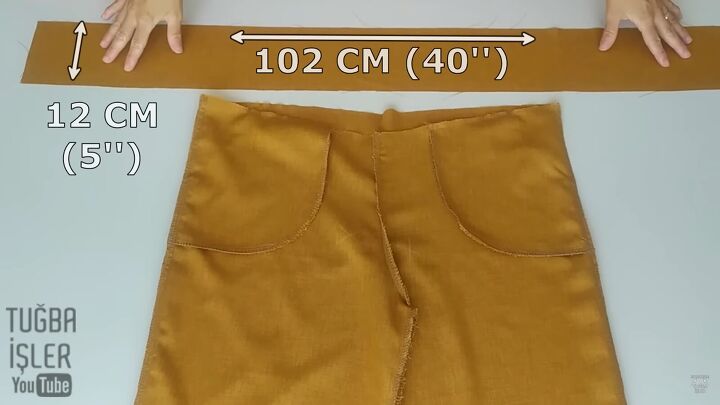
11. Creating the waistband
For the waist of the pants, measure a piece of fabric 12 cm up by 102 cm across. Fold it in half lengthwise and fold it again from the width.
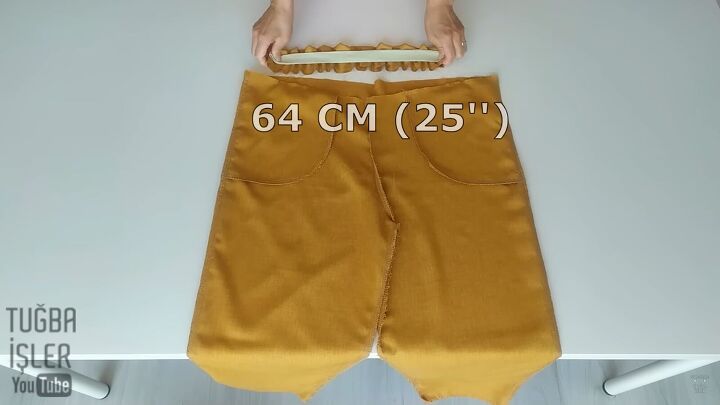
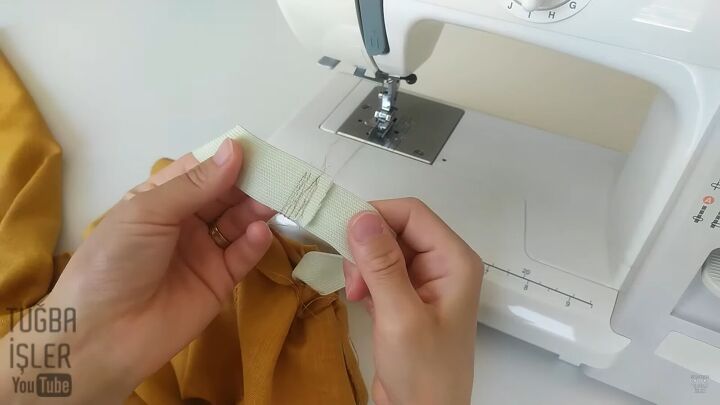
Cut a 64 cm (25 in) piece of elastic.
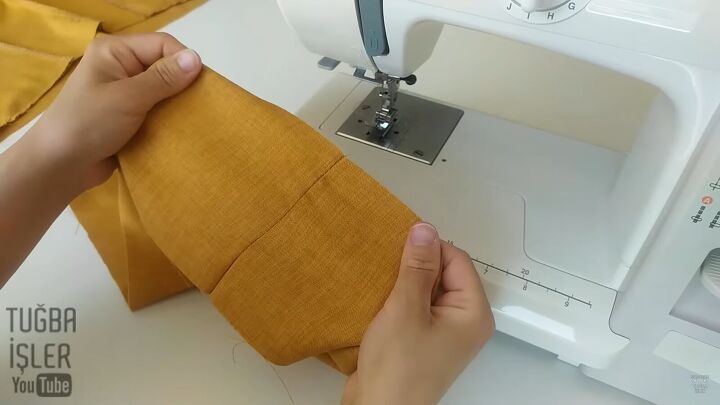
Sew the 12 cm sides together and then fold the 102 cm sides together.
Using the elastic, measure the width you will need to leave for it, and sew along the folded side.
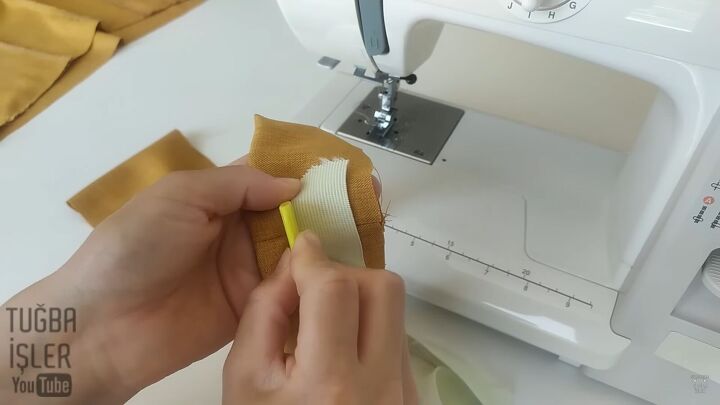
Flip it so it is facing inward and sew to the waist of the pants, leaving enough of the seam open to put in the elastic.
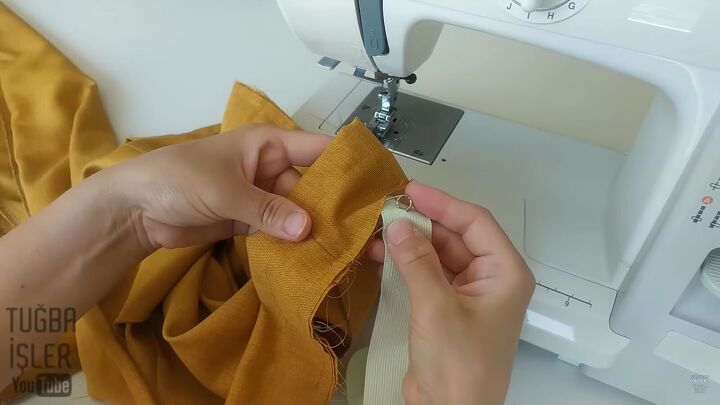
Thread in the elastic with a safety pin.
Sew the edges of the elastic to each other and close up the rest of the seam.
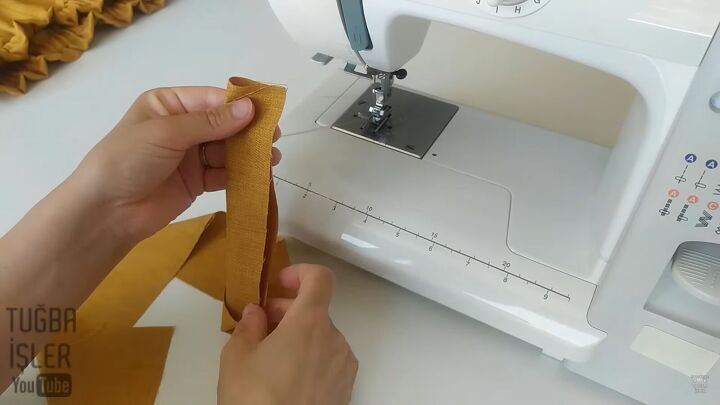
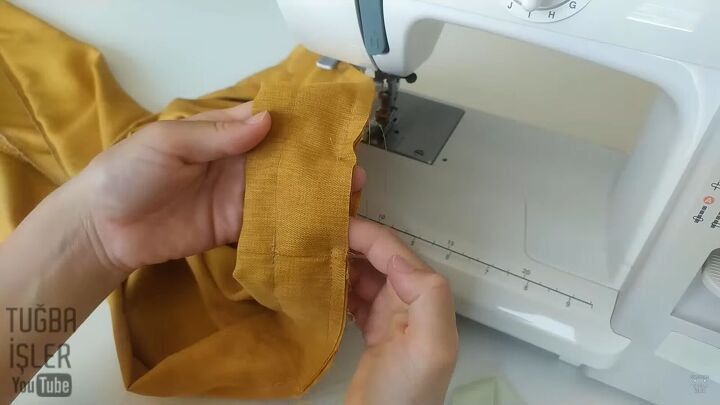
Take a strip of fabric 7.5 cm (3 in) by 63 cm (25 in), fold it and sew one end and along the length.
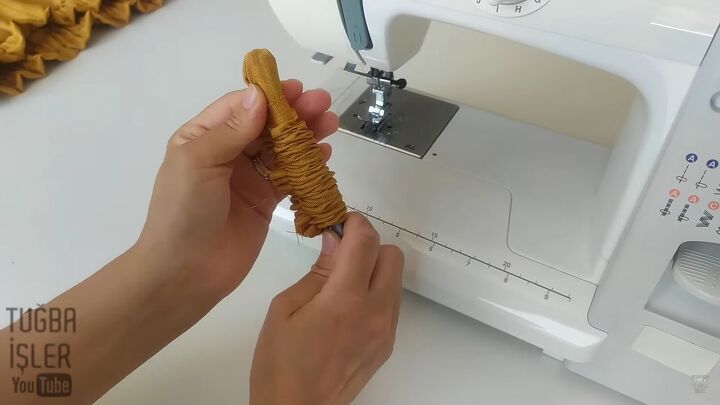
Use a pen to push the fabric through to turn the seam to the inside.
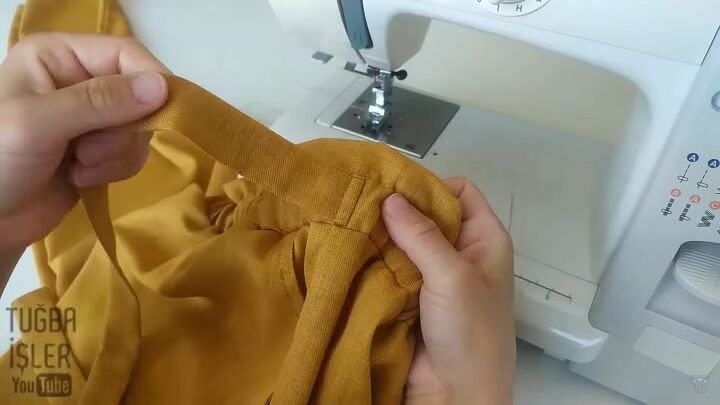
Sew this to the waist of the pant, first facing the back of the pant, and then flip it toward the front and sew.
Repeat these steps on the other side of the pants.
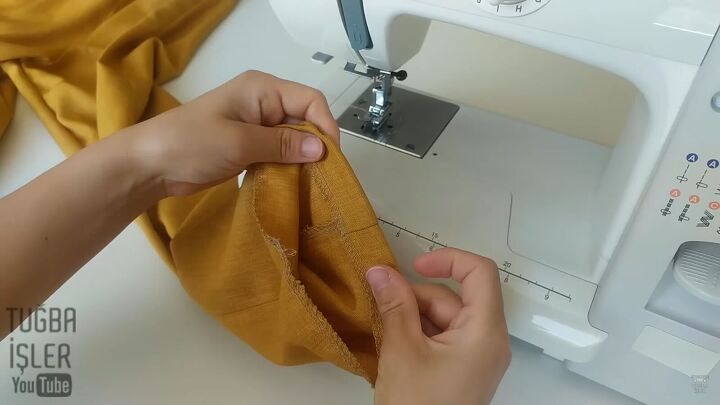
12. Sew pant leg seam
Fold the bottom of the pant leg in and sew the seam.
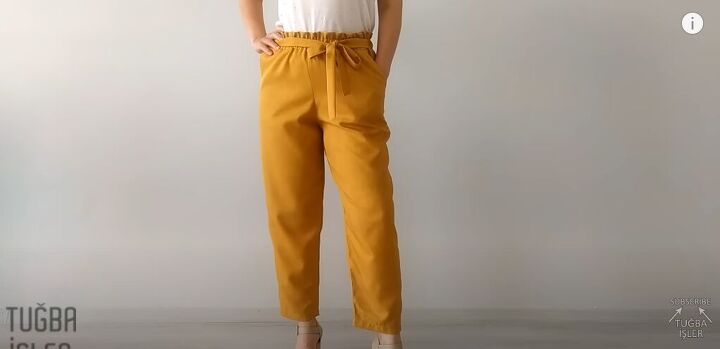
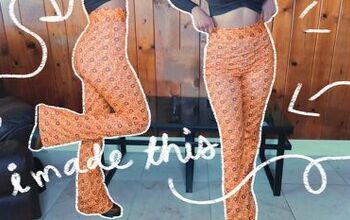
DIY pants
These pants are so versatile. I made mine with a solid color, but you can use this pattern with prints as well to create a different kind of look.
They’re also incredibly comfortable. Tell me in the comments how yours came out!
For more sewing content, check out my TikTok: https://www.tiktok.com/@tugbaisler
The author may collect a small share of sales from the links on this page.


Comments
Join the conversation
Just curious about the body size that these are made for?