How to Sew Cute and Easy Palazzo Leopard Print Pants

You can make these leopard print pants very easily from the palazzo pants pattern that I show you how to draft directly onto the fabric.
The measurements I give are for size 38 European.
To adjust them for other sizes, just increase the width of the pants by 1.75 inches (4 cm) for each size.
Tools and materials:
- 44 inches (110 cm) of 60 inch (152 cm) wide stretch fabric
- 2 inch (5 cm) wide elastic
- Fabric marker
- Ruler
- Measuring tape
- Pins
- Scissors
- Sewing machine
- Serger (optional)
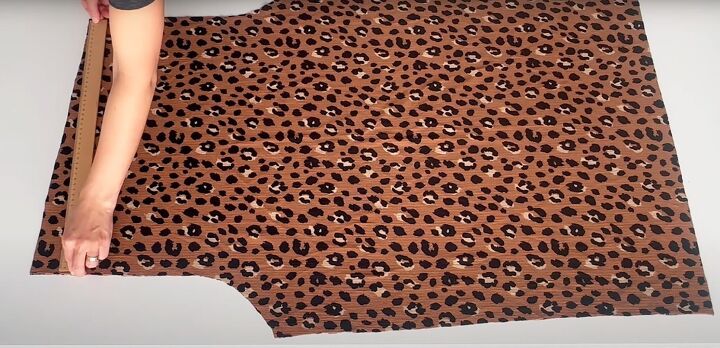
1. Draft the pattern
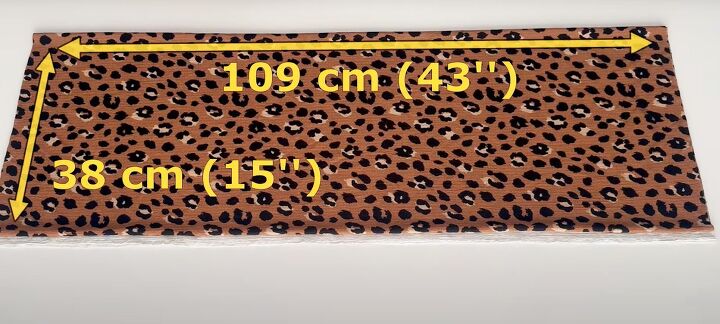
Fold your fabric in half lengthways with the selvedges together and in half again, so you have a folded rectangle 43 inches (109 cm) long by 15 inches (38 cm) wide.
Place it with the folded edge towards you.
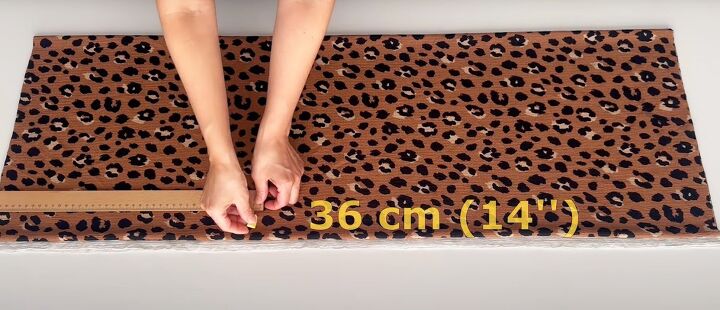
Measure 14 inches (36 cm) from one side edge along the two long edges and connect with a straight line 14 inches (36 cm) long across the fabric.
Measure 10 inches (26 cm) up from the folded edge along the same side and connect with a curve to the end of the first line to mark the crotch seam.
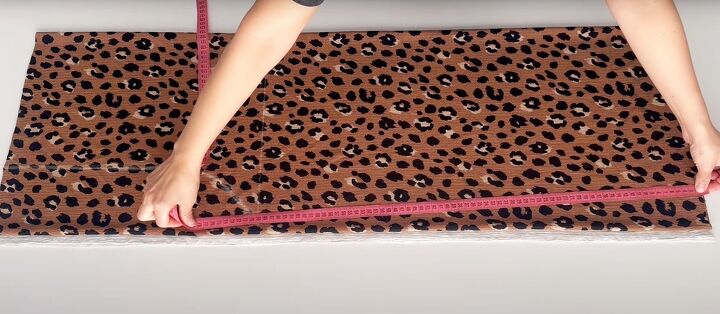
Mark 13 inches (33 cm) from the folded edge up the other side edge for the width of the pants.
Connect this point to the end of the first line.
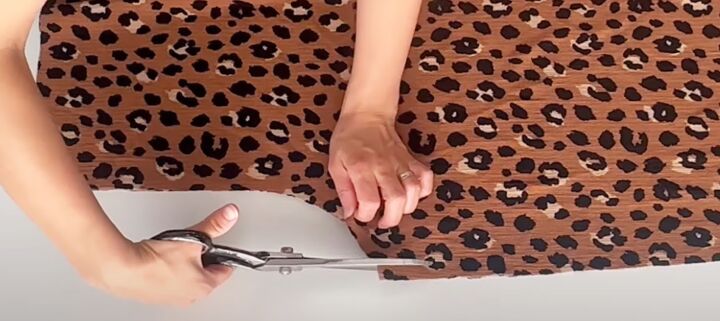
Cut out the pants through all four layers.
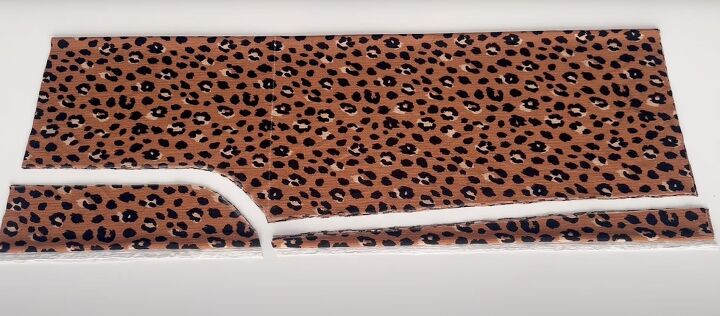
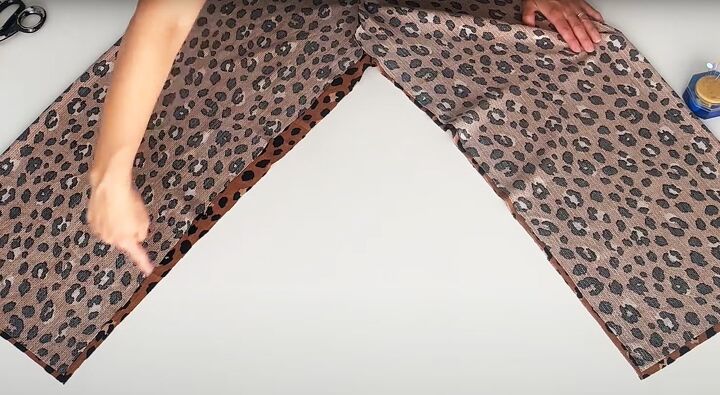
2. Shape the front of the pants
Open out the folded edge, keeping the two parts of the pants together.
Mark 2 inches (5 cm) down from the waist edge at the center front and draw a tapered line connecting it to the center back.
Cut along the line.
Cut off half an inch (1 cm) from the front inner leg seam.
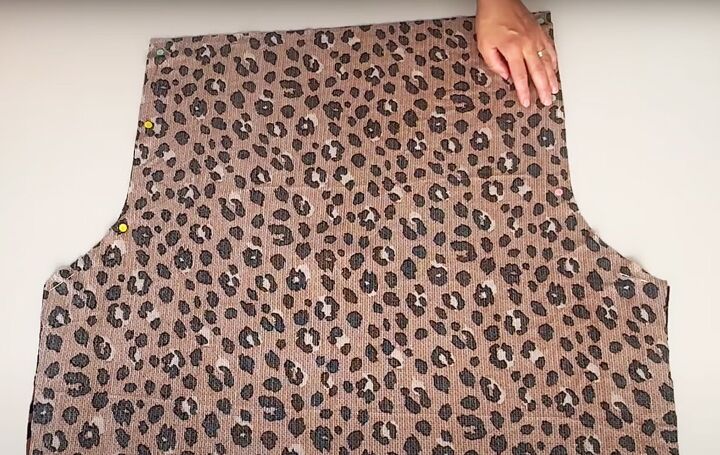
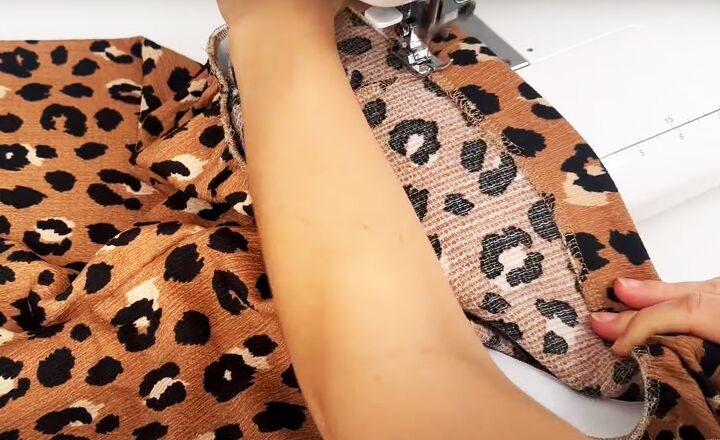
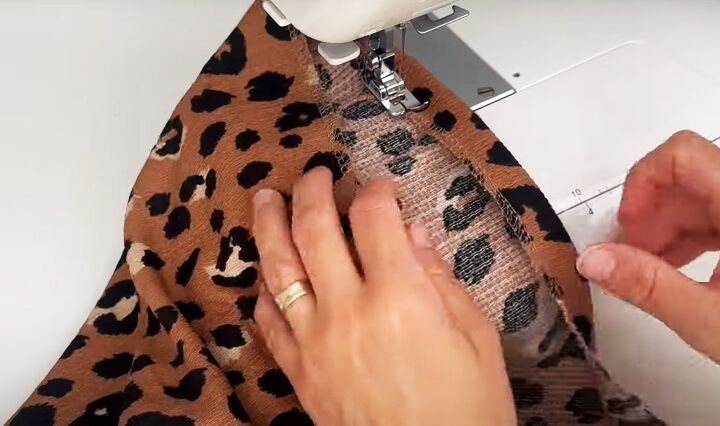
3. Assemble the pants
Place the two parts of the pants with the right sides facing. Pin and serge or sew the two crotch seams.
Refold the pants so the crotch seams are at the center front and back.
Pin and sew or serge the inner leg seams, matching the crotch seams.
Finish all the raw edges with a serger or using a zigzag or overlock stitch on your sewing machine.
4. Elasticated waist
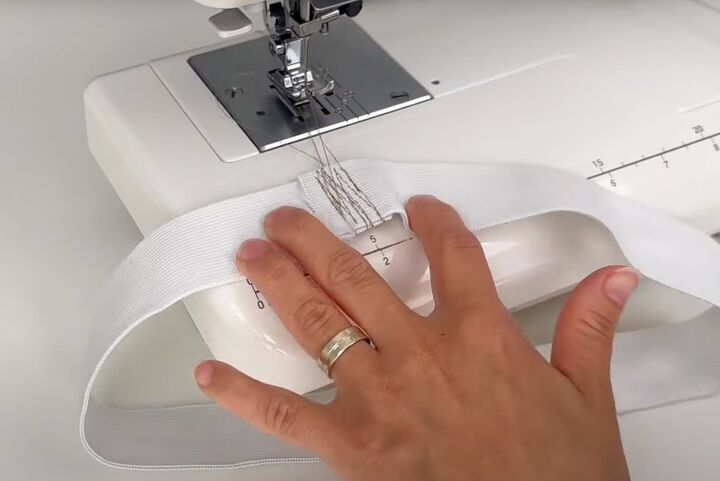
Cut a piece of elastic long enough to fit comfortably around your waist, with an overlap.
Overlap the ends and sew them together securely.
Fold the elastic in half from the join and mark the center point on the top edge. Fold it in half again and mark the quarter points in the same way.
Turn the pants right side out.
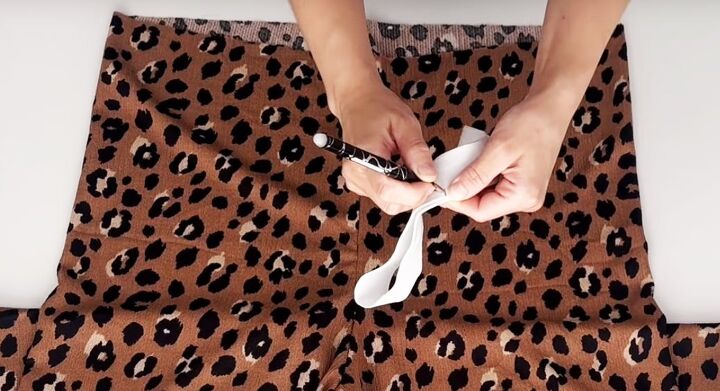
Align the center front and back seams and mark the quarter points at the side with pins.

Pin the elastic seam to the center back of the pants on the inside and the opposite mark to the center front seam.
Match the other marks to the corresponding points on the pants.
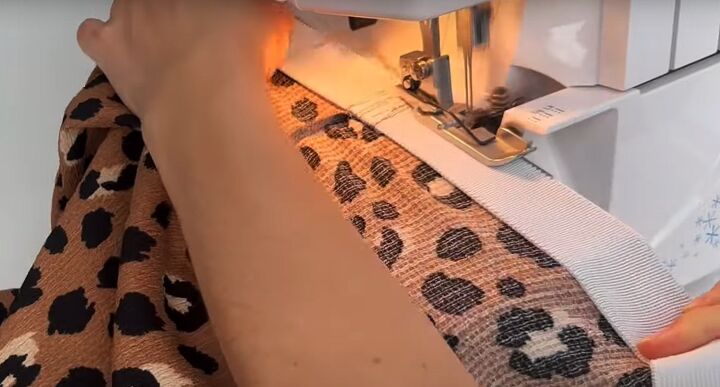
Sew the elastic to the waist edge with an overlock or zigzag stitch, stretching it between the pins as you sew.
Turn the waist edge to the inside and sew to the pants along the bottom edge of the elastic.
Remember to stretch the elastic as you sew so the waistband doesn’t twist.
5. Finishing
Turn up a 0.75 inch (2 cm) hem at the bottom of each leg and sew in place.
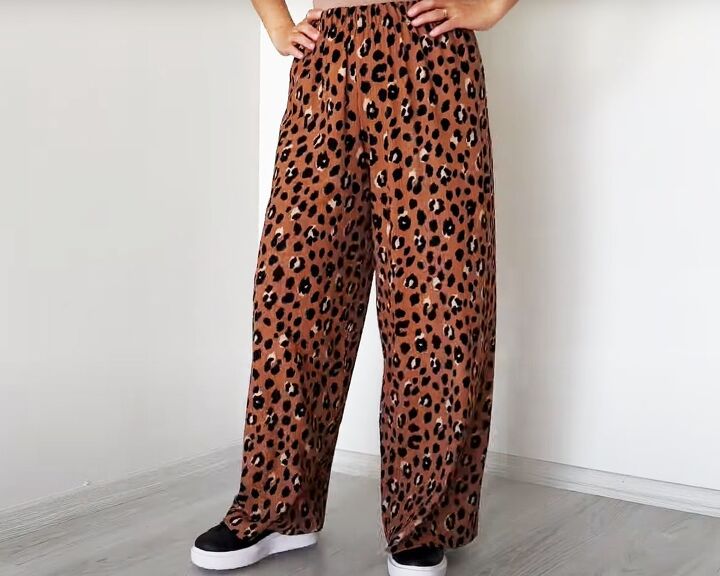
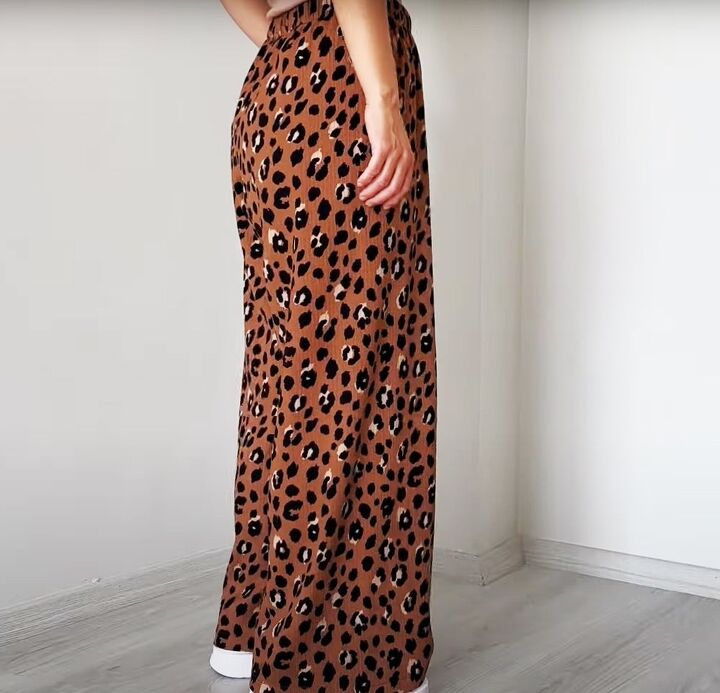
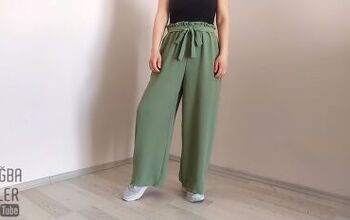
DIY leopard print pants
I like using stretch polyester for these DIY pants because it drapes and moves so well. It’s also easy to work with.
You could use the same pattern to make warmer pants in a heavier weight fabric such as stretch fleece or French Terry.
The elasticated waistband is comfortable and relaxed but looks good with or without a belt.
Let me know what you think in the comments below.
For more quick and easy sewing tips and tricks, follow me on TikTok too: @tugbaisler
The author may collect a small share of sales from the links on this page.


Comments
Join the conversation