Part 2: DIY a Collar From a Doily

I loved making a collar from a round doily in Part 1 of this collar series - so I wanted to see if I could do it from a different shape doily- and spruce it up even more! So this time I got a colorful (non-starched) Oval doily. Let's see!
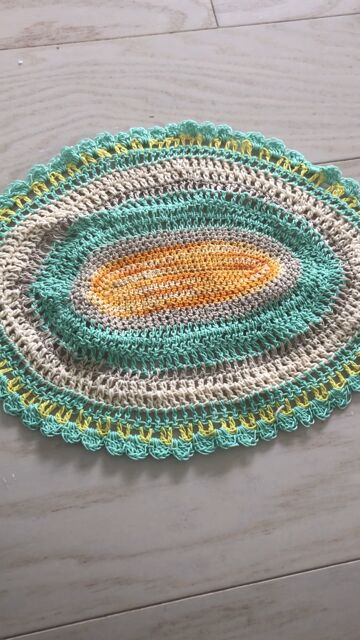
Again, I cut out the middle- but- this time I cut a triangle out (instead of cutting it straight).
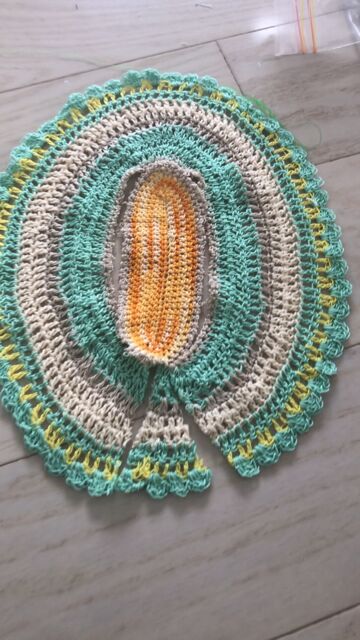
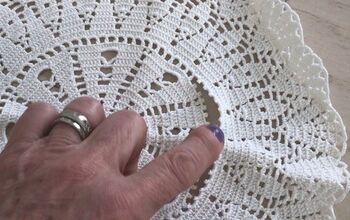
This time, I really needed to sew up the borders (I did it by hand), otherwise the doily would have started to stray. I know that some people use a glue instead of sewing- so you can try that if you find it easier (I preferred sewing it up:) Then I sewed a snap for attachment.
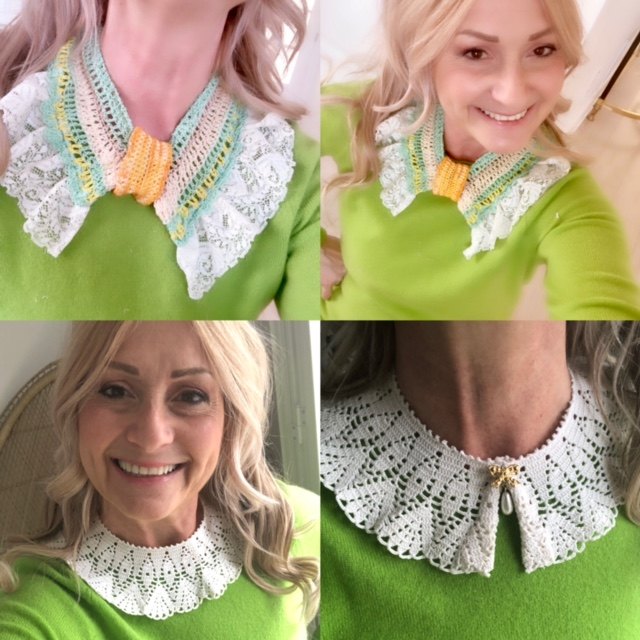
Once that was done, I thought I would add a layer of ribbon lace at the bottom, to make it longer and even prettier!
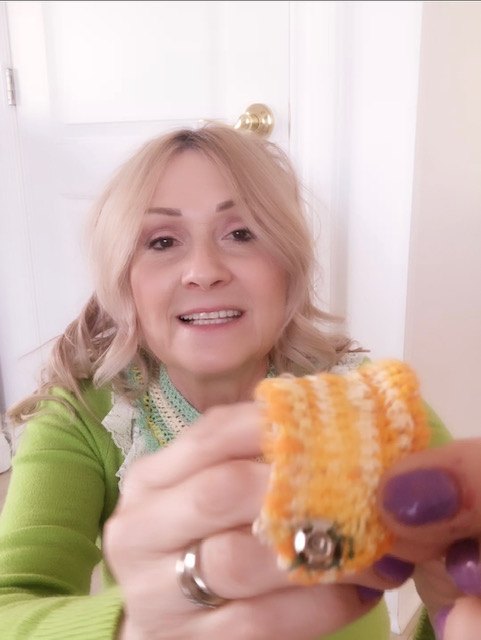
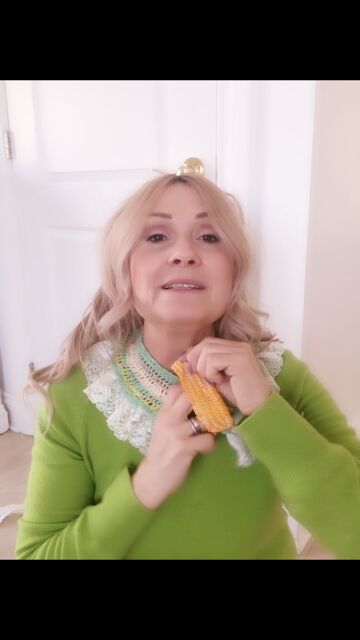
That was so much fun that I didn't want to stop there! I thought how cute would it be if I integrated a detachable snap on this time, instead of a pearl or button?! So I used the oval orange middle of the doily I'd cut out!
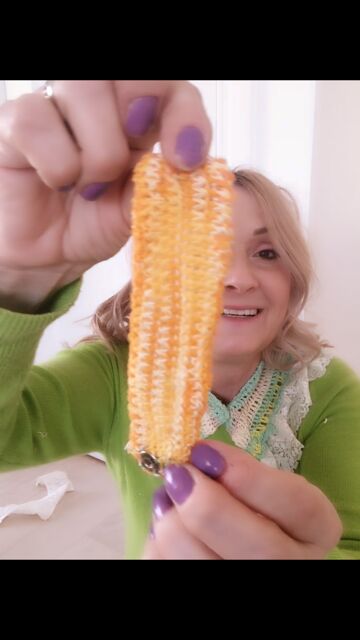
And again, I sewed on a snap as the attachment.
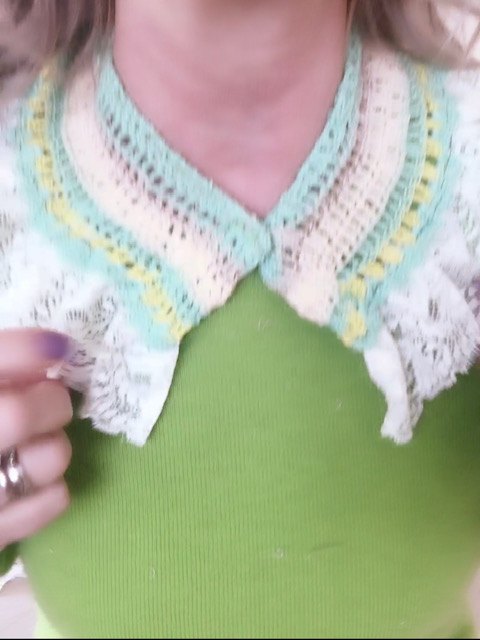
Now all i had to do is pass the piece around and over the snapped part of the doily as so...
And here's the result! I'm loving this so much!

Here is the video clip for specifics and for your enjoyment:
If you've missed the first part: You can watch Part 1 here.
Thanks for watching! And if you try this, please let me know- I'd love to see what you create!
Here are the two collars:
The author may collect a small share of sales from the links on this page.


Comments
Join the conversation
So cute!