How to Easily Apply & Remove Real Polish Nail Wraps at Home

In this tutorial, I’m going to show you how to apply real nail polish wraps. These wraps are real polish nail wraps, meaning you’ll get that familiar nail polish smell when using them. They’re so easy to apply; I can use my non-dominant hand and the results are still amazing.
Tools and materials:
- Nail polish wrap kit
- Scissors
- Nail file
- Alcohol wipes
- Tweezers
- Nail polish remover
- Top coat
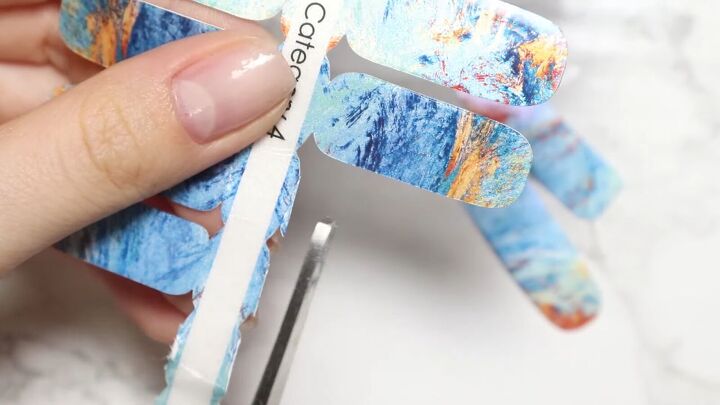
1. Cut the wraps
After you pick the style of your choice, cut the wraps off the stick it comes on. Be careful not to cut too low and ruin the design, and make sure you don’t mix them up. In each pack, there’s a wrap for every nail and the sizes will vary, so keep them in order.
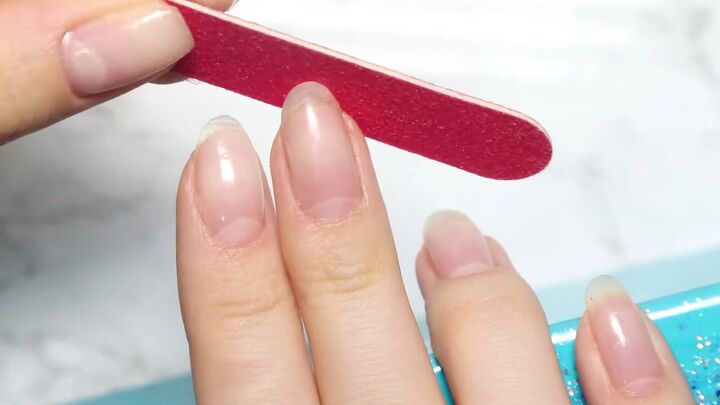
2. Prepare your nails
Prepare your nails before you apply the wraps, whether you want to trim or just shape with a nail file like I am. This is also the time to do any cuticle care if desired.
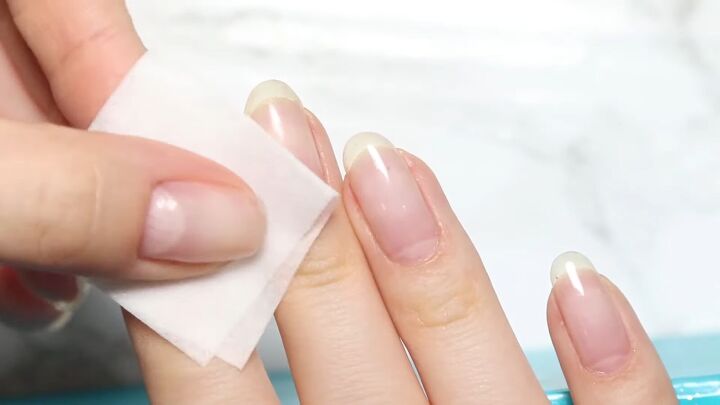
3. Clean your nails with alcohol
Thoroughly clean each nail with the alcohol wrap provided in the pack of nail wraps. Cleaning your nails with alcohol is important to strip the buildup of oil on the nail and it’ll help the nail polish wraps stick better and last longer.
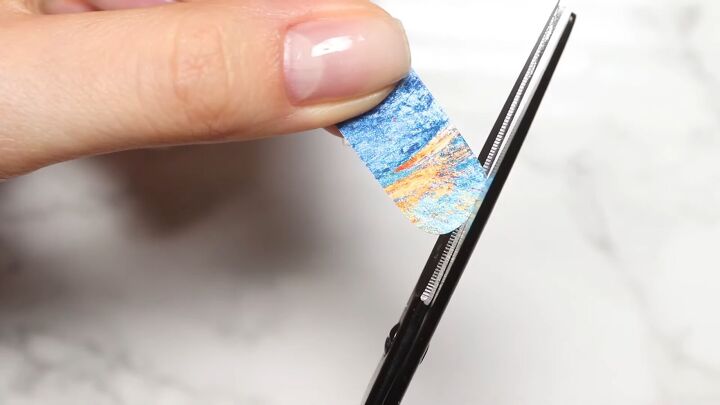
4. Trim your nail wraps
No nail is the same, so it’s likely the nail wrap isn’t going to be a perfect fit for the nail you intended to place it on. Use a pair of scissors to trim the nail wraps so they match the shape of your nail.

5. Unwrap the nail polish wrap
Remove the clear film from the nail wrap with a pair of tweezers.
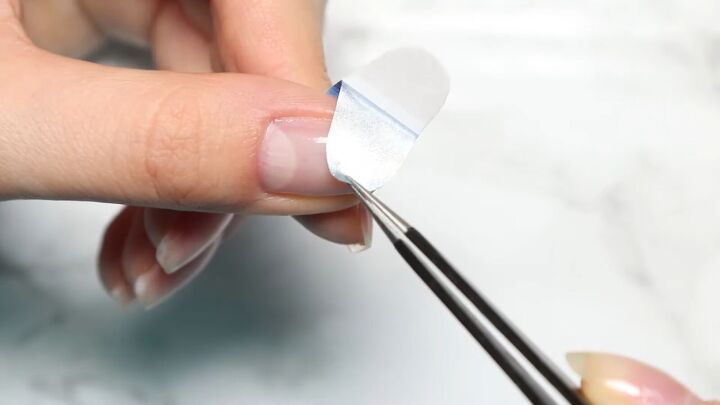
Then, remove the nail wrap from its backing. Avoid using your fingers as they can transfer oils to the wrap.
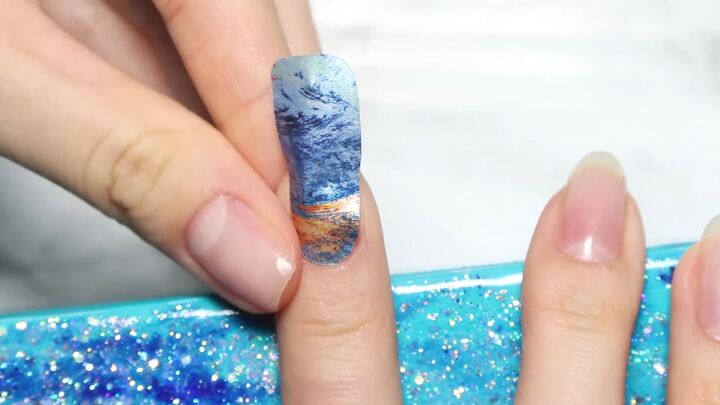
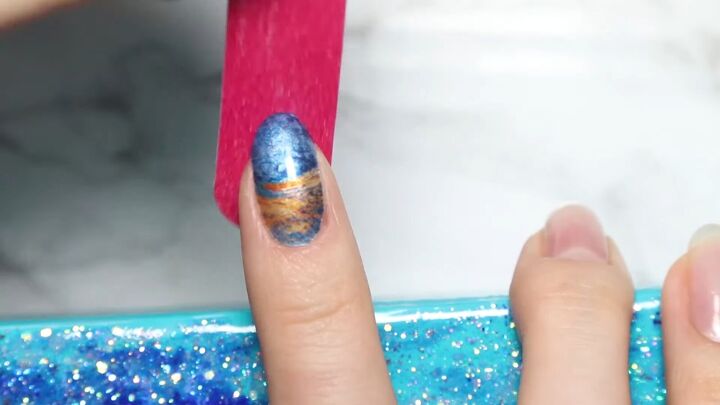
6. How to apply nail polish wraps
Gently place the real polish nail wraps onto the correct nail. Once you’re sure they’re in the correct place, then begin to mold the wrap so it fits and is shaped to your nail. Smooth out any bubbles are harsh lines.
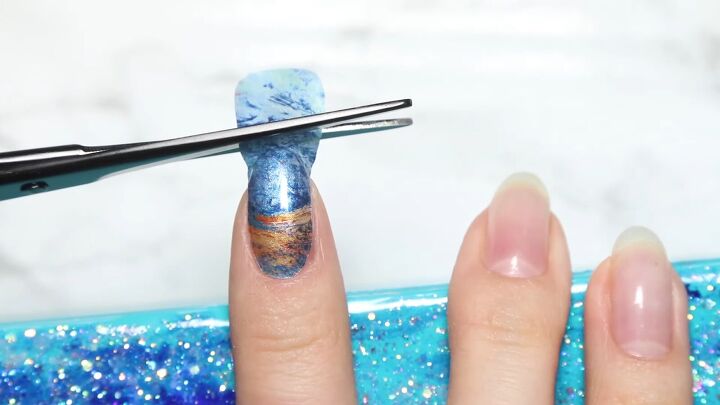
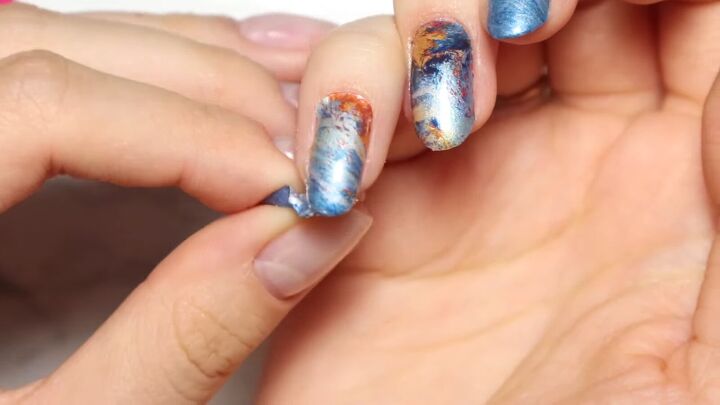
7. Trim the top of the nail wrap
Once the nail polish wrap is on, use a pair of scissors to cut off the excess wrap. Trim in a straight line as close to the nail as possible.
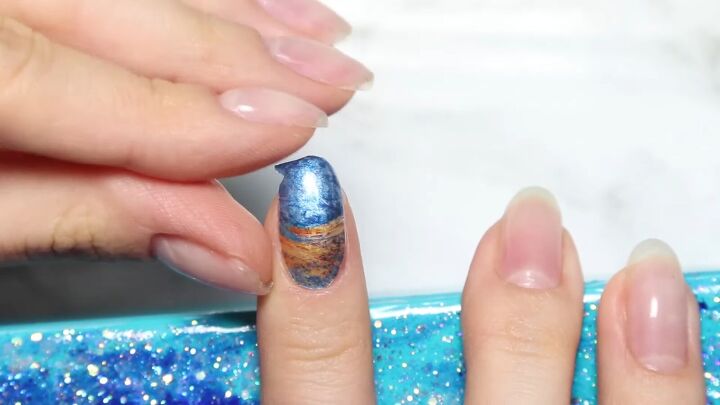
Then, fold the remaining wrap around the back of the nail.
8. File the back of your nail
After you finish applying, with a nail file or emery board, file in a downward motion the remaining strip of wrap to smooth the edge of the nail.
This’ll also help get rid of the excess polish.
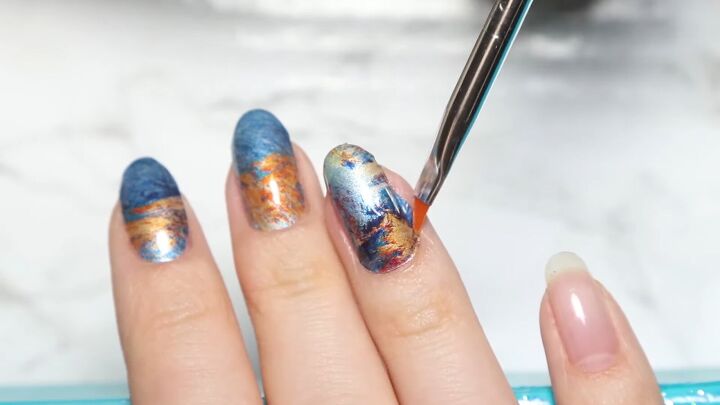
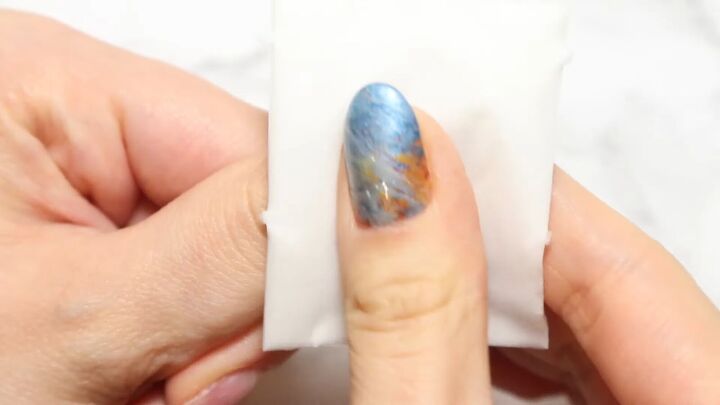
9. Use nail polish remover for any cleanup
If necessary, you can use nail polish remover or acetone to clean up the sides of the nail where the wrap doesn’t fit right. Remember, this is real nail polish, so if you’re wondering how to remove nail polish wraps, the same methods apply.
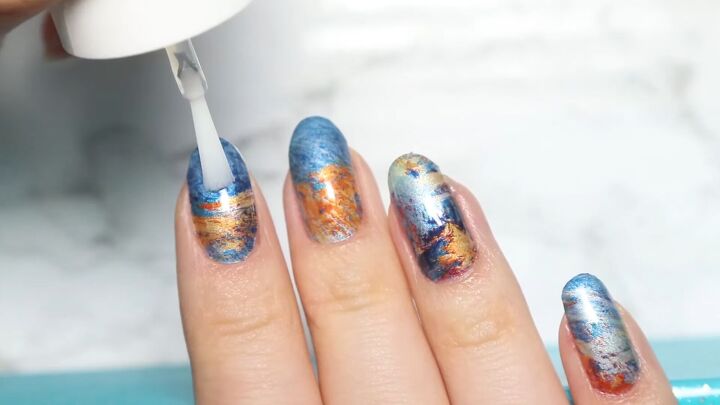
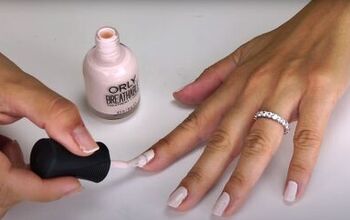
10. Apply a top coat
To finish up, apply a clear topcoat to each nail.
11. How to remove nail polish wraps
If you want to remove the nail polish wrap, as previously stated, all you need is a nail polish remover and a cotton pad. This makes the wraps super versatile, so you can swap them out whenever you please!
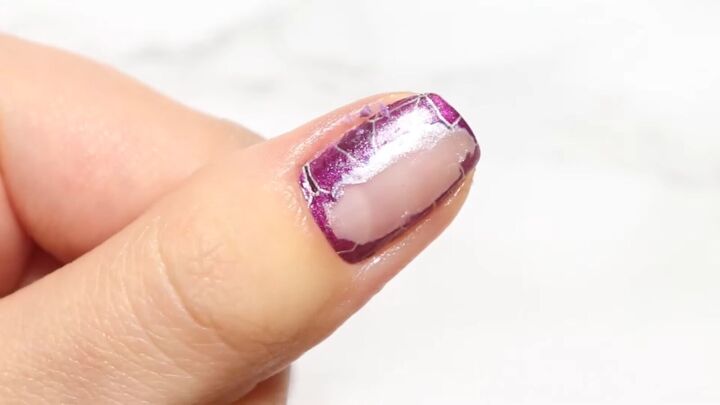
Tada!

Here’s the finished look!
Real polish nail wraps tutorial
These real polish nail wraps are incredible and look just like nail polish. They’re a quick and easy way to get advanced-looking nail designs without the trouble of going through the process yourself.
Let me know what you think about nail wraps and if you’d use them to replace the long trip to the nail salon.
The author may collect a small share of sales from the links on this page.


Comments
Join the conversation
Supper cool. Will definitely try this. Where can one get this to buy?…Target, Sephora, Ulta, Walmart etc
I just sent for some! Lily and Fox.