How to Easily Do Festive White, Red & Green Christmas Nail Designs

Christmas is on its way, and in this tutorial, I’m going to show you a pretty red and green Christmas nails look that uses some Christmas stamping nail art. Stamping nail art always looks really impressive, and here you’ll learn how to easily do it yourself at home.
Tools and materials:
- Clear and colored nail polish
- Curing light
- Stamping plate
- Scraper
- Stamp
- Stamping polish
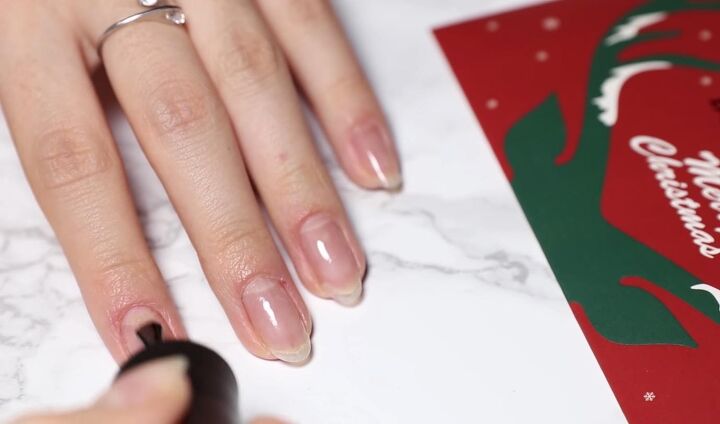
1. Apply base coat
Start by applying a thin layer of the base coat gel polish onto your nails.

2. Cure under the light
The next step is to cure your nails under a curing lamp, although you can just wait for your nails to dry naturally if you don’t have one of these.
If you’re the sort of person that often paints their nails at home, I would definitely recommend getting one as they speed up the whole nail painting process and save you from having to wait between stages.
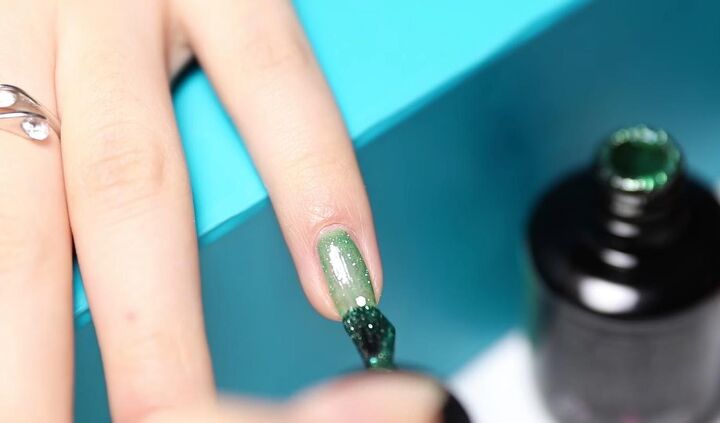
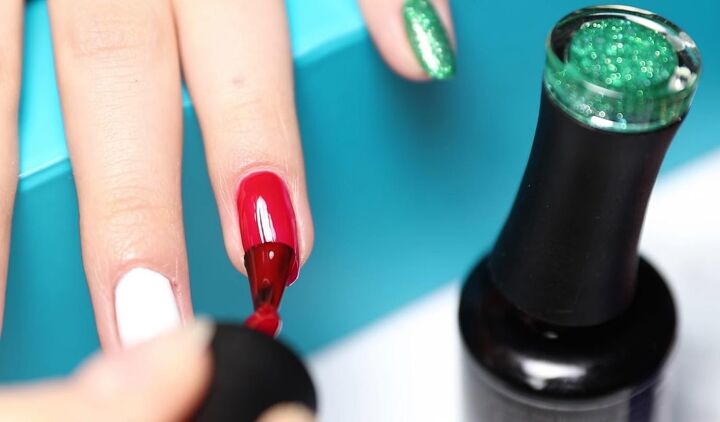
3. Apply colored nail polish
Once your base coat is dry, apply some colored nail polish. Alternate between the sparkly green, red, and white.
My top tips for applying nail polish are:
- Don't get any polish on your cuticles, or they will start to peel much faster.
- Don’t pick up too much product at once on the brush.
- Don’t attempt full coverage application on the first layer because this can lead to thick-looking polish that may not fully cure.
Proceed to cure under the light when done.
4. Apply a second coat
Apply a second coat to all the nails and then cure under the light again.
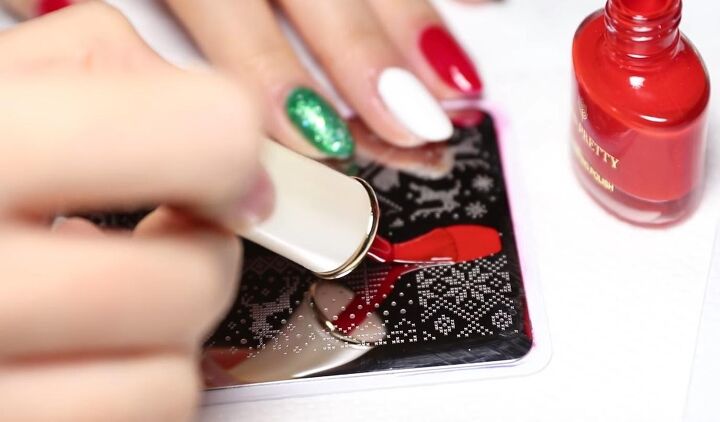
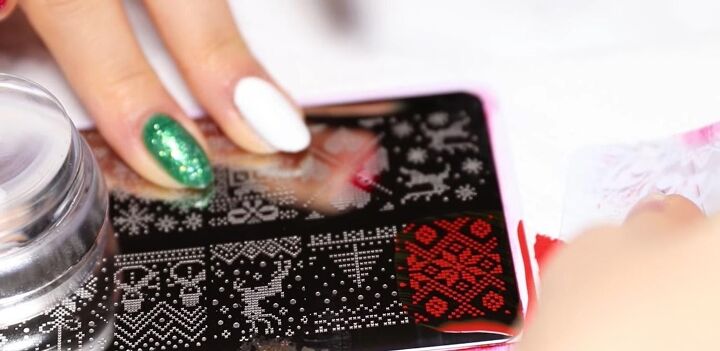
5. Apply the stamps
To apply the stamps, remove the protective sticker on the back. Then, apply stamping polish to the design. Stamping polish is formulated to be thicker and dry slower.
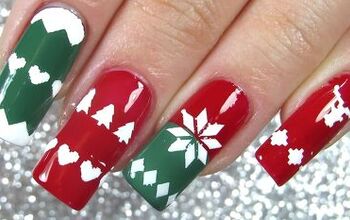
The stamping plate that I’m using has all sorts of different Christmas designs. There are some with snowflakes, some with reindeer, and we also have Christmas trees, baubles, and snowmen. Choose the design that you like best and work with that one!
Hold the scraper at 45 degrees and scrape the excess polish off quickly. You need to work quickly to ensure that the nail polish doesn’t start to dry before you’ve transferred the design.
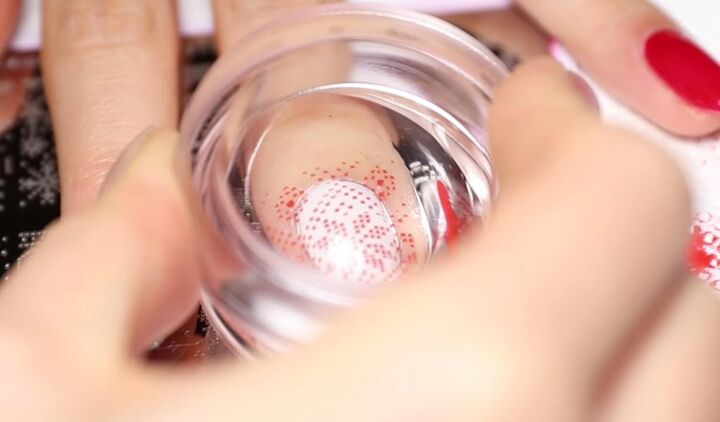
Press the stamper with a gentle rolling motion to pick up the design; make sure not to use too much pressure. This will transfer the image onto the stamp. Continue to stamp the image on your nail with a gentle rolling motion, and the image will be transferred onto your nail.
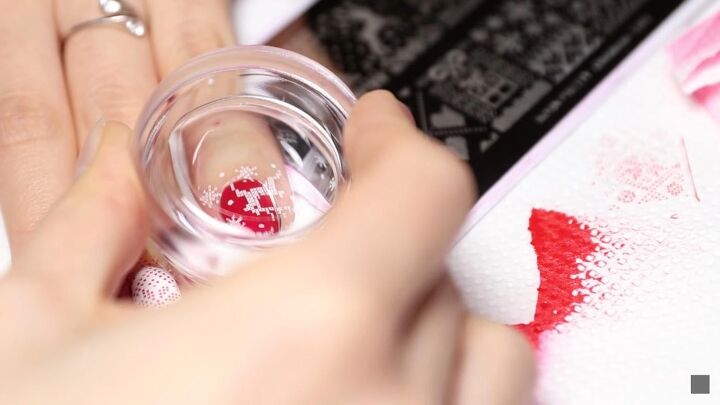
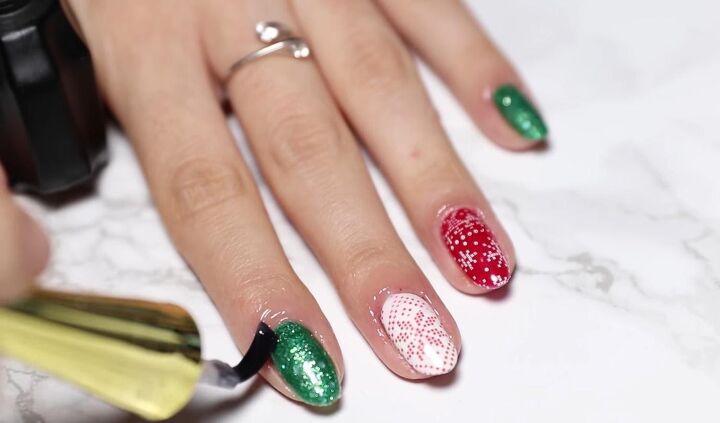
You want to create a white design on the nails you painted red and a red design on the nails you painted white.
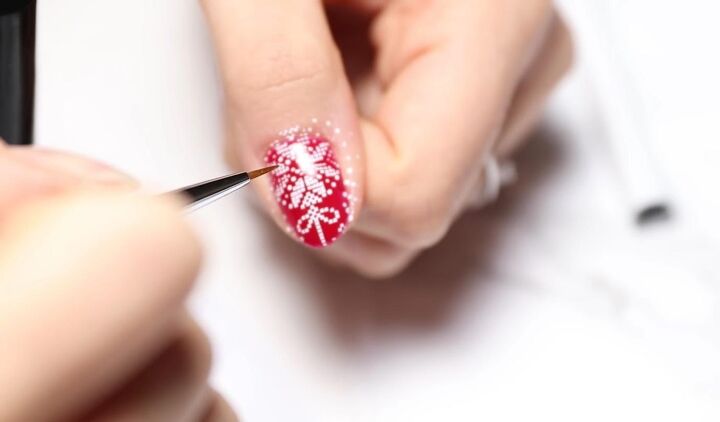
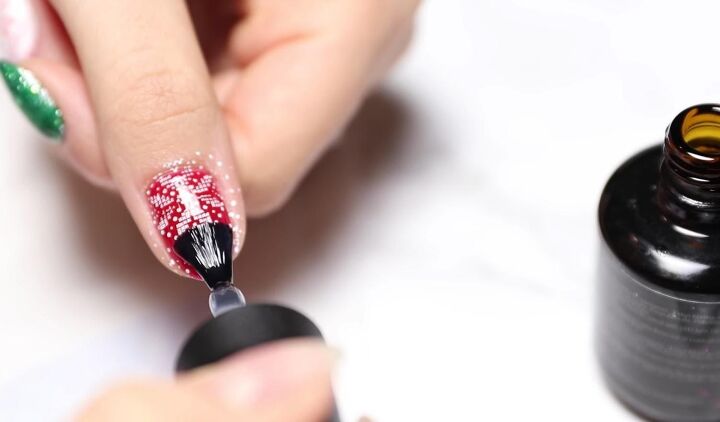
If any of the designs don’t transfer clearly, you can touch them up with a thin brush that comes will the nail stamping kit. Very carefully, just paint in the part of the design that didn’t transfer.
You can also remove the design as many times as you like using regular polish remover and not mess up your base.
6. Apply top coat
Apply gel polish top coat for lasting wear.
7. Apply cuticle oil
Lastly, apply cuticle oil to moisturize your skin and nails.
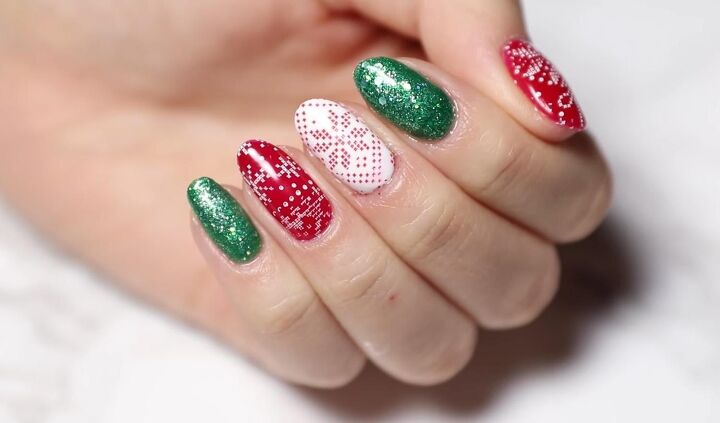
White, red, and green Christmas nails tutorial
Here we have the finished red, green, and white Christmas nails! How impressive do they look? I love the sparkly green nail polish as well as the white stamped design on the red nails and the red stamped design on the white nails.
If you look closely, you’ll see snowflakes and other little Christmasy features. I’m so happy with how these turned out and hope that you’ll give them a go.
The author may collect a small share of sales from the links on this page.


Comments
Join the conversation
They are super festive! Did you wipe off the sticky layer with alcohol or remover?
How come the white polish didn’t bubble when you applied the gel top coat?