Easy Red, White & Gold Christmas Nail Art With Festive Stickers

During the holiday season, your hands are always in view! If you’ve been wanting to have sparkly red, white, and gold Christmas nails and learn how to apply Christmas nail art stickers, this tutorial is for you!
Very few people have the skills to freehand draw nail designs so that’s why there are Christmas nail stickers to help you get those festive nails. Let’s get started!
Tools and materials:
- Nail polish in assorted Christmas colors: red, green, white, and gold
- Christmas nail stickers
- Tweezers
- Small wooden cuticle pusher
- Nail brush (extra fine)
- Cuticle nail polish clean-up brush (optional)
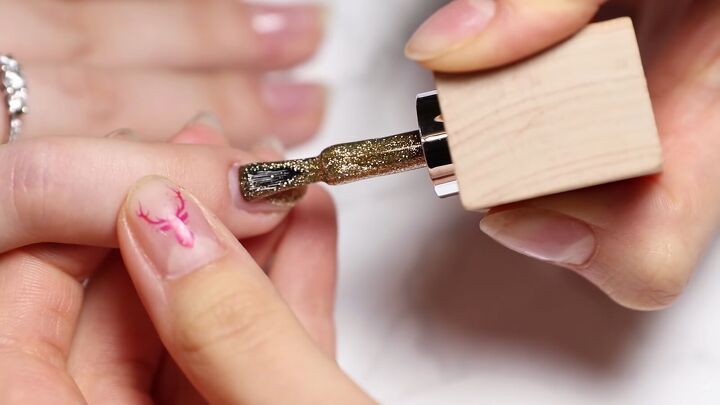
1. Apply gold nail polish to pinky fingers
Start with clean, dry nails with the cuticles pushed back. For festive Christmas nails, nothing beats a gorgeous sparkling gold!
If you’re particular about getting the polish to the end of the nail bed without getting it on the surrounding skin, use a fine nail brush to apply the polish towards the cuticles. Dip the brush on the nail polish brush to pick up a small amount of polish for this delicate work!
Let the first coat dry and then apply the second coat. Then, apply a top coat to seal in the beautiful sparkles!
2. Apply white nail polish to ring and middle fingers
Apply white polish to your ring and middle fingers. Apply 2 coats, using the special brush to reach the edge of the cuticles, if necessary. Let the white dry completely.
Next, dab some of the gold polish onto a surface, like a piece of aluminum foil to remove the excess.
Paint on a scallop in gold, leaving a small sliver of white peeking through at the bottom. Apply two coats of gold. Finish with a clear top coat.
3. Apply Christmas nail art stickers
You can purchase Christmas nail stickers online or some shops like beauty supply stores. They usually come on a flat sheet, like regular stickers do.
You can use tweezers, your fingers, or a wooden cuticle pusher to lift the sticker off the sheet. Gently apply to the nail trying not to have it fold over itself.
Do it slowly and patiently for the best result.
Once it’s on your nail, gently press it down to adhere firmly with your finger. Seal them with a layer of clear top coat.
4. Apply red polish to pointer fingers and thumbs
There’s no more iconic color for Christmas than red! You can do a pure bright red, either with or without gold, with or without stickers.
Red, white & gold Christmas nails with stickers tutorial
There are so many ways to decorate your nails with Christmas stickers! Don’t limit yourself to boring nails over the holidays! Use Christmas nail stickers and rich Christmas colors for beautiful holiday nails! Merry Christmas!
Enjoyed the project?
Suggested materials:
- Nail polish in assorted Christmas colors
- Christmas nail stickers
- Tweezers
- Small wooden cuticle pusher
- Nail brush (extra fine)
- Cuticle nail polish clean-up brush (optional)
The author may collect a small share of sales from the links on this page.


Comments
Join the conversation