DIY Rey Star Wars Costume

Are you a big fan of “The Force Awakens” like me? With Halloween just around the corner, I’ve put together a Rey Star Wars costume just for you.
Tools and materials:
- Brown faux leather
- Clip attachments
- Fabric for wrap sashes
- Tea-stained bandage fabric
- Beige fabric for the top
- Gray/brown fabric for the pants
- Elastic for pants waistband
- T-shirt as a template
- Fabric scissors
- Thread
- Straight pins
- Sewing machine
- Hot glue gun with glue
- White chalk or white wax pencil
- Broomstick
- 6 black tea bags
- Black/brown eyeshadow
Making the top
1. Cut out the basic shape of the shirt
Fold your beige shirt fabric in half and lay it flat.
Then, fold a t-shirt to be used as a template and place the center line against the fold of the beige fabric. Cut around the shirt with fabric scissors.
2. Cut neckline
While your cut out shirt is still folded in half, cut the neckline.

3. Sew the seams
Open the shirt pieces and make sure they are laying straight and flat. Next, sew the shoulder and side seams.
Making the pants
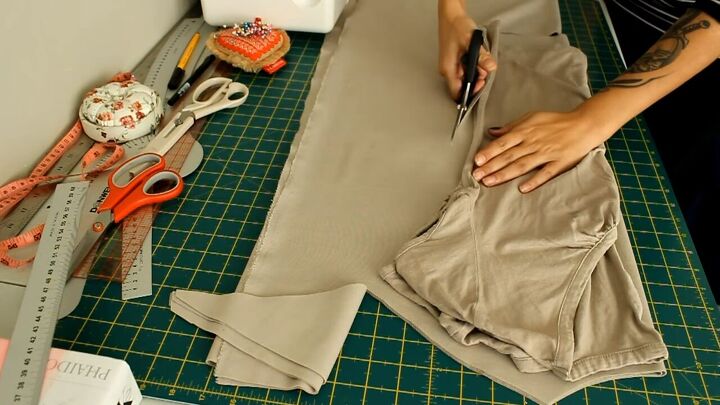
1. Cut out the basic shape of the pants
Like with the shirt, use a pair of pants as a template to cut out the shape of the pants.
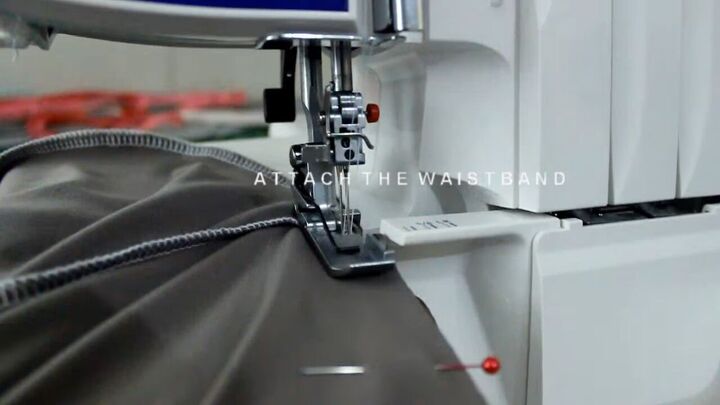
2. Sew the pants
First, sew the inner seam and crotch areas. Then attach the waistband.
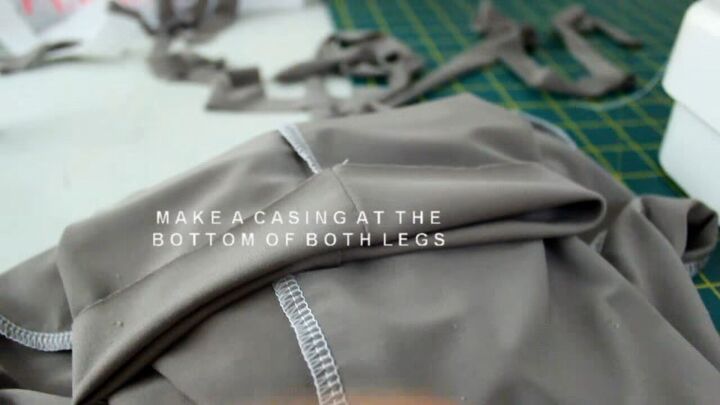
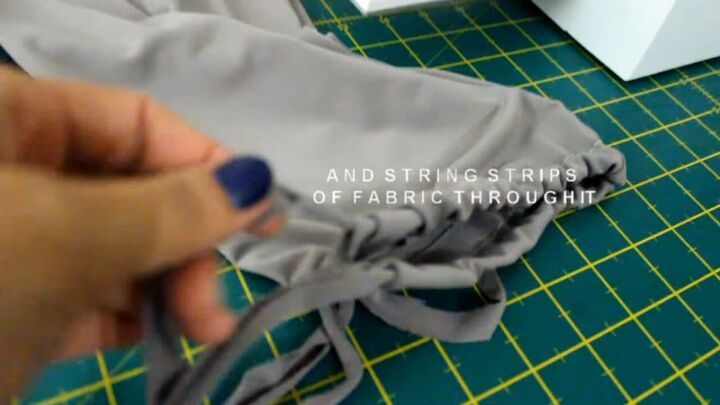
3. Make drawstring details
At the bottom of each pant leg, create about a 1” casing. Cut two thin strips of fabric. Then, feed the strings through each casing.
Making the wrap sashes
1. Cut the fabric
Cut across horizontally down the middle of the sash fabric to create two equal pieces.

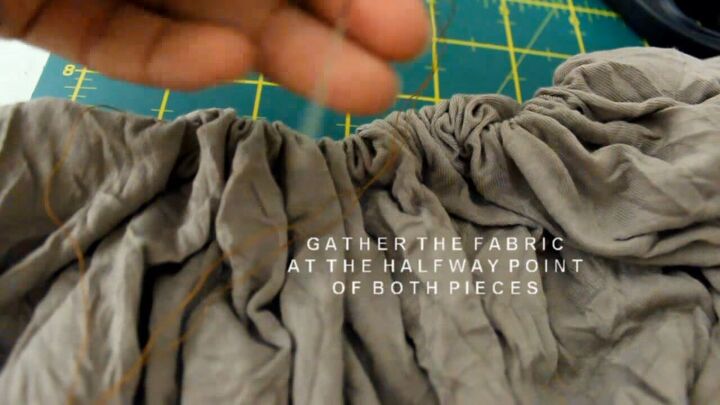
2. Gather and attach the sash pieces
Gather the fabric at the halfway point of both pieces and sew it in place
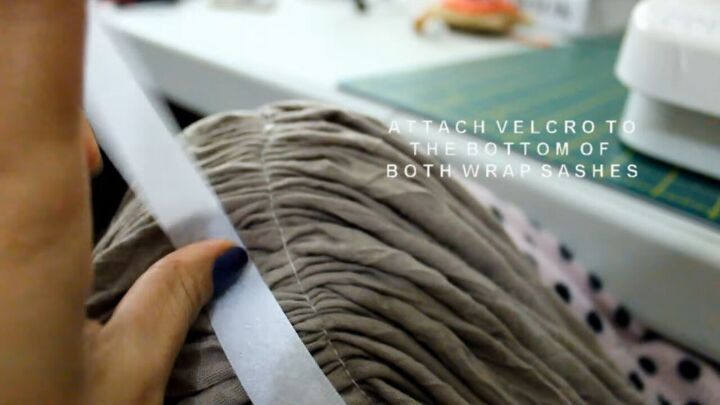
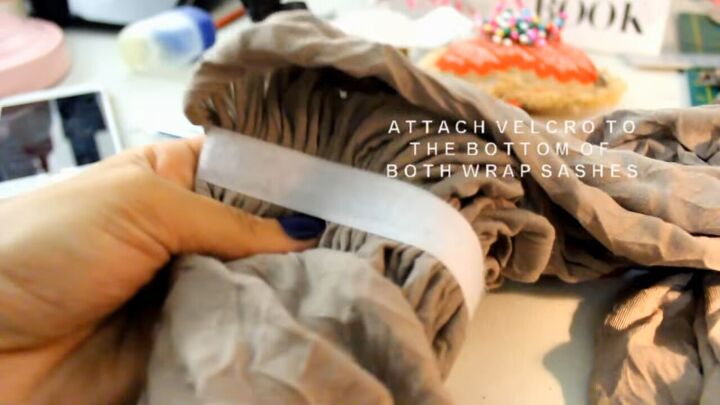
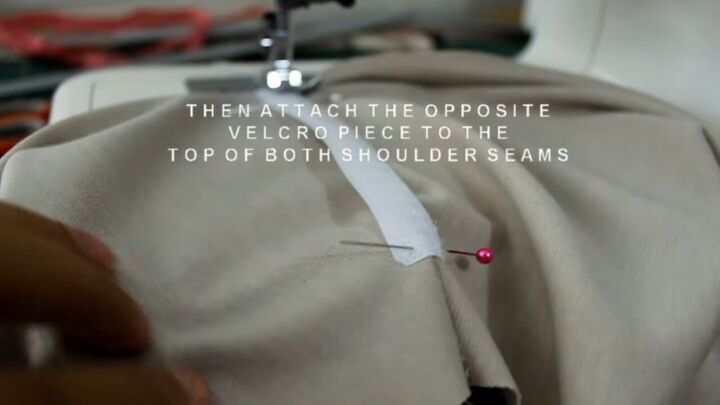
3. Attach velcro
Attach velcro to the bottom of both wrap sashes. Then attach the opposite velcro to the top of both shoulder seams.
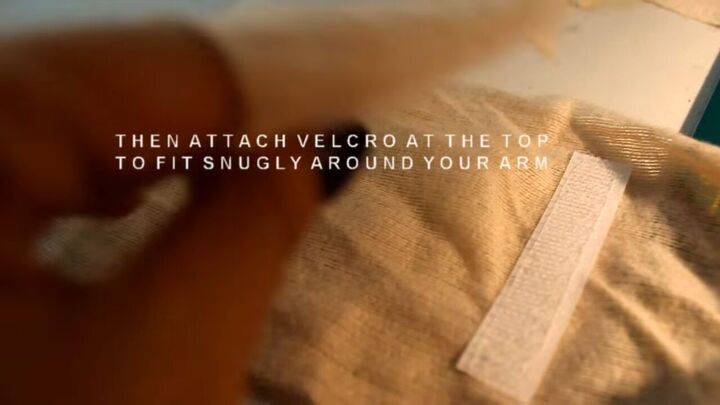
Making the arm bandages
1. Cut strips
Pre-stain your bandage fabric using a few tea bags, soaking the fabric in the tea, then allow to dry.
Next, cut two long strips for both arms. Next, affix velcro to the top of each piece to fit snugly around your arm.
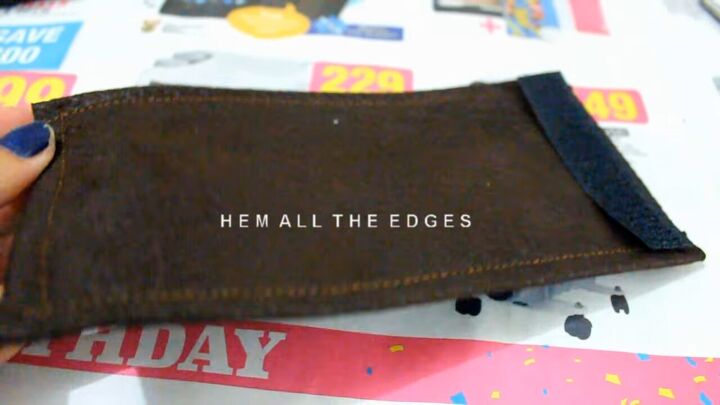
Making the left arm badge
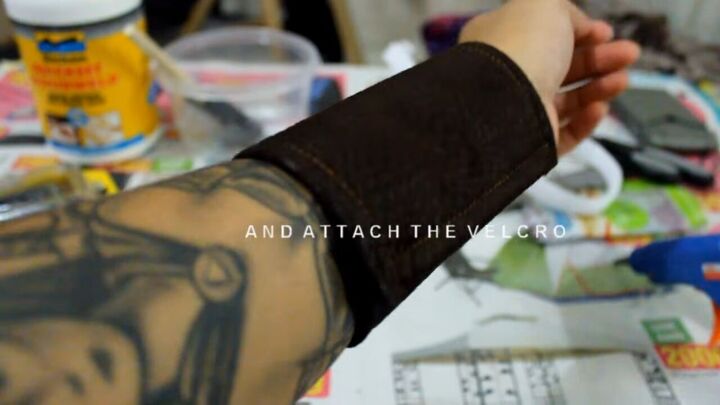
1. Hem the edges and add velcro
Use your sewing machine to make about a 1/2 “ hem around the edges. Add velcro to each side to fit your arm in the correct place.
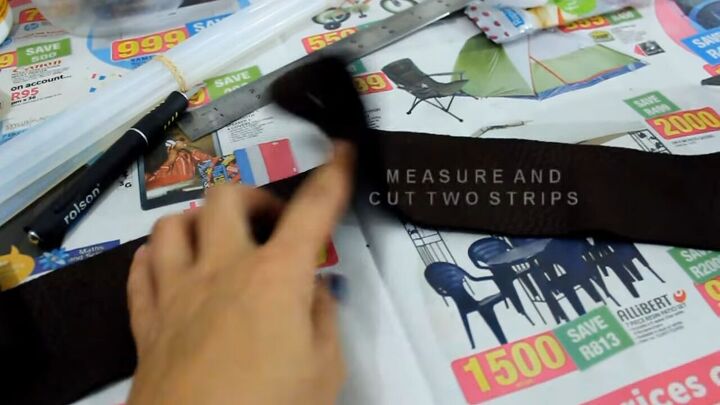
Making the belt straps
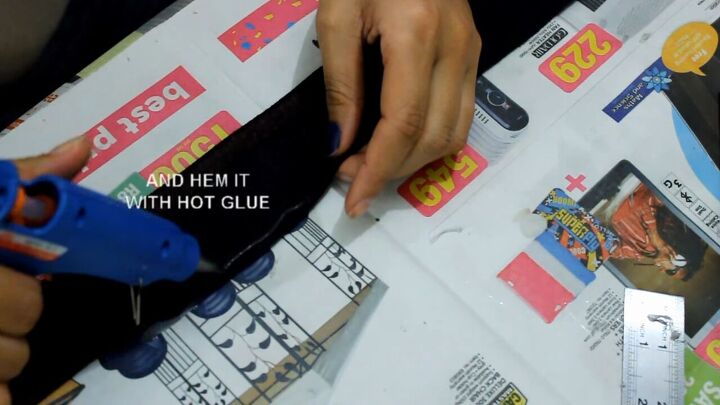
Measure and cut two strips, about 2-3” thick. Then create a hem on each piece using hot glue. Once dry, add the clip attachments.
Making the side bag
1. Draw a template
On the reverse side of the faux leather material, draw a long rectangle with chalk.
Next, using chalk, create two equal, square sections within the rectangle and a thin, rectangular panel at the top.
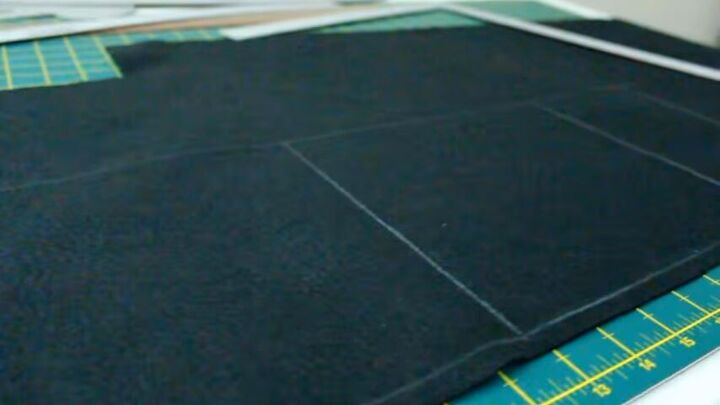
The bag will be folded as in the image below.

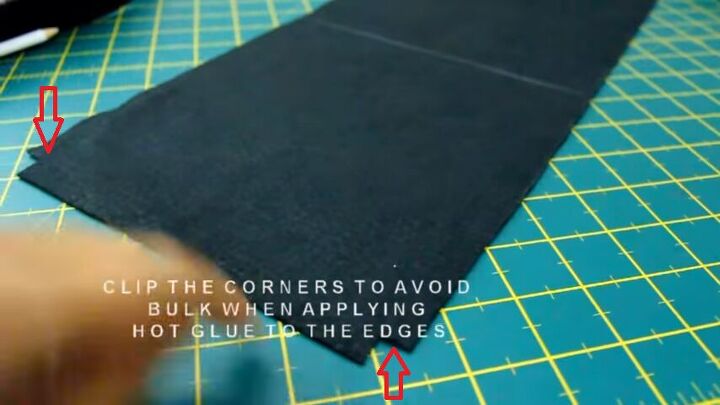
2. Glue the edges
Cut out the corners to avoid bulk when applying the glue to the edges.
Fold over the inner tabs that you created by clipping the corners and glue the pieces down. (See video 3:00-3:08)
Then glue the sides of the bag.
3. Add velcro
Glue two short pieces of velcro to opposing sides of the top flap of the bag. Then, hot glue it on to the bottom belt strap.
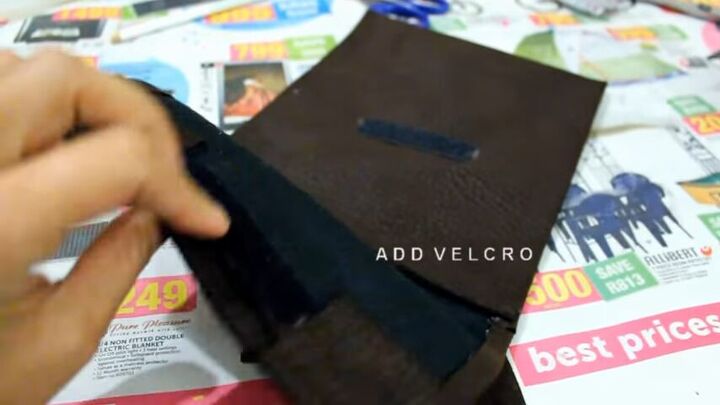
The bag should look like this:

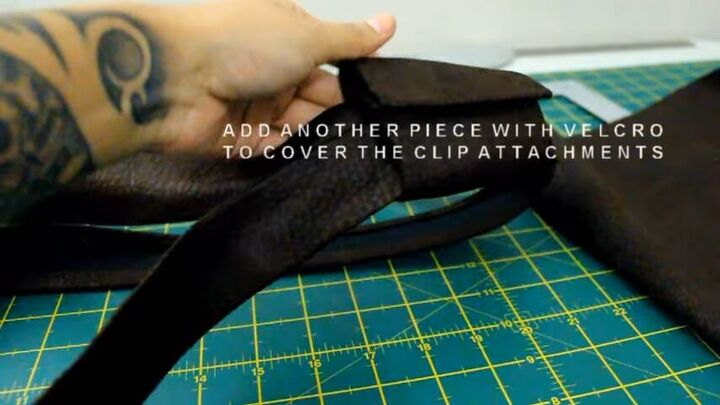
Next, add another piece of faux leather with velcro to cover the clip attachments.
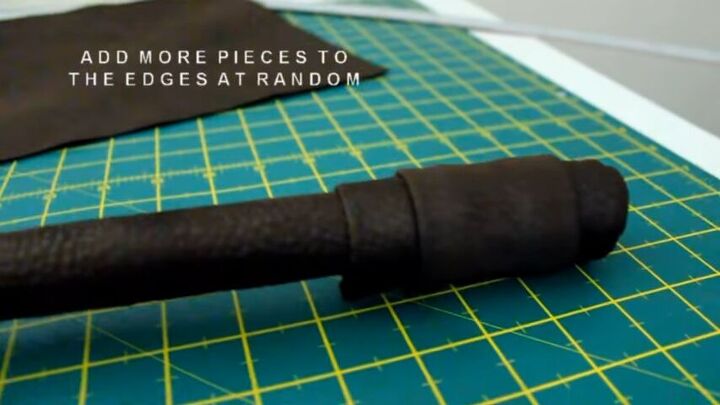
Making the staff
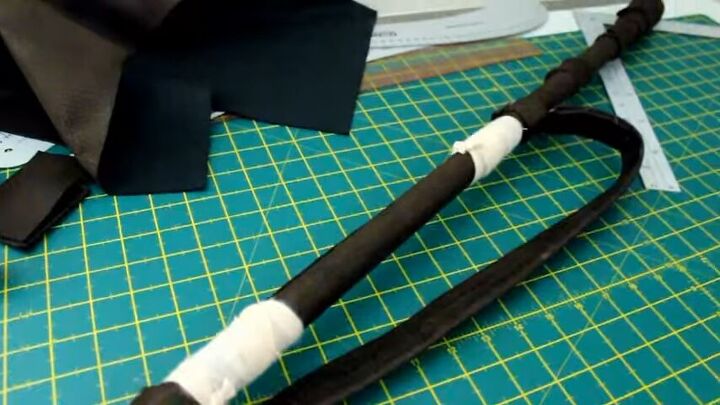
1. Cover a broomstick
Using more of the faux leather, cover the broomstick. Cut a few extra strips of the same fabric and add them to the top of the staff, using the hot glue to secure everything in place.

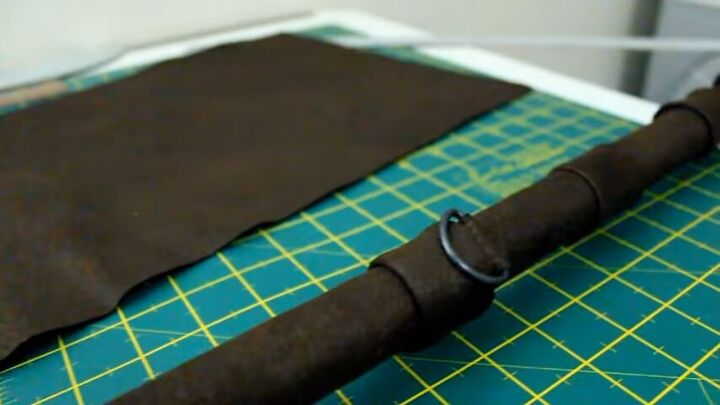
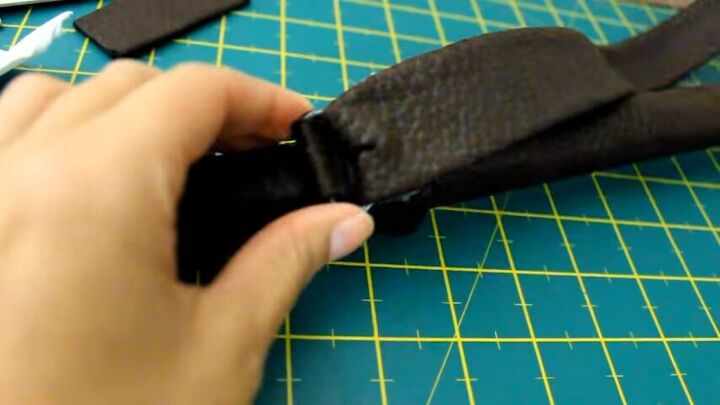
2. Add loop attachments
Cut two small rectangles from the faux leather and add the loop attachments, gluing the leather closed with the hot glue.

Then glue them to the staff:
Add the strap. It should look like this:
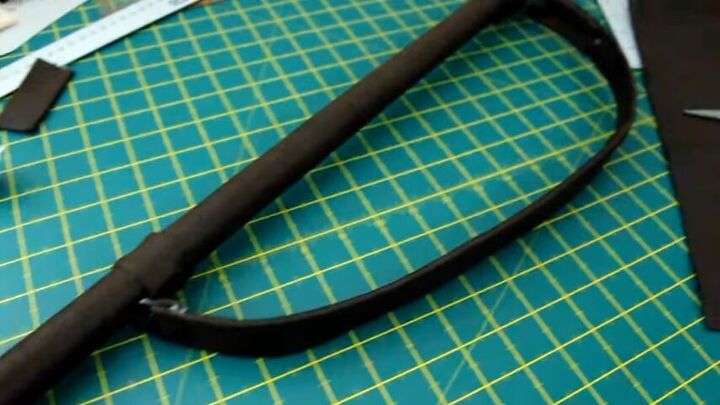
Here is a closeup of the connection:
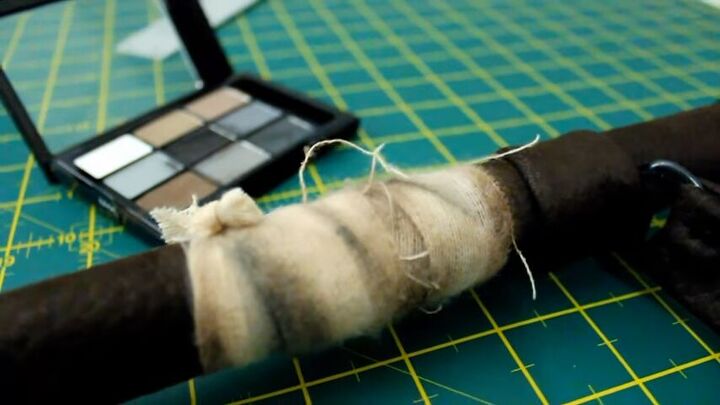
3. Add bandage details
Cut two thin strips of the bandage material, then wrap and tie them under the clips.
Give the bandages a dirty look using earth-toned eyeshadow.
Add final touches to the top
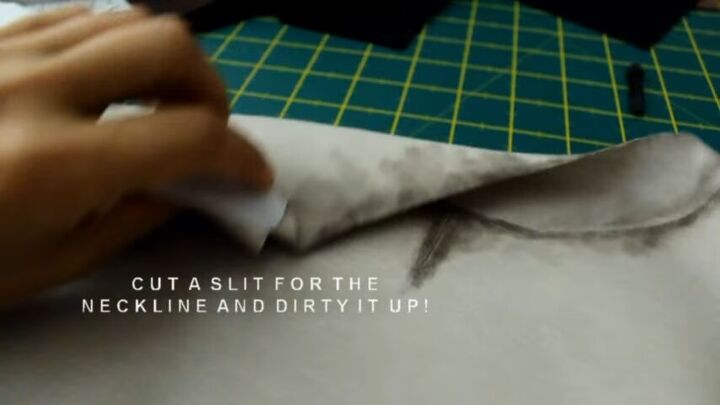
1. Cut a slit
At the center of the neckline, cut a shallow slit and use the eyeshadow again to give a worn look.

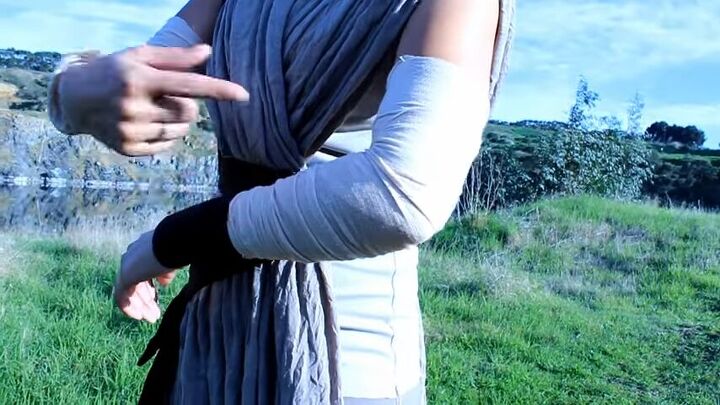
Putting it all together
Try on all the main garments and wrap your arms with the bandage fabric.
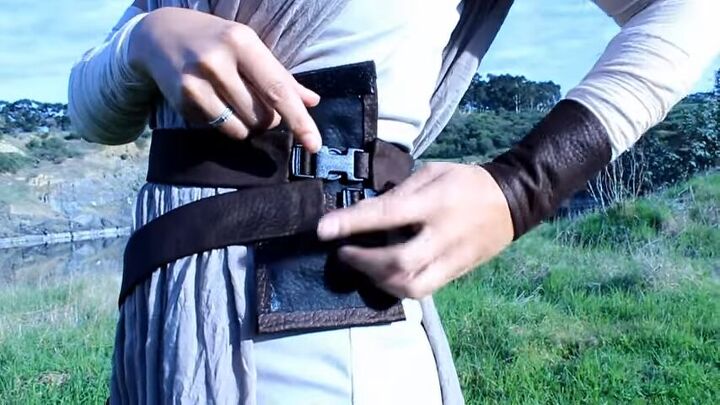
Then, put on the faux-leather accessories. I wore black, suede booties as well. (See video 4:10 - 5:07)
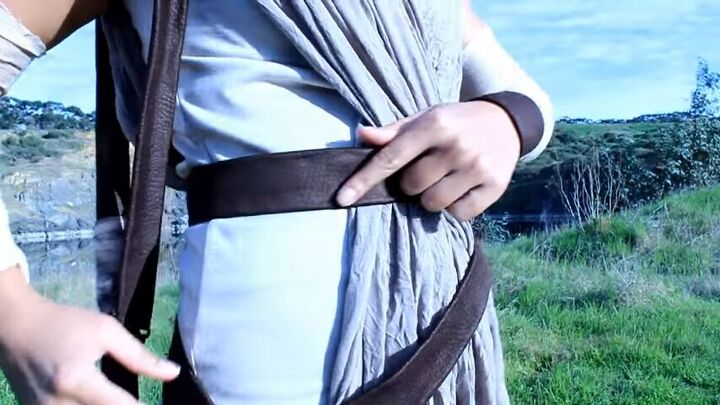
Wrap the belt like this:
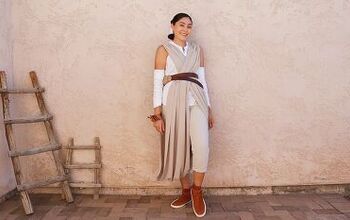
Rey Star Wars costume
Here’s the final look of my Rey Star Wars costume. You can also try a hairstyle and makeup like mine.
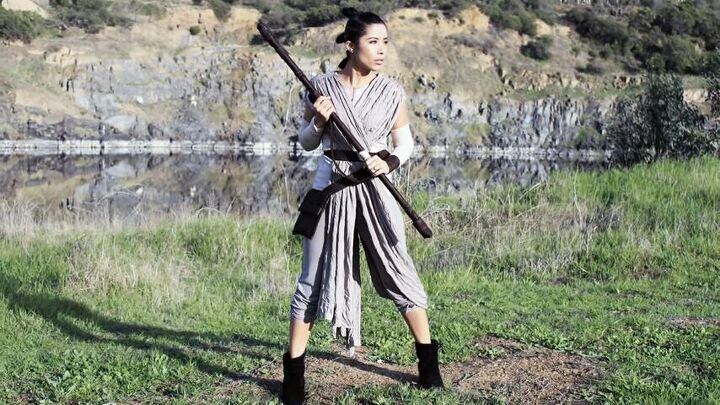


If you’re a Star Wars fan like I am, I hope I’ve inspired you to make your own Rey costume! Show your final look in the comments below!
The author may collect a small share of sales from the links on this page.


Comments
Join the conversation