Quick and Easy Russian Pedicure Tutorial for Perfect Toes

I’m going to show you how I do a Russian pedicure at home.
I’m not a professional manicurist. I prefer to go to the salon but the closest Russian master is far from where I live.
That’s why I’ve watched a ton of tutorials to figure out how to do a Russian DIY pedicure at home.
I have all the pedicure tools at home so I’ve gotten quite good at doing it on my own.
I use a pretty basic drill machine. I found the basic machine gets the job done so I didn’t need to get anything fancy.
I use two different drill bits. One is larger and I use it to remove the gel. The other is smaller and I use that for the pedicure.
Best nail drill!
Tools and materials:
- Nail drill
- UV light
- Gel
- Top coat
- Base coat
- Small brush
- Wet wipes
- Towel
- Nail clippers
1. Prepare your workspace and remove the old polish
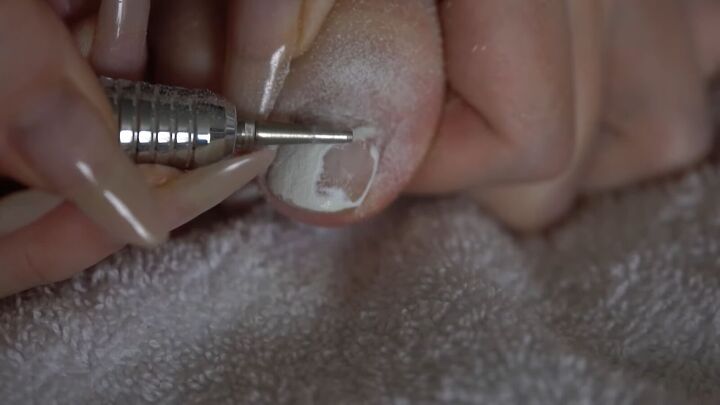
Lay down a towel when removing the gel from your previous pedicure because it is going to create a lot of dust.
Start by removing the top layer of polish. I’m still not completely confident with my skills so most of the time I remove the color layer and leave the base coat.
When I’m trying to get to the hard-to-reach places, I switch to the smaller drill bit. I use the smaller drill bit for the smaller toes too.
Take your time and be as precise as possible so you don’t hurt yourself.
2. Trim and drill employing the Russian pedicure technique
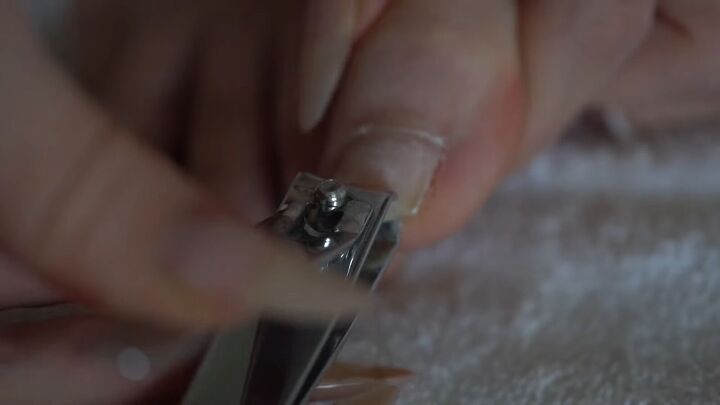
Trim and shape your nails using a nail clipper.
Once you’ve finished your initial trim, it’s time to employ the Russian pedicure technique.
The Russian pedicure is not like a regular pedicure which requires you to soak your feet in water to remove dead cuticles.
Instead, you will use the drill to remove all the dried-out and dead pieces of the cuticle.
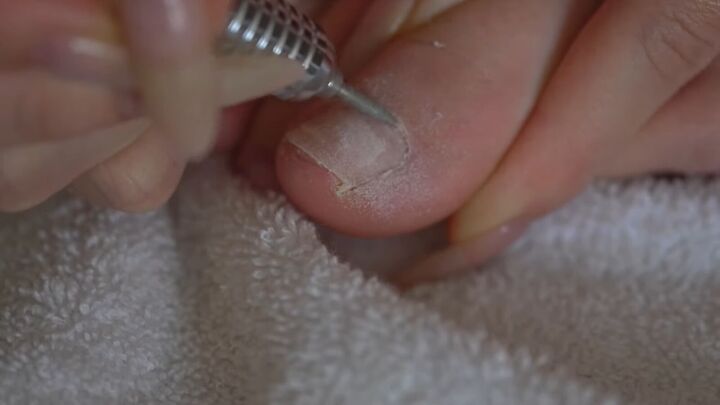
Use the smaller drill bit to drill around the sides of the nails, under the nails, and under the cuticles.
It looks a little scary but it’s safe because you’re not touching the skin, only the dead skin around the nails.
You can also use the drill at a slow speed if you’re more sensitive.
3. Clean
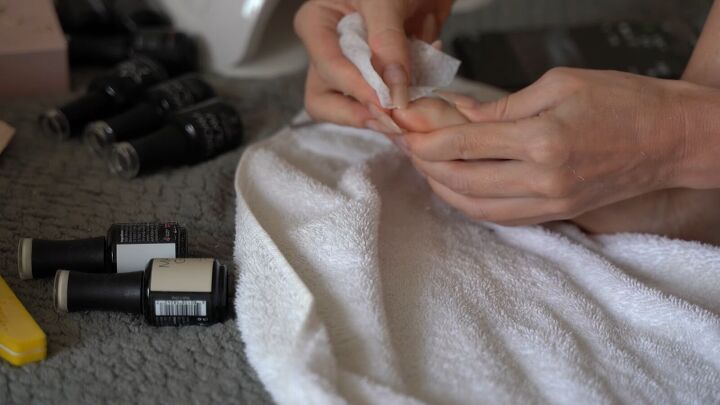
Use a wet wipe to clean off all the dust.
Go in with nail clippers to remove anything that didn’t get taken care of with the drill bit.
Use a nail file to shape and smooth out the nail.
4. Applying the gel
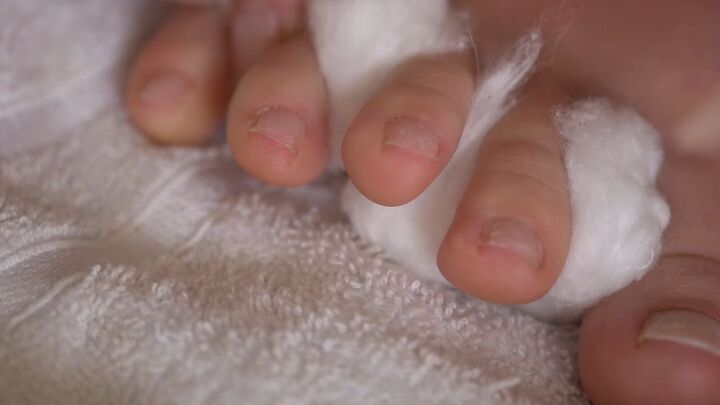
Put a cotton ball between each toe and begin applying your gel.
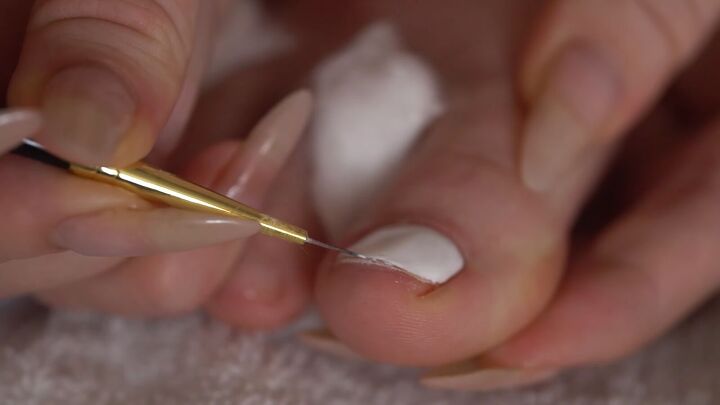
If you’re like me and have trouble with precision, I highly recommend investing in a super small brush.
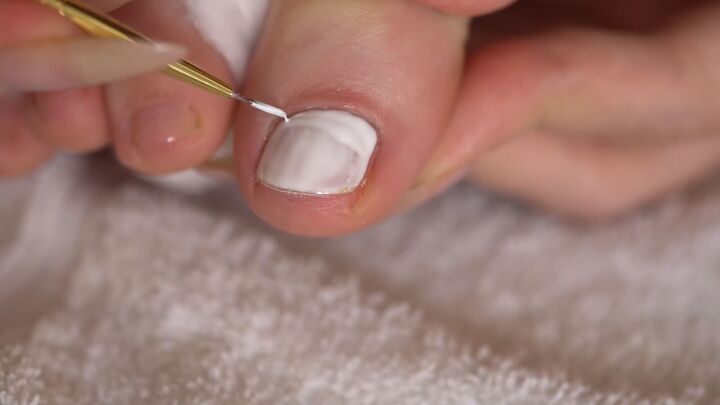
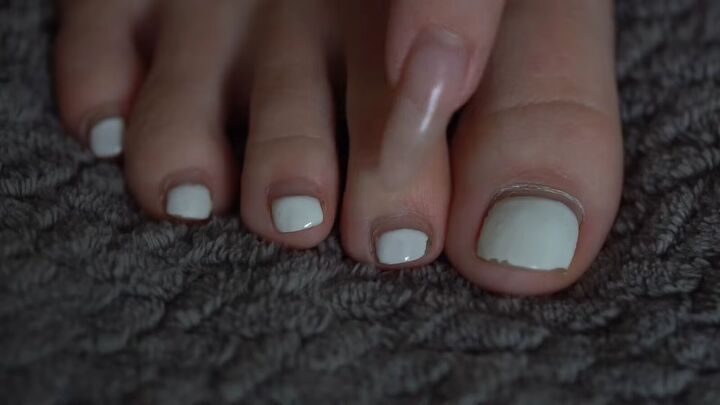
5. Perfect the big toe for flawless-looking results
Your big toe is the most important part of the pedicure. Your other toes can be a mess, but if the big one looks good, you’ll be all set.
People won’t be able to see the smaller nails unless they are very close, so if your big toe looks good, the whole pedicure looks good.
Conversely, if your big toe is a mess, the whole pedicure will look messy.
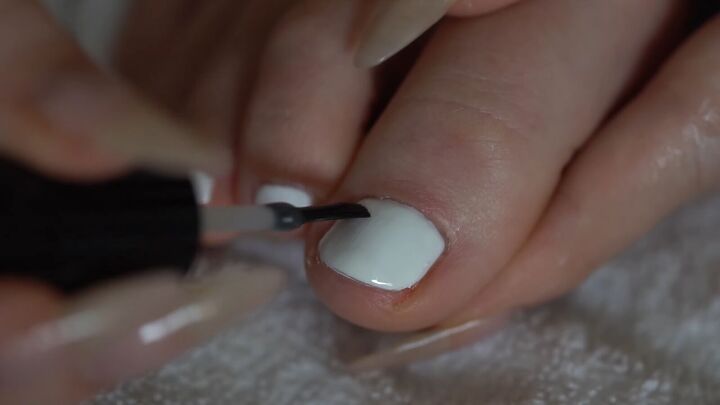
6. Dry and apply top coat
Dry the pedicure with your UV light.
Then finish the look off with a layer of top coat.
Dry that as well and you’re all set.
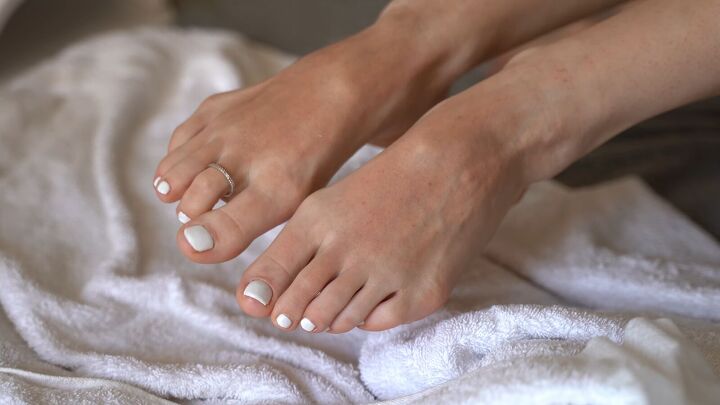

Russian pedicure
I hope you enjoyed learning how I do a Russian pedicure at home.
The Russian dry pedicure is a great technique and surprisingly easy to do.
Give it a try. Don’t forget to leave me a comment to let me know how it goes.
Next, check out my Greasy Hair Hacks: How to Revive Oily Hair in Minutes.
The author may collect a small share of sales from the links on this page.


Comments
Join the conversation
I would NEVER recommend using a drill on your toes or fingers. It is so easy to damage the nail bed, even causing permanent damage. Our MN state board does not allow their use.