My New and Improved DIY Rhinestone Boots Tutorial

In this tutorial, I showed you How to DIY Super Glam Rhinestone Boots.
Since then, I have come up with an even better method to make DIY rhinestone boots, which I’m going to share with you here.
I’m also going to show you how to make a sexy bonus top.
Tools and materials:
- Crystal rhinestone mesh
- Boot cover (or regular boots)
- E6000
- Scissors
- Needle and thread
- Towels
- Mesh trim
- Crystal pin buttons
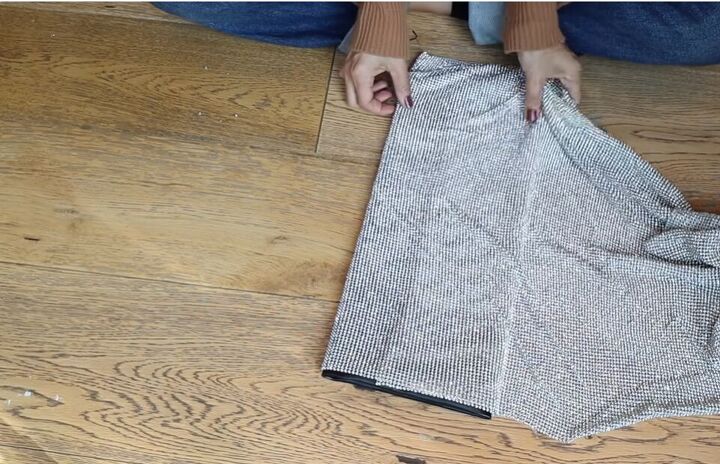
1. Cut mesh for boot covers
In this tutorial, I showed you how to Save Thousands of Dollars With This Easy Boot Cover Pattern Tutorial.
Here, we’re going to apply crystal rhinestone mesh directly to the boot covers.
If you don't have these or you don't want to make them removable, you're just going to do this on a regular pair of boots.
Work out how big you need the panel so that it's going to fit all the way around the boot.
Line the mesh up, making sure you give yourself a little bit of an overlap.
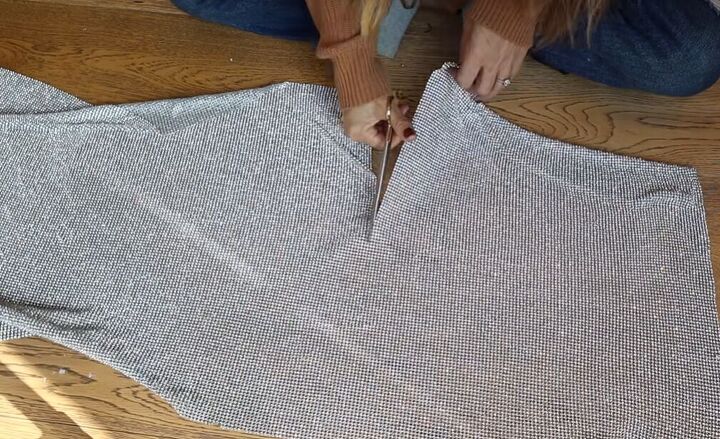
2. Cut second piece
Once you’ve cut one to size, use that as a guide to cut your second piece.
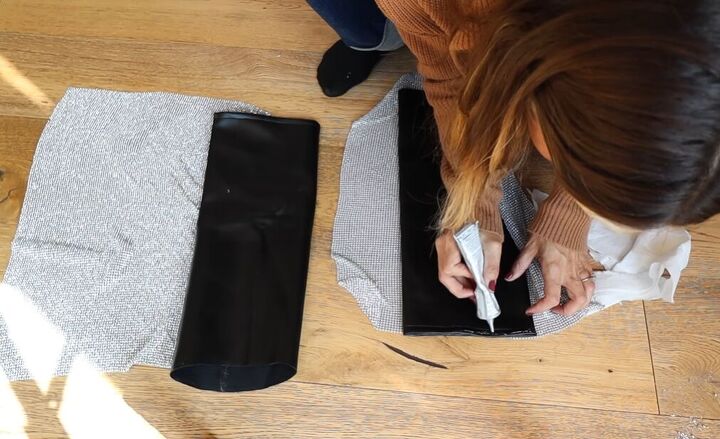
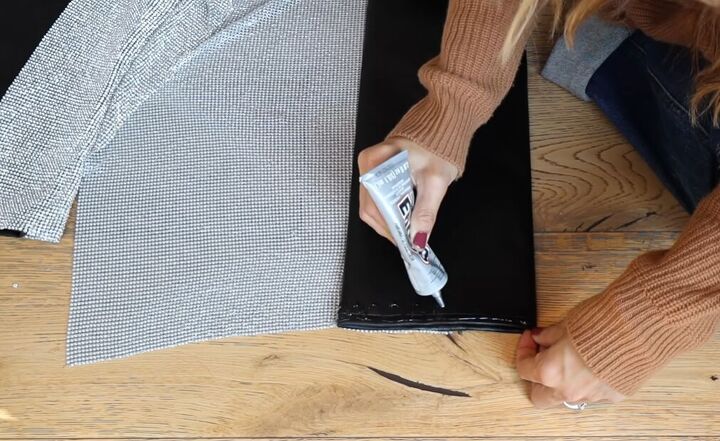
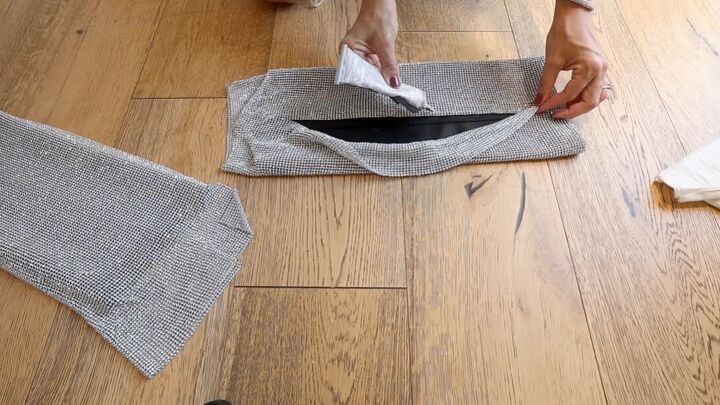
3. Glue to back of boots
Now, attach the rhinestone panel directly to your boots using E6000. I recommend starting at the center back of your boots.
Apply some lines of glue that are about an inch thick at the top of the boots.
Then, you can go in and reinforce the panel with a needle and thread (but E6000 is probably strong enough to do the whole trick).
4. Glue to front of boots
Let the back dry for at least an hour, then flip the boots over, and we're going to do the entire front.
Add glue, and then pull the mesh tight all the way around the boot so that everything is going to be super snug.
Make sure that the rhinestone is going just above the top of your boot - you don't want to see your boot from the front when you're looking at it. You want to see only the rhinestone.
Give the front of the boots an hour to dry, and repeat the process with the other boot.
5. Glue the center of the mesh
Glue up the mesh all the way down the back.
First, glue the side of the mesh that will go underneath, then add more glue to the boots and to the outer layer to overlap it.
Make sure that it is even all the way down, and this will create a gorgeous rhinestone strip down the back.
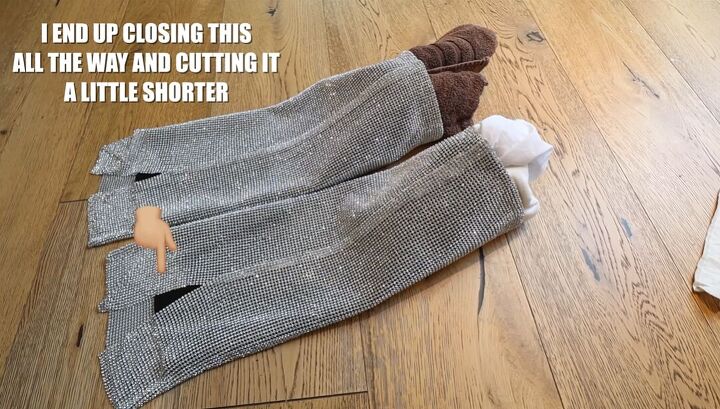
6. Let boots dry
Put something like towels inside the boots when you let them dry so that they can dry in a rounded shape; otherwise, a crease will form.
Bonus DIY: Top
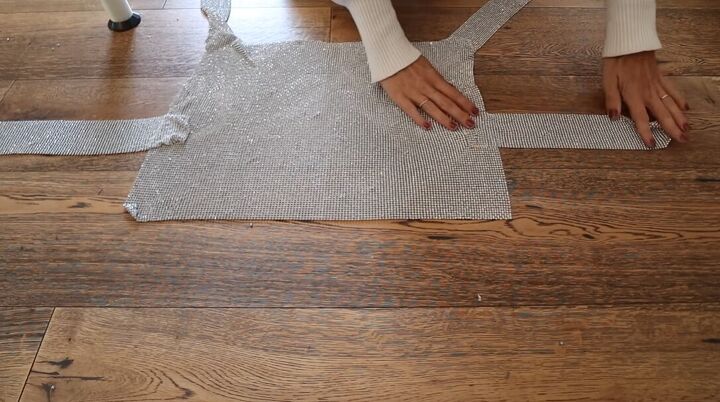
Now it’s time to make the bonus top - we’re going to make a classic '90s drape front handkerchief style.
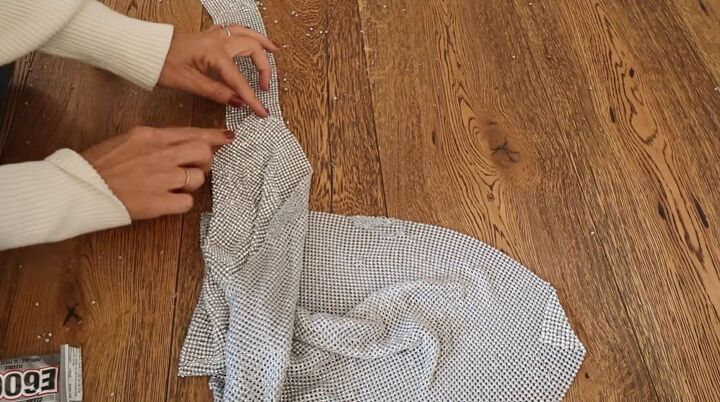
1. Cut straps
Cut strips from the mesh material. Glue each strap to the main body of your top on a triangle like so.
This will make it lag naturally and hang nicely on you. Leave them to dry for a few hours.
2. Sew on
Once dry, proceed to sew the straps on for extra hold.
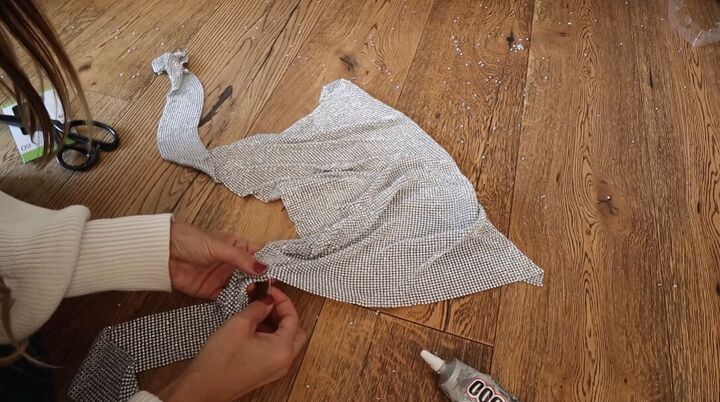
3. Attach strips to middle
Attach two more straps on either side of the middle of the mesh, and these we’re going to wrap around the body.
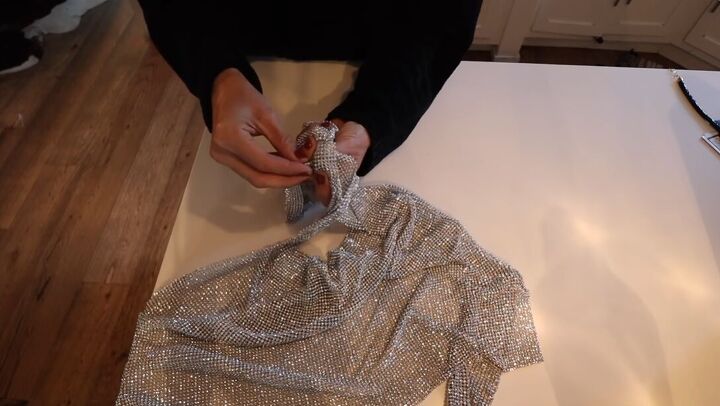
4. Attach buttons
Then, attach some instant buttons on the two top strips that are like enamel pins with a little crystal button.
The two little tails will hang down the back, it'll look so pretty.
The other straps will crisscross across the back, and then we’ll pin them to the front of the top with two more enamel pins.
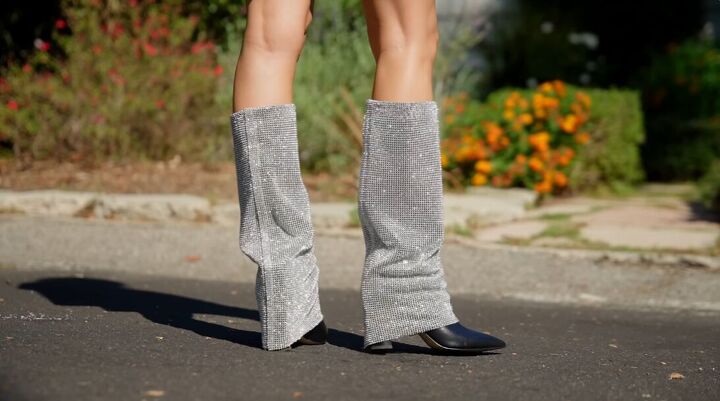
DIY rhinestone boots
Here are the finished DIY rhinestone boots. I love how the rhinestone strip just covers the length of the boots while leaving the front of the boots sticking out.
I also really like how the strip flares at the bottom to cover the heel. These are glitz, glam, and gorgeous!

And here is the finished drape front, handkerchief-style top. At the back, we have the two straps crossed over one another, creating a really stylish X shape. This is the perfect top to wear for a night out.
I hope you enjoyed watching this DIY and will give the two projects a go for yourself! If so, comment down below.
The author may collect a small share of sales from the links on this page.


Comments
Join the conversation