How to Paint Boots & Make DIY Shoe Clips: 2 Ways to Upgrade Your Shoes

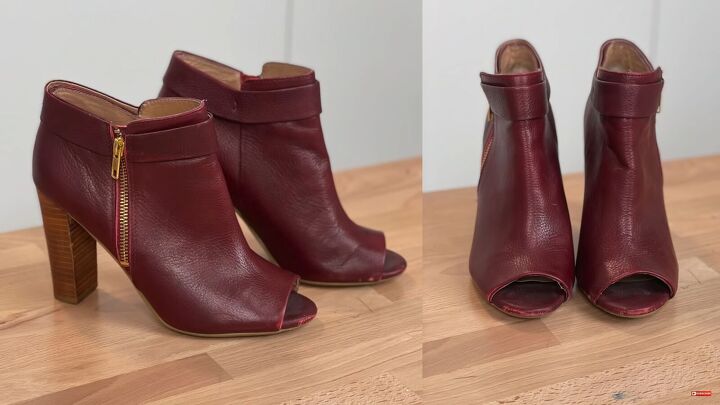
Today, I’m going to show you how to paint boots. I've had these burgundy ankle boots forever! They are super comfortable and a great fit. Problem is, I never wear them because of the color. Every time I put them on with an outfit, it makes me feel “eh”.
So, I’m going to do a DIY boot makeover on this pair! I’ll be teaching you how to paint boots perfectly, so no one would even notice. I’ll also show you how to create a custom "necklace" for shoes to upgrade these booties even more!
Let’s get started!
Tools and materials:
- Leather boots
- Leather acrylic paint
- Flat brush
- Wet towel or paper towel
- Scratch-resistant sealer
- Clear elastic
- Paint pen
- Embellished trim (assorted)
- Glue
- Scissors
- Lobster clasps
- Jump rings
- Pliers
Side note: This painted leather boots tutorial can only be done on leather, but you can do it on any leather item that you own; leather jacket, purse, or even furniture!
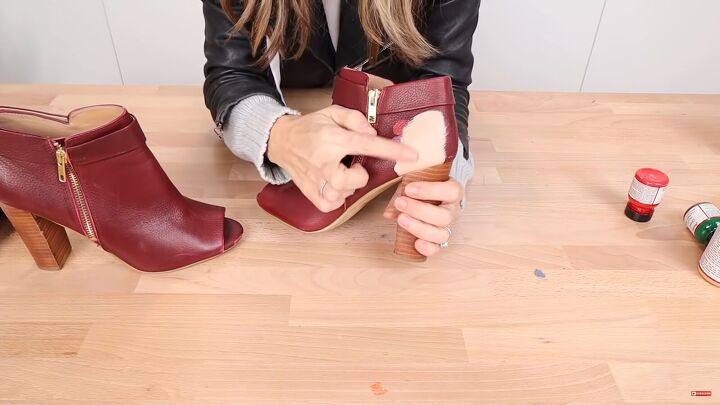
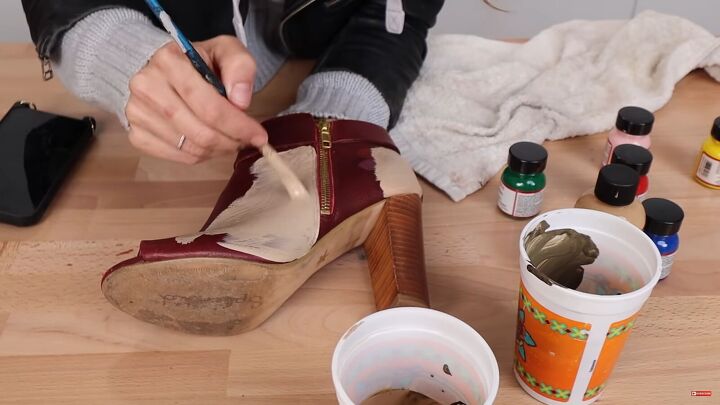
1. Test patch
Before you go ahead and paint the boots, do a couple of test patches on one of them. Like this, you can see if you like the color or not.
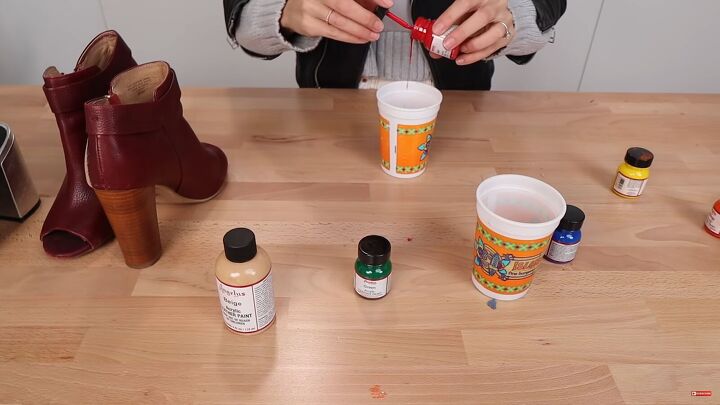
My beige was too light, so I decided to mix it in a darker tone to darken it up. Since I didn’t have brown, I mixed red and green together to create a brown tone, then I slowly added it to the beige until I was happy with the outcome.
I mixed colors from the Angelus Leather Paint Set with the Angelus Acrylic Beige Leather Paint, but you could use your preferred leather paints.
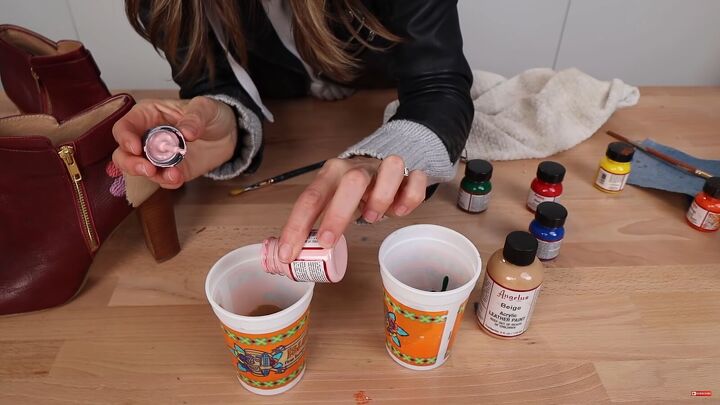
I added a little pink to brighten the undertone, and I was ready to start painting!
Tip: When testing patches, make sure it dries first and decide based on the dry color.
2. Let’s paint boots!
Take a nice flat brush, something that you’re comfortable using, and start painting!
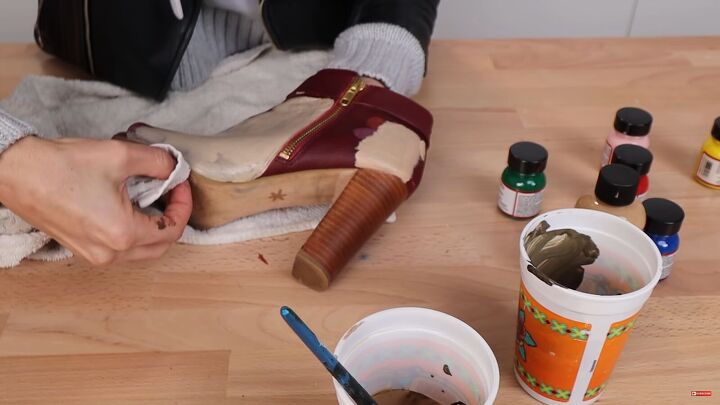
If you happen to get a tiny bit on your sole, keep a paper towel or a wet towel handy to immediately glide it off using your fingernail.
3. Add more coats
Thin coats are the way to go! You’ll probably need three or four coats per boot to cover it all. Adding more coats will also protect the boots from scuffing.
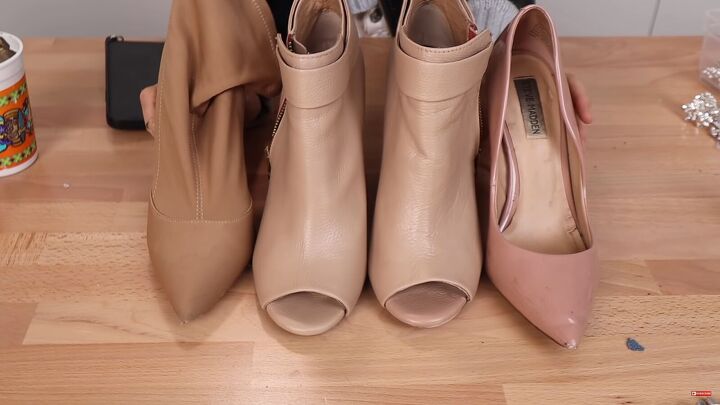
After the second coat, I realized the color was still not to my liking. I grabbed two nude shoes (one pink and one brown) and used those for reference.
I decided to use both these tones as my inspiration and mixed another custom color to paint on my boots.
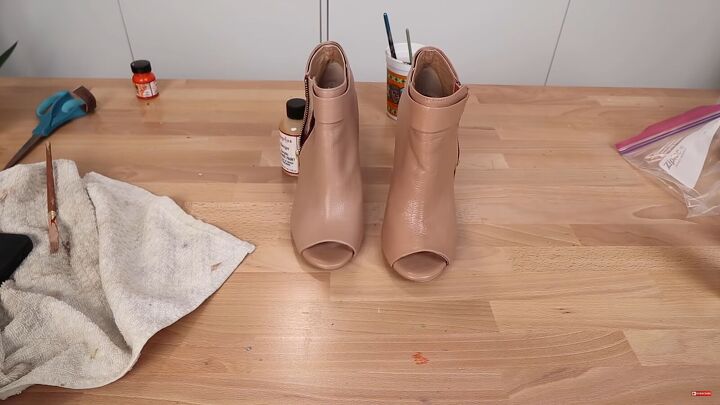
The painted leather boot on the right is the new tone, and I think it’s perfect! Sure, the difference is subtle, but it’s all about matching your own skin tone and the neutrals in your wardrobe.
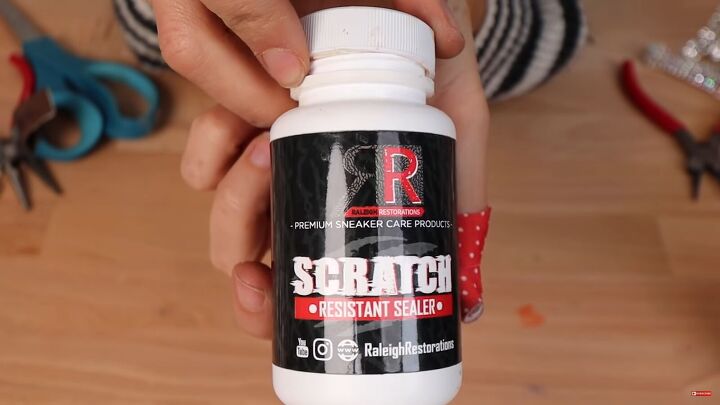
4. Apply sealer
When you’re done, apply scratch-resistant sealer. This step seals the deal and is essential. Follow the manufacturer’s instructions. I applied two coats.
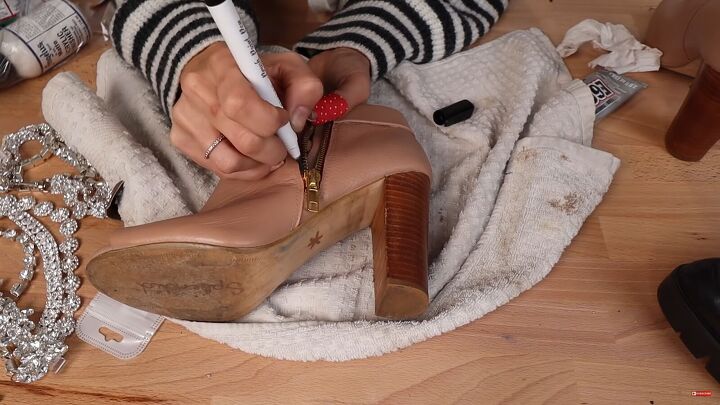
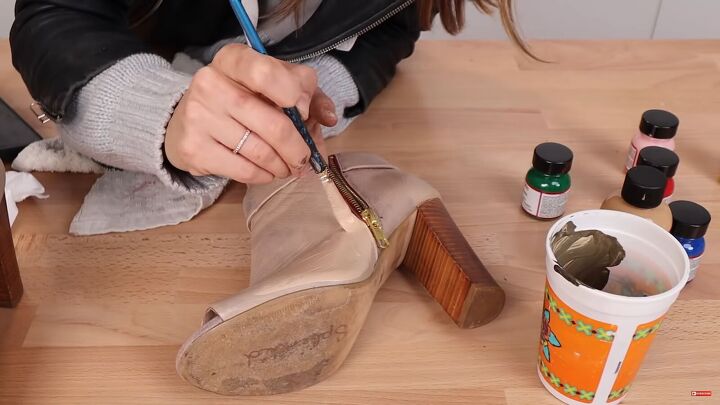
5. Paint the zipper
The burgundy zipper bothered me, so I decided to paint it black with a paint pen. Do two simple passes, and, you’re done!
6. Make the shoe clips (optional)
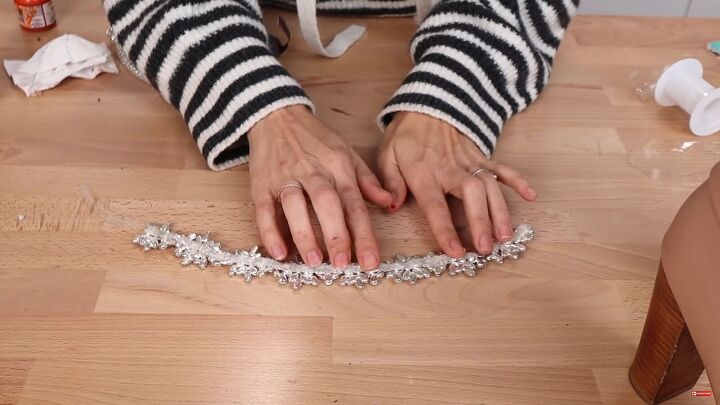
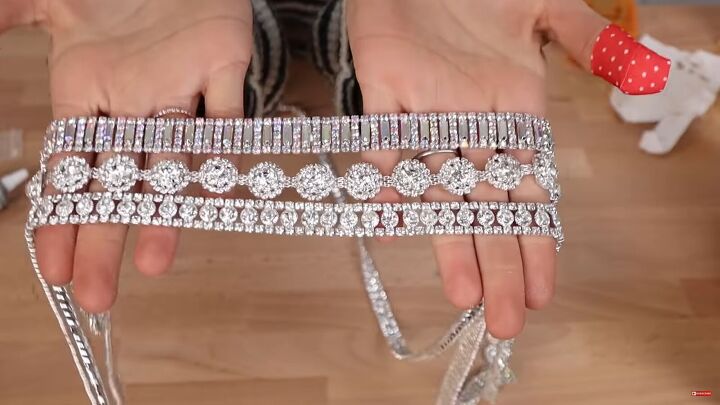
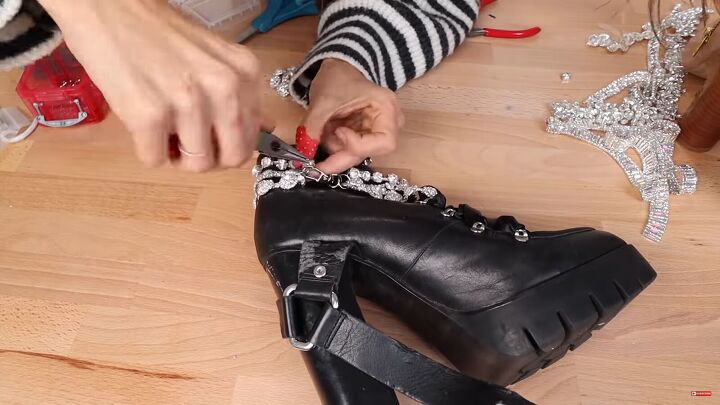
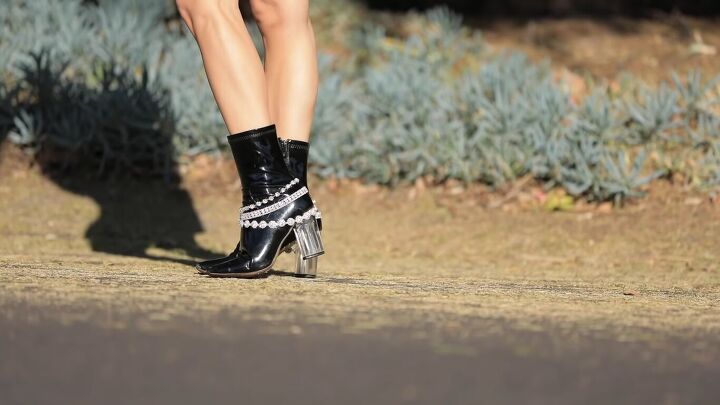
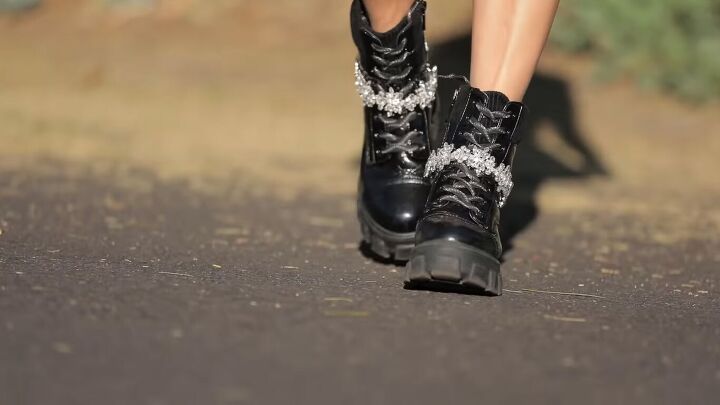
Now that my boots are painted, I wanted to jazz them up even more with some homemade "shoelry". You could use bejeweled trim for this or even old jewelry.
However, instead of directly gluing on my trim to the painted leather boots, I decided to make a DIY shoe clip. This way, I can take it on and off, and even attach it to other shoes if I like.
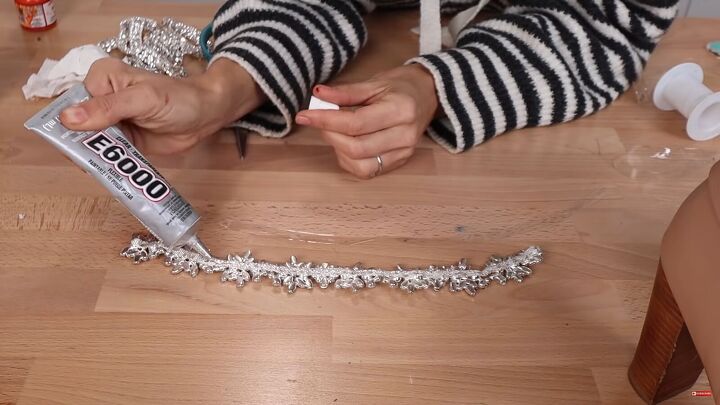
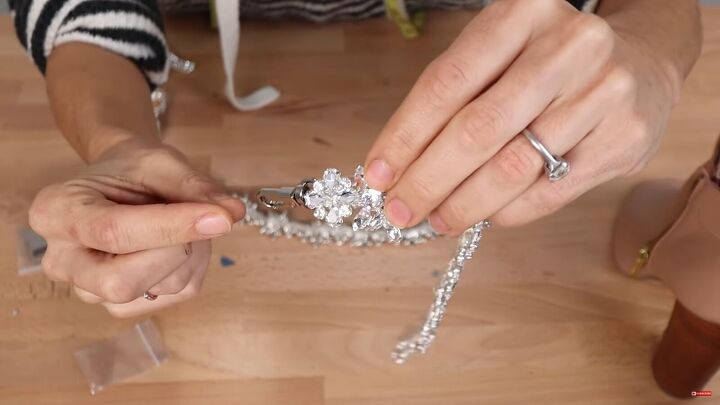
1. Glue elastic to the trim
To do this, cut a piece of clear elastic that’s 2 inches longer on either side. Then, glue it to the trim with some E6000. Press it down.
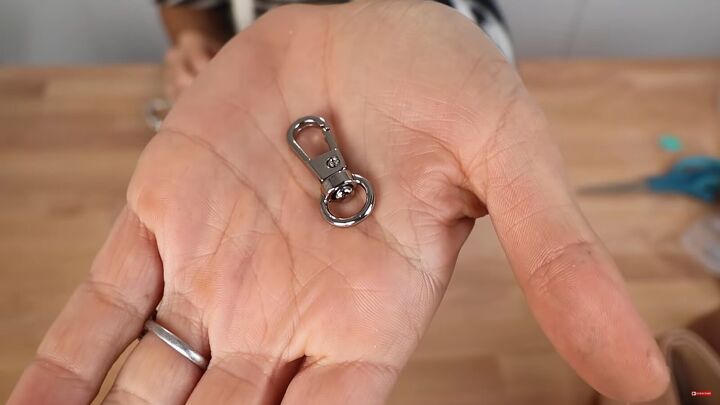
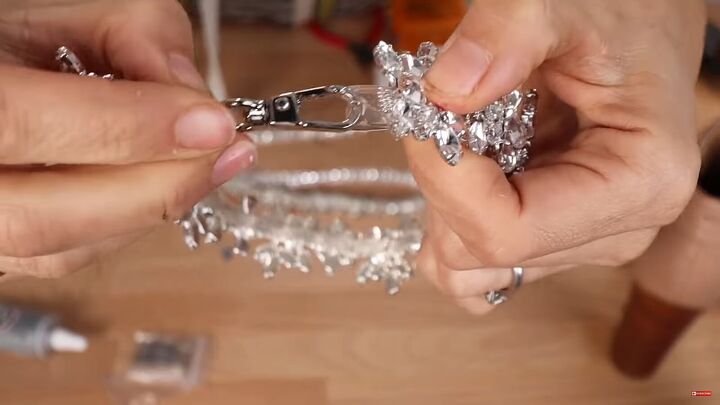
2. Attach lobster clasps
Now, attach lobster clasps on either end. Make sure the bottom has a large opening.
Pull the end of the elastic back, nice and tight.
Then, secure it down.
Tip: In hindsight, it would have been better if I'd reversed the process by sewing the lobster clasps and loops to the trim before gluing the whole trim to the elastic.
3. Create a loop
Create a loop on the other side, and glue it down.
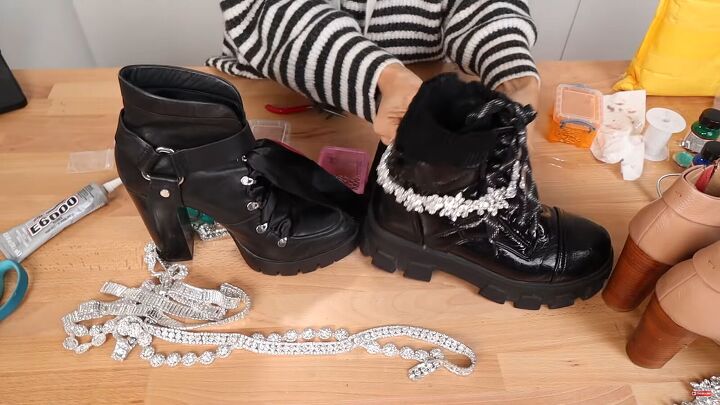
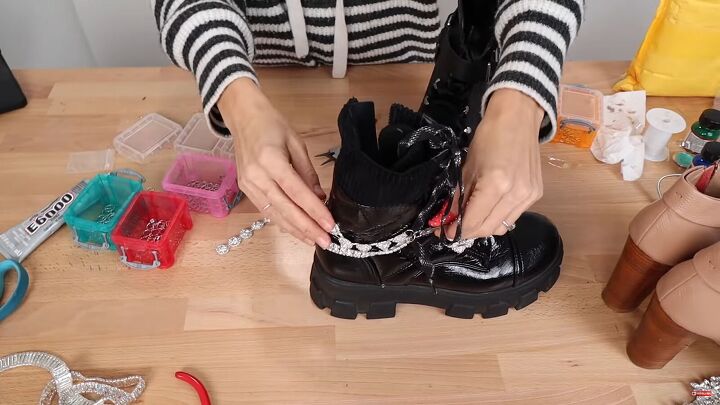
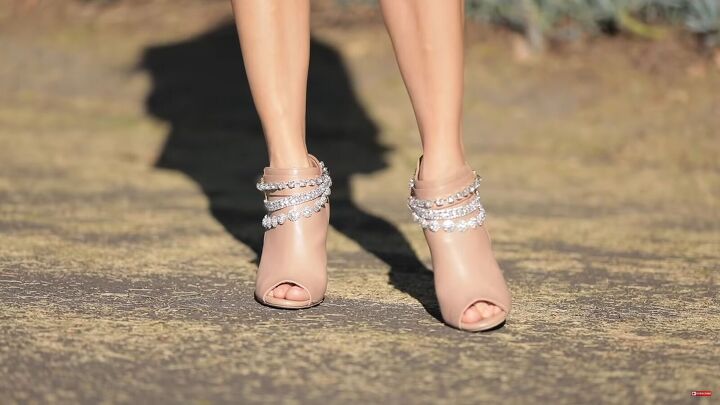
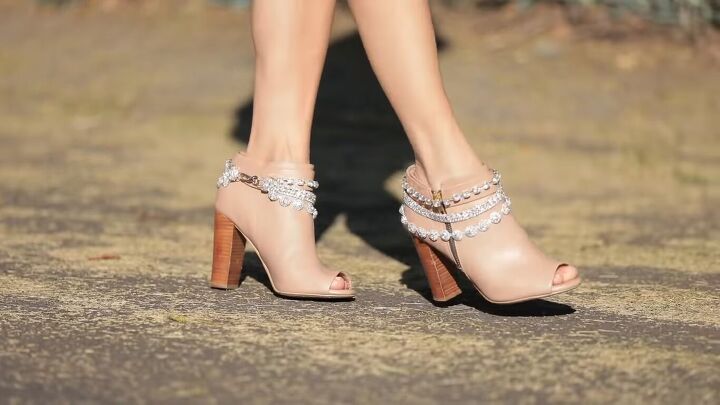
As you can see, it can get attached to any boot!
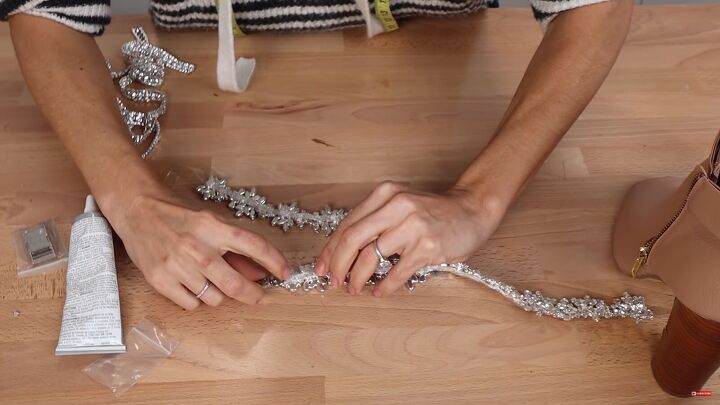
4. Add more layers (optional)
If you want to create a layered look, you’ll need to use jump rings and hooks. These particular trims had openings where I could feed through the jump rings. Note that you need strong jump rings.
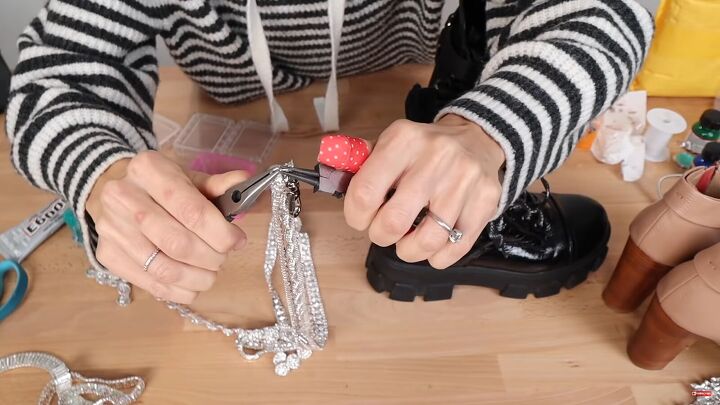
Open your jump rings with pliers and feed them through the trim. Feed the second trim through this jump ring, too. Grab your lobster clasp and loop that onto the jump ring. Then, close the jump ring.
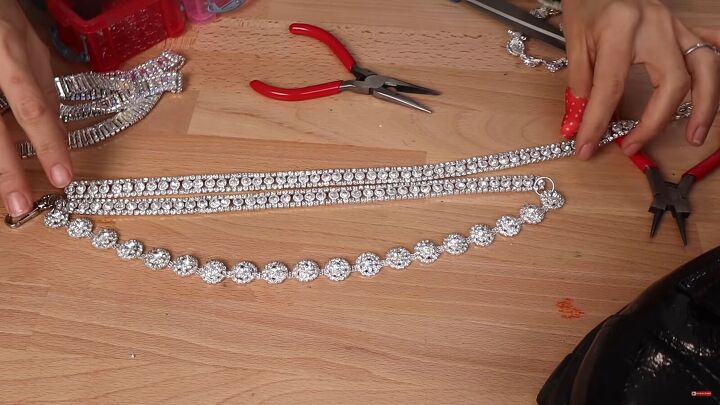
Drape it around your boot and decide on the length.
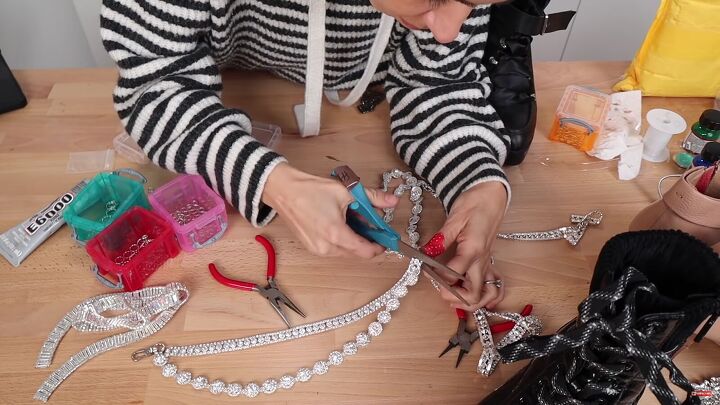
For a layered effect, figure out which piece is shorter or longer. Then, cut to size.
Add another jump ring to the end. Once you have one done, cut the second set to size.
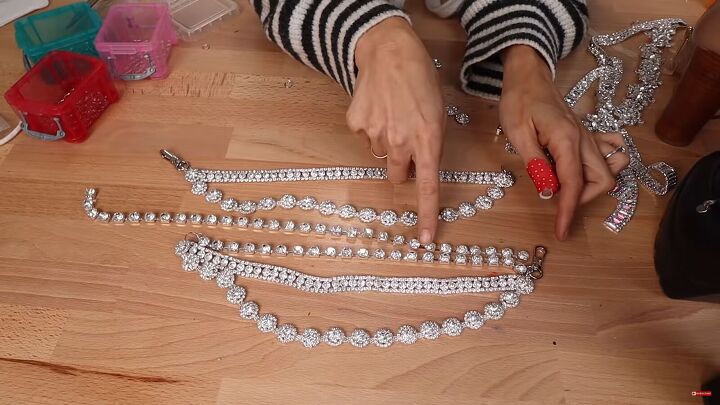
I decided to add another trim across the top; you can definitely play around with these DIY shoe clips!
Put the shoe clip on the shoe and make further adjustments if needed.
How to paint boots & make DIY shoe clips
Now you know how to paint boots and make some fancy DIY shoe clips. These are two great ways to give your shoes a new life!
Thanks for joining me on this DIY boots makeover tutorial, and let me know in the comment section below what you think of my newly upgraded booties.
The author may collect a small share of sales from the links on this page.


Comments
Join the conversation
Super cute! Great job! You’re smart enough to do this.. I’m not… get faux fur. measure around the top of the boot., glue or sew elastic.. make sure it’s about 4 or 5 in wide..connect the ends..then pull it up the front of the boot to the top and you have a fur accessory for the top of the boot that won’t slip down!! You can do this.. I can’t see well enough!
Well done thank you for sharing. I am wondering if using heavy duty velcro would work to give a seamless look. Cut two tabs of velcro, one longer than the other. Glue one to one side of the necklace as a tongue, fuzzy side up. glue the other velcro tab, hook side down. totally under the necklace end so that when the two ends are brought together the necklace is basically seamless. Might work.